#quinn png
Text

the phantom menace (1999)
954 notes
·
View notes
Text


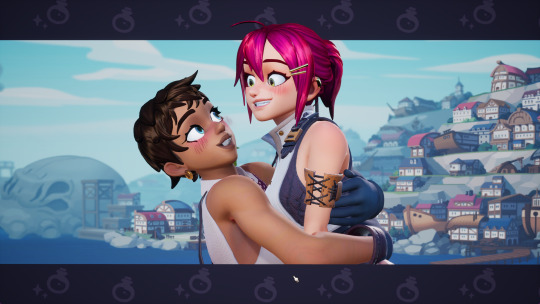


every single hug in potionomics. for your consideration
#any potionomics info you need... im your gal#my next goal is every single potion png. but that is. a later problem#and then ill have to get every single ingredient its just a whole thing rlly.#potionomics#potionomics spoilers#baptiste potionomics#corsac potionomics#luna potionomics#mint potionomics#muktuk#muktuk potionomics#quinn potionomics#roxanne potionomics#saffron potionomics#salt potionomics#pepper potionomics#salt and pepper potionomics#salt & pepper potionomics#xidriel#xid potionomics#sylvia potionomics
439 notes
·
View notes
Text
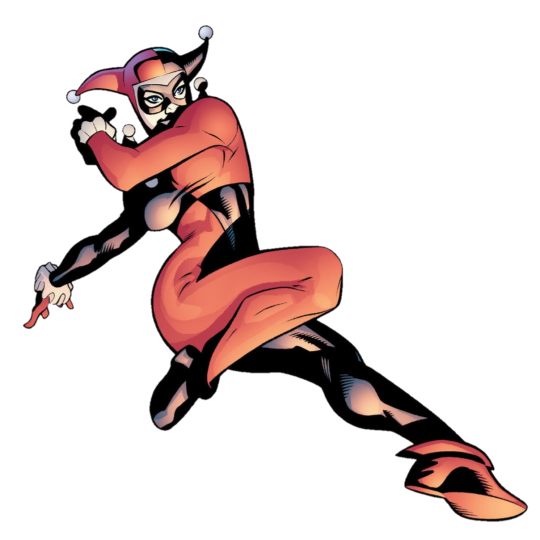
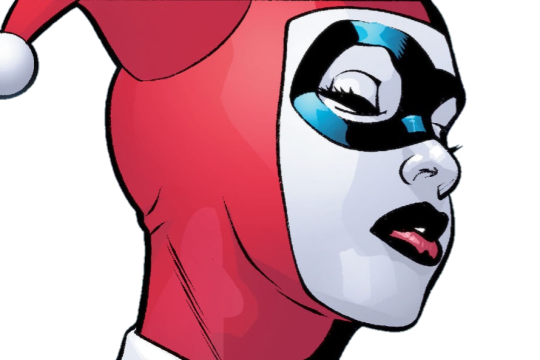

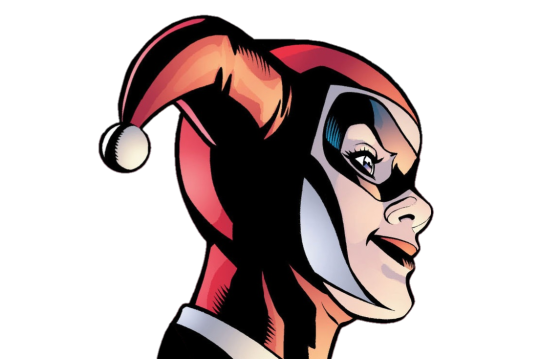
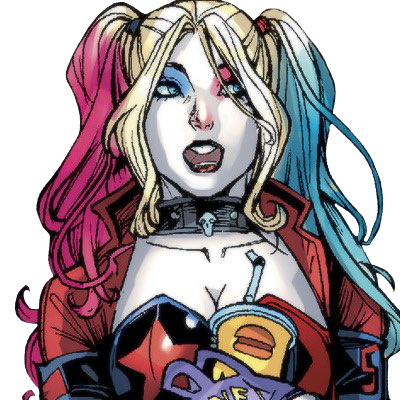
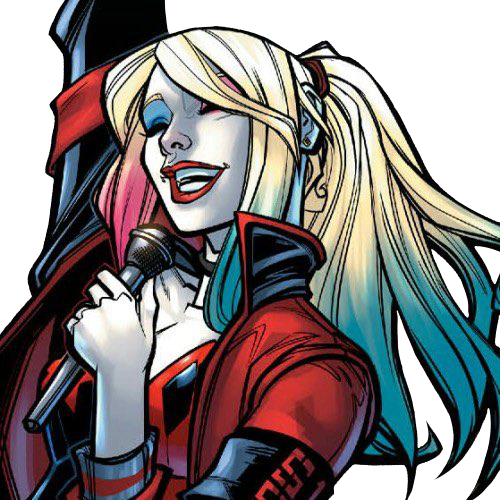
harley quinn (2000) #4
(ID in alt!)
#this is a solidly mediocre comic but i love how glossy the art was in some of the first issues#i just love making pngs to play with them like they're dolls :)#c: harley quinn (2000) | i: 4#crypt's panels#posts from the crypt#harley quinn#blorbos in the void#harley sticker sheet#<- i got more for other issues of the comic. just yknow. spacing then out lmao
132 notes
·
View notes
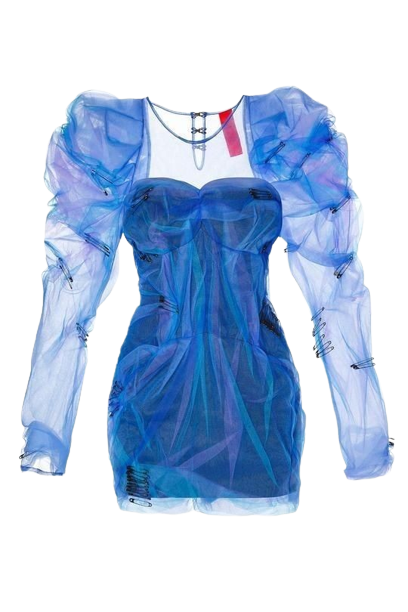
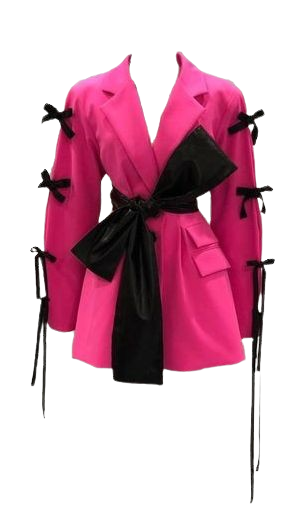
Text
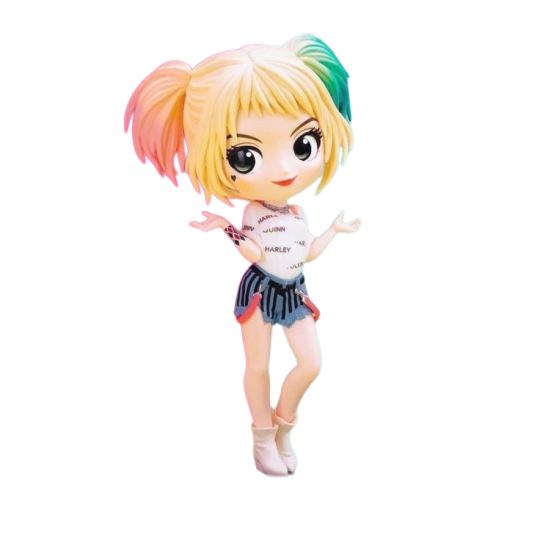

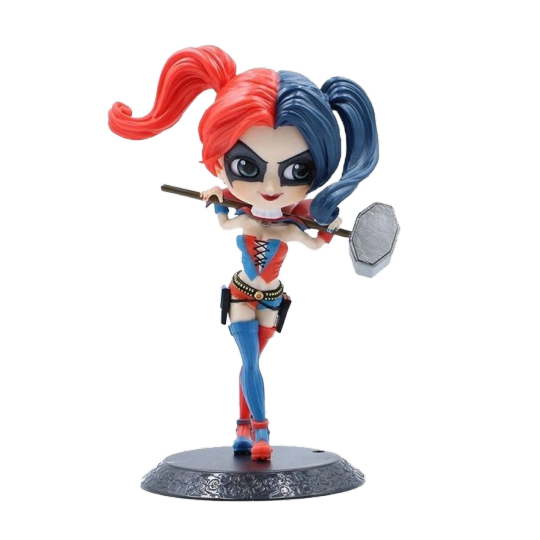


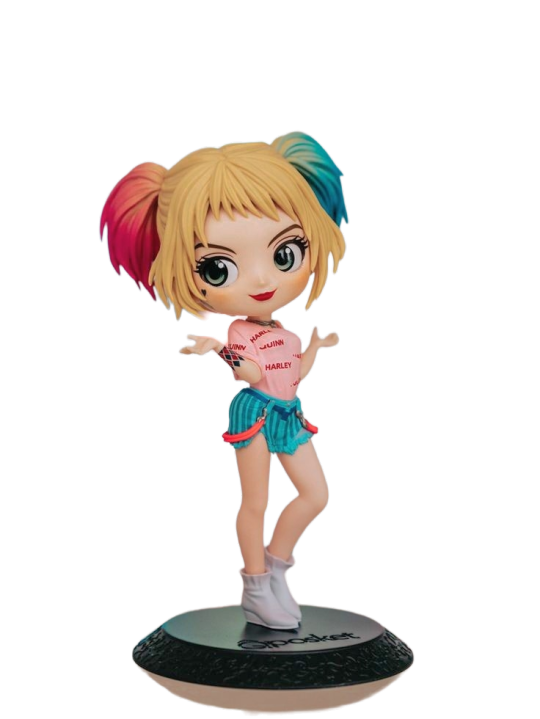


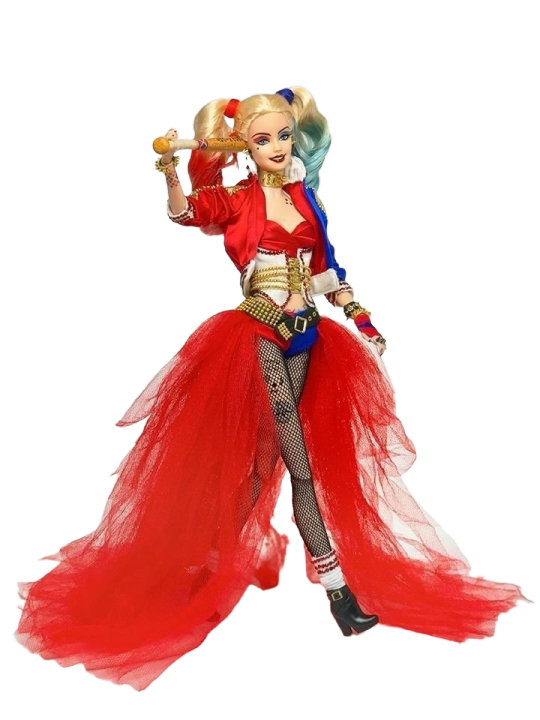
#aesthetic#artboard#collage#icons#imageboard#inspo#layout#moodboard#png#pngsformoodboards#polyvore#shoplook#sticker#transparent#batman#harley quinn#barbie#dolls#q posket#suicide squad#figurine
40 notes
·
View notes
Text


98 notes
·
View notes
Text

#transparent#transparent png#transparents#edits#my edits#dc#dc edits#dc transparents#Harley quinn#Harley quinn edits#Harley quinn transparents#harleen quinzel#harleen quinzel edits#harleen quinzel transparents
182 notes
·
View notes
Text
Yes this is silly but I wanted to make this after I made that incorrect quote of Raven!Lee loving shiny rocks
#don't ask about the pngs i know they're not the best#lee quinn#the sandman oc#sandman oc#my edit#pringles edit#incorrect quotes#the sandman#the sandman netflix#dream of the endless#morpheus
16 notes
·
View notes
Note
Hi. Not sure if you are still doing DBD things but judging by Ji-Woon being your lesbian boyfriend, which I find cute, may we see Ji-Woon Hak and him meeting Doctor X Caleb?


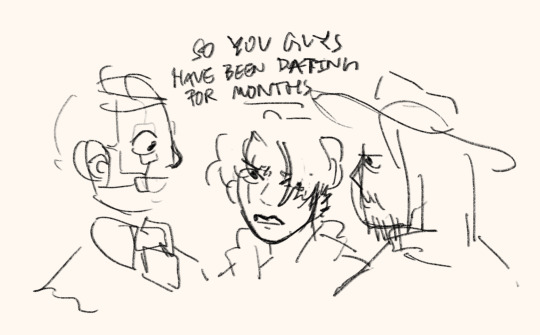
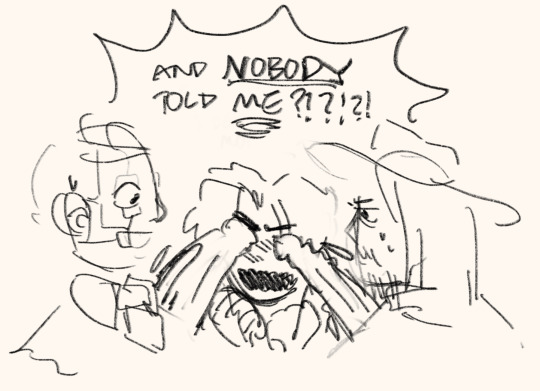
theyre both like his crazy uncles and hes crying because he didnt notice the gayest old man romance of 2022 blooming under his nose
#txt#ask#png#dbd#trickster dbd#herman carter#caleb quinn#Also this ask made me irl giggle.. judgind by trickster being your lesbian boyfriend 😭😭#thank you btw for being nice about it :)#im still big on DBD btw! just havent drawn much recently bc work sapped me#i dont know why tumblrs blocking yhe pics on mobile for me crying and yhrowing up#sparkslinger
59 notes
·
View notes
Photo
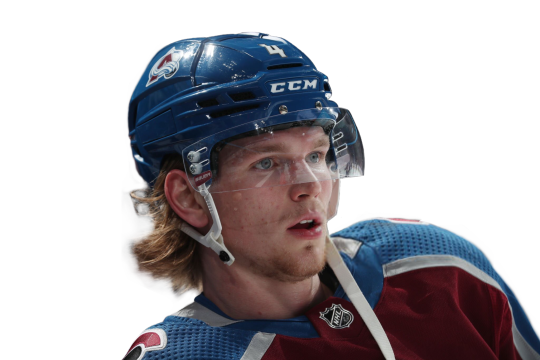
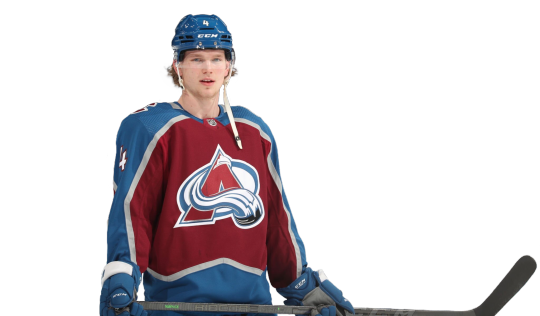

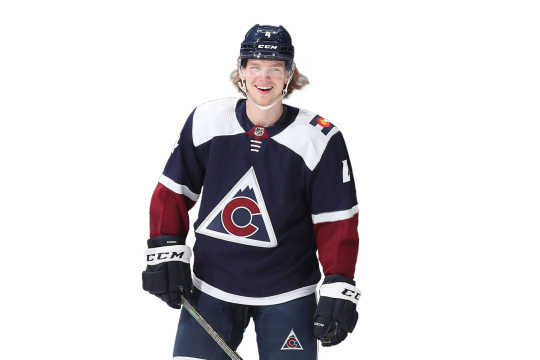


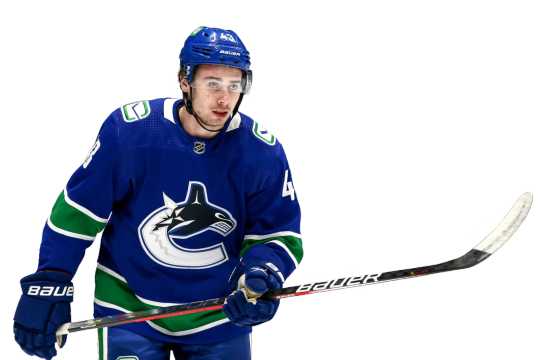
transparent pictures • bowen byram, yegor chinakhov, ethan bear, quinn hughes
Credits of the photos go to their respective owners. I only cut them out to make these transparent pictures.
View more transparent pictures
like & reblog if you use
NOTE: if you use any of these transparent pictures for an edit of any kind of your own and you are to post it online, please credit @art-and-the-hockeys for cutting out the pictures.
#bowen byram#ethan bear#quinn hughes#colorado avalanche#columbus blue jackets#carolina hurricanes#vancouver canucks#nhl#png#pngs#yegor chinakhov
13 notes
·
View notes
Text
4 notes
·
View notes
Text


do you get it
709 notes
·
View notes
Text
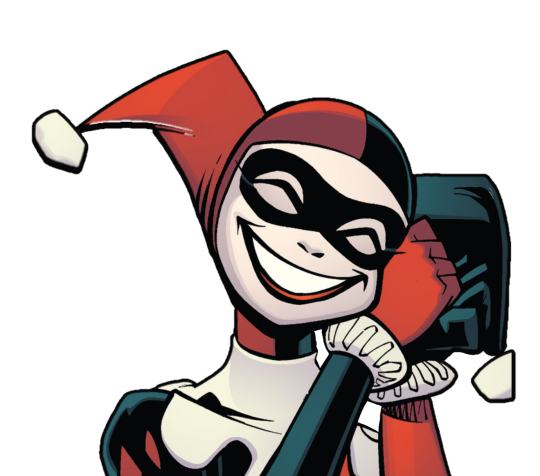
batman/tmnt adventures #2
[ID: a png of Harley Quinn in front of a transparent background. She's shown from the shoulders up and is facing the viewer with a big, excited smile! Her eyes are closed and her head is tilted towards the right, where her cheek meets her clasped together hands! END ID]
#smiley harley png for all your smiley needs :Dc#shes such a cutiepie :3#c: batman/tmnt adventures | i: 2#crypt's panels#posts from the crypt#blorbos in the void#harley quinn
57 notes
·
View notes

Text

She's my gf forreal
1 note
·
View note
Note
hey kai if you want could you do a tutorial on how to put gifs inside shapes (like your MARGOT ROBBIE as HARLEY QUINN in the DC EXTENDED UNIVERSE) it looks so good
howdy anon! i’ve answered something similar to this before, but i figured that a proper tutorial would be nice, so thank u for sending an ask about it :)
as per usual, you will need basic giffing knowledge for photopea, as well as the website itself, to complete this tutorial. this tutorial is also very wordy, but i do have some images to help with the process. if you have any questions about the process, please feel free to send in another ask.
without further ado, let’s go!
so, when making your gifs, the first thing you need to do is make sure that they are the same amount of frames. otherwise, your gif will end up looking strange with one gif looping faster than the other one.
once you have all of your clips you want to use for the gif you’re making (i will be using two, but you can use more than that!), decide which one you want to be in the shape that you’re going to be choosing. for the sake of this tutorial, i am going to be using a simple circle shape, but you can use any variety of shapes however you’d like. i have some notes below about different ways to get different shapes:
on your left toolbar, directly under the “move” tool, there is the option for a “rectangle select” tool. right clicking this option also allows for you to choose ellipse select for circles. by adding a new layer to your canvas (on the top options, go to layer > new > layer), you can use either of these shapes to make a rectangle or circle, which you can then fill in by going to edit > fill…
on your left toolbar, above the “zoom” and “hand” tools, there should be a rectangle. right clicking this should give you the option for other shapes, such as ellipses, lines, and custom shapes. depending on what you want for your gif, you can choose any of these options for your own gif shape, but beware that these shapes are all fairly limited to what photopea has to offer.
for other shapes that photopea doesn’t offer (like the starburst shape that mattel uses for barbie edits, for example), i will go to google and just look up things like “mattel logo shape png”, or whatever other shape i’m looking for, and try to look for a transparent png. while this does give you a lot of options, you may not be able to find a transparent option (i use remove.bg to help with that!) or you may have to do some editing around the edges to get the shape the way you want it (many of the mattel logos have a big MATTEL in the middle that ruins the edges of the starburst shape, so you’ll have to fix that, for example)
more notes about choosing your shape:
if you get a shape off google, make sure that your cropping fits that shape! if you have a shape that is some weird dimensions that arent a 1x1 ratio, your gif cropping will have to reflect that so it fits in the shape.
you should also know how big you want your shape to be on the finished product — for me, the entire gif canvas is going to be 540x540, so i’m going to make the shaped gif 240x240 so that both the big gif in the background and the shaped gif are visible in the final product. this will all depend on what you are doing for your gifs, though, so play around with different shapes/sizes in another canvas the size of your final product.
first thing’s first, make your gif for within the shape however you want. as you have (probably) seen from other gifsets of mine, there’s multiple ways you can choose to make the gif within your shape: you can do like this edit and have a colored overlay, or you could do like this edit and have normal coloring with a pop of color, or some other thing that you’d like to do! for this edit, i’m going to keep the sanji gif within my shape colored fairly normal with a pop of blue to match his shirt. my gif, as of now (without the shape), looks like this:
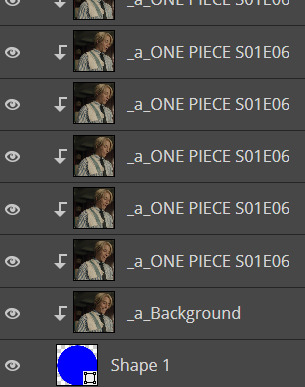
from here, add your shape on top of all your layers (as i said before, your gif should be cropped so the shape fits perfectly within the cropped gif!). go to the very bottom of your gif frames, and put that shape directly under the first frame (which is likely titled “_a_Background” or “_a_frm0,50”, depending on how you gif your gifs) while still within the gif folder you most likely have, especially if you follow my tutorials. this part is tedious, but starting with that first frame, go through every frame of your gif, right click, and select the “clipping mask” option. because you have that shape at the very bottom, every layer above it will follow the same clipping mask to put the gif within the shape. after your done, your frames should look something like this:
and now my gif looks like this:

which isn’t what i want, because i want that blue color in the shape with the rest of the gif! there’s an easy way to fix this, if you’re like me and have that gradient color: click and drag all of your adjustment layers into the folder with your gif (i know, goes against everything i’ve said before in my other tutorials, right?) so that you can do the same thing you did with your frame layers and create a clipping mask for those gradient color layers. you don’t have to do this for the other adjustment layers for your coloring, by the way, just for the gradient color layers! now my gif looks like this:

much better! and now that we have the shaped gif finished and in its shape (make sure you save the psd!), you can sharpen and export your gif by going to file > export as > .GIF and you’ve made your shaped gif!
now you can make your other gif to be behind the shaped gif; i won’t provide a tutorial for how i made this gif, other than it follows my usual coloring + a gradient layer to make the entire gif blue:

now that you have both of your gifs, we can move on to putting them on the same canvas!
after putting both of your gifs on the same canvas, position the shaped gif wherever you’d like to place it on the canvas. you can center it, place it in a corner, whatever you want! it’s your gif, your choice. i placed my circle sanji gif towards the bottom left corner of the canvas because i wanted to be able to see both the little gif and the larger gif clearly. :)
from here, you can do a number of things to make the shaped gif stand out; what i did for mine is add a shadow behind the gif and an outline of the circle that’s off centered from the circle gif itself. here’s how i did both of those things:
shadow: double click the shaped gif’s folder to open up the “blending options” pop up menu. check the “drop shadow” option towards the bottom of the list, and adjust it to how you want it to be. once you’re happy with how the shadow looks, click “OK” to close the pop up menu. below are my settings for this particular shadow on this gif, but this may change depending on your own gif (feel free to play around with these settings!):

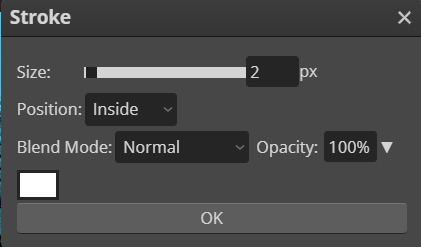
off-centered outline: this is specifically for circles/rectangles; if you have another shape that you got off google, for example, this part of the tutorial will not work (but if you want to know how to do something like this for a shape like that, i can create another tutorial! just ask <3). create a new layer (layer > new > layer through the topbar menu) and create an ellipses the same size as the circle i created earlier. from here, go to edit > stroke… to make the pop up menu show up (you will not be able to preview this when you edit this layer, so if you’re unhappy with how it looks once you click “OK”, use CTRL+Z to undo and try again!). once you have the shape as you want it, go to select > deselect on the topbar to deselect the section you just made, and use the move tool to move the shape around however you want. if you want to make the shape less intense, change the opacity located near the layers menu (i put mine at 30%). below are the settings for my shape, which you can of course play with as you'd like for your own gifs:
now that you’ve done that, do anything else you’d like to do to your gif — add text, put a watermark, whatever you’d like! after you’re finished with that, save your psd and then go to layer > animation > merge to merge all of your gifs together before going to file > export as > .GIF. and then you’re done! congrats, you’ve just made a shaped gif in photopea! :)
#kai.answer#anonymous#mystuff#mytutorials#photopea tutorial#photopea gif tutorial#photopea#gif tutorial#completeresources#usergif#userars#userlace#tusersai#tusergeo#usernaia#hopefully this helps anon!! again feel free to send another ask for clarification :)
130 notes
·
View notes
Text
Meghan Markle 'feels Kate Middleton should have backed her against every difficulty' - The Mirror by u/Feisty_Energy_107
Meghan Markle 'feels Kate Middleton should have backed her against every difficulty' - The Mirror
Meghan Markle 'feels Kate Middleton should have backed her against every difficulty' - expert (msn.com) It's by Tom Quinn and while I find him to be another Jack Royston, there are titbits here that might explain Meghan's thinking.Quote:https://ift.tt/SEJ4hZb her against every difficulty? Couldn't understand why Kate always towed the Royal line rather than supporting Meghan...Hmm, is that because she wanted to step on the traditional and hierarchical protocols per chance?Because in Meghan's mind, Catherine was getting the 'gourmet' treatment and she got the 'crumbs'? https://preview.redd.it/pnmz3cvudbtc1.png?width=894&format=png&auto=webp&s=efc118a971a7888cc9a23d64da31c495017bdb3ehttps://preview.redd.it/f09yf67bfbtc1.png?width=376&format=png&auto=webp&s=f4ad58a8d9ada299eb5e159a0ec055098655b66d
post link: https://ift.tt/LxzX3Ib
author: Feisty_Energy_107
submitted: April 08, 2024 at 10:37PM via SaintMeghanMarkle on Reddit
disclaimer: all views + opinions expressed by the author of this post, as well as any comments and reblogs, are solely the author's own; they do not necessarily reflect the views of the administrator of this Tumblr blog. For entertainment only.
#SaintMeghanMarkle#harry and meghan#meghan markle#prince harry#fucking grifters#Worldwide Privacy Tour#Instagram loving bitch wife#Backgrid#voetsek meghan#walmart wallis#markled#archewell#archewell foundation#megxit#duke and duchess of sussex#duke of sussex#duchess of sussex#doria ragland#rent a royal#clevr#clevr blends#lemonada media#archetypes with meghan#invictus#invictus games#Sussex#WAAAGH#american riviera orchard#Feisty_Energy_107
20 notes
·
View notes
Last Seen Blogs

baxter38544
Untitled
elvenpixiex
☾𖤓⭒˚。⋆
theshiki
Only SNS y MCM. Multishipper multifandom
vodkansatan
𝖉𝖆𝖉𝖉𝖞
someonesetherfree
Someone set her free...