#im so so sorry this is super late
Note
Your Taeyong facecams set is amazing! ♡ post/674385189826330624/nct-127-taeyong-facecams. You seem to have the perfect balance of cool tones and warm in that set. Do you mind me asking how you get such vibrant, lustrous coloring without sacrificing quality, and without making faces unnaturally/overly red/orange? In other words, do you have any tips on how to get vibrant coloring and crisp gifs? Your help would be greatly appreciated! Happy New Year~ ♡
okk first things first! i’m so so sorry this answer is super late. i had this saved in my drafts for ages but i completely forgot to post this (that’s why it still say happy new year down below 😭😭). everything below this paragraph is what i meant to post earlier. again, i’m so sorry for how late this is. i’m such an idiot i should have checked if i had posted this yet, i thought i did but obviously not.
firstly, i just wanted to say thank you so much for your kind comments 🥺💕 it really means a lot and i'm glad you like my gifs. also happy lunar new year! i hope you had a great day if you celebrated ~
anywayyy onto colouring and ps help! tbh it really depends on the video you are giffing from. i find the number of adjustment layers required varies between videos. despite this, there are a few things that i always do to try to restore skin but it can get a bit complicated so i've tried to explain things more clearly below the cut!
(before i get started, i just wanted to put it out there that i am by no means a professional, nonetheless, i hope i can be of some help!)
tip #1: start off with a curves adjustment layer (note! this isn’t always necessary unless the lighting is really bad. if the lighting is ok, then you can skip this step and have selective colouring as your first adjustment layer. or go ahead and colour as you normally do.)
curves is a lifesaver when it comes to fixing dodgy lighting. this tool comes in handy especially when you're giffing live stages or comeback/fanmeeting vlives. i use the black colour dropper tool (shown below) and select a point on my image that should be the darkest colour (this could be somewhere on their mic/ headset, their hair, or something in the background). this should hopefully sort out the lighting to some extent and make your gif easier to colour after. in the taeyeon gif screenshot below, i think i selected the darkest colour to be a point on her glasses or her mic. (i can’t remember exactly because i made the gif last summer 😅).


(left: no psd, right: curves adjustment layer) i’m using screenshots from a taeyeon vlive gif as an example because vlives are notorious for having terrible lighting and weird filters. as you can see, the image on the left is the original vlive. the lighting for this video is really bad and the colours are really washed out. whereas on the right, after adding a single curves adjustment layer the colours are slightly more vibrant and there’s a greater contrast.
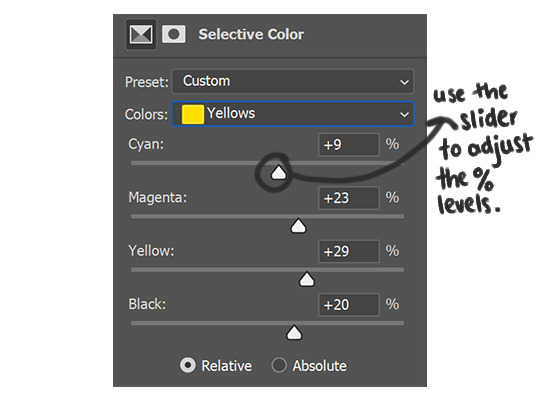
tip #2: after using curves, i tend to use 2 layers of selective colour. the first layer i use is almost like a baseline for my colouring. i find it's easier to make small adjustments and slowly work my way to the final product. sometimes i might include an additional selective colour layer later on, but this really depends on the video i’m giffing from as some videos will require more/less changes.
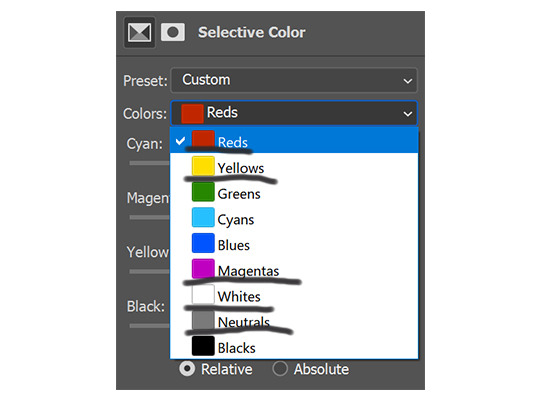
in terms of restoring skin, you should focus on changing the % levels of the colours: red, yellow, white and sometimes magentas and neutrals (underlined in image below.)
in general, i find increasing the magenta and yellow % of these colours restore the skin (ex in image below.) you can also increase the black % levels to make the red/yellow colours darker. but if you find the skin is looking unnatural and too red/orange then don't be afraid to slightly decrease their levels and increase the % levels of cyan. i've come across a few skin restoration tutorials that talk about increasing only the red or yellow colour levels, but bear in mind skin tones involve all the primary colours, so adjusting the cyan or blue % levels of the reds/yellows can help the skin look more natural. reducing the black % levels for the reds can also help when your colouring is too strong or you’re giffing from a performance/mv with red lighting.
tip #3: use channel mixer, colour balance and hue/saturation
channel mixer, colour balance and hue/saturation are very similar to selective colour. they're just different ways of adjusting the hue levels of each colour in your image. if you have more questions about these settings then feel free to ask! (this tutorial will be too long if i explain here 😭)
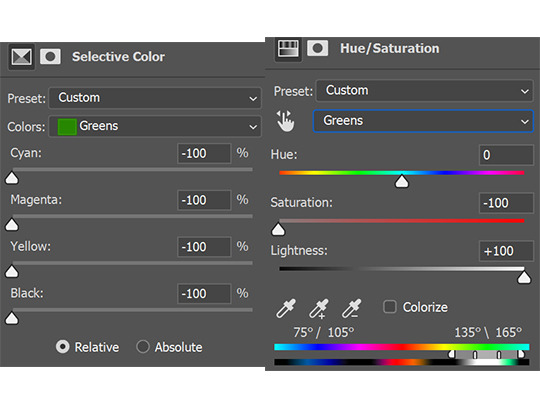
tip #4: remove colours you don't want
you can do this via selective colour or hue/saturation. if there's a colour you don't want/need in your image then just remove it by putting the colour value as 0 or -100%. this helps to increase the quality of your gifs if there are less colours as this will reduce the file size, preventing tumblr from compressing your gif if it is too large.
tip #5: another curves layer
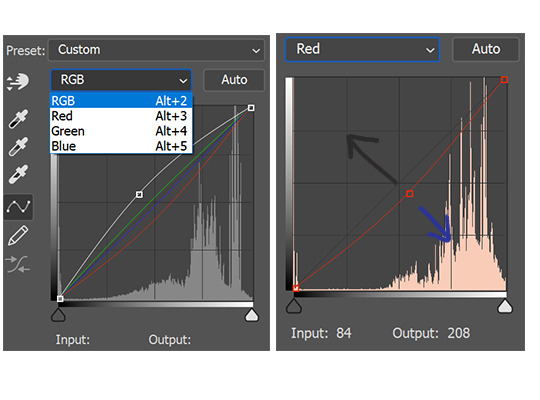
i add another curves layer at the end. but this time instead of using the colour-dropper tools, i adjust the RGB, red, green, and blue settings. (click on the drop-down list and then adjust by moving the curve at the centre point.)
RGB - moving the curve upwards (towards the left, in the north-west direction) makes the image brighter; in the opposite direction it makes the image darker.
Red, Green, Blue - moving the curve upwards makes the image more red/green/blue and vice versa in the opposite direction.
in the image below - i used the red setting as an example. if you move the curve by dragging it from the middle, in the direction of the black arrow, then the image will become have darker red tones. if you move it in the direction of the blue arrow the image will have less red tones.
tip #6: high-quality videos, vapour-synth, under 3mb
it sounds obvious, but the original quality of your video really matters. if you want hq gifs then gif from hq videos 👌 preferably 1080p (and higher) or ts files. with that being said, some 4k facecams' quality are terrible, so you'll notice in my facecam sets i've only giffed recent performances because their quality is better than the older ones.
i use vapour-synth to trim and sharpen my gifs. i wouldn't say this program is necessary but it does help! however, i know of many gif makers who don't use vapour-synth and only use ps, and their gifs are still really hq and sharp. a good alternative is using the smart-sharpen tool in ps and you can also add a gaussian blur layer over your image to make the sharpening look less harsh (just be sure to adjust the opacity% of your gaussian blur layer.)
keep your gifs under 3mb! otherwise, tumblr will compress them and make them look more grainy.
tip #7: refer to your other gifs
to match the colouring in a set, i usually have my other gifs open in ps so that i can refer to them and check if the colours are similar. but honestly, i've found over time it's best not to be too pedantic over having matching, cohesive colouring. you don't need to stress over getting every gif to have similar colouring because it's not worth it. giffing on tumblr should be fun, so don't sweat it and just enjoy creating!
at the end of the day, i hope you can always enjoy creating content and have fun making gifs/gfx 😊 but once again, thank you so much for liking my gifs and i hope this tutorial made sense and was of some help to you 💕

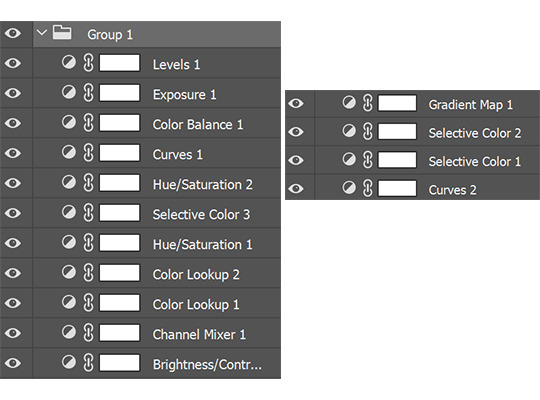
final comparison (left: original no psd; right: final colouring) image below: screenshot of all my adjustment layers
#long post#replies 💌#ps help#im so so sorry this is super late#i cant express enough how stupid i feel for not realising this was sitting in my drafts and i hadnt clicked post after all this time 🤡🤦🏻#i only noticed now bc i was going through posts saved in my drafts 😭
2 notes
·
View notes
Text
modern college au where model ivan comes home late after photoshoots and listens to till's demos for hours on repeat to wallow in his agony (the songs are always for mizi)
#alnst#alien stage#alien stage ivan#alien stage till#ivantill#(implied)#i have a lot of ideas for this au actually lol im just now posting about it#pretty basic stereotypical stuff whatever i just find it funny#in this au till is pretty underground as an artist and a musician#mizi sua ivan and till knew each other since they were kids but eventually all 4 had to separate#ivan tried to take till with him when he had to move to a bigger city for opportunities n stuff but till refused (insert meteor scene)#so they haven't seen each other for years til college#ivan still secretly keeps up with tills music and development though and he gets emo about it late in the night. as one casually does#SUPER CORNY STUFF SORRY#my art
570 notes
·
View notes
Text
i like how consistently princess peach is characterized as somewhat emotionally stilted and socially inept, she is sort of this emotionless dignified monarch. the first thing she does when mario approaches her is throw him into the floor, and her whole relationship with him is sort of awkward and detached (in an endearing way, she is just not the most social person)
even in the games she is emotionally restrained and no-nonsense. she can be pretty blunt when speaking to people

super princess peach even makes a point of her being the only one in enough control of her emotions to resist the influence of the vibe scepter. she can activate her emotions on command

people say "peach has no personality" a lot and it's because she literally does not express herself very often, its part of her character. she's stiff and refined, she's dignified, that's just who she is. she is quite the opposite of princess daisy who is spunky and loudmouthed, but it doesnt mean she has no personality
someone i know described peach as "friendly, but not someone you can be friends with" which i think encapsulates her perfectly
#sorry i have been thinking about princess peach nonstop lately#she's getting a new game!!!! im so happy#super princess peach 2!!!!!!!!! do you know how long ive wanted this!!!!!!#gif warning#super mario bros
2K notes
·
View notes
Photo
happy cuties ♡ (for anon)
(cr. namuspromised)
#btsgif#jimin#taehyung#vmin#bts#park jimin#kim taehyung#v#*#*jm#*th#*vmin#*requests#im so sorry this is super late but i hope you see this anon and i hope u like it <3 :(
5K notes
·
View notes
Note
my dumb fuck ass just spent 30 minutes trying to find Save Us White Girl and caved and "help white girl bg3" immediately returned it via google,,,,, had help white girl, white girl help stuck in my head,,,,,
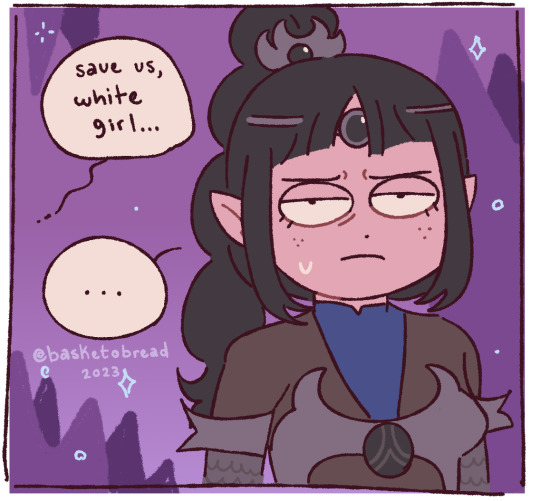
THIS MADE ME LAUGH SO MUCH TBH I CANNOT BELIEVE IT CAN IMMEDIATELY BE FOUND LIKE THAT???? everyday this comic finds its way back to me and i'm unsure if i'll ever be able to outdo it... it might be my magnum opus, i fear... (this is a good thing)
#though in all honesty its one of my favorite comics ive done LOL#ALSO IM SORRY THIS IS SUCH A LATE RESPONSE </3#i swear i read all the anons i get and i love each and every one of them THANK YOU FOR SENDING IN ASKS#THEY MAKE ME SO HAPPY <3333#im just super slow and dont use my socials as much as id like to IM SORRYYYYYYY#but again this made me laugh thank you sm for sharing anon#bg3#baldur's gate 3#ask bob
353 notes
·
View notes
Photo


christmas part 2 ❄✨ | part one | patreon ☃
#im super late so sorry for that#i hope you had the best xmas#yumihisu#ymir x historia#ymir#Historia Reiss#eren jeager#eren#connie springer#levi ackerman#miche zacharias#nanaba#haji zoe#nahge zoe#ermin smith#christmas
2K notes
·
View notes
Text
i made this like eight months ago so posting this is long overdue but yeah you're welcome etc.
brilliant companion piece by @frukmerunning found here.
#art#my art#super mario bros#bowser#bowuigi#digital art#artists on tumblr#yeah im sorry this is so late lol orz#frukmerunning#who am i if not someone who gives my followers content whiplash at every turn
395 notes
·
View notes
Text
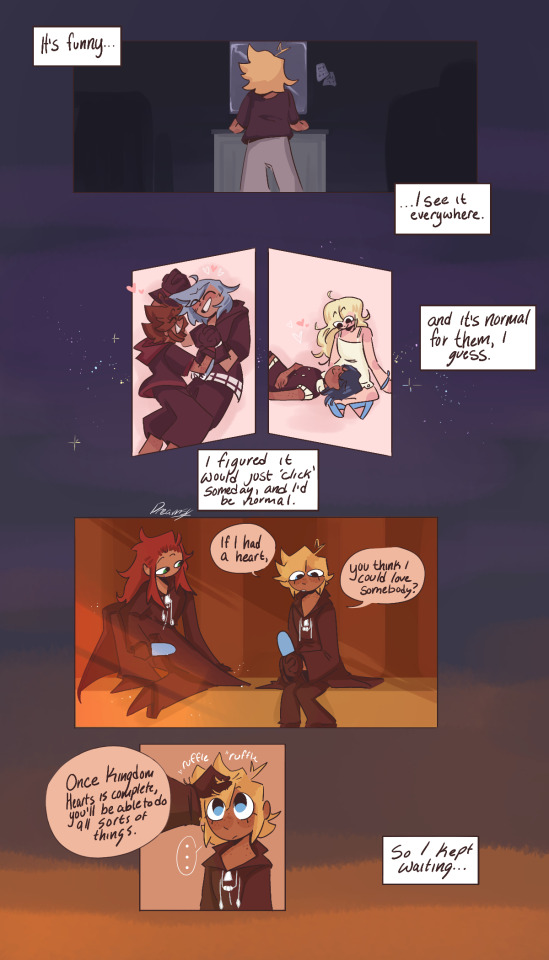
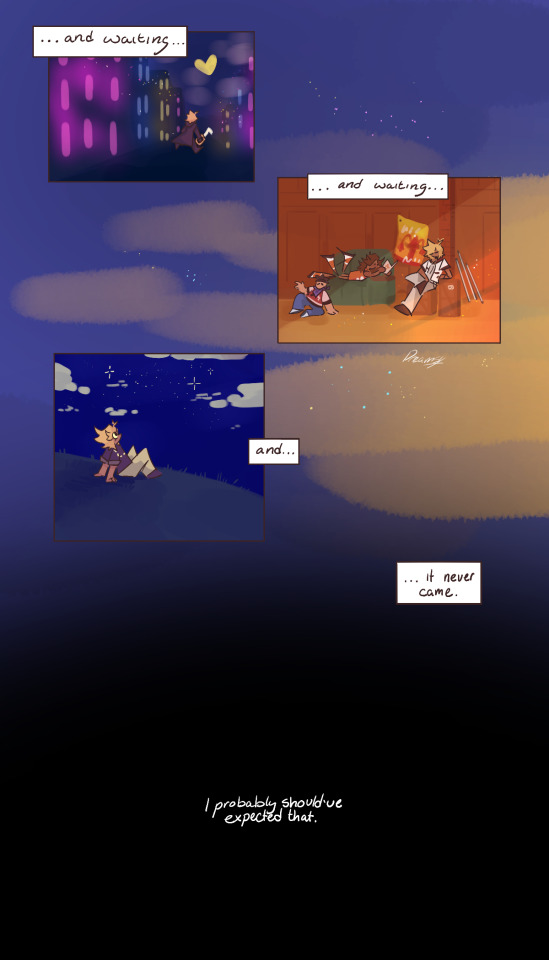

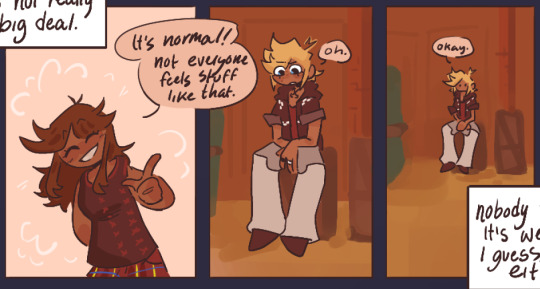
some of the less nice thoughts about being aroace
extras below the cut

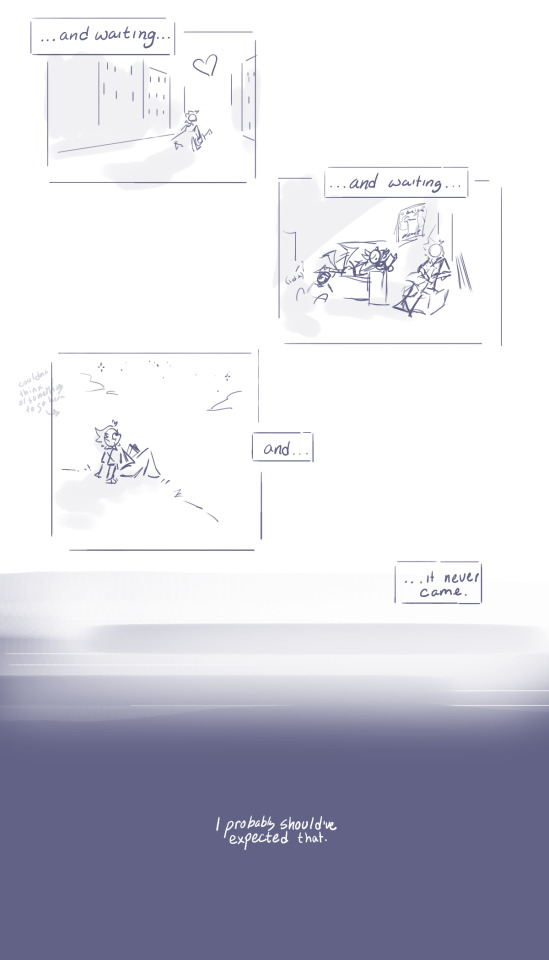

sketch
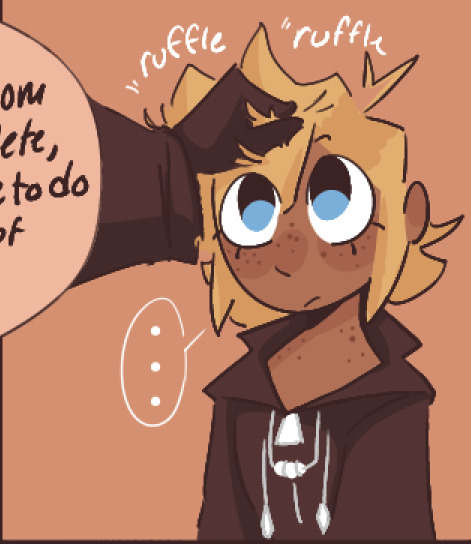
closeups on my favorite panels
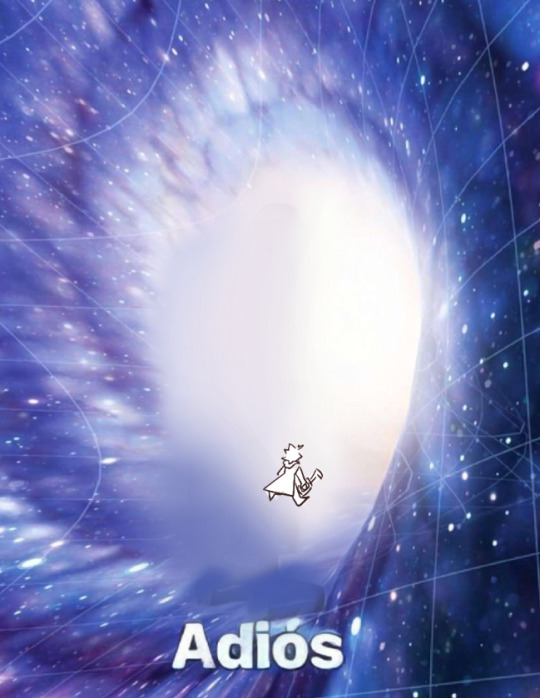
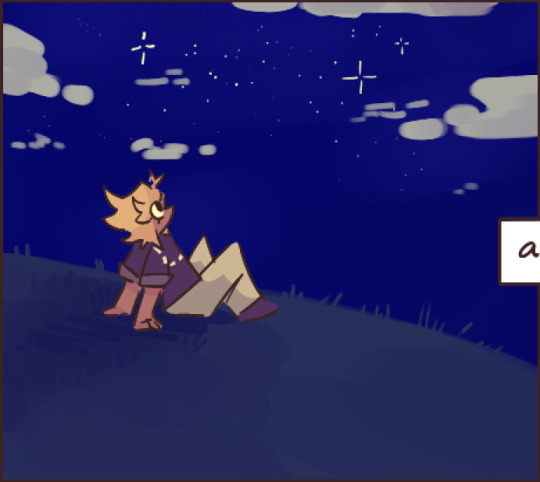
bonus: adios
#doodles#kingdom hearts#roxas#axel#olette#aromantic#asexual#aroace#do i tag pence. hes in the background of one panel#ehhhh sorry pence no tag for you#also not tagging soriku and namixi#i mean by the logic of 'theyre in one panel so i wont tag them' i also shouldnt tag axel but. he has dialogue so#anyways i have a very irrational love of olette whenever i need a random side character in a kh comic? olette#i think she uses webmd. anyways im done talking about olette#so let me clarify about this comic#im aroace. this is all just things ive thought before#im not saying in any way these thoughts are real. theyre just thoughts#thats why it ends with 'but there isnt. its just me.' there IS nothing wrong with being aroace. even if it feels like it sometimes#im not trying to send a message im just trying to express a feeling ive had for a while#anyways. the aroace community is super positive and i like that. but not everything i feel about it is that positive#sometimes it feels like im missing something yknow#this comic seems like its about roxas. but its about me. congrats youve been fooled#drafted something similar to this for aro week but didnt finish it in time so this is spiritually part of asaw 2024#btw sorry im not posting as many drawings lately#schools kinda stressful im pretty tired and busy most the time#i am throwing this drawing to you like a slab of meat to a pack of hungry dogs. take this meager ration in these trying times#alright i think thats it bye now
191 notes
·
View notes
Note
Hello! I absolutely loved the texts w/ quacks! If you can and want to, do some more??

.✦°. • BF QUACKITY TEXTS PT2 ( ´∀`)
warnings: none 😩
a/n: HIIIII!! Of course I can! I’m glad u liked them :D


#quackity x reader#quackity imagine#quackity x y/n#quackity x you#qsmp x reader#quackity fanfic#smau#sorry I’m super late#im so behind with requests it’s insane
167 notes
·
View notes
Note
Dear the Noritoshi Cult Leader,
May I have Noritoshi in butler outfit with bunny tail and ears? I need it to bless my gloomy day. I really appreciate it you took on my request. Thank you


Lucky for you, cult member, i love butlers. A lot.
#noritoshi#kamo noritoshi#noritoshi kamo#noritoshi x reader#kamo noritoshi x reader#noritoshi kamo x reader#sorry if this is late#SO YOURE A BUNNY ADVOCATE. I SEE I SEE. AMAZING TASTE.#AND YOU DO NOT UNDERSTAND HOW I CHOKED ON MY OWN SPIT WHEN SEEING THE BUTLER PART#I FUCKING LOVE BUTLERS SO FUCKING MUCH MAN. IDK WHY. I DIDNT EVEN KNOW UNTIL IT WAS POINTED OUT TO ME..#CAMEO ARATA THOUGH. I LOVE HIM TOO HES SO CUTE EVEN IF HE WAS THERE LESSTHAN NORITOSHI#i love them both..#i also hope your day gets better.#not to get gushy BUT.#these days are tough but i believe its all for a brighter future.#better days for your strong will to endure your hardships WILL come. youre amazing for getting this far!#i believe in you and so do the many others with gloomy days fightin on alongside you to keep pushin through#this goes to everyone whose having a gloomy day too. i love you lots and im super proud of you for pushin past life's hurdles.
231 notes
·
View notes
Text
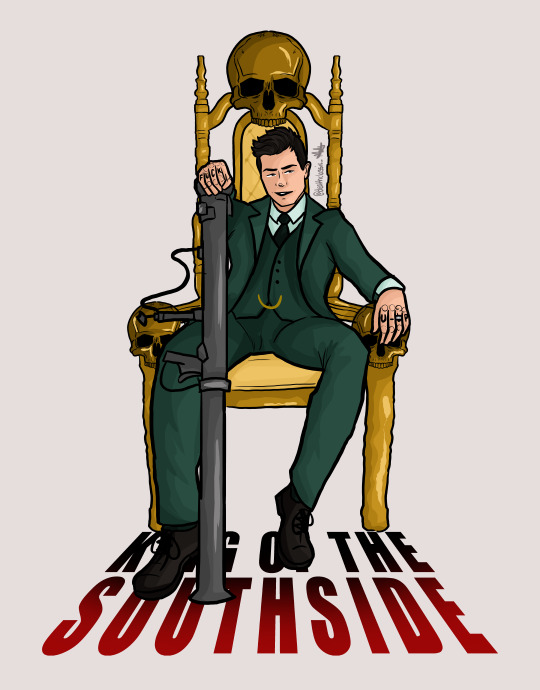
MICKEY MILKOVICH; KING OF THE SOUTHSIDE
gallacrafts | theme 30 | king of the southside
@gallacrafts
instagram
#shameless#mickey milkovich#gallacrafts#noel fisher#shameless fanart#m does art#my art#im so sorry for not posting art recently#i have been super busy and tired lately
104 notes
·
View notes
Note
“where are the chaos emeralds”
super adeleine:
day 68

STOP SUPER REACTING‼️
#hey chat. enjoy.#super adeleine is just a magical girl lmao i have a concept simmering. just wait.#can you even call this one a shitpost lmao i spent time on it#im so flabbergasted rn i am not tagging the sonic fandom. they cannot see this.#adeleine#adeleine kirby#sorry for the late replyyy <3 i have so many in the inbox that i let marinate. this is not the oldest ask.#day 68
79 notes
·
View notes
Note
Oh no, the books sold again ;___; sorry, but by any chance are you going to have the Percy Jackson book in PDF for sale? To at least have it in that format u u
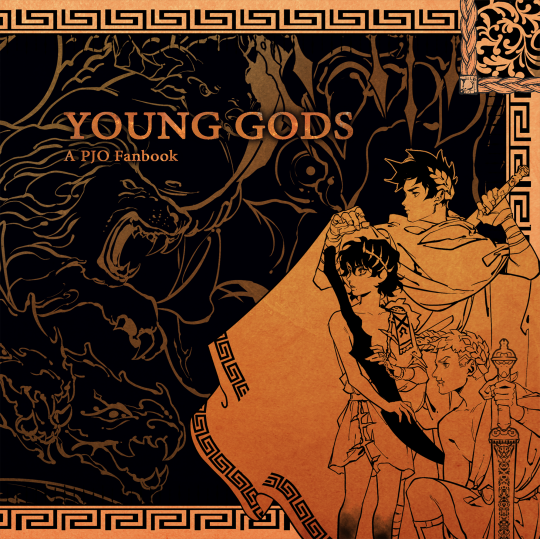
Yes! I have the PDFs here
(Additionally, for those that really do want a physical book, I'll have leftovers up in October, probably ^_^ That's the last chance to get it)
#asks#sorry for im so late on this on tumblr i was... super overwhelmed OTL ive spent the last two days replying to emails about orders...#pjo
2K notes
·
View notes
Text
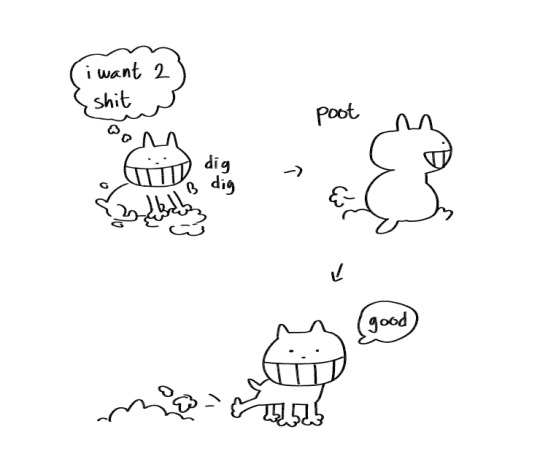
100+ followers special - pablo shidding
#off game#off the game#off mortis ghost#off the judge#off pablo#this is super late im so sorry eueueuue i was too lazy#to make a follower special art but here it is#i see everyones nice and funny tags in the reblogs i appreciate you guys#thank u so muchhhhh :))
50 notes
·
View notes
Text
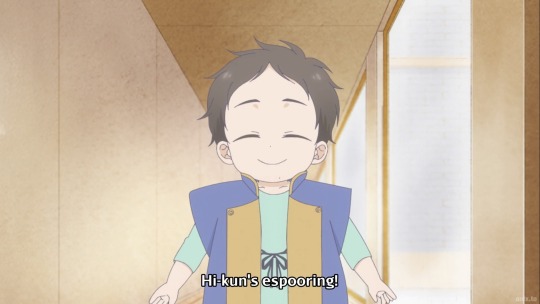
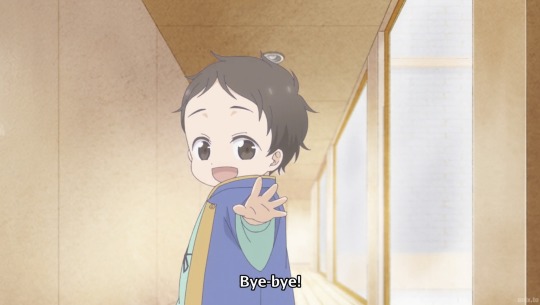
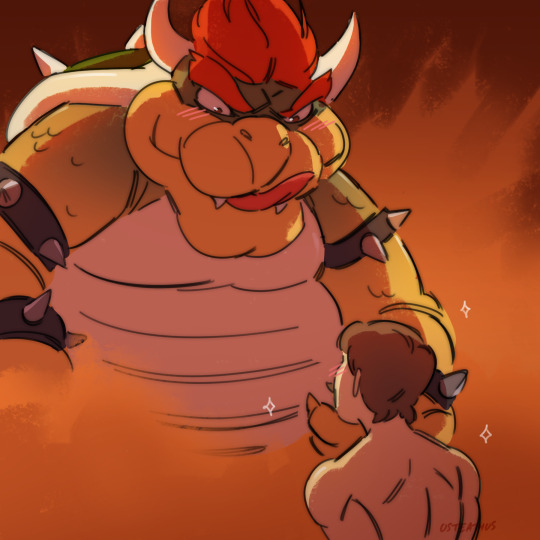
ah yes the classic kid move of interrupting just to say something extremely concerning before trying to leave again - “bye bye” hell no mister i don’t think so, stay right where you are your parents need more information pls
#sorry i was busy with mdzs yday i didn’t think about tadaima okaeri so im a day late#this ep was so cute it’s super endearing to see hikari growing up and pushing boundaries more#i ac love this show so much it’s such a comfort watch#tadaima okaeri
41 notes
·
View notes
Text
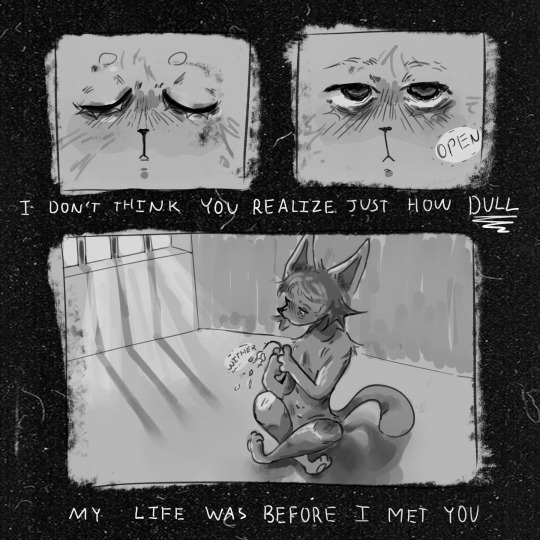


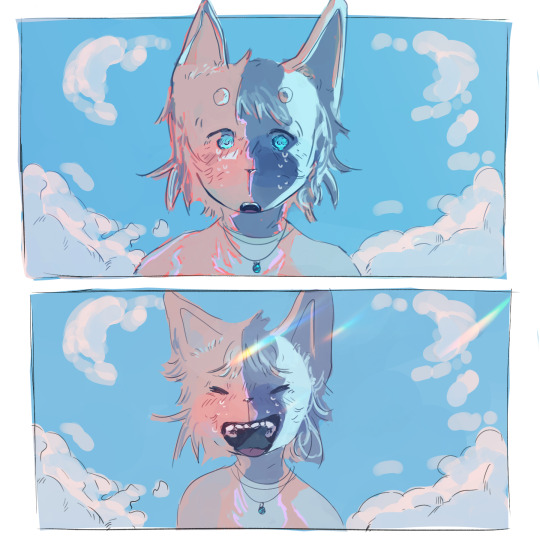
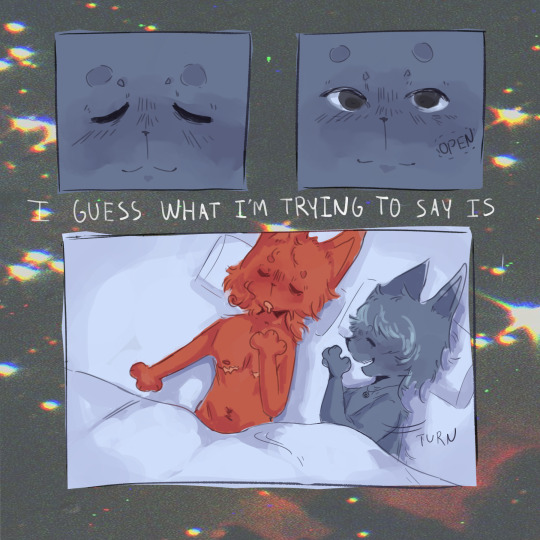
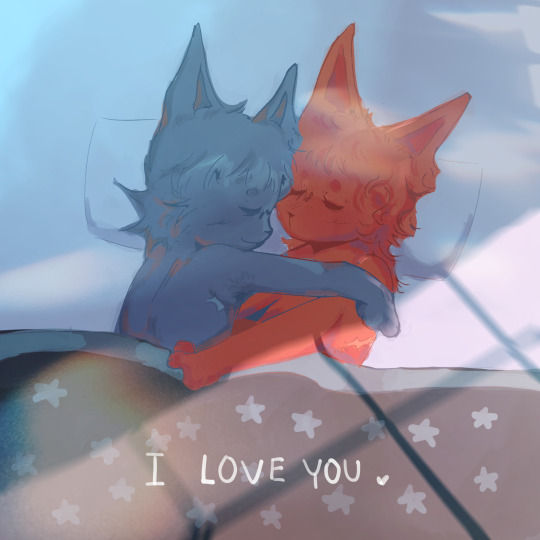
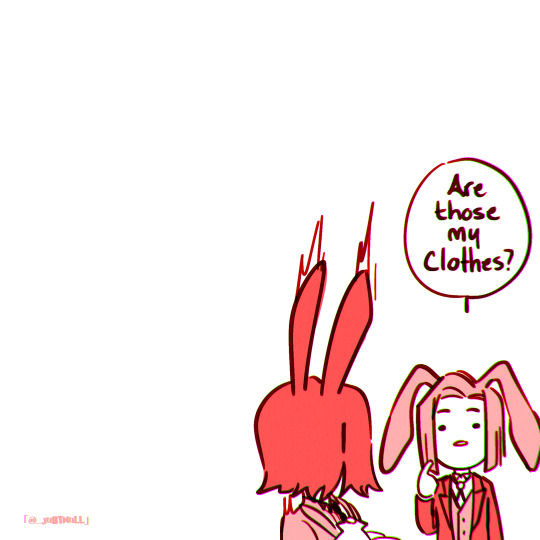
i guess what im trying to say is
i love you .
@201-klz-dead
#happy birthday <3#if ive been not very active online recently it’s probably because ive been spending a shit ton of time working on this sorry#anywayz im gonna go take a nap now i slept super late and woke up super early to finish this#i WILL be writing a whole ass essay in ur askbox later btw#i loveb yuu <33#hope it wasnt too sappy and gross.. i tried very hard to make it not sappy but um i eventually gave up on that haha#anywyas.. i lowv u i loev u i love u… <- i have a lot more to say on this and you will be forced to hear my insane rambles on it as soon as#i wake up from my nap :3#happy birthday i am so so so happy that i got to knwo yu…#my art#furry art#gay furry#digital drawing#digital art
49 notes
·
View notes
Last Seen Blogs