#homemade makeup
Text
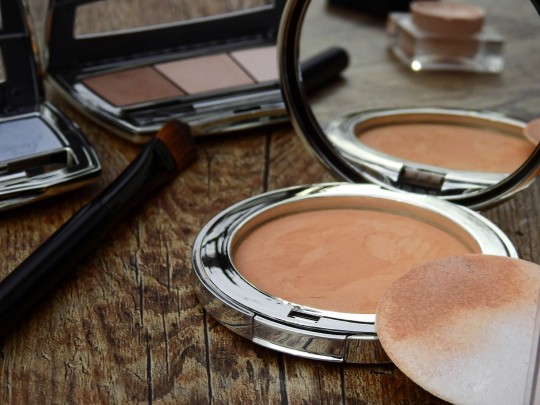
How to Make Natural Cosmetics at Home
Do you love using makeup but worry about the harmful chemicals and microplastics in commercial products? Do you want to save money and reduce waste by making your own cosmetics at home? If you answered yes, then this blog post is for you!
In this post, I will show you how to make natural cosmetics at home using simple and safe ingredients that you can find in your kitchen or local health store. You will learn how to make your own lip gloss, blush, bronzer, and more, using natural ingredients such as coconut oil, beeswax, cocoa powder, and beetroot. These homemade cosmetics are not only good for your skin, but also for the environment, as they are biodegradable and plastic-free.
Ready to get started? Let's begin with the lip gloss!
Homemade Lip Gloss

Lip gloss is a great way to add some shine and color to your lips, but many store-bought lip glosses contain synthetic dyes, fragrances, and preservatives that can irritate your lips and harm your health. Instead, you can make your own lip gloss using natural oils, waxes, and pigments that will moisturize and nourish your lips.
To make your own lip gloss, you will need:
- 2 tablespoons of coconut oil
- 1 tablespoon of beeswax pellets
- 1 teaspoon of honey
- A few drops of your favorite essential oil (optional)
- A pinch of natural pigment, such as beetroot powder, cocoa powder, or mica powder (optional)
To make your lip gloss, follow these steps:
- In a small saucepan over low heat, melt the coconut oil and beeswax together, stirring occasionally.
- Once melted, remove from heat and stir in the honey and essential oil (if using).
- Add the pigment of your choice and mix well until you get the desired color and consistency.
- Pour the mixture into a small glass jar or tin and let it cool completely.
- Enjoy your homemade lip gloss!
Homemade Blush
Blush is a great way to add some color and glow to your cheeks, but many store-bought blushes contain talc, parabens, and artificial colors that can clog your pores and cause skin problems. Instead, you can make your own blush using natural powders, clays, and flowers that will give you a healthy and natural flush.
To make your own blush, you will need:
- 2 tablespoons of arrowroot powder
- 1 teaspoon of beetroot powder
- 1 teaspoon of cocoa powder
- A few drops of rose water or glycerin (optional)
To make your blush, follow these steps:
- In a small bowl, mix the arrowroot powder, beetroot powder, and cocoa powder together until you get the desired shade and intensity.
- If you want a creamier texture, add a few drops of rose water or glycerin and mix well.
- Transfer the mixture to a small glass jar or tin and press it firmly with a spoon or your fingers.
- Enjoy your homemade blush!
Homemade Bronzer
Bronzer is a great way to add some warmth and contour to your face, but many store-bought bronzers contain mineral oil, synthetic fragrances, and nanoparticles that can irritate your skin and disrupt your hormones. Instead, you can make your own bronzer using natural powders, spices, and oils that will give you a sun-kissed and radiant look.
To make your own bronzer, you will need:
- 2 tablespoons of arrowroot powder
- 1 teaspoon of cinnamon powder
- 1 teaspoon of cocoa powder
- A few drops of almond oil or jojoba oil (optional)
To make your bronzer, follow these steps:
- In a small bowl, mix the arrowroot powder, cinnamon powder, and cocoa powder together until you get the desired shade and intensity.
- If you want a creamier texture, add a few drops of almond oil or jojoba oil and mix well.
- Transfer the mixture to a small glass jar or tin and press it firmly with a spoon or your fingers.
- Enjoy your homemade bronzer!
These are just some of the natural cosmetics that you can make at home using simple and safe ingredients. You can also experiment with different ingredients and colors to create your own unique and personalized products. By making your own cosmetics, you can not only save money and reduce waste, but also protect your health and the environment.
I hope you enjoyed this blog post and learned something new. If you want to know more about how to make natural cosmetics at home, you can check out some of the resources that I have found for you. Thank you for reading and have a beautiful day!😘
#natural cosmetics#homemade makeup#DIY beauty#coconut oil#beeswax#honey#essential oil#beetroot powder#cocoa powder#mica powder#lip
1 note
·
View note
Text
How I Make Homemade Natural Eyeshadow
I originally posted this on my YouTube channel Life On The Fringe on September 30, 2021.
Today I show you how I make my own natural homemade eye make-up. It’s simple quick and you most likely have the ingredients in your pantry! I forgot to mention in the video that I have purchased packages of eye shadow applicators in local drugstores but you can also purchase them on the websites I have…

View On WordPress
0 notes
Text
trying to imagine the toxicity of Paper Street Soap Company soap,
points of consideration:
-the pipes at paper street house are almost certainly corroded. hello lead
-do you suppose they're on city water or a private well? with the second, there's definitely potential groundwater contamination with solvents and heavy metals from the paper mill
-the fat of an animal is where most non-polar contaminants are accumulated — all your chlorinated pesticides, your dioxins and furans, all the POPs (persistent organic pollutants). regardless of the bougieness of the visitors of the liposuction clinic, there's probably some accumulated organic contaminants. however, the process of making tallow may completely remove them — i can't find a good answer, and my gut says it would either completely remove them or hyperconcentrate them
-once they get a garden going, they're actually bioextracting any heavy metals in the soil (of which there are certainly many due to the nearby paper mill. cadmium, arsenic... probably some POPs too but they may break down due to the actions of the plant, bioremediation isn't my speciality) and i believe there's a high likelyhood this would get into the soap, especially if they were adding shredded bits for artsy texture... like with tallow, making essential oils may clear or concentrate these things
-microplastics almost certainly
overall i'd give it a pretty strong: maybe don't rub your hands in it several times a day for an indefinite period of time
plus, if the soap is marketed as moisturizing or deodorizing or "making you smell nice" then it's considered a cosmetic, and as the FDA helpfully says:
"Neither the product nor its ingredients need approval by FDA, except for any color additives it contains. It is your responsibility to make sure your product is safe for consumers when it is used as intended, and to make sure it is properly labeled. You don’t need to register your company or file your product formulations with FDA"
this means if you say your soap is moisturizing or nice smelling, you can avoid it being regulated by the CPSC and having to do lead testing if it will be used by children!
cosmetics (which are often applied to very sensitive skin and right near mucosal membranes) have been shown more and more to have heavy metals, microplastics, and organic contaminants in them, and companies are incentivized to ensure their product is classified as such since it reduces regulation (cost).
so yeah — Tyler Durden's soap is probably bad for you. but just remember, the same rules that would allow him to sell soap made from people and filled with pollutants are those that apply to the very large companies we are forced to implicitly trust our safety with :)
#fight club#nah because homemade soap at least has several purification processes involved#the real horrors lie in makeup i think#yet another reason not to wear it#especially on such sensitive skin and near your mucosal membranes
45 notes
·
View notes
Text
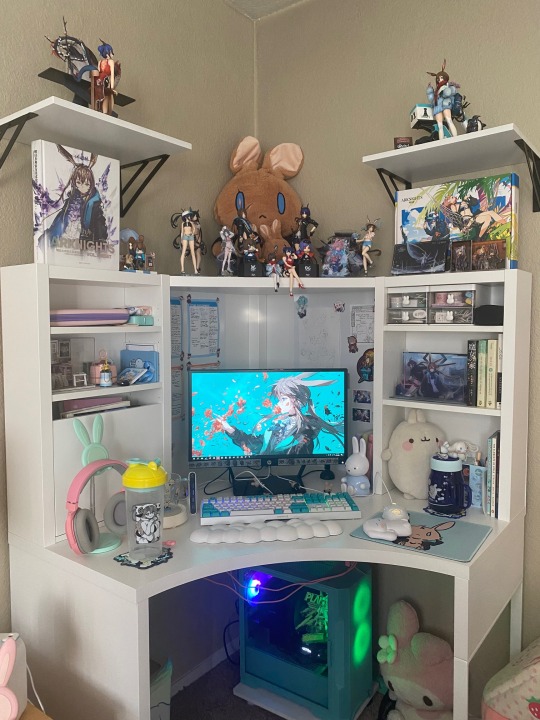
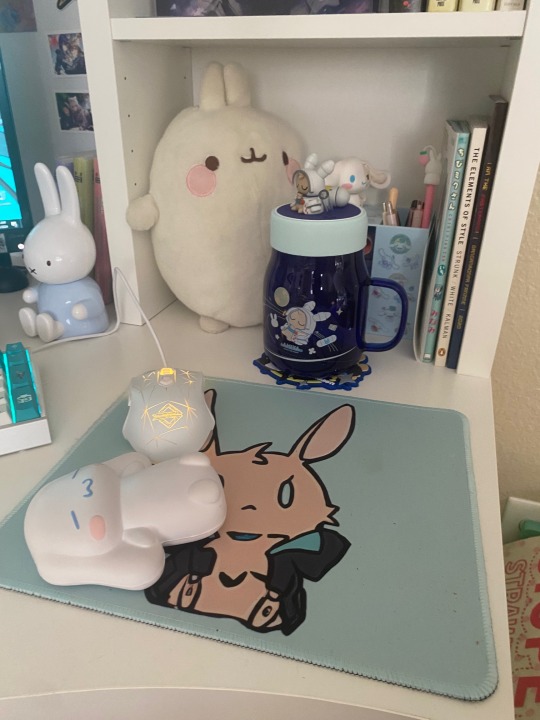

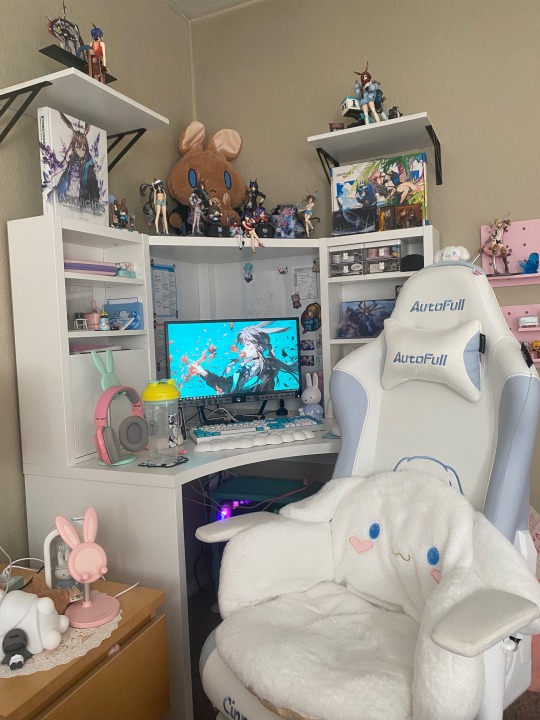

#bunny talk#arknights#my room#aes#this is where the magic happens#clawing my way through life to surround myself with my hobbies and passions#maybe i'll show more room details later#i'm proud of my bookshelf and miku rement set#and my homemade yuri makeup table
11 notes
·
View notes
Text
🌱🌿🌱🍃🌿🌱🍃🌿🌱🍃🥰🥰🥰🥰
#happy home paradise#homemade#homedecor#homesweethome#home#fall home decor#homedesign#work from home#home decor#home & lifestyle#old home for sale#acnecommunity#acne treatment#skincare routine#skincare#skincare tips#acne#dark skin#makeup#beautybay#cozy#beauty#cozy glow#cozyvibes#cozymood#cozy aesthetic#fall season#falldecor#faith#cozy autumn
127 notes
·
View notes
Text
Was this photo taken over a month ago? Yup! Am i sharing jt now? Also yup!
Anyway heres my silly grian cosplay
Im prtty new to cosplaying (and wigs theres a reason im not wearing one) so uh any tips are MAJORLY APPRECIATED!!!!!


#parrot grian#avian grian#grian#grian cosplay#cosplay#wings#cosplay wings#HOMEMADE WINGS#I AM GOING INSANE#new cosplay#NEWBIE COSPLAYER#im new and i cant makeup :3#halloween costume#halloween cosplay#give attention#to my wee little attention deprived self#myct#myct cosplay#I AM TRYING SO HARD TO PUT AS MANY TAGS SO I CAN GET ATTENTION#AND IT IS HARD#outside#myct fan touches grass#(groundbreaking)#life series fan breathes the outside air#(3am)#hermitcraft fan goes outside#(wild)
10 notes
·
View notes
Text
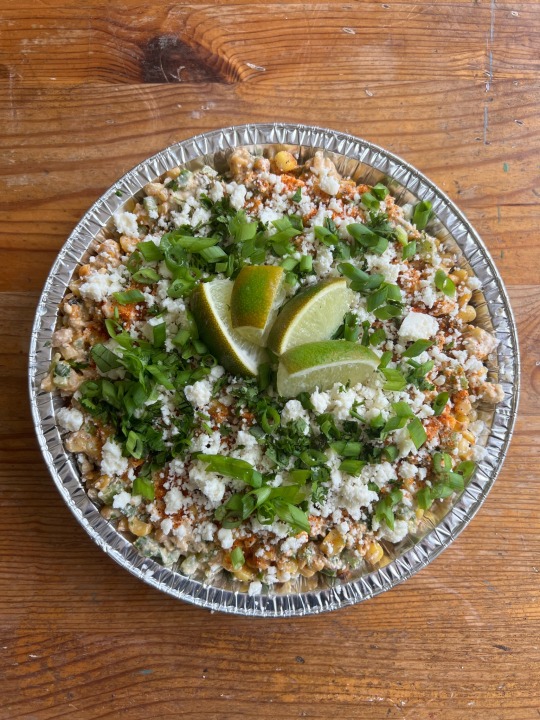
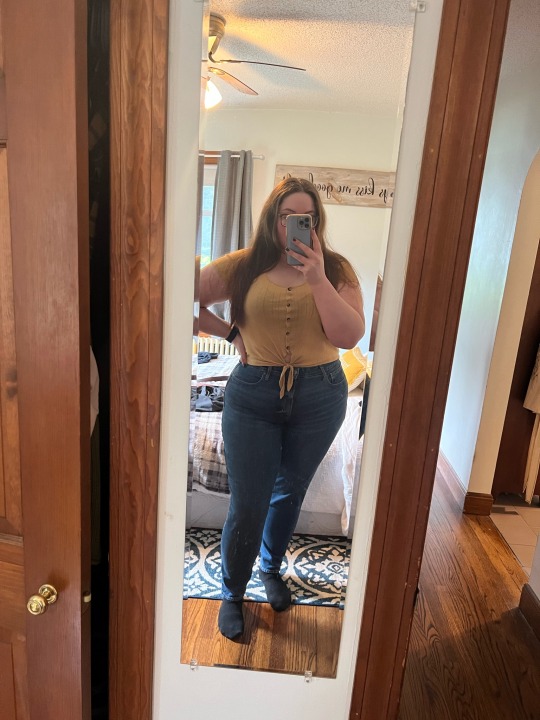
i made street corn dip for the barbecue at my sister’s tomorrow. work has been so busy all i want to do is sleep 😭
#plus size#selfie#self love#body neutrality#mirror selfie#curvy#no makeup#food#tw food#homemade food#home cooking#white people behavior tbh#(turning elote into dip)
24 notes
·
View notes
Text
Homemade Scar Wax
A few tips and tricks I've learned in my time of making homemade scar wax.
I am in no way in shape or form a professional, just someone who picked SFX makeup up as a hobby.
Recipes
There's a couple of recipes I've found, and both are pretty similar except for a few key differences. Both of them are pretty much a wing it processes, but it is a bit easier if you have them. I will link them as I go so you can go and watch them. However, if you're like me and prefer to read instructions, I'll sum them up for you.
Recipe #1 - Vaseline
Ingredients
Flour
Vaseline (petroleum jelly would work best)
Closed storage container
Foundation (optional)
Instructions
Start by mixing 1 half flour and 1 half vaseline into a bowl until completely blended together
Your scar wax shouldn't be sticky or crumbly. If sticky, slowly add flour until playdough-almost texture and vice-versa for if it's crumbly
Store in closed container
Instructions for Use
Apply layer of liquid latex to area of application
Apply scar wax and shape to your liking
Smooth out edges using vaseline
Apply foundation on top
Recipe #2 - Vegetable Oil
(This is the one I use/used and have more personal experience with)
Ingredients
Flour
Vegetable oil (or any oil, this is just most common)
Closed container
Instructions
Start with 1 part flour and 1 part oil and mix, adjust as needed. Your scar wax shouldn't melt or crumble when held. If melting, add more flour and vice-versa if crumbling.
Mix until satisfied with consistency
Store in closed container in cold environment (fridge)
Instructions for Use
Apply layer of liquid latex to area of application
Apply scar wax and shape preferred shape, use oil to smooth and mold
Wipe excess oil
Apply foundation on top
My Personal Tips
School glue works well as an adhesive in a pinch or allergy to latex
Oil based scar wax doesn't need adhesive if blended enough
Oil based scar waxed won't perish if not stored in a cold environment. It's just harder to work with
Don't use much oil/vaseline to mold, just enough to coat your tool thinly. All using more will do is disintegrate your scar wax
You need to be very careful wiping away excess oil/vasaline from when you were molding. I know it seems very tempting to use a cotton pad for this, but do not. Resist the temptation. Use a paper towel very gently or a Q-tip or a cloth, anything that will not fall apart while wiping up excess (I can not tell you how many looks I've messed up by doing this, it never works with cotton pads.)
Be even more careful applying foundation to both. They don't act exactly the same as actual scar wax
Oil based will suck up powders like it's no tomorrow, perfect for burnt looks
Vaseline based scar wax dries and can be worn on areas that have lots of movement (ex: cheekbones) with minimal cracking
Oil based scar wax never truly dries and can only be used on areas with little movement (ex: forearm) as it is more prone to cracking
So, essentially,
Vaseline based: good for on the go, like Halloween or conventions and semi long-term use
Oil based: good for photos and short-term use use
I hope this will have helped someone! Thanks for reading! <3
3 notes
·
View notes
Text
Jo Halloween costume — witch, but like cute and vaguely pinup-y. Joe Halloween costume — lowkey scarecrow. He already owns plaid shirts and it was Jo's idea. They have a neighborhood party to go to.
Additional thoughts: Clara does a cute ladybug or something similar. Evie and Angelo do Bride of Frankenstein and Frankenstein('s monster), respecfully.
#shoshi.txt#do not ask the images just came to me#like scarecrow with a little bit of face makeup on the cheeks and nose? what am i saying#listen it's all jo#all of these costumes are cute homemade halloween vibes ok
4 notes
·
View notes
Text
Felt cute, might drink ur blood later xoxo
41 notes
·
View notes
Text


A happy and safe Samhain to you all 🖤🍄
#homemade halloween costumes#halloween activities#halloween makeup#halloween costumes#mushroom person#witchblr#witch#witchy#flowerpatched
19 notes
·
View notes
Text
i did it i put together a nikola cosplay for comic con tomorrow i’m so fucking excited and also worried about walking in high heel boots all day lol
#win rambles#come say hi if you see me!! look for the sparkly homemade top hat!#and the clown makeup (i haven't decided fully how i'm gonna do my makeup yet but i'm excited for that too)
3 notes
·
View notes
Text


✧Persephone✧
Products used:
Makeup:
• YSL Beauty bare look tint in nu 2
• Kosas concealer in 01n
• Kosas cloud set in airy
• Anastasia Beverly Hills brow wiz in granite
• Natasha Denona contour sculpting powder in 01 light
• KVD Beauty tattoo pencil liner in violet hematite
• Kaleidos Makeup black jasmine palette
• Kaleidos Makeup the original star surfer highlighter
• Colourpop Cosmetics spellbound super shock cheek
• Colourpop Cosmetics x Snitchery lite stix in god complex
• Colourpop Cosmetics x Snitchery lippie pencil in scene queen
• Colourpop Cosmetics x Snitchery lippie stix in persephone
• Colourpop Cosmetics x Snitchery lux gloss in thirst trap
• Hourglass Cosmetics veil soft focus setting spray
Contacts: TTDEye in champs pink
Outfit:
• Minga London avril sweater
• Cider solid ripped hollow mini dress
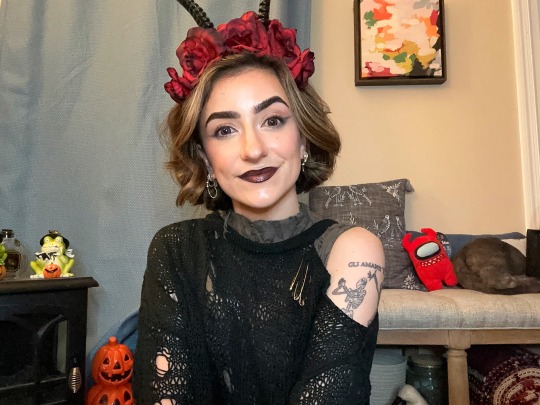
#me#selfie#persephone#halloween#costume#makeup#homemade#aesthetic#contacts#beauty#short hair#balayage#bold brows#dark lip#no lashes#no liner#black and grey#theme#mythology#spooky#vibe#tattoos#tatted#gold jewelry#brunette#my photos#wavy hair#flowers#products#tagged
8 notes
·
View notes
Text
1.24.23
Mixed up some homemade facial tonic..
Best Stuff Ever!!!
Skip that run to Ulta..
DIY toner is so easy to make and it’s a great way to eliminate toxins from your skincare routine. Homemade witch hazel and aloe vera toner tightens tones and calms skin naturally.
Conventional facial toner is frequently loaded with toxic ingredients, including fragrances, preservatives, synthetic moisturizers (petroleum based, ewww) and high levels of alcohol.
Skip all of those chemicals and opt for a super simple, 3-ingredient toner made with all natural ingredients.
DIY Toner Recipe (only 3 ingredients!)
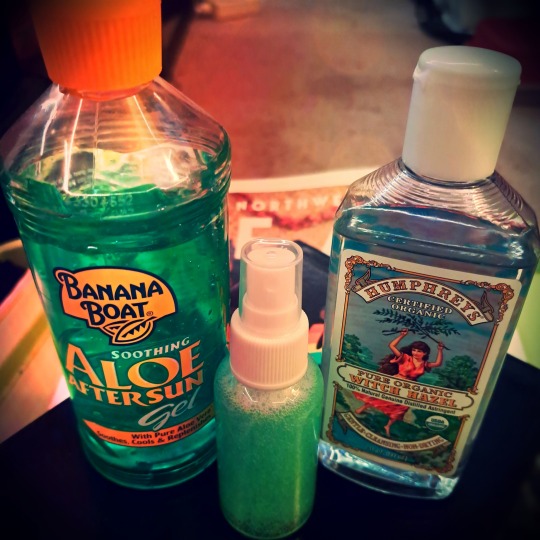
4 Tbs Witch Hazel
2 Tbs Aloe Vera Gel
4-6 drops Essential Oil of choice (ideas below)
1 small Spray Bottle (approx 3 oz)
Combine all ingredients in a small spray bottle or container of your choice. Give it a good shake, and you’re done!
This recipe makes about 3 ounces of finished product.
So easy, right?!
FOR DRY SKIN
Rose
Neroli
Blue Chamomile
FOR OILY SKIN
Peppermint
Orange
Frankincense
Ylang-ylang

FOR ACNE PRONE SKIN
Tea Tree
Clary-Sage
Lemon
Lavender
FOR AGING SKIN
Palma Rosa
Carrot Seed
Rose
Sandalwood
Anti-Aging Blend
FOR SENSITIVE SKIN
Blue Chamomile
Geranium
Lavender

#pnwlife#pacific northwest#gay guys#add me please#diy#diy beauty#face wash#beauty#makeup#instagay#homemade#aloe vera#witch hazel#save money#make it yourself
3 notes
·
View notes
Text
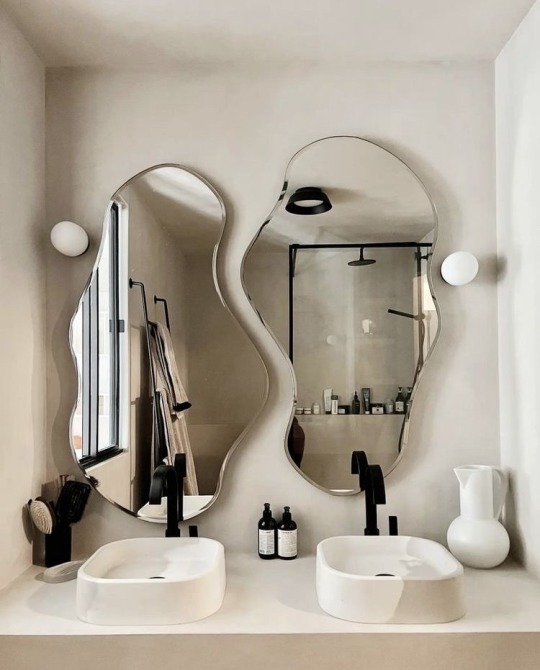
I'm not sure about the mirrors; what do you think?
#homesweethome#fall home decor#work from home#home#home decor#home & lifestyle#homedecor#homemade#decor aesthetic#decoration#beauty#acne treatment#skincare#acnecommunity#skincare tips#skincare routine#beautybay#dark skin#makeup#cozymood#cozy#cozy aesthetic#cozy glow#falldecor#cozyvibes#cozy autumn#fall season#faith#acne
137 notes
·
View notes
Last Seen Blogs

chupobak
chupobak

tonikawas
Ai 〜 愛

amydalashit
Untitled

benmillarcole
BEN MILLAR COLE

500karati
Senza titolo