#diy soap
Text
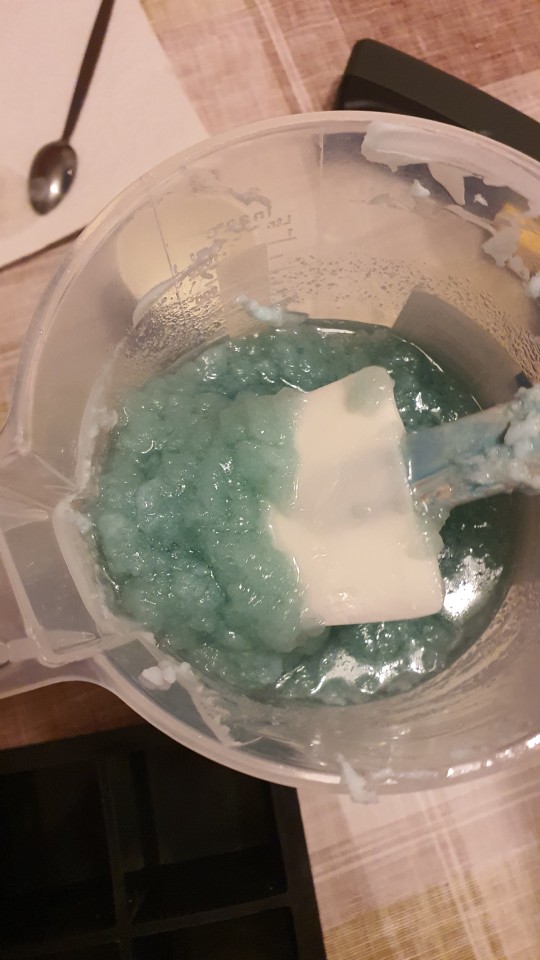
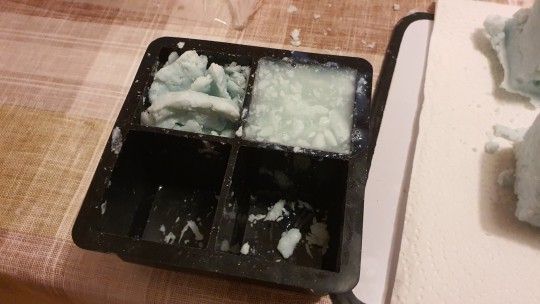
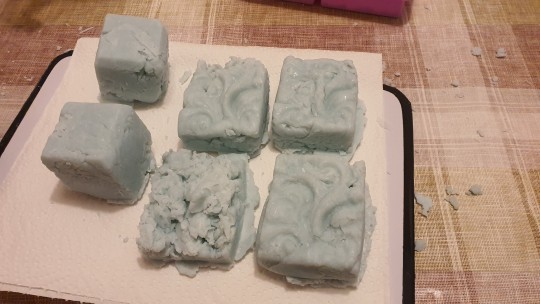
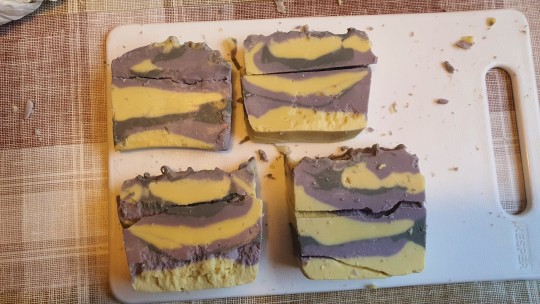
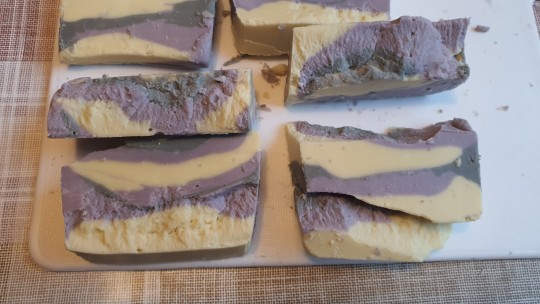
It worked!
2 notes
·
View notes
Text
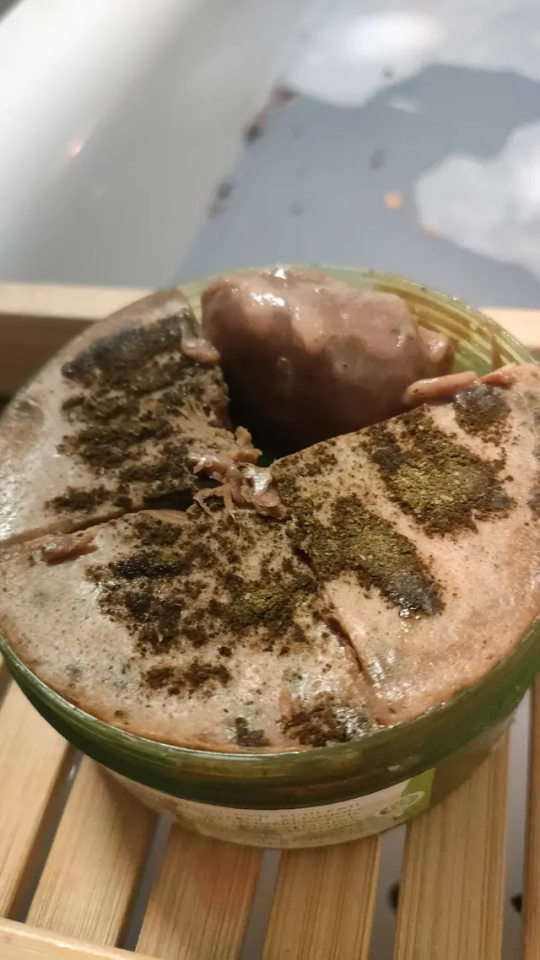
I made some soap Out of qasil powder

#hexe#magick#witch community#witchcraft#baby witch#witch tips#beginner witch#pagan witch#chaos magick#witchblr#qasil#qasil powder#somalian qasil powder#diy craft#diy soap#diy
1 note
·
View note
Text

#diy soap#handmade#soap#crafting#soap making#inclusive joy#mental health#anxiety#happiness#love#peace#joy
8 notes
·
View notes
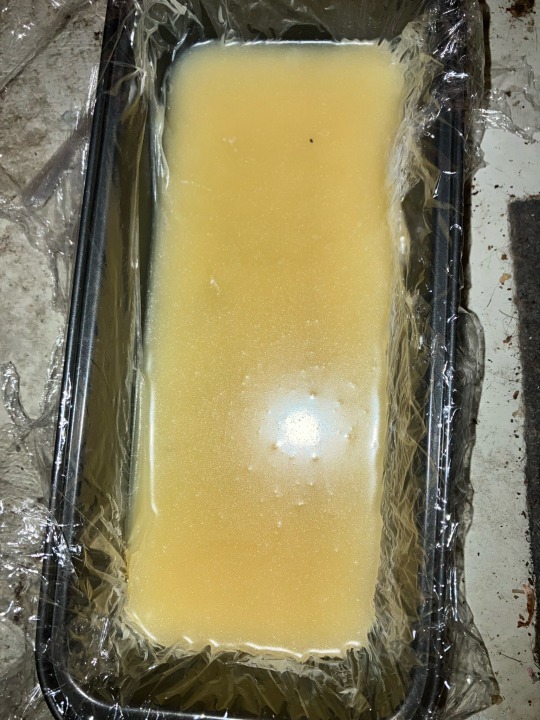
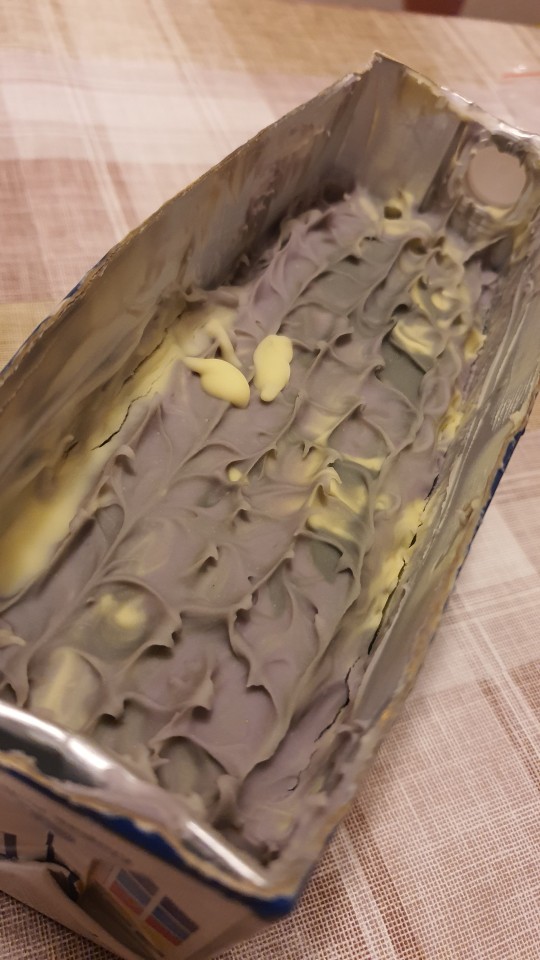
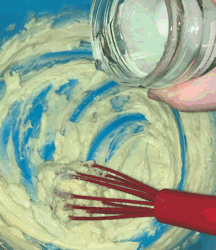
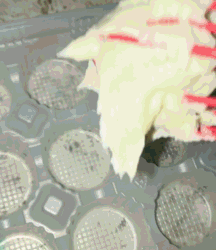
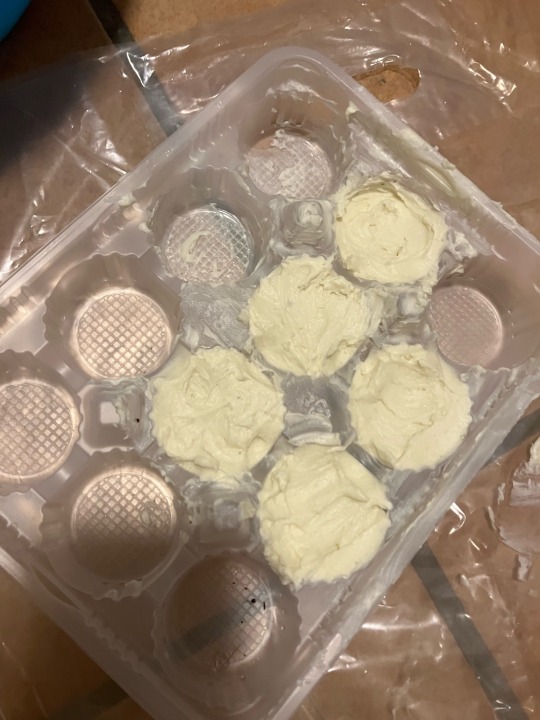
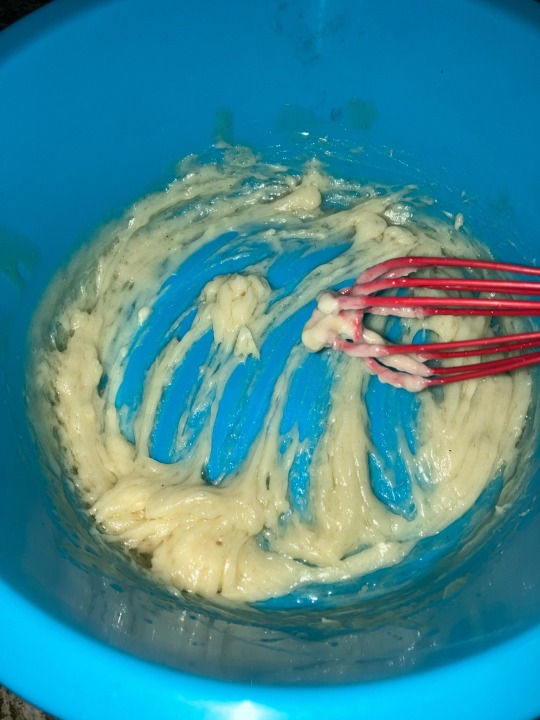
Text
Soap #8 and #9
Tried making another dish soap with 100% coconut oil (500g of oil and 88g of lye to 160g water)
So, I messed this one up, I mixed the oils and lye while they were too hot. They volcanoed and turned translucent once it finally calmed down. Nothing spilled, the container was tall enough so luckily nothing got on me or got anywhere.
It cooled really quickly so i had to scrape it out of the container and i stuffed it into the mold and added some water to melt everything together - it worked out - somehow.
Note: Do not do this, it heats up like crazy and as the name for it implies, it volcanoes and expands. Not to mention it's got lye.
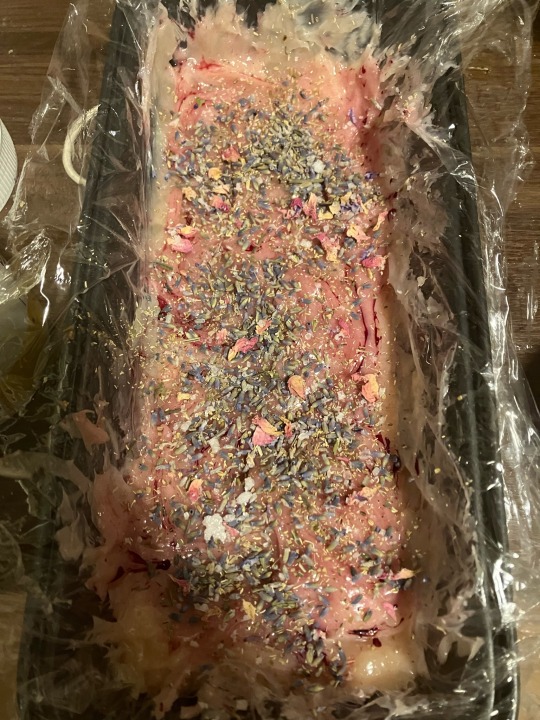
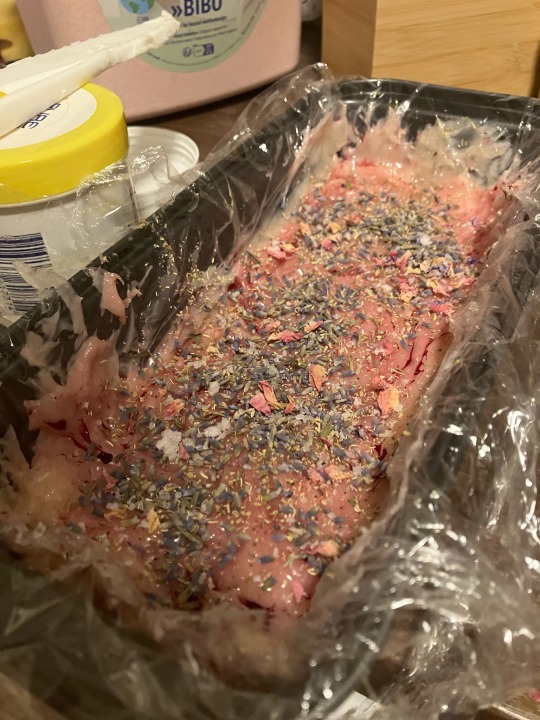
Soap #9
Tried to make soap for my friend again, but I'm not sure what went wrong this time.
Scaled up the recipe properly this time.
I took my time to add colors to everything and to scoop it into the mold. I stick blended too much again and I had to scoop it rather than pour it in.
For some reason it came out really brittle, and I'm not exactly sure why. The pH (after a couple weeks of laying around and lack of motivation, was slightly basic and zap test didn't really do much, so I assume the lye amount I measured was correct. (I measured in two batches cause I was using some paper shot glasses to measure, so I thought I might've messed it up somehow) Maybe it was cause i blended it for too long.
12 notes
·
View notes
Text
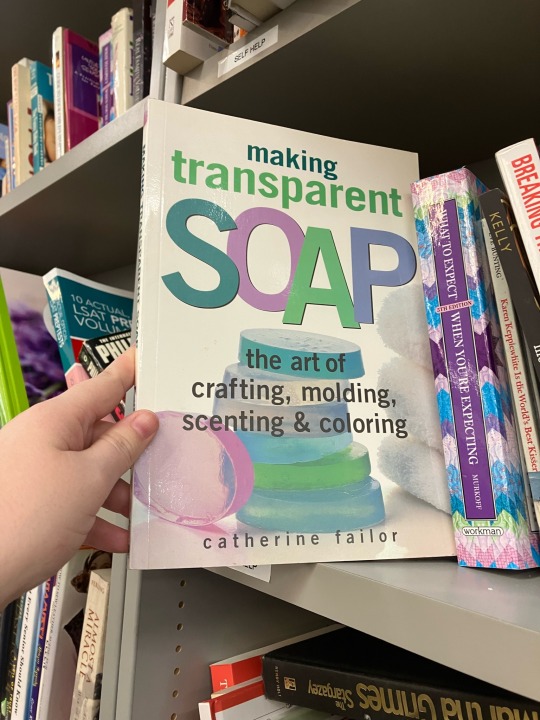
Mastering Lye Safety: Overcoming Apprehensions and Embracing the Art of Soapmaking - Soap Queen
https://www.soapqueen.com/bath-and-body-tutorials/masteringlyesafety/
0 notes
Text
Choosing the Right Soap Base: A Guide for Homemade Soap Enthusiasts
In the vibrant world of homemade soaps, the soap base you choose lays the groundwork for your skincare creations. Whether you're an aspiring artisan or a professional manufacturer, selecting the perfect base is essential for high-quality products that truly resonate with consumers.
The Simplicity of Melt and Pour Soap
For newcomers to DIY Soap Crafting, melt and pour soap bases are incredibly user-friendly. They streamline the saponification process, allowing for creativity without the complexities of traditional soap making. This option is ideal for those eager to focus on customization and design, providing a blank canvas for imaginative and complex soaps.
Hydrating Glycerin Soap
When it comes to moisturizing benefits, a glycerin soap base is unparalleled. Its natural ability to attract moisture to the skin makes it a favorite for those crafting soaps with hydrating properties. It's clear nature also offers a delightful aesthetic, perfect for embedding colors and textures.
The Heart of Natural Soap Making
Natural soap making with organic soap ingredients is the heart of eco-friendly practices. By choosing bases composed of organic oils and natural extracts, you commit to products that support sustainable living and cater to health-conscious customers.
Ethical Vegan Soap Options
Vegan soap options are more than a trend; they are an ethical choice. These plant-based bases resonate with a growing demographic that prioritizes ethical consumption without compromising on quality.
Rich Shea Butter Soap
Embracing a shea butter soap base means infusing your product line with intense moisture and softness. This luxurious base is perfect for those looking to pamper their skin with the enriching benefits of shea butter, renowned for its healing and conditioning properties.
Deciding Between Transparent vs. Opaque Bases
Your choice of transparent vs. opaque bases can have a significant impact on your soaps' visual and sensory qualities. Clear bases are perfect for showcasing artistic elements within your soaps, while opaque bases lend a sense of richness and mystery to the final product.
Innovating with Custom Soap Recipes
The beauty of using a diverse selection of soap bases lies in the ability to concoct custom soap recipes. Whether infusing with aromatic essential oils, healing clays, or vibrant colors, a good soap base acts as the ideal starting point for unique and effective products.
With such an array of soap bases available, your choices in texture, appearance, and benefits are nearly endless. Catering to a niche market with hypoallergenic bases or exploring exotic ingredients for a luxury line becomes possible. It's about matching your creative vision with the needs and desires of your clientele, ensuring your products not only cleanse but also provide a sensory experience like no other.
Partner with BRM Chemicals
Selecting the right soap base is just the beginning. To ensure that your soaps are of the highest quality, team up with a provider known for excellence. BRM Chemicals offers an extensive selection of soap bases to fit every need, from melt and pour to shea butter, and everything in between. With BRM Chemicals, you have a partner who supplies only the best in organic soap ingredients and more. Visit BRM Chemicals today and start crafting your signature soaps with the finest bases on the market.
0 notes
Text
Please follow the link to answer my 10-question survey to help me perfect my business!!!
Free testers available..
#business#homemade soap#homemade#witch soap#enchanted soap#sugar scrub#diy sugar scrub#diy soap#whipped body butter#whipped soap#whipped body soap#whipped body polish#beautiful skin
0 notes
Text
Get Free Shipping On Selected Items & Orders Over $35.00
https://www.etsy.com/shop/DragonDustDIYSupply
0 notes
Text

retired 🩶
#call of duty#cod#simon ghost riley#john soap mactavish#soapghost#my art#listen this took me like two weeks so y'all better appreciate 🤌#johnny is the super active DIY father of the family#simon has made his way through all of the miss marple mysteries and has now set his sights on naval fiction#also growing his fringe out to hide the early onset baldness#johnny has gorgeous hair but we knew that#the dogs are called roger and wee albert--guess which is which#yes they all sleep in the same bed~#I guess I just need to see these two old and cranky and alive for whatever reason...#let them both burn in hell after a few good decades learning how to live beyond just surviving#god they probably make a banger pot roast....
5K notes
·
View notes
Text
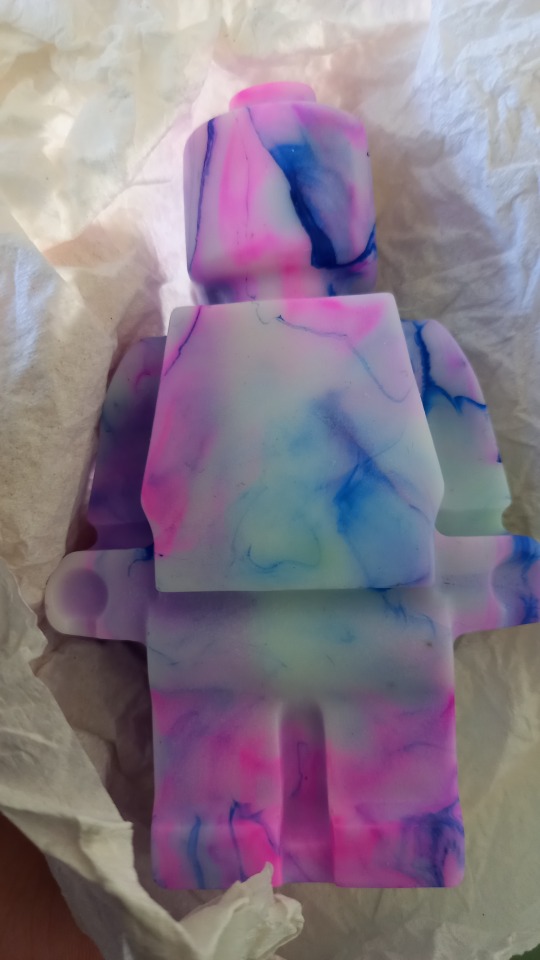
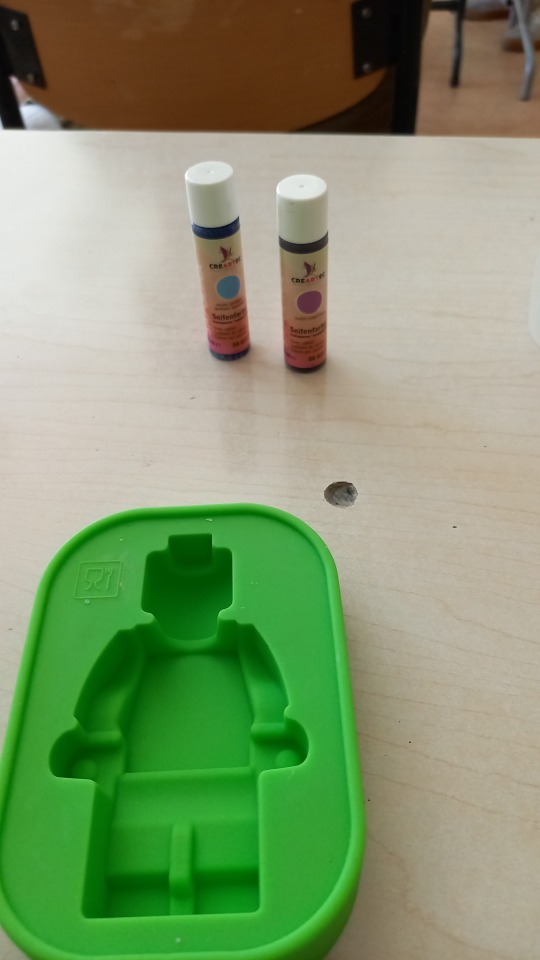
He's just a little guy. A little soapy lego guy. He smells like apples. This distinguish gentleman also is the god of cleanliness, so bow before his power.
1 note
·
View note
Text
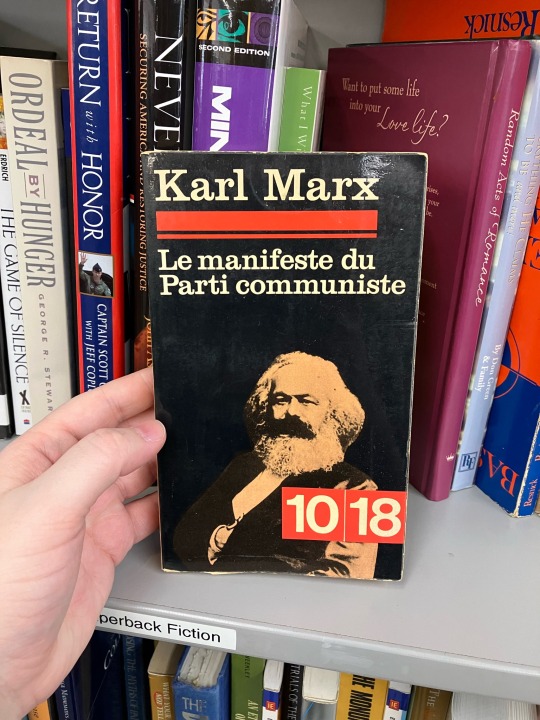

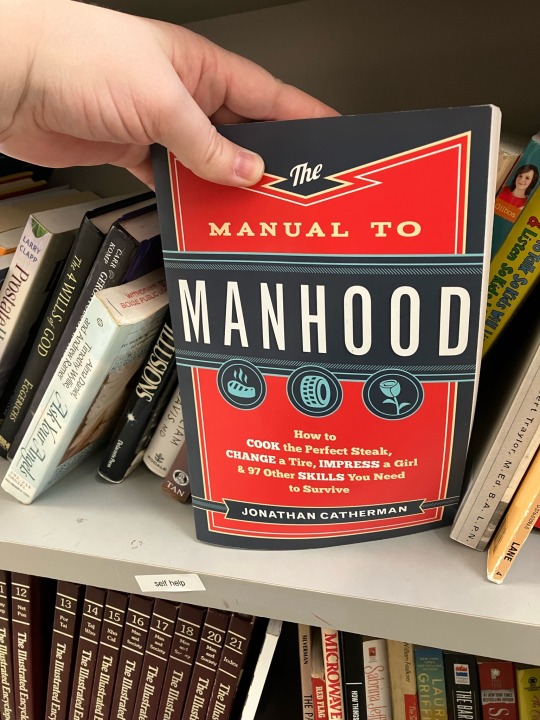

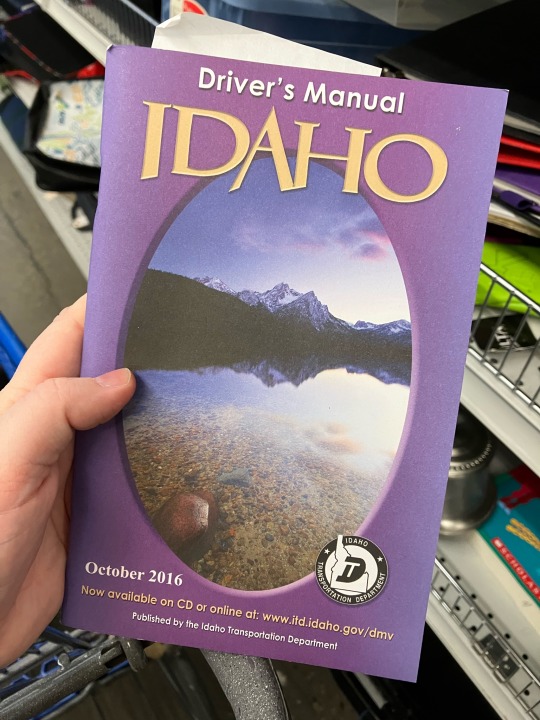
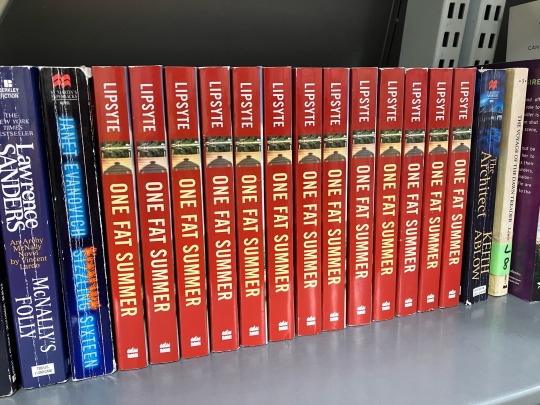
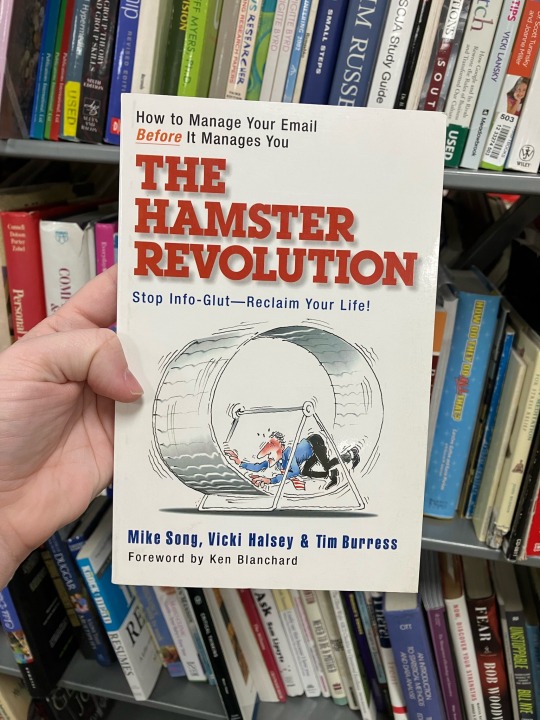
Books books books!! All found at thrifts in the Boise, ID area over the last several weeks. Its worth noting that you can get the Idaho Drivers manual pamphlet thing at the DMV for free last I checked. The Hamster Revolution is included because I thought it would be a MUCH better book from just seeing the title.
Yes, that IS the Communist Manifesto in French, I was going to buy it but I forgot :(
#admin bt's finds#thrifting#secondhand#books#soap#toxic masculinity#microwave#cookbook#diy#duplicates#fnaf#things you can get for free
260 notes
·
View notes
Text

I MADE MY FIRST TIME SOAP
2 notes
·
View notes
Text
Rendering beef fat into tallow
Ten years ago, I came across a comment on a soap making forum where a woman explained how she gets her tallow pure enough to make into her soaps and it has worked really really well when I've made large batches of tallow. Since the internet is an ever-shifting labyrinth of lost advice, I thought I would help preserve her advice here as well.
By lionprincess00 from soapmakingforum.com:
"I take it and cut off all meat bits I can. Then I cut it into small inch sized pieces or so. Someone here mentioned baking soda to help the render smell, and another mentioned salt for helping get impurities out.
I put it into a pot of water that's filled halfway up the fat. I pour a good half cup or so of salt into it. I mix oh about 3 tablespoons of baking soda into water and pour it on as well. It creates a reaction and releases carbon dioxide, so beware as it heats of spilling over. I did an experiment not using baking soda in the render, and by the third it still smelled extremely meaty. Whatever the reason, it helps a ton reduce the overall finished product's odor. BEWARE OF EVAPORATION, and fill with fresh water as needed.
I heat it on medium low for a good half hour, and then lower the temperature to full low. I simmer for, oh, 4 hours or more, until the fat looks like a gelatinous gooey sinus infection lol. I strain it through a sieve into a glass Pyrex baking dish, used cheesecloth in the sieve once but can't find it anywhere after I ran out, so sieve it is.
I refrigerate it for at least 4 hours or so. It needs to cool completely through. Overnight is best.
Look at the liquid now. Below the fat in the dish after its cooled, the water is a deep muddy brown and STINKS like what I would think a dead body smells like. I almost gag at this point when I go and dump it in the field for the coyotes to sniff out haha.
Once I didn't do this, and I'm assuming I used cleaner pieces of fat and cut most trimming off compared to other times, so you may or may not get this.
It looks like it's pretty clean fat now, but there's more cleaning that can occur, and I want it very very clean to prevent smell, dos development, and just the yuck factor of bits being left behind. That water was so nasty, and if it was that bad there's more cleaning throughout the fat that needs to happen.
Scrape any funk off the base of the fat disc and discard.
Pop out the solid fat disc and place in the pot. Fill with water to cover an inch below the fat, or so. This isn't an exact science, so close is fine.. Add about a quarter cup of salt and another few tbs of baking soda. Heat on low, and melt it. I keep it here for a couple hours or so. I strain it out into the cleaned out Pyrex. Cool for at least 4 hours. It just needs adequate time to harden completely through. If you pop it out too quickly, the bottom of the disc will still be water logged. The water beneath the fat disc this second render is a murky slightly tinted white. Very murky.
Scrape the base of yucks again.
I do it again. This time I use about between 1/8 and 1/4 cup of salt. Honestly I dump and eyeball it, but for instructions sake, start with these and make it your own. The water after cooling is a cloudy white, but getting cleaner looking.
Scrape discolored base.
I do it the fourth time. The water is almost clear after this render and cooling. This is how I know most of the impurities are gone. I DON'T use salt this final render nor baking soda. The salt may be what clouds the left over water in the above rendering, but I know it still needs the extra rendering based on the smell too. The smell is nonexistent practically by the fourth render and cooling. The water left beneath the disc doesn't smell either by the fourth time. Is four necessary, probably not. I just want a clean clean product if I'm going to do it myself and not purchase it.
Now is it necessary on bigger batches, yes and so is a fifth. If you're doing a lot at once, it may need 5 renders.
If you split your 5 lbs into 2.5 renders each, 4 is good. If you do all at once, use a big enough pot for the bubbles of salt and baking soda reacting, and plan on 5 renders, and potentially 6 depending on how little the odor remains.
So, my final render is clear water and smell free even after a remelt of my tallow I rendered. So I do this method."
67 notes
·
View notes
Text
youtube
#diy soap#soap making#small business#diy#anti anxiety#anxiety relief#depression#mental health#anxiety soap#Youtube
2 notes
·
View notes
Text
My partner made photo cards of my babes for me LOL can we all appreciate the effort pls

71 notes
·
View notes
Last Seen Blogs

qualitydot
Senza titolo

yurisskates
don't stop us now!

jakesplots
jake's plots
burnt-toast-jamz
burnt-toast-jamz

aniibelle
anii belle