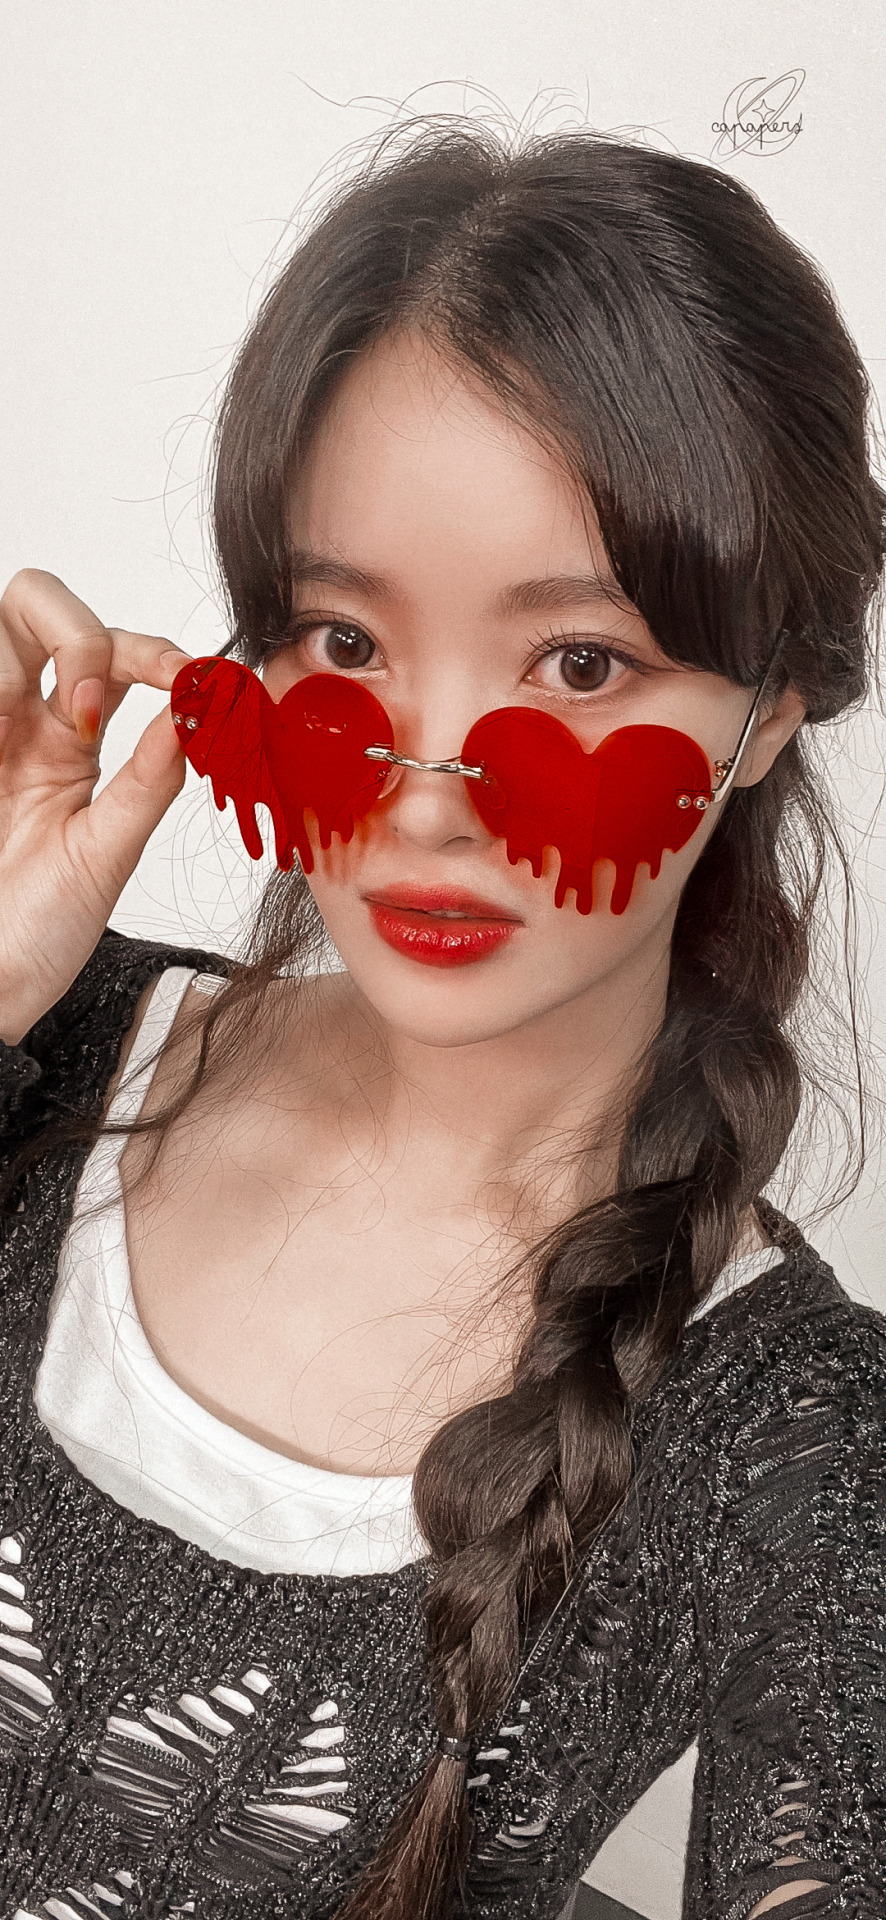
#h1-key edits
Text
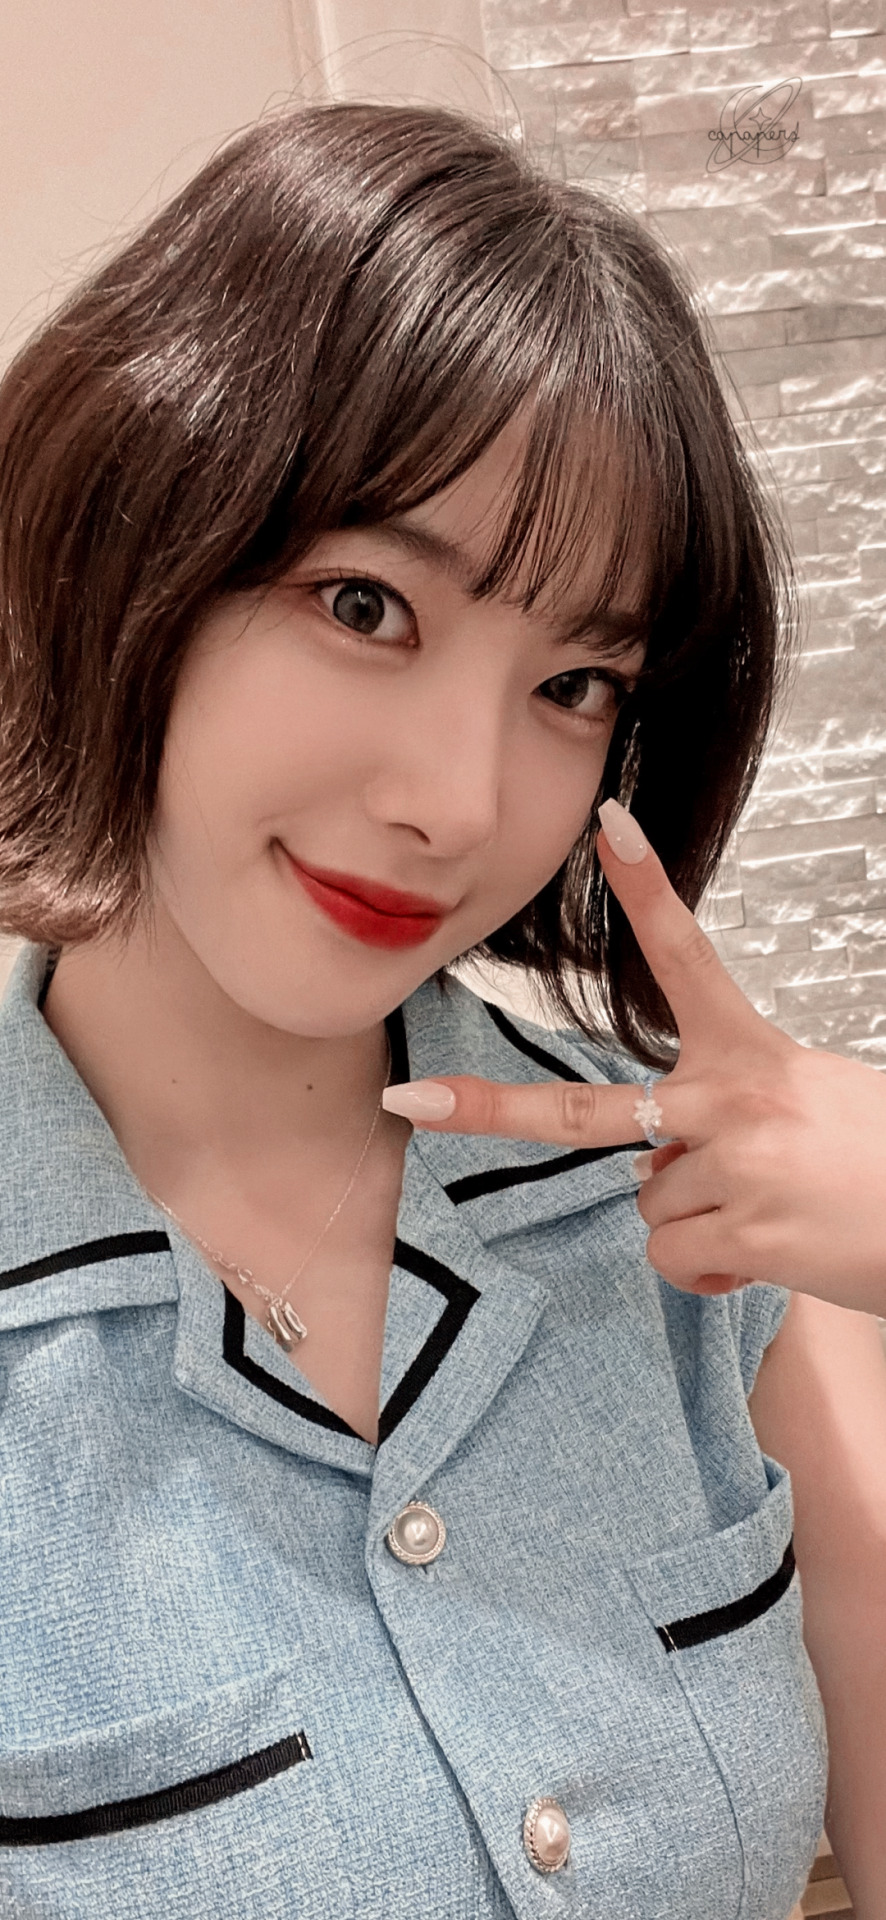


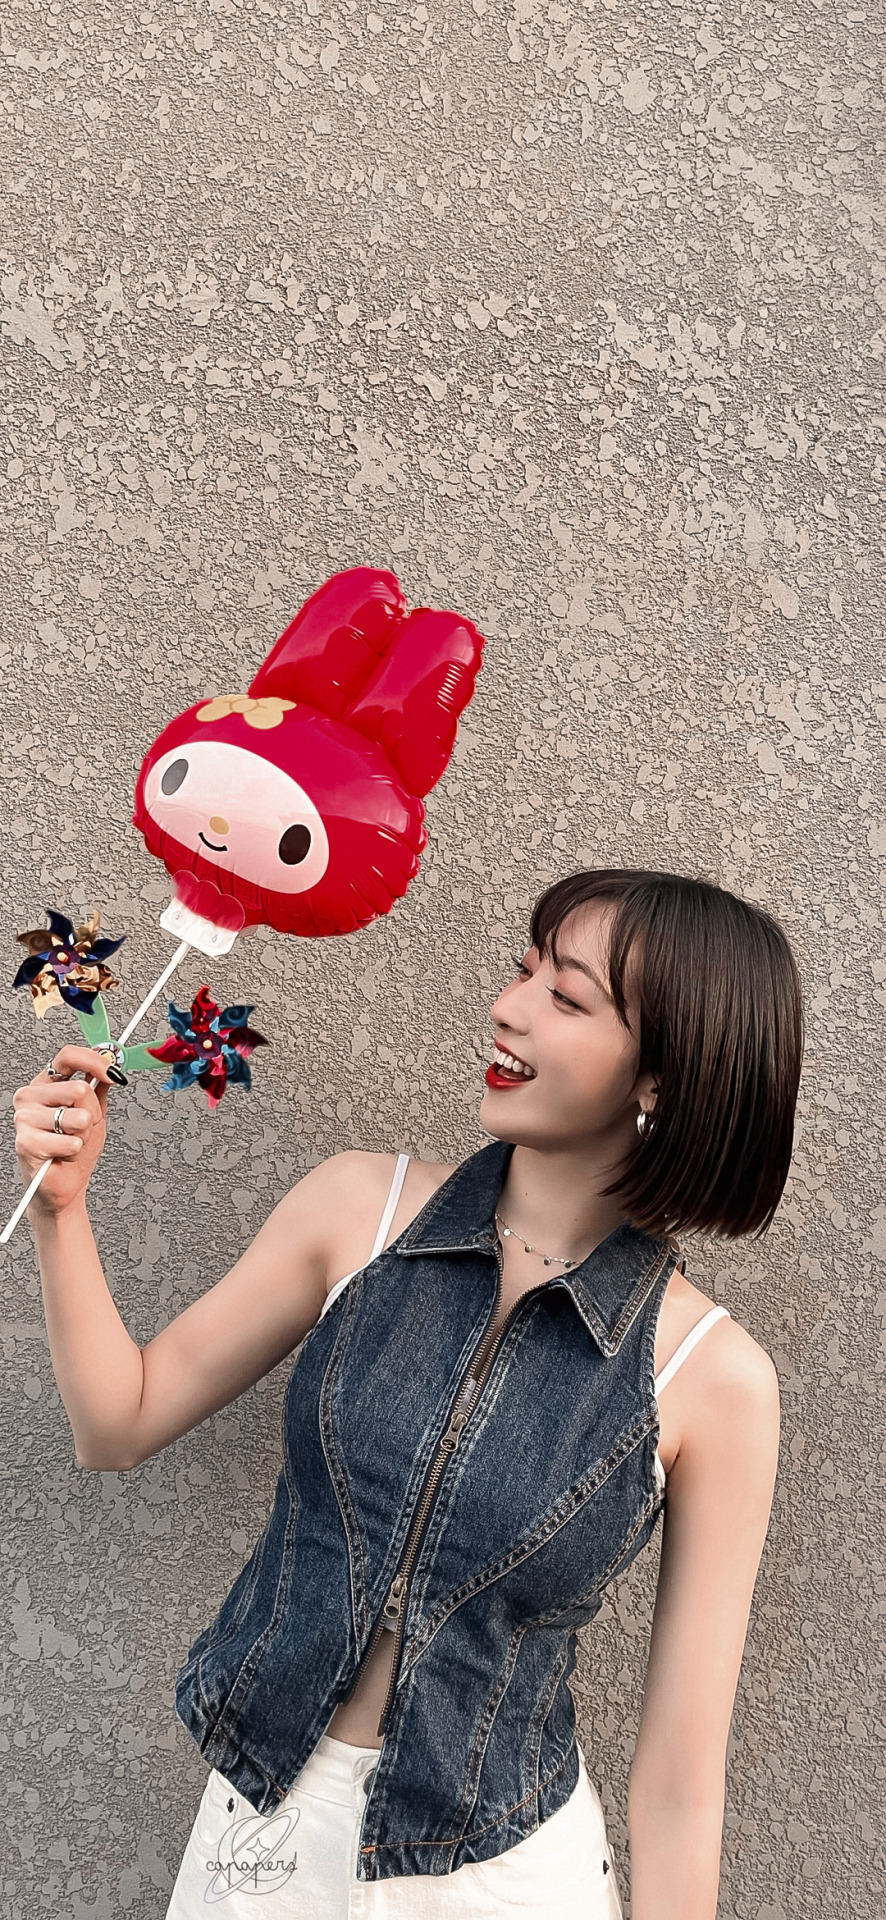
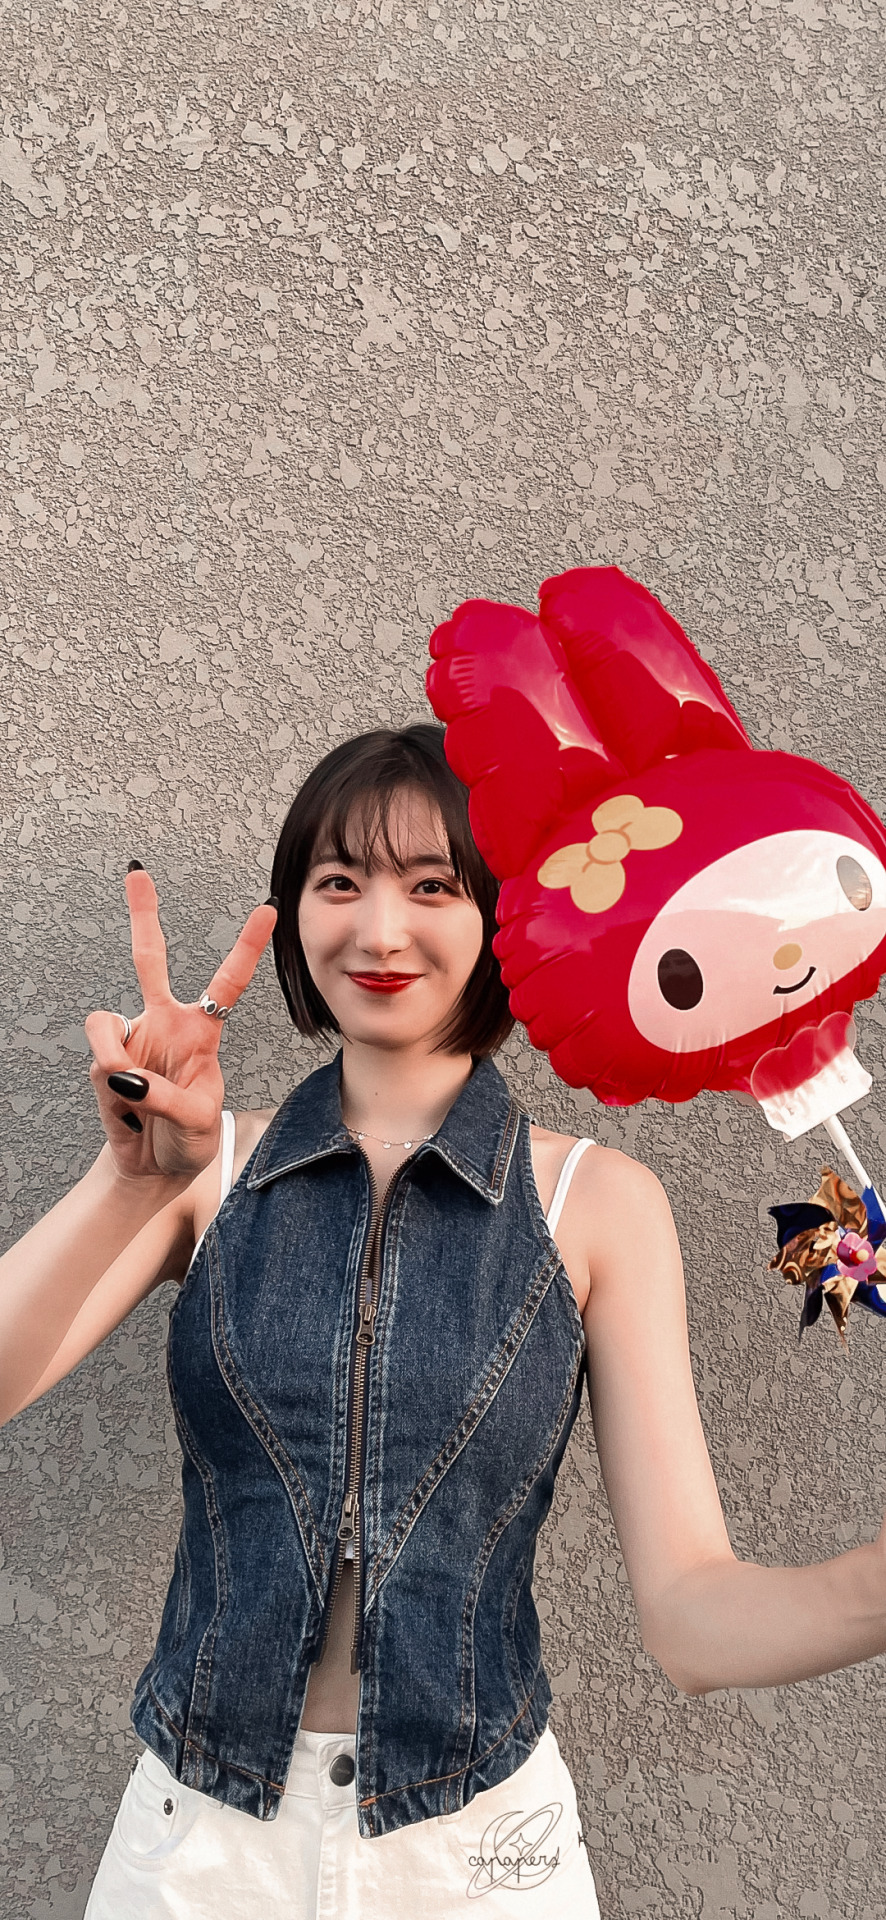

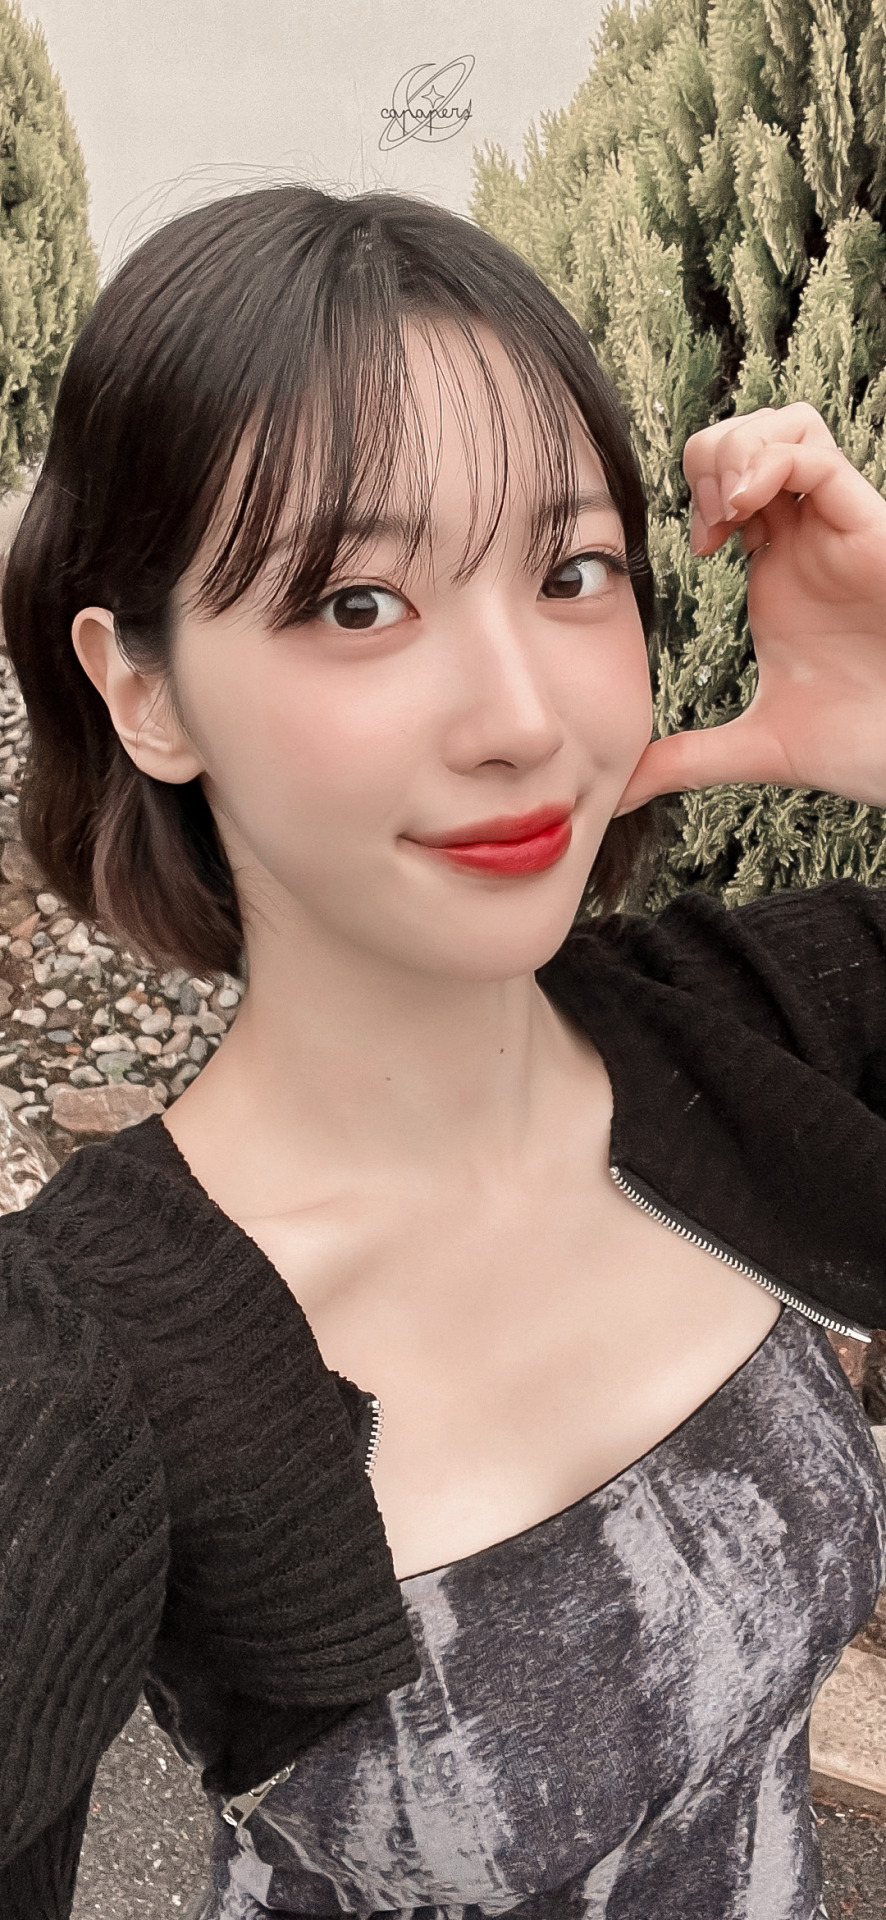
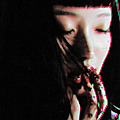
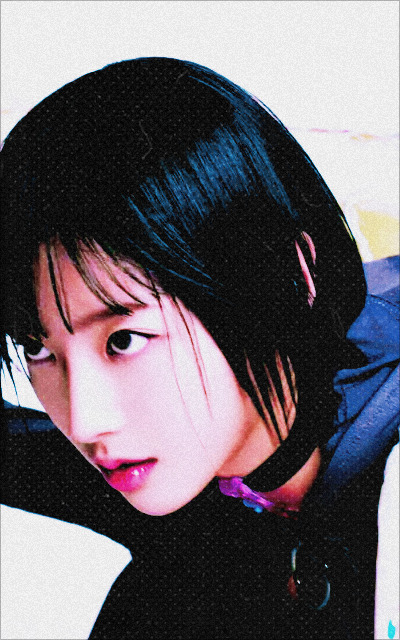
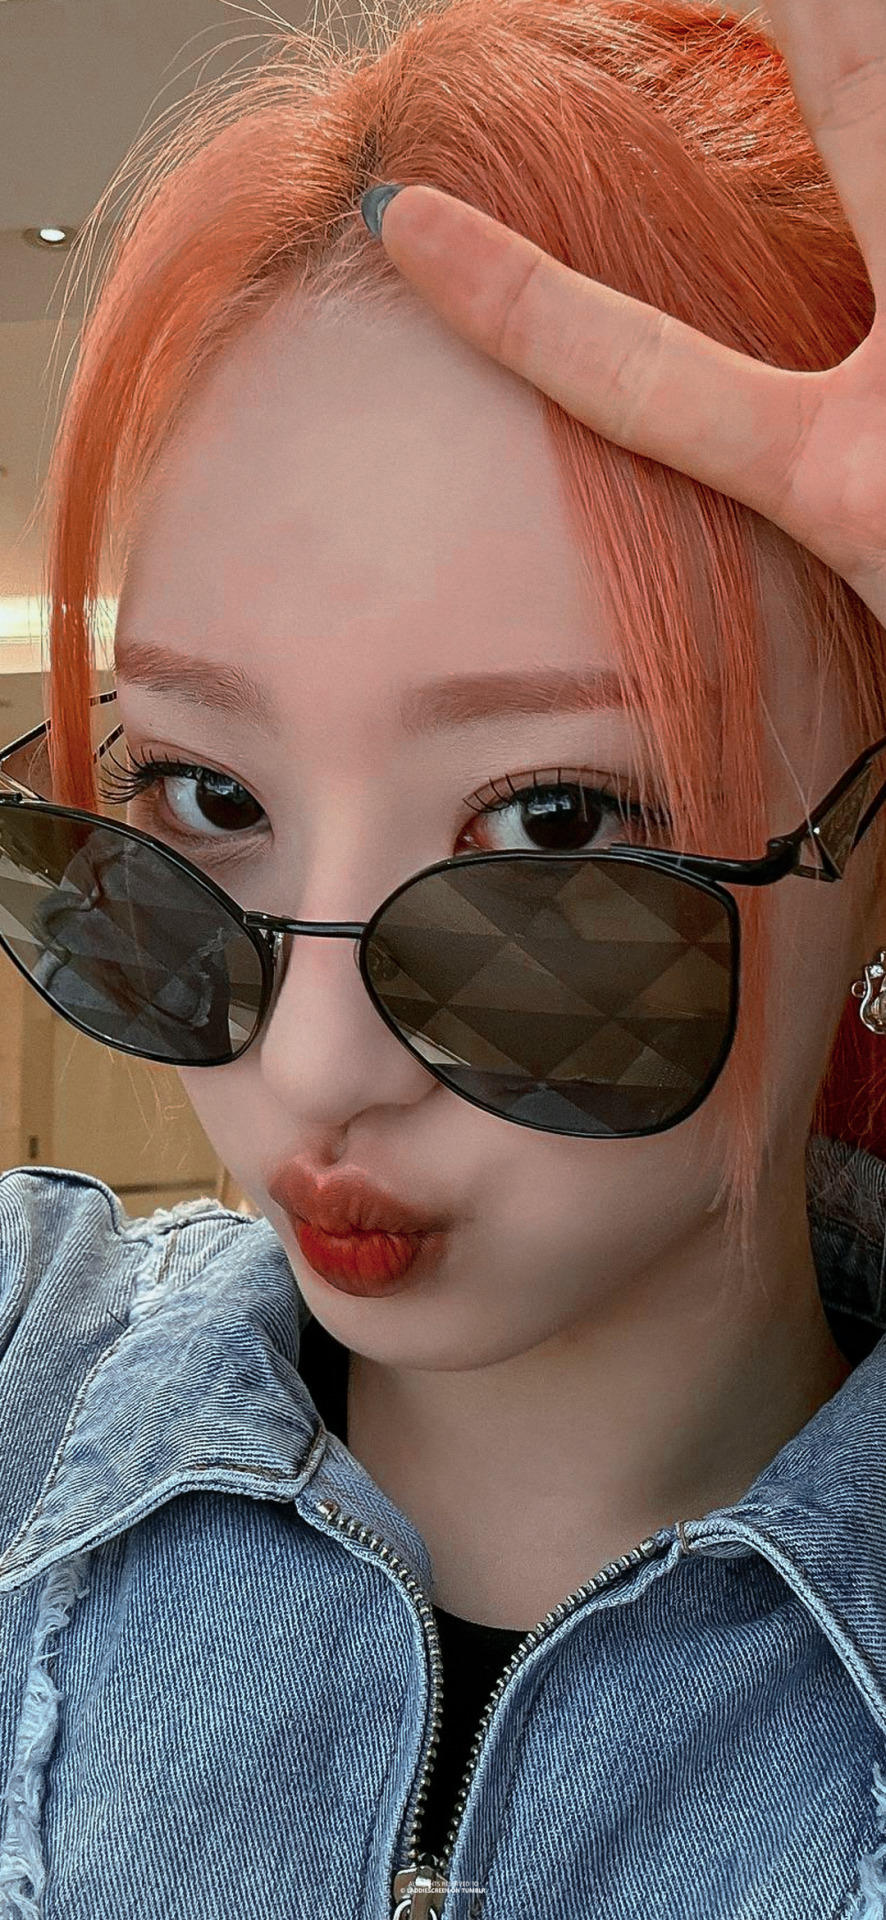
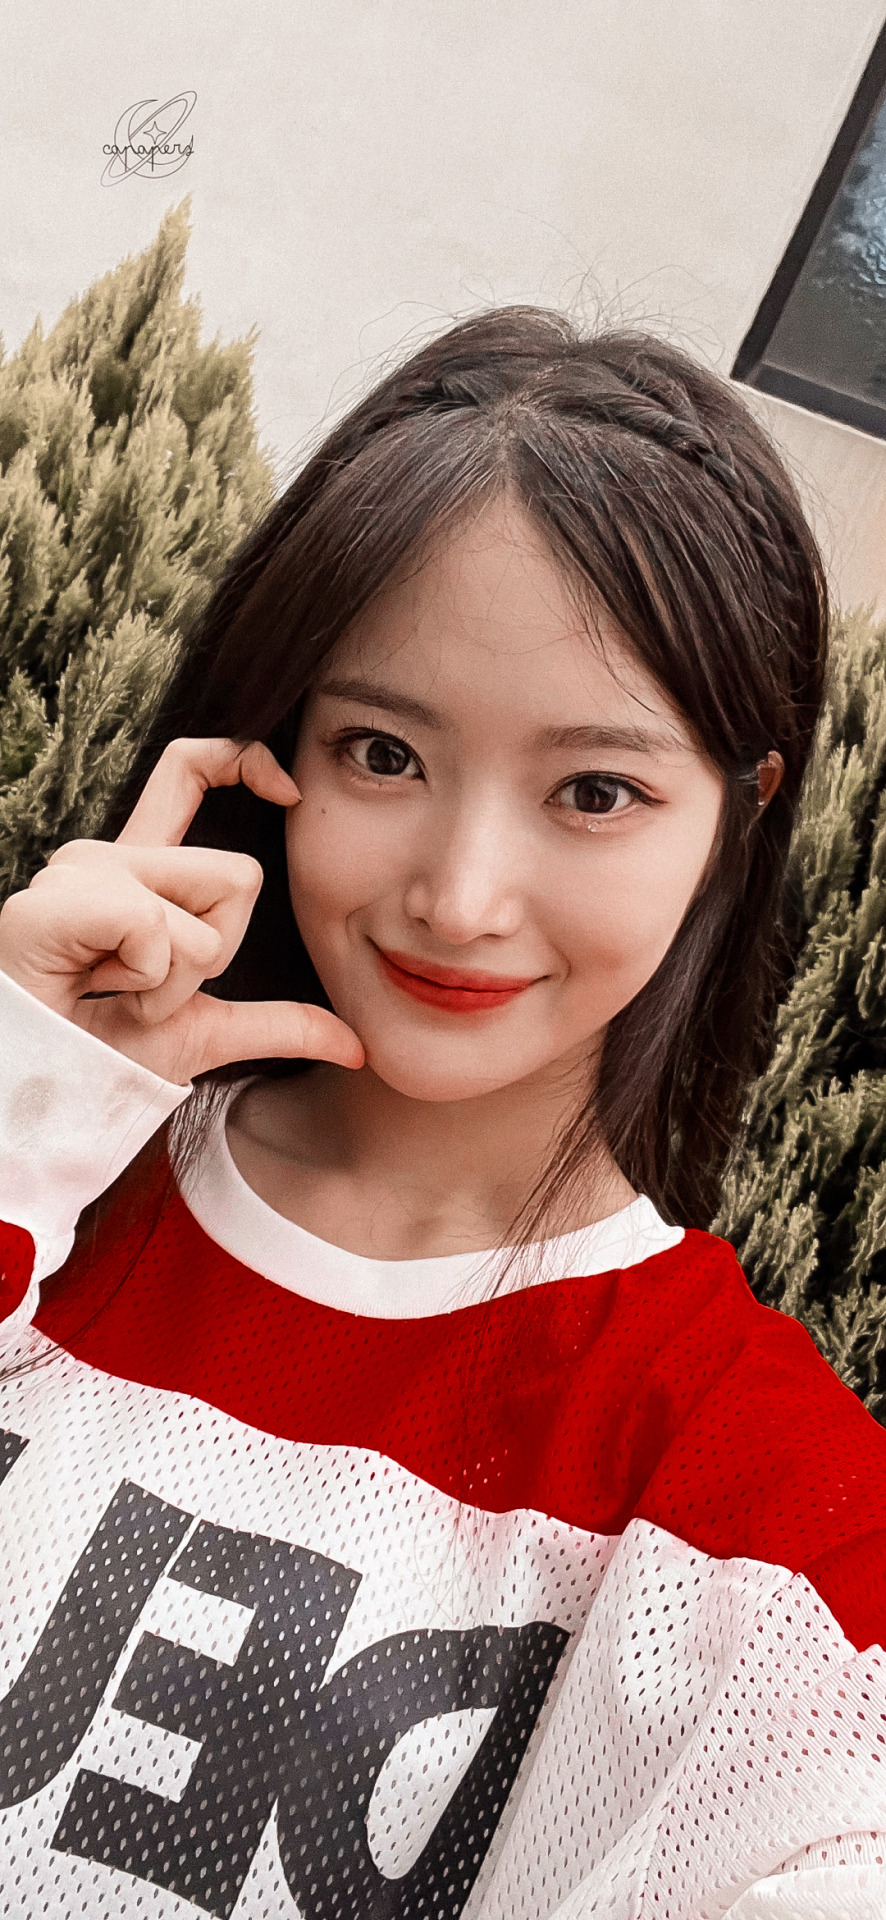
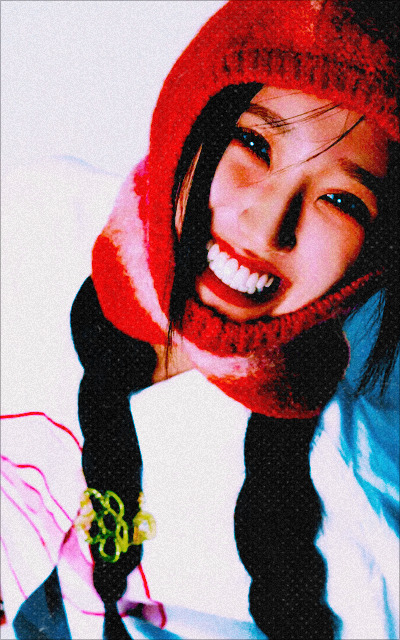
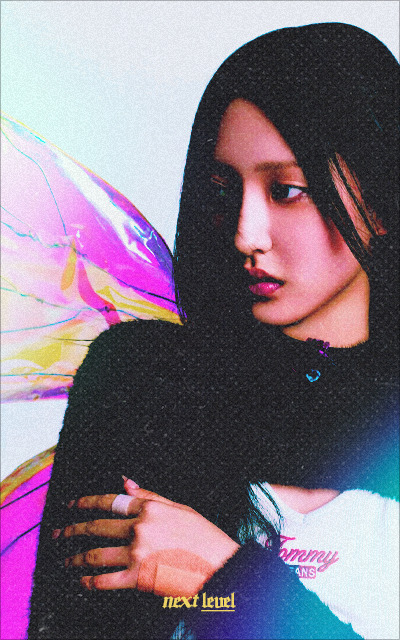
⠀⠀⠀⠀⠀⠀⠀ 𓂂 ࣪ ୧ 🪴 𖧷 𝗋𝗂𝗂𝗇𝖺 ! 랑 simple
⠀⠀⠀⠀⠀⠀⠀ ( ♥︎ ) 𝗈𝗋 𝗋𝖾𝖻𝗅𝗈𝗀 | @k-ttie
#୨୧ capapers ۫ 𓈒 ㅤlocks#joo ⊹ ˑ ᘊ#h1-key riina#lee seunghyun#riina#riina lockscreens#riina wallpaper#riina wallpapers#riina lockscreen#riina edits#h1-key wallpaper#h1-key lockscreens#h1-key wallpapers#h1-key edits#kpop gg#gg wallpaper#gg lockscreen#gg lockscreens#gg wallpapers#gg edit#gg edits#kpop wallpaper#edits kpop#soft lockscreens#kpop lockscreen#kpop soft edits#softcore
23 notes
·
View notes
Text


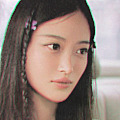
H1-KEY for the 2nd mini album SEOUL DREAMING photographed by yeyoung kim
#h1 key#femaleidolsedit#femaleidols#femaleidol#femadolsedit#kgoddesses#underratedgirlsedit#edit#long post#userfairy#rosieblr#userines
321 notes
·
View notes
Text
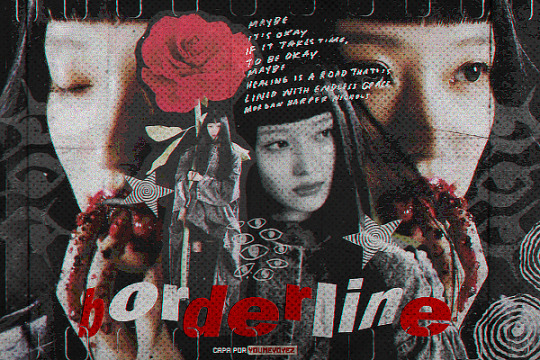
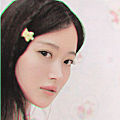
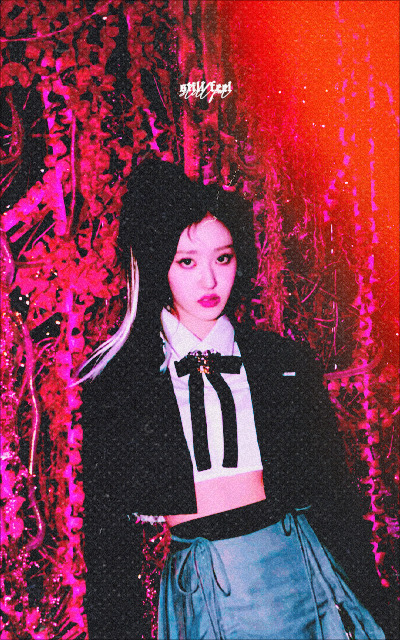
— borderline | seoi, H1-KEY (feita em: 17.03.24)
⠀ ⠀ ⠀ em caso de inspiração, credite!
não sei dizer exatamente se gostei ou odiei essa capa, mas tamo aí né 🤙
#kpop#dallo#kpop edits#capa#capa para social spirit#teste de capa#capa para spirit#capa dark#capa clean#capa simples#h1-key#h1key seoi#h1 key#seoi#capa spirit#@youmevoyez
77 notes
·
View notes
Text
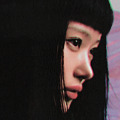

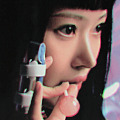
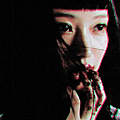

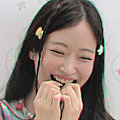

seoi, icons 🍭
#icons#icons 120x120#kpop#kpop edits#spirit fanfics#h1 key#h1-key#seoi#seoi icons#h1key icons#h1key#h1key seoi#miedit
25 notes
·
View notes
Text
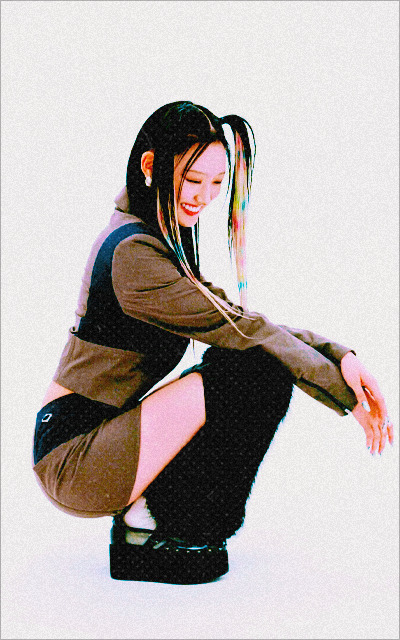
✩ idea personalização .
bloqueio início geral


bloqueio início geral

☆ – se pegar curta, siga & reblogue !!
#kpop layouts#kpop moodboard#gg kpop#woliefairr#kpop gg#kpop icons#simple bios#ask#messy bios#ask blog#h1 key#h1 key icons#h1key seoi#seoi#h1 key riina#h1 key yel#h1 key edits#kpop girls#gg wallpapers#gg moodboard#gg gupt#gg messy moodboard#gg messy icons#gg messy layouts#gg icons#gg imagines#gg headers#tumblr girls#lockscreens#messy moodboard kpop
50 notes
·
View notes
Text


24 notes
·
View notes
Text


⪩⋆ hwiseo ; simple ✮⢷
like or reblog ─ @awaregei
don’t repost our edits
psd by: @harupsds
#babi#lockscreens#lockscreen#edit#edits#wallpaper#wallpapers#hwiseo#el7z up#h1-key#hwiseo lockscreens#hwiseo lockscreen#hwiseo edit#hwiseo edits#hwiseo wallpapers#hwiseo wallpaper#el7z up lockscreens#el7z up lockscreen#el7z up edit#el7z up edits#el7z up wallpaper#el7z up wallpapers#h1-key lockscreens#h1-key lockscreen#h1-key edit#h1-key edits#h1-key wallpaper#h1-key wallpapers
11 notes
·
View notes
Text
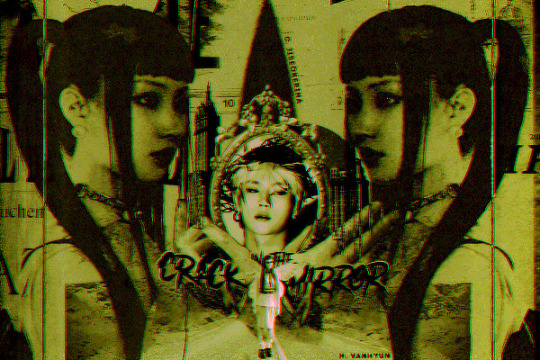
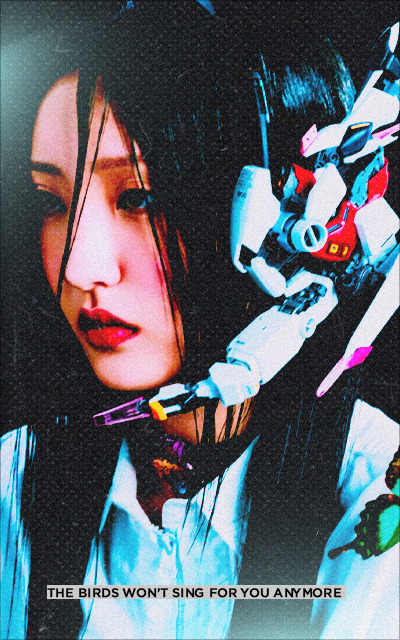
★ CRACK IN THE MIRROR 𓏲 adotada por vanhyun.
ㅤㅤເ 🗯 acho que desapareci legal agora né? tempo corrido, deu até uma tristeza pq não consegui editar por uns meses... poreemm, nada melhor do que voltar com uma capinha do xdinary heroes né? ainda mais com um feat da seoi do h1-key.
#capa de fanfic#kpop edit#capa para fanfic#capa pra fanfic#capa de fic#capa para fic#capa pra fic#capa para spirit#capa simples#capa divertida#design simples#capa#xdinary heroes#h1 key#jungsu#seoi#capa social spirit#capa spirit#social spirit#capa de social spirit#capa para spirit fanfics#capa para social spirit#capa pra social spirit#capa pra spirit#capa dark#dark#capa de spirit#capa para spirit fanfic#capa de spirit fanfic#capa colagem
27 notes
·
View notes
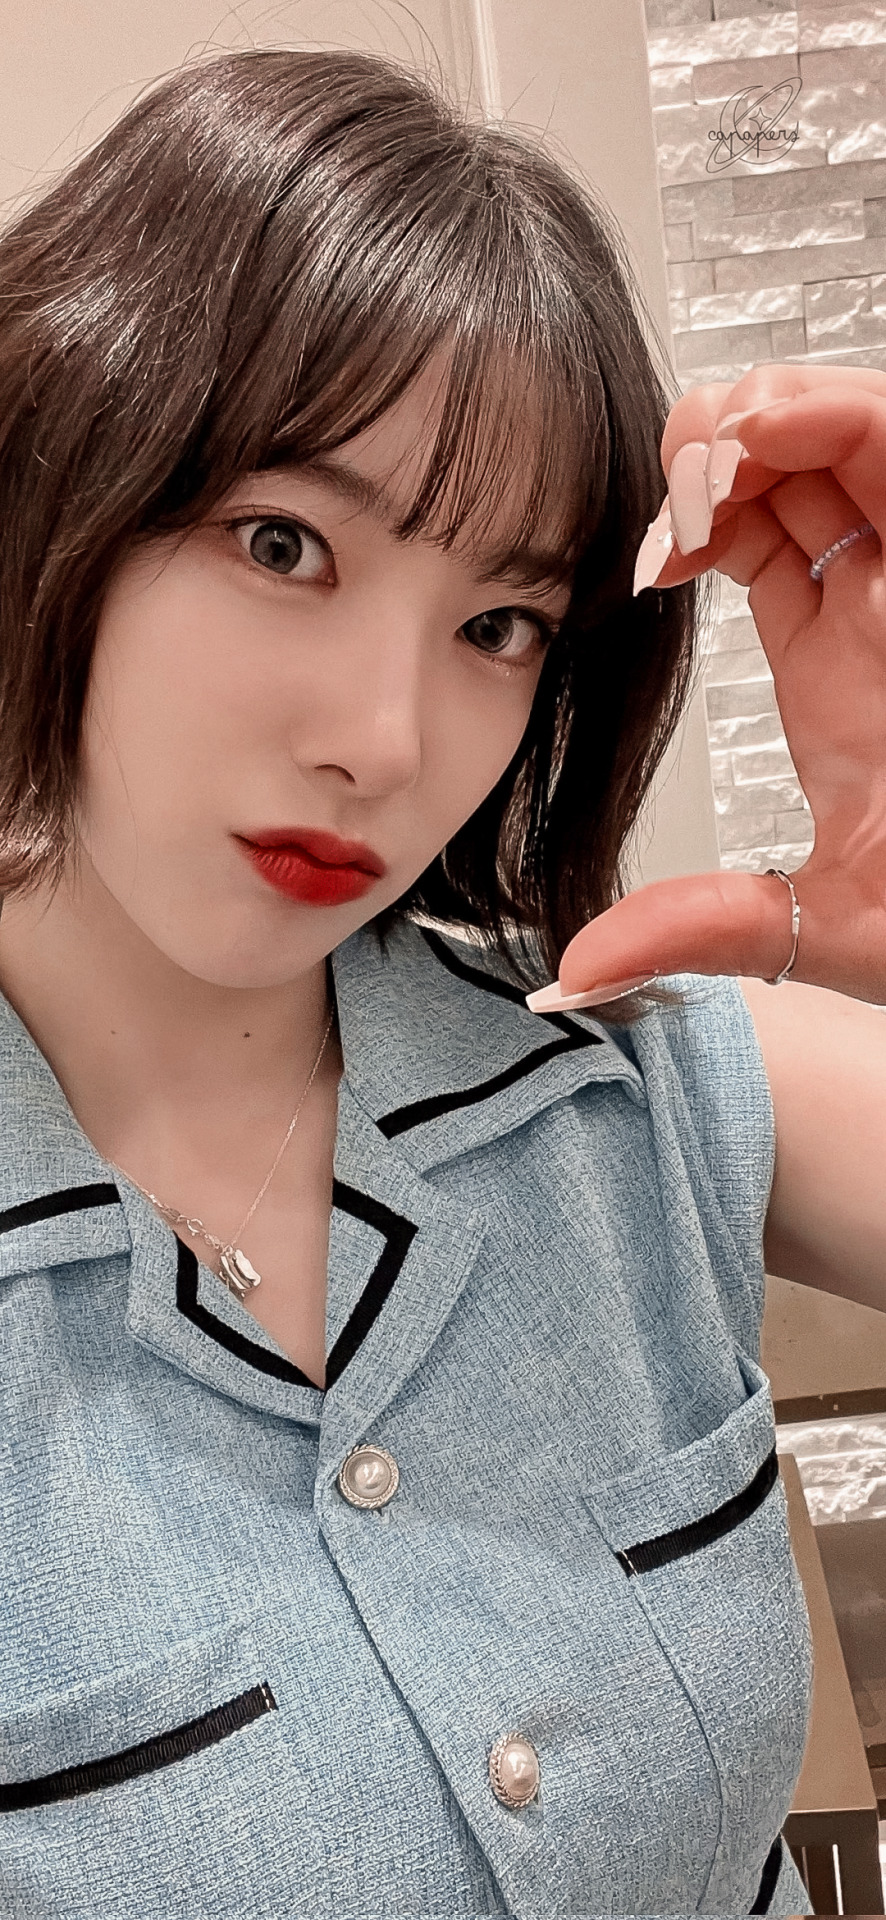
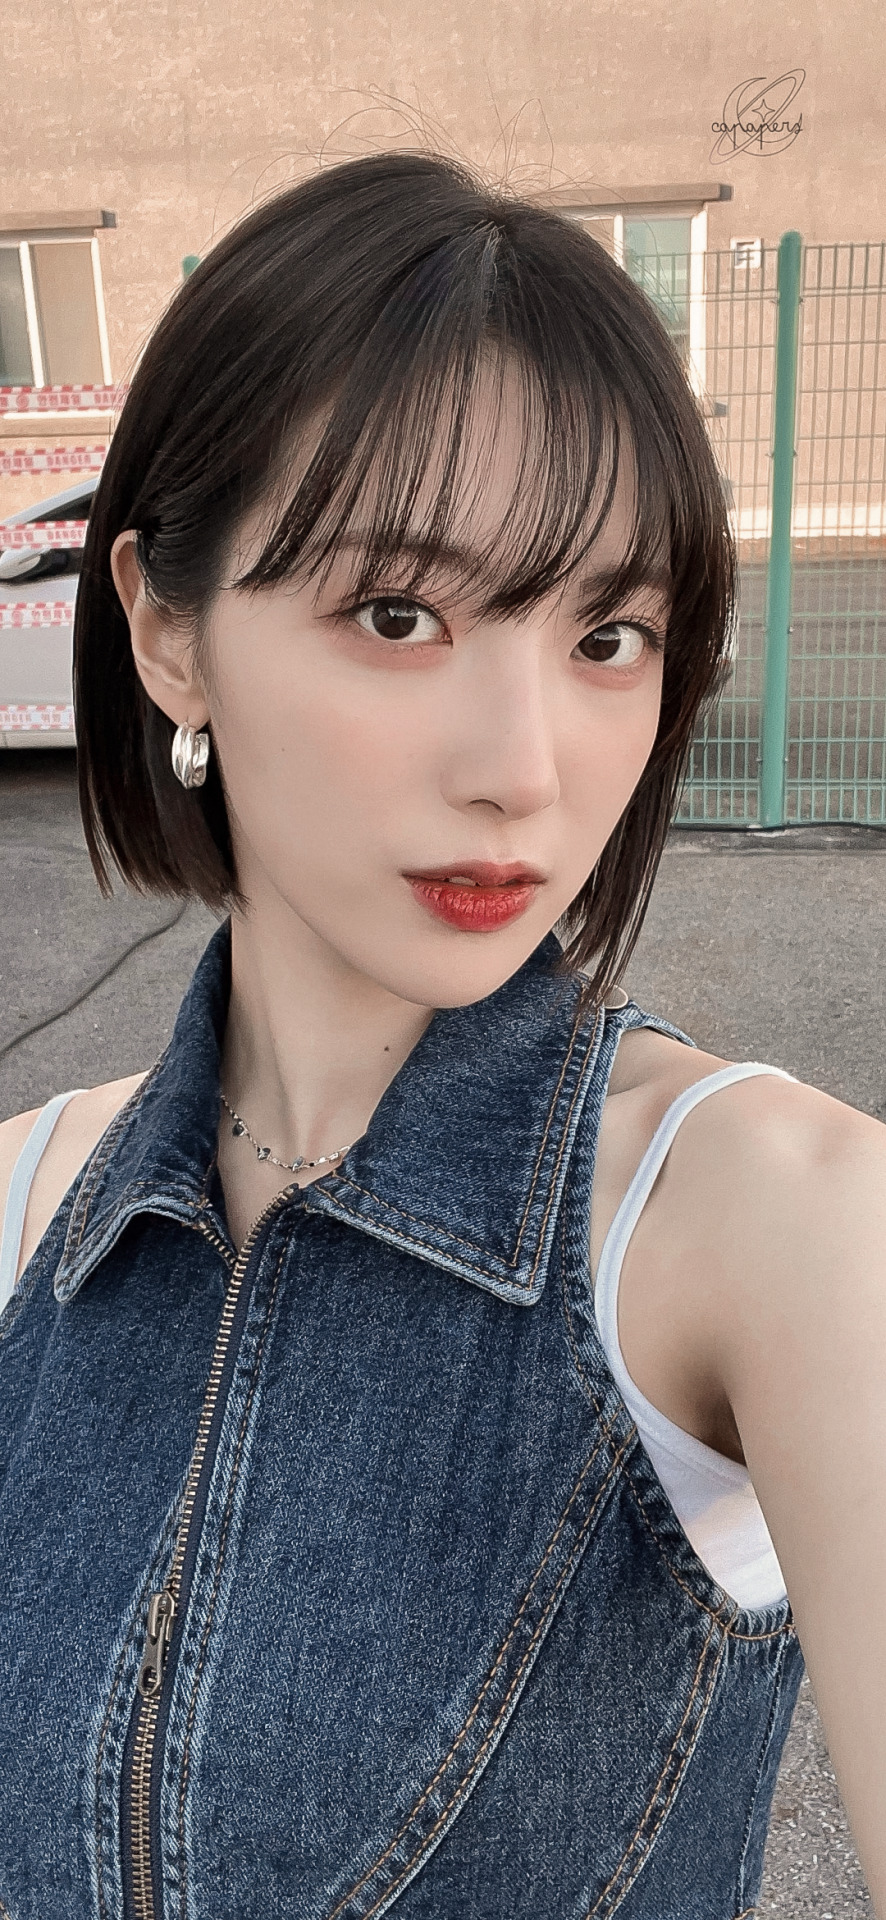
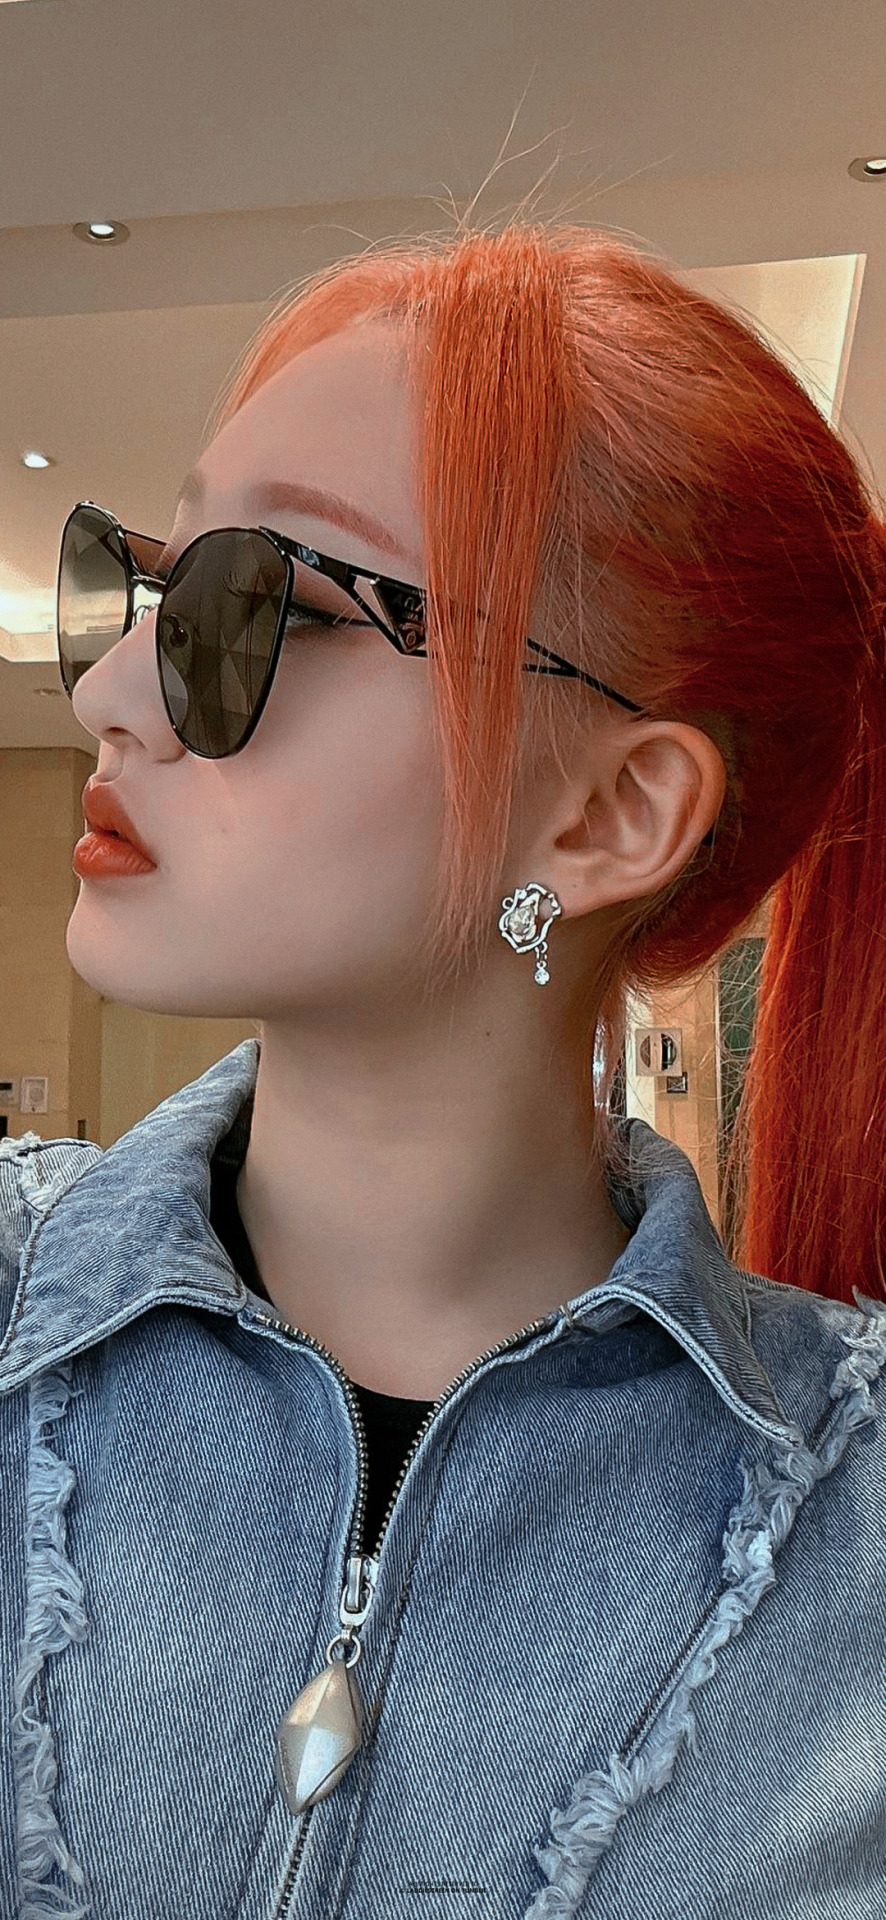
Text


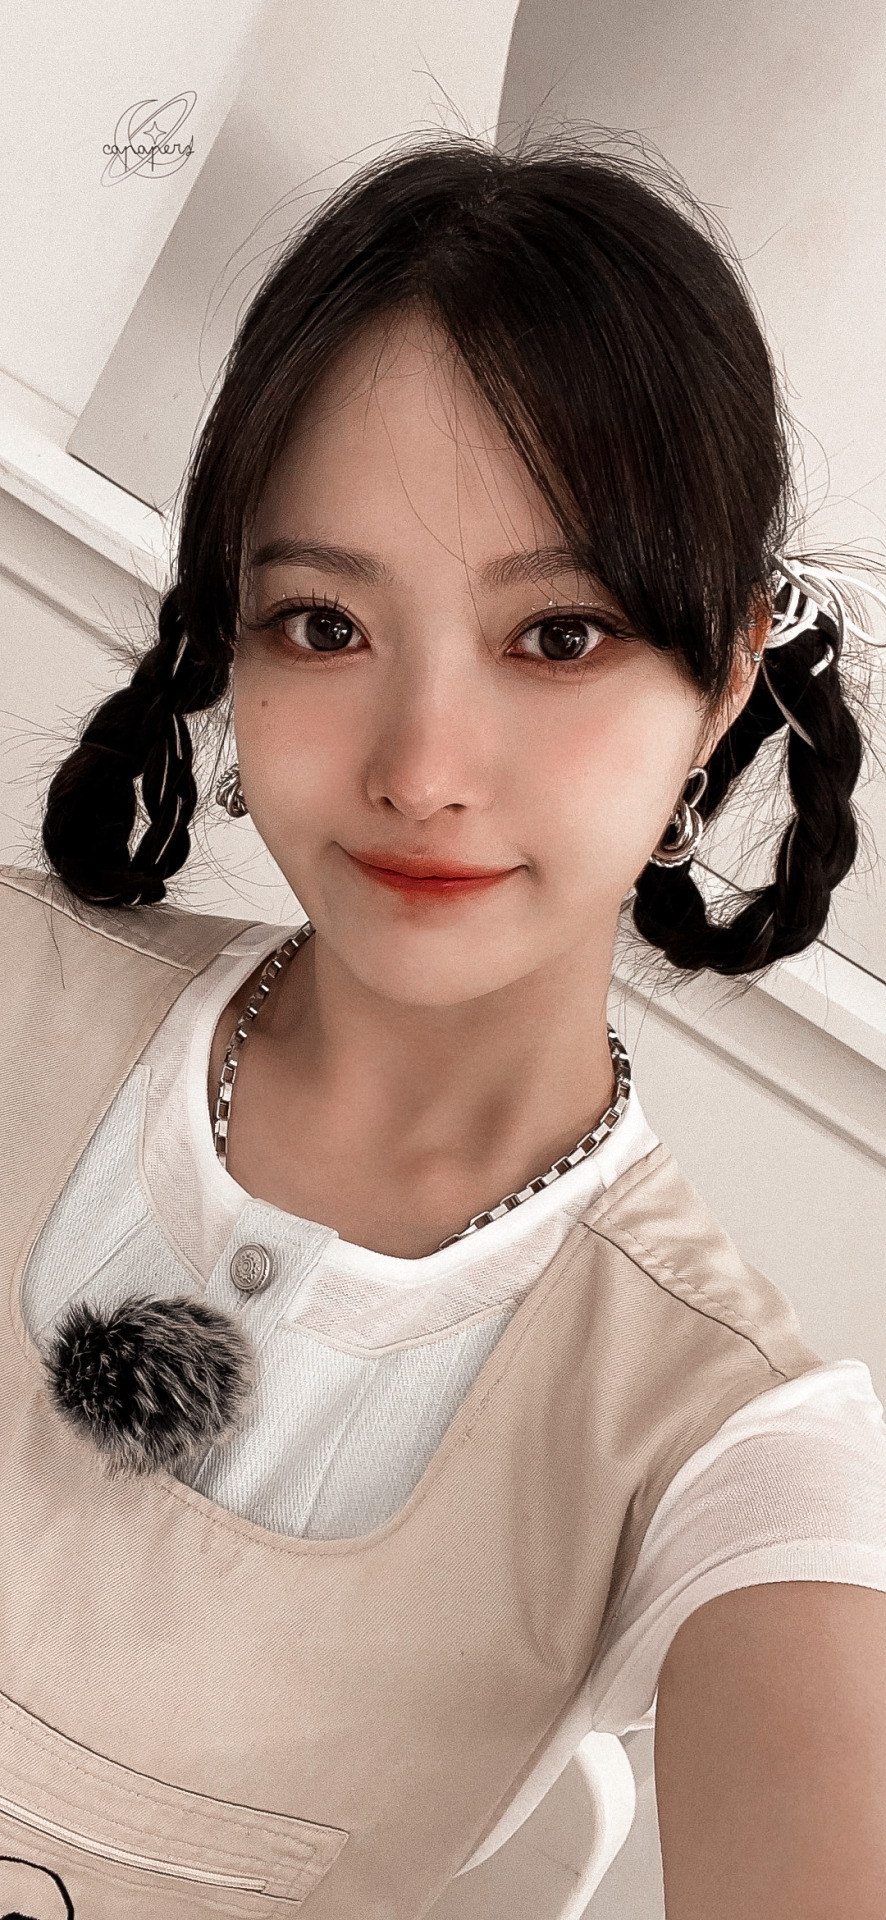

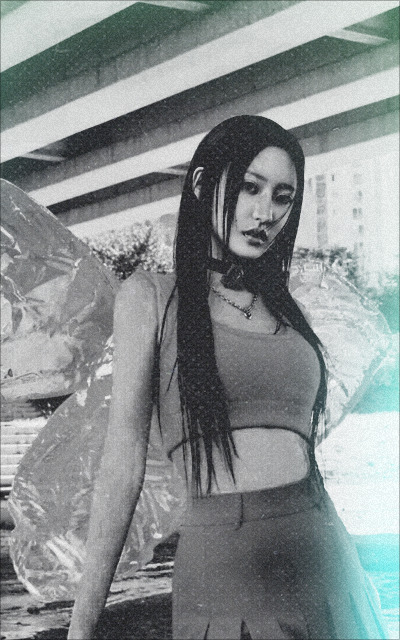
⠀⠀⠀⠀⠀⠀⠀ 𓂂 ࣪ ୧ 🪴 𖧷 𝗌𝖾𝗈𝗂 ! 랑 simple
⠀⠀⠀⠀⠀⠀⠀ ( ♥︎ ) 𝗈𝗋 𝗋𝖾𝖻𝗅𝗈𝗀 | @k-ttie
#୨୧ capapers ۫ 𓈒 ㅤlocks#joo ⊹ ˑ ᘊ#h1-key seoi#lee yejin#seoi#seoi lockscreens#seoi wallpaper#seoi wallpapers#seoi lockscreen#seoi edits#h1-key wallpaper#h1-key lockscreens#h1-key wallpapers#h1-key edits#kpop gg#gg wallpaper#gg lockscreen#gg lockscreens#gg wallpapers#gg edit#gg edits#kpop wallpaper#edits kpop#soft lockscreens#kpop lockscreen#kpop soft edits#softcore
18 notes
·
View notes
Text


H1-KEY: rose blossom 2023 [cr. scans]
#h1-key#femaleidolsedit#femaleidols#femaleidol#femadolsedit#kgoddesses#underratedgirlsedit#edit#userfairy#usersha#rosieblr
759 notes
·
View notes
Text


옐
#h1 key icons#h1 key edits#h1 key stuff#lq h1 key#lq h1 key icons#yel icons#yel edits#lq yel#lq yel icons#han shinyoung icons#han shinyoung edits#lq han shinyoung icons#lq han shinyoung#kpop icons#kpop edits#girl groups icons#gg icons#ggs icons#ggroups icons
26 notes
·
View notes
Text
been having somuch h1key brainrot lately like i havent even thought about whether or not i should draw something for keonhees birthday . ive literally been thinking to myself "wow i wish i could make gifs so i could gif h1-key" I LITERALLY HATE VIDEO EDITING . its bad .
#i think its a mix of qd puzzle + lsf (who have always been in the same box as hkey in my head bc of their debuts) releasing a disappointing#comeback + run being one of MY summer songs and therefore being on loop. but also. i would like more h1-key content#actually is gif making similar to video editing/vfx at all. if it isnt i may give it a try. one day.#but from what ive seen ppl use photoshop to make gifs? i dont have that nor do i want to. i have dv resolve but again thats for vfx so.#hmmm#AND despite all this brainrot ive only done one (1) hkey drawing and i immedaitely deleted it after posting bc i decided i hated it adajkdk#anywayyyyyyyyyyyyyyyyyyyyyy#argentashes#to be.txt
0 notes
Text
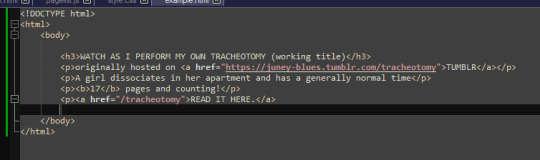
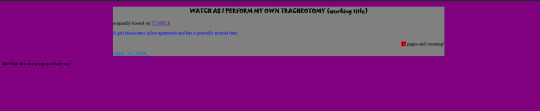
ever since i made THIS POST a lot of people have been asking for a tutorial, even though in pretty much all of the screenshots i included the specific part of inspect element showing exactly what i edited.
so buckle the fuck up I guess because the tumblr userbase want to find out how to make html pages unusable and who am I to deny you.
get ready for Baby's First HTML and CSS tutorial lmao
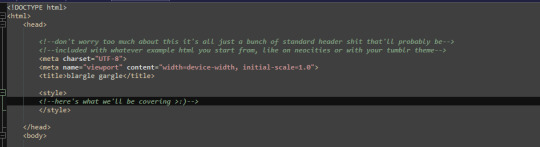
ok so first things first we need to go over BASIC HTML
html is made up of these things called "tags" which specify certain parts of the web page, such as
HEADERS (<h1> through <h6> in terms of importance)
PARAGRAPHS (<p>paragraph here</p>)
LINKS (<a href="linkhere"></a>)
BOLDED SECTIONS OF TEXT(<b>bold here</b>)
and a bunch of other stuff,
by default however, specifying all of this just gives us a plain white page with plain black text of varying sizes

that's of course, no fucking good, and sucks shit, so the arbiters of html decided to let us STYLE certain elements, by adding a STYLE parameter to the tag

this can change any number of elements about how things are formatted.
text colour, page colour, font, size, spacing between elements, text alignment, you name it? you can change it!


you might've noticed that, certain elements are nested in other elements

and that any changes that apply to one element, apply to everything included under that element!


how convenient!
anyway this method of styling things by adding a style=" " to their tags is called "in-line style"
i think because the "style" goes "in" the "line"
it's generally ALSO a pain in the ass to style an entire website like this and should be exclusively reserved for small changes that you only want to apply to specific parts of the page.
for any real change in style you want to create a <style> section in your page's header!
this can be used to make changes to how all elements of a type in your page are displayed

or even add new elements with whatever wacky styling you want that can be used with the <div> tag!

wow! isn't css just dandy!
and hell you can even use External CSS™ if you're making multiple pages and want them all to have a consistent theme, by pointing to a .CSS file (which is basically just a <style> header without the <style> tags lmao


ok this is all well and good and very interesting if, say, you're making your own website
*cough*neocities*cough*itsreallycoolandfree*cough*
but you came here because you want to FUCK UP A WEBSITE and make it look STUPID!!
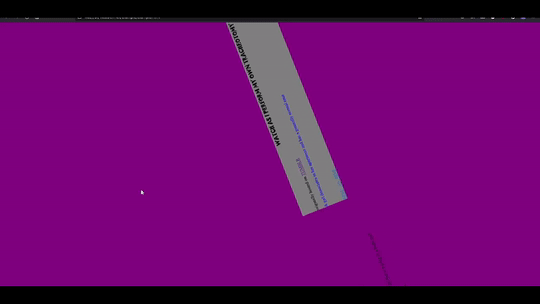
so this is where the transform css property comes in~
you can read up on it HERE if you want the details but basically it allows you to apply mathematical transformations to any html element you want,

all of these fun bastards,
they can be really useful if you're doing some complicated stupid bullshit like me

OR for having fun >:)
if you'll remember, earlier i said that css properties apply to literally everything nested in an element,
and you MIGHT notice, that literally everything in pretty much all html files, is nested in an <html> tag

you can use style=" " or regular css on pretty much ANY html tag,


INCLUDING HTML!


ok ok that was a lot of buildup for something that i could've explained in one or two lines, but i gave you all this fundamental knowledge for a reason,
well, two reasons, go make a neocities
CHAPTER 2: THIS POST HAS CHAPTERS NOW
CSS KEY FRAMES BABYYYY
THESE FUCKERS DON'T WORK AS INLINE STYLING
I HAD TO TEACH YOU HOW CSS WORKED, TO GIVE YOU THE KNOWLEDGE YOU NEED, TO ANIMATE PAGES. TO MAKE THE FUCKERY COMPLETE!!!!
OKAY SO AGAIN READ UP ON THIS IF YOU WANT THE FULLEST POSSIBLE UNDERSTANDING
BUT WHAT KEYFRAMES ALLOW YOU TO DO, IS ANIMATE CSS PROPERTIES

and then make a class, which calls that animation...

and then assign that class. to your html tag.
and then vomit forever
we can do it in 3d too,
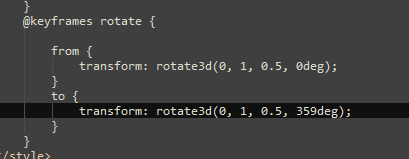

the only limit is your imagination... (and how many parameters you want to look up on w3schools and mozilla mdn web docs)
CHAPTER 3: APPLYING IN PRACTICE
ok now the fun thing about all of this, is you can apply it to your blog theme, literally right now
like literally RIGHT now
like step one, make sure you have a custom blog theme enabled in your settings, because that's turned off by default for some reason

step 2: edit theme

step 3: edit html:
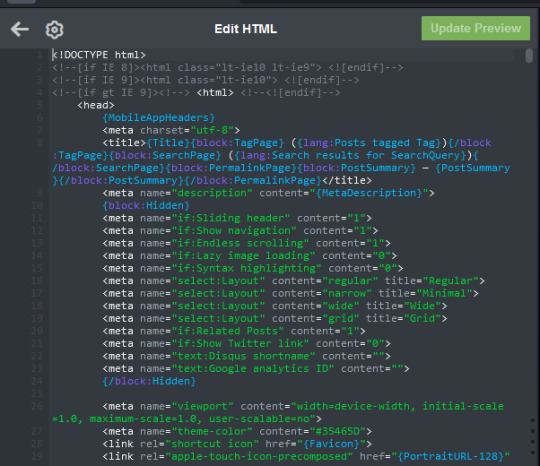
step 4: apply knowledge in practice >:)
428 notes
·
View notes
Text
13 notes
·
View notes
Text


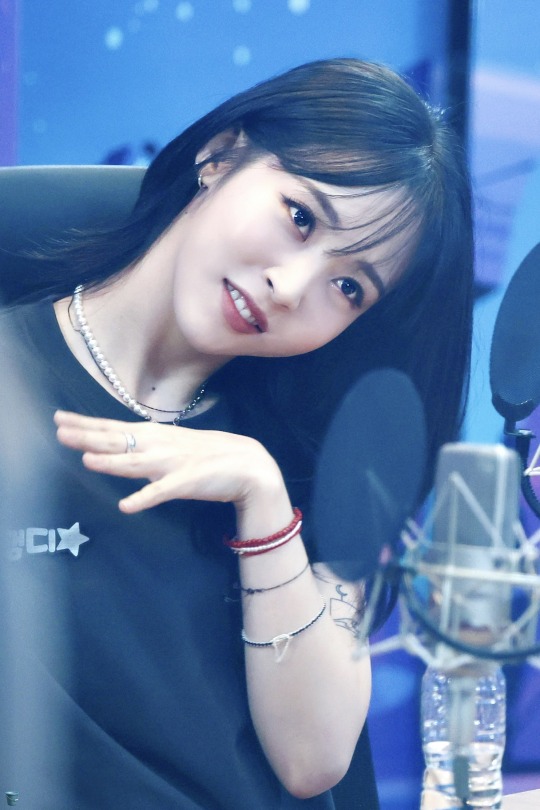
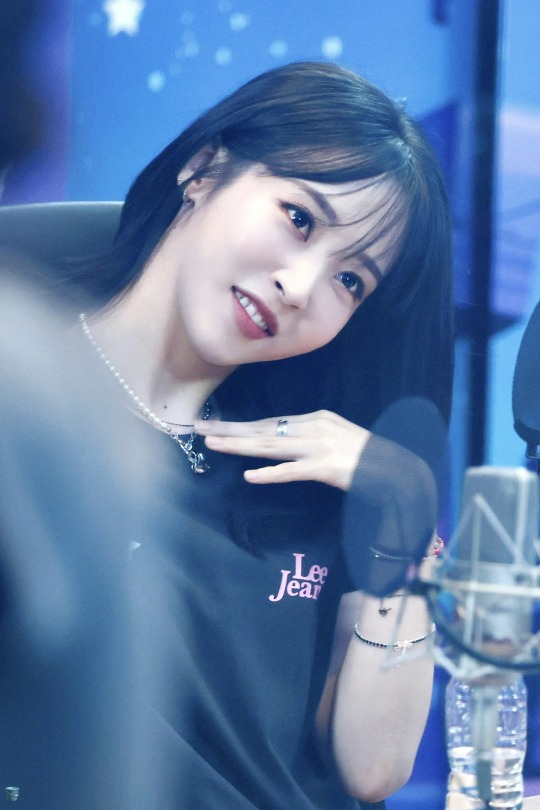
230906 MBC ‘Idol Radio’ w/ Purple Kiss & H1-Key
© sktsoyo (do not edit)
56 notes
·
View notes
Text
by clicking the SOURCE LINK, you’ll be redirected to a collection of gif icons of SEOI, RIINA, and HWISEO of h1-key. details of each gif set can be found on the page. all these gifs were made from scratch by me so please do not edit, redistribute or repost. please like or reblog if you’ve found them useful!


#seoi gif icons#riina gif icons#hwiseo gif icons#h1key gif icons#supportcontentcreators#userdevon#usermina#gif icons#gif pack#no yel because she was a minor when i first started working on these#was going to make more of each member but i lost the muse!!
10 notes
·
View notes
Last Seen Blogs

book-of-baba-fett
WIP Procrastinator

qualityobservationdream3
Untitled

victor-v
made of memories

loflight501
loflight501

warpgroup1-blog
Warp Group