#embroidered patch
Text
Had a few folks interested in how I made the patches I posted for Solarpunk Aesthetic Week, so I thought I'd give y'all my step-by-step process for making hand-embroidered patches!

First, choose your fabric and draw on your design. You can use basically any fabric for this - for this project I'm using some felt I've had lying around in my stash for ages.

Next, choose your embroidery floss. For my patches I split my embroidery floss into two threads with 3 strands each, as pictured. You can use as many strands in your thread as you prefer, but for the main body of my patches I prefer 3 strands.
Next you're going to start filling your design using a back stitch.

First, put in a single stitch where you want your row to start.

Poke your needle up through the fabric 1 stitch-length away from your first stitch.

Poke your needle back down the same hole your last stitch went into so they line up end-to-end.
Repeat until you have a row of your desired length (usually the length of that colour section from one end to the other). Once you have your first row, you're going to do your next row slightly offset from your first row so that your stitches lay together in a brick pattern like this:

Make sure your rows of stitches are tight together, or you'll get gaps where the fabric shows through.
Rinse and repeat with rows of back stitch to fill in your patch design.

When you're almost to the end of your thread, poke your needle through to the back of the fabric and pull the thread under the back part of the stitching to tuck in the end. Don't worry if it looks messy - no one's gonna see the back anyway.
This next step is fully optional, but I think it makes the patch design really pop. Once your patch is filled in, you can use black embroidery floss to outline your design (or whatever colour you want to outline with - it's your patch, do what you want). I use the full thread (6 strands, not split) of embroidery floss to make a thicker outline.

I use the same back stitch I used to fill the piece to make an outline that adds some separation and detail. You could use most any 'outlining' stitch for this, but I just use back stitch because it's just easier for me to do.
Once you're finished embroidering your patch, it's time to cut it out!

Make sure to leave a little border around the edge to use for sewing your patch on your jacket/bag/blanket/whatever, and be careful not to accidentally cut through the stitches on the back of the patch.
If you have a sturdy enough fabric that isn't going to fray, you can just leave it like this. If not, I recommend using a whip stitch/satin stitch to seal in the exposed edges (I find that splitting your embroidery floss into 3-strand threads works best for this).

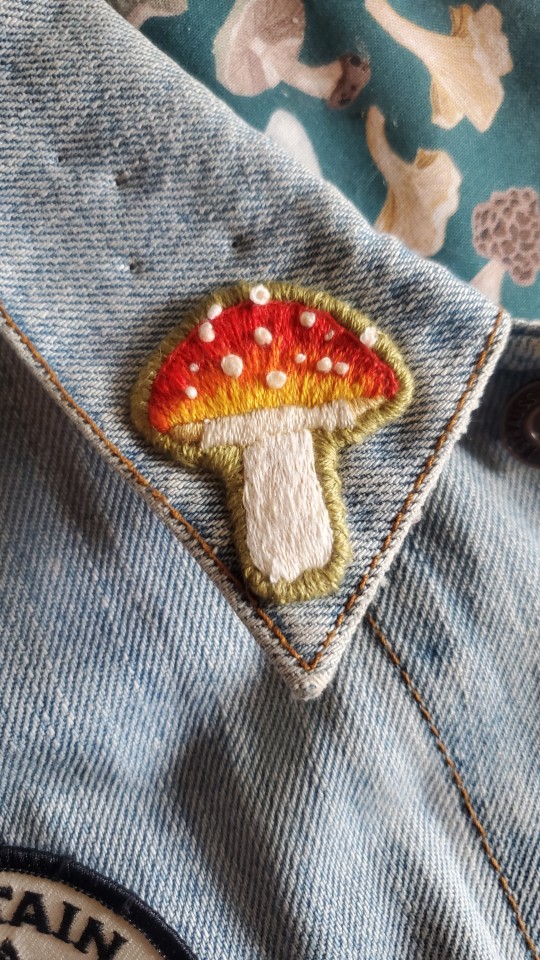
And then you're done! At this point you can put on iron-on backing if you want, or just sew it on whatever you wanna put it on. Making patches this way does take a long time, but I feel that the results are worth it.
Thanks for reading this tutorial! I hope it was helpful. If anyone makes patches using this method, I'd love to see them! 😁
#solarpunk aesthetic week#sewing#tutorial#sew on patch#punk diy#diy punk#punk aesthetic#handmade#solarpunk#handcrafted#embroidery#embroidered patch#how to#how to make a patch
17K notes
·
View notes
Text

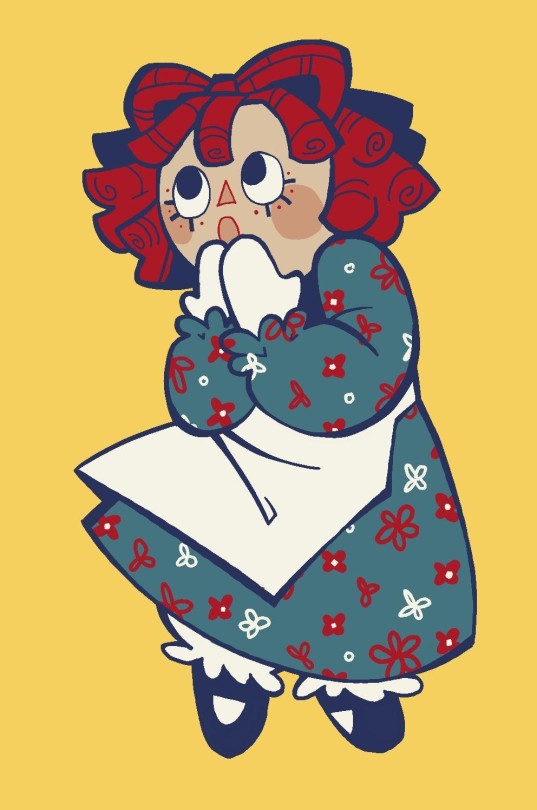
AND SHES DONE!
i was able to find a little bit of the leftover fabric from my raggedy ann doll so they match :)
i think she came out appropriately cute and i plan to make a matching andy once i find some good plaid fabric
#patches#embroidered patch#embroidery#raggedy ann#raggedy ann and andy#rag dolly#pretty sure im losing my fingerprints again :/#the suffering of artists#my art
604 notes
·
View notes
Text

I made another patch to test my abilities ~ behold! Froggy!
1K notes
·
View notes
Text

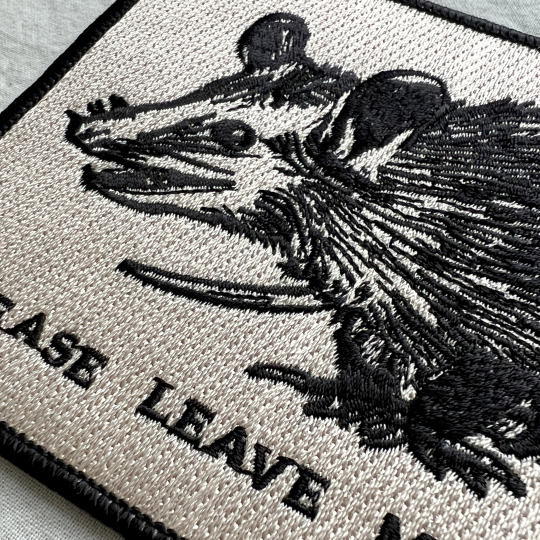
New ✧ embroidered ✧ version of my opossum patch! Designed by me~ available here.
540 notes
·
View notes
Text
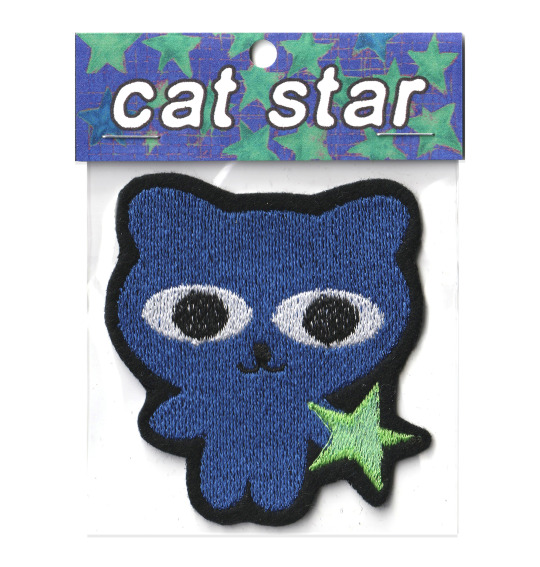
Cat Star Patch ⭑ puppyshop.ca
453 notes
·
View notes
Text

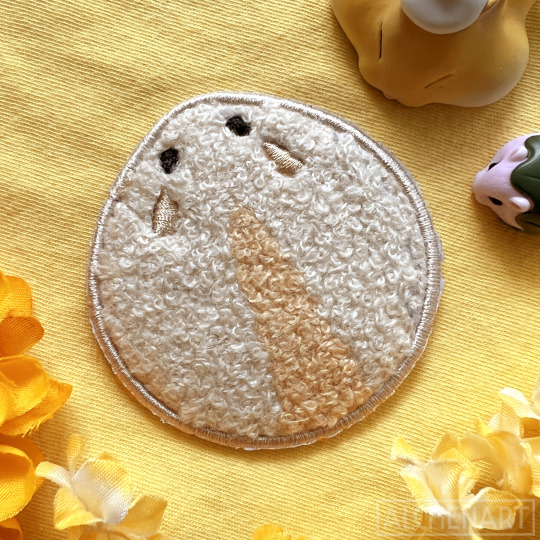
fluffy
(available in my shop now)
809 notes
·
View notes
Text
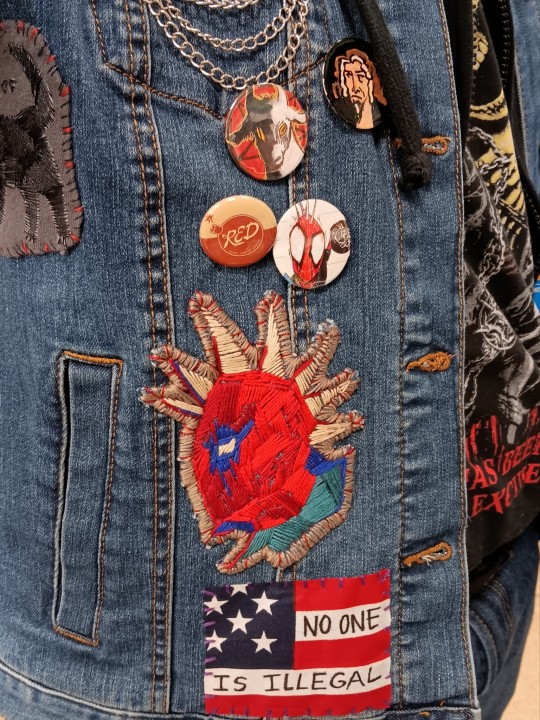
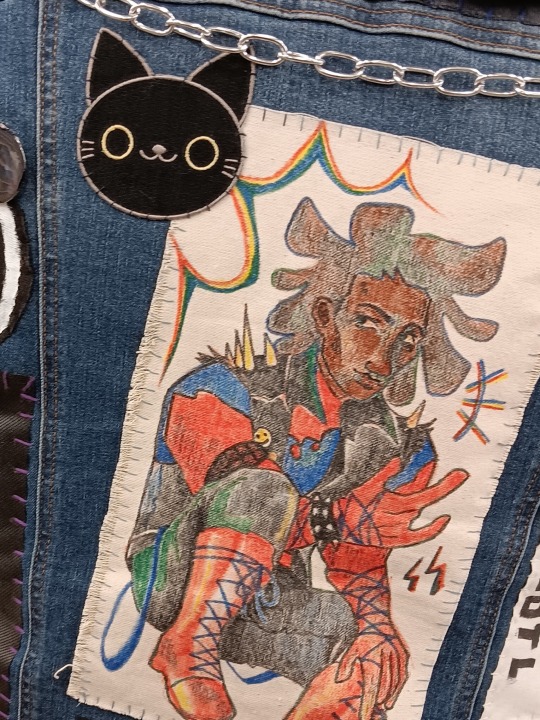
Spider-Punk embroided and painted patches, made by me!
#my artwork#embroidery#embroidered patch#patches#patchwork#patch vest#punk#punk vest#spiderman#spider punk#hobie brown#atsv hobie#hobie spiderverse#across the spiderverse#into the spider verse#back patch#alt fashion
177 notes
·
View notes
Text


Some of the embroidered patches available in my shop!
190 notes
·
View notes
Text


I was given this yellow sweatshirt with a big meh logo on it, so I made a quilted patch and now it's a favourite!
105 notes
·
View notes
Text
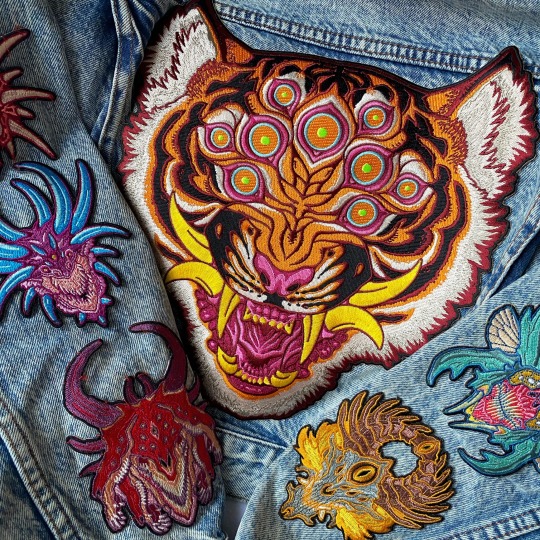
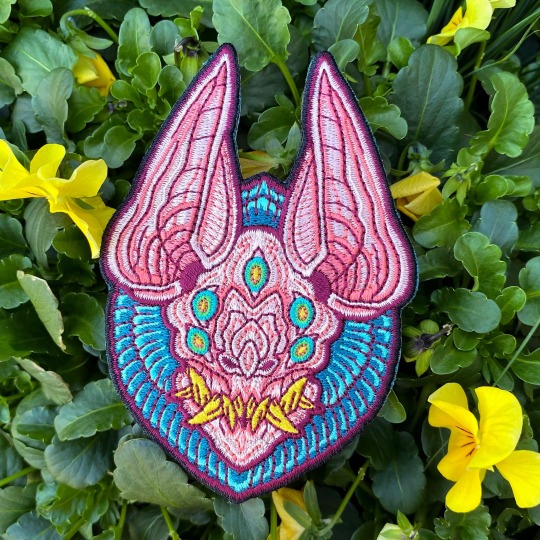
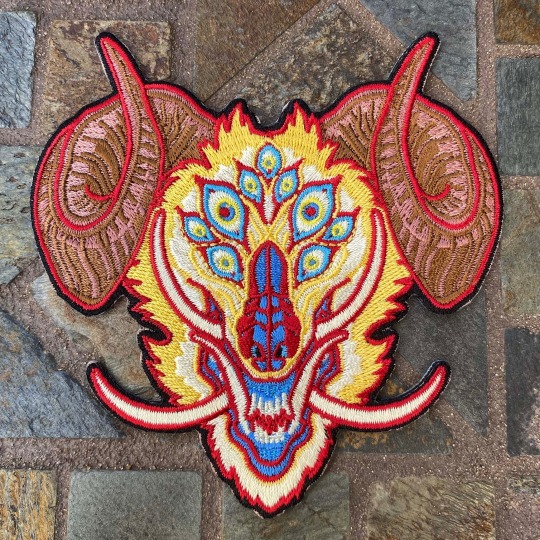
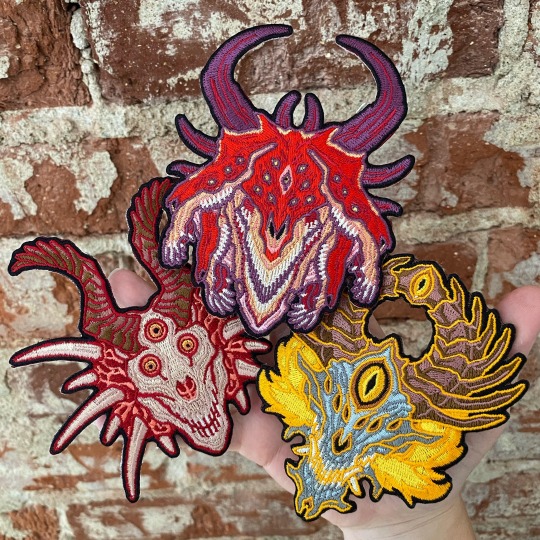
some new little patches for my jacket, pls enjoy
edit bc I realize I haven't uploaded embroidery in a while and y'all wouldn't know: i made these! love to stitch a little beast or critter


642 notes
·
View notes
Text
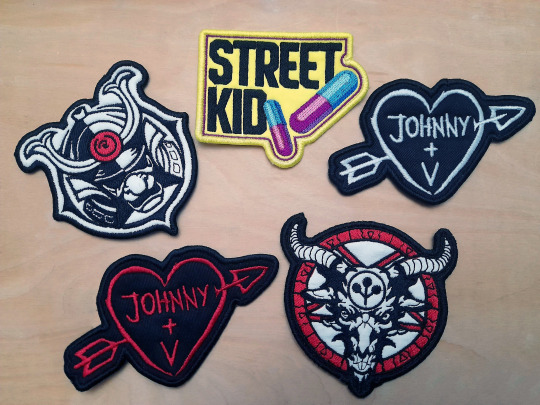
Added some more patches to my Etsy page. Here's the new ones you can get :)
#cyberpunk 2077#kerry eurodyne#embroidery#johnny silverhand#cp2077#arasaka#johnny x v#street kid#embroidered patch
147 notes
·
View notes
Text
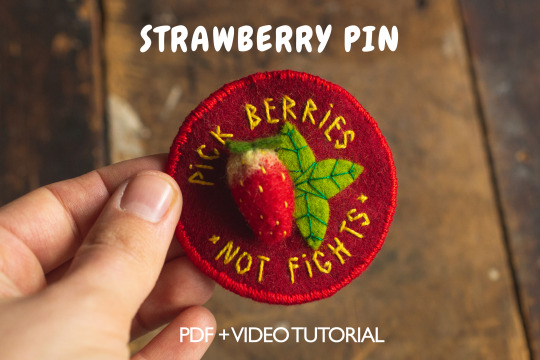

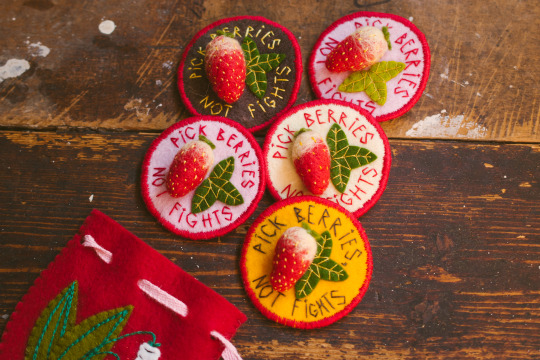
🍓 Cute strawberry pin tutorial [currently on sale]
#ferntales#cottagecore#grandma vibes#strawberry#pick berries not fights#embroidered patch#felt pin#felt badge#fibre art#etsy#australia#textile art#tactile art#diy#strawberry pin#wearable art#peace#statement#grandmacore#cottage aesthetic
182 notes
·
View notes
Text
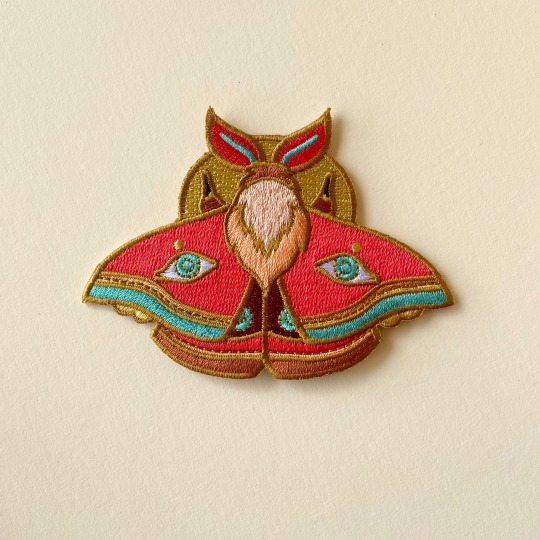


I am so STOKED with how my new autumnal moth patches have turned out!
These iron ons will be available THIS sat! 🌞 GET READY!
#iron on patch#embroidered patch#embroidery#patches#pins and patches#wearables#wearable art#moth art#moths#i love moths#fall vibes#autumn#bug art#bugs#insects#insect art#etsy#etsyshop#artists on etsy#illustration
296 notes
·
View notes
Text


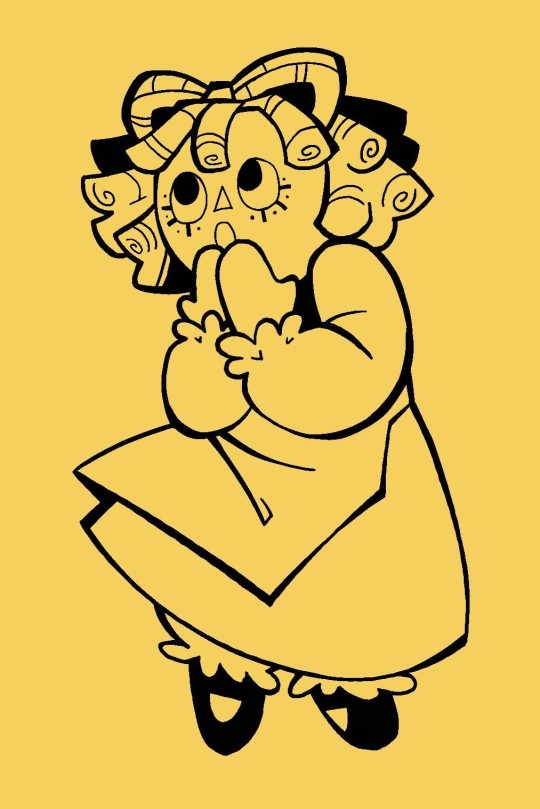
next patch plan
gonna do the dress pattern as unembroidered fabric to match my doll because thats cost efficiency babey
probably gonna take me a couple days so the finished patch will be up when its up
60 notes
·
View notes
Photo
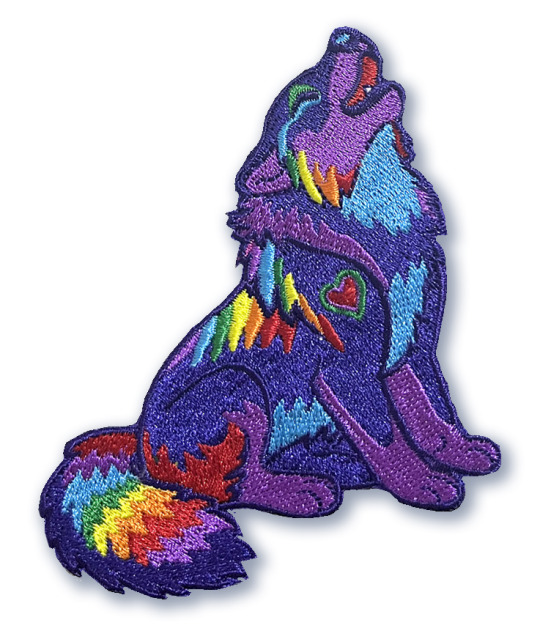
Love is Love, and no one knows it better than Heart Song 💜🏳️🌈
These beautiful embroidered patches are now av@ilable in the st.0re with shipping in time for Pride month.
GET YOURS NOW!
#pride#pridemonth#gaypridemonth#gaypride#queer#LGBTQIA#lgbtq#loveislove#love#rainbow#rainbows#wolf#wolves#adorable#cute#supercute#kawaii#patch#embroidered patch
189 notes
·
View notes
Photo

wolf in sheep's fluffy clothing (they're chenille patches!)
shop update on saturday, may 27 ✨
784 notes
·
View notes
Last Seen Blogs

cranberrywatercolors
Cranberry Watercolors
leoascendente
Isabela🪽
shndays
shndays🍓
lalularoo
lalularoo