#embroidery machine
Text
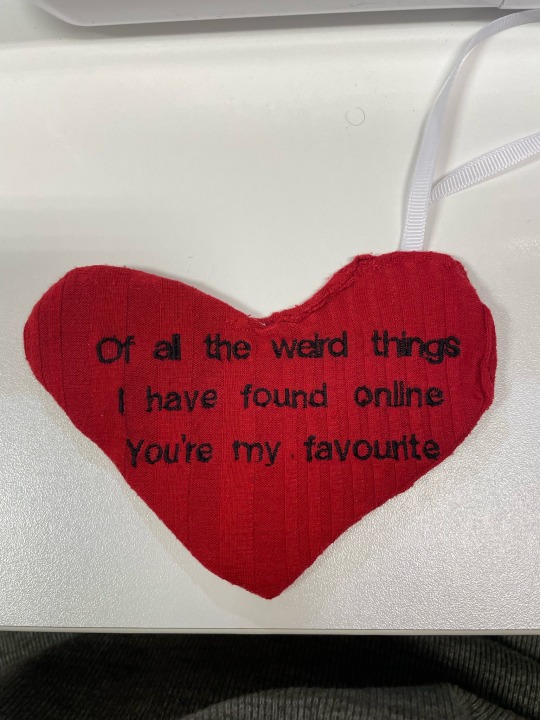
Made this for my boyfriend for our 5 year anniversary ❤️
Not perfect but it was definitely a learning curve 😂
Our names are on the other side ☺️
70 notes
·
View notes
Text
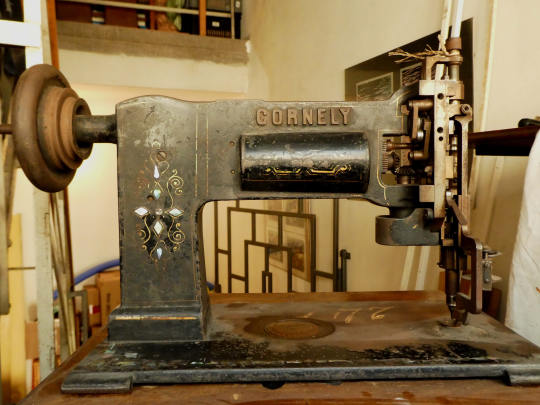

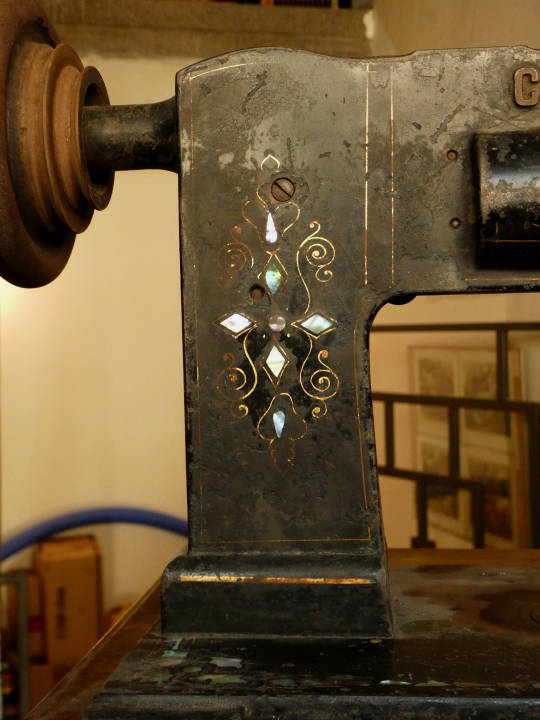
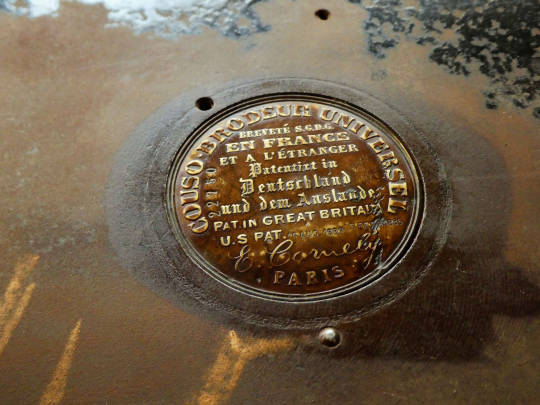


cornely embroidery machine
-L.F.
#cornely embroidery machine#chainstitch embroidery machine#sewing machine#embroidery machine#technology#my photography#mmmm#love whats going on with this whole thing.#i really want this functional#cogs and wheels whats not to love
27 notes
·
View notes
Text
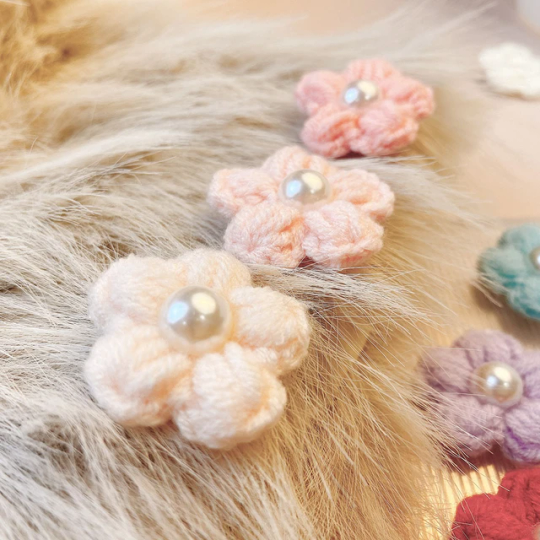


🌺💮🏵💐💐Pearl flowers 💎💎
#embroidery#sewing#stitching#handmade#handmadewithlove#craft#crafts#diy#doityourself#fiberart#needlework#textileart#slowliving#sustainableliving#handembroidery#embroideryart#embroiderylove#embroiderydesign#embroideryhoop#embroiderypattern#embroideryflowers#handembroidered#embroiderylife#modernembroidery#freehandembroidery#embroidery pattern#embroidery machine#embroidery hoop#textiles#textile art
8 notes
·
View notes
Text
the local library has an embroidery machine and I really wanted to try it, I was going to monogram my gym towel but then I had a better idea
7 notes
·
View notes
Text
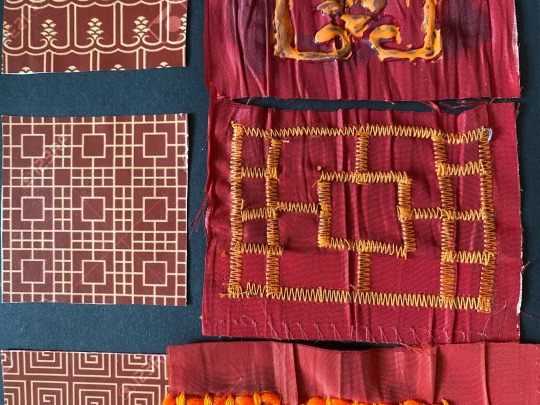
This was another mini example I created using the embroidery machine to create a zig zag effect in lines to experiment different styles and techniques to see if I would recreate this again.
For this I had to sketch out the shape lightly to know where I need to sew before using the machine. And then go over the pencil lines with a gold yellow to match the picture exactly.
Overall I could recreate this in the future for my designs for different textures and small details as this would look really effective on fabric.
3 notes
·
View notes
Text
stop scrolling. look at him
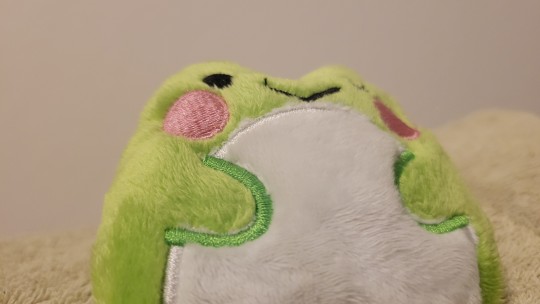
[more pics under the cut]
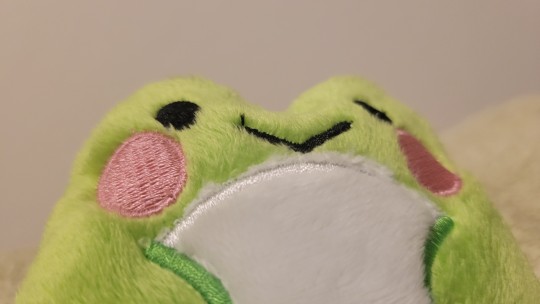
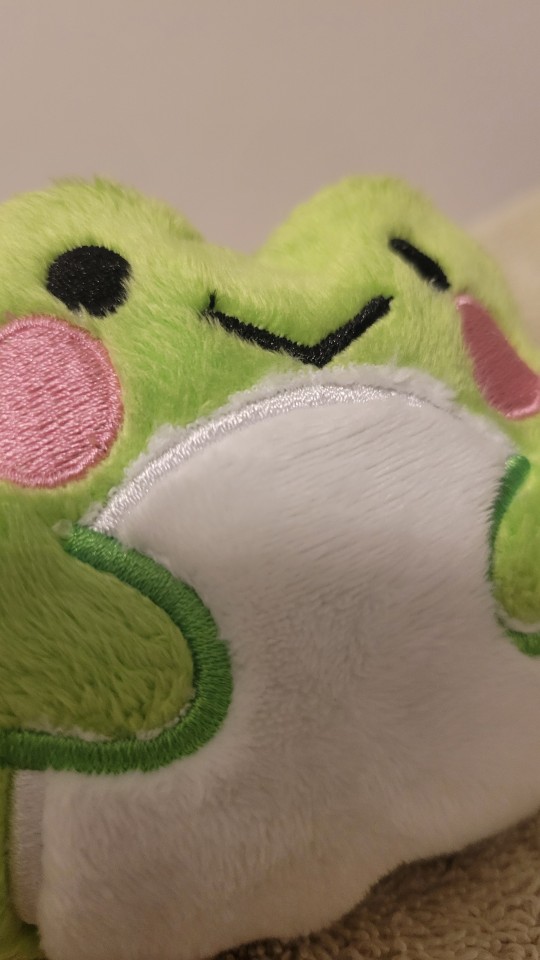
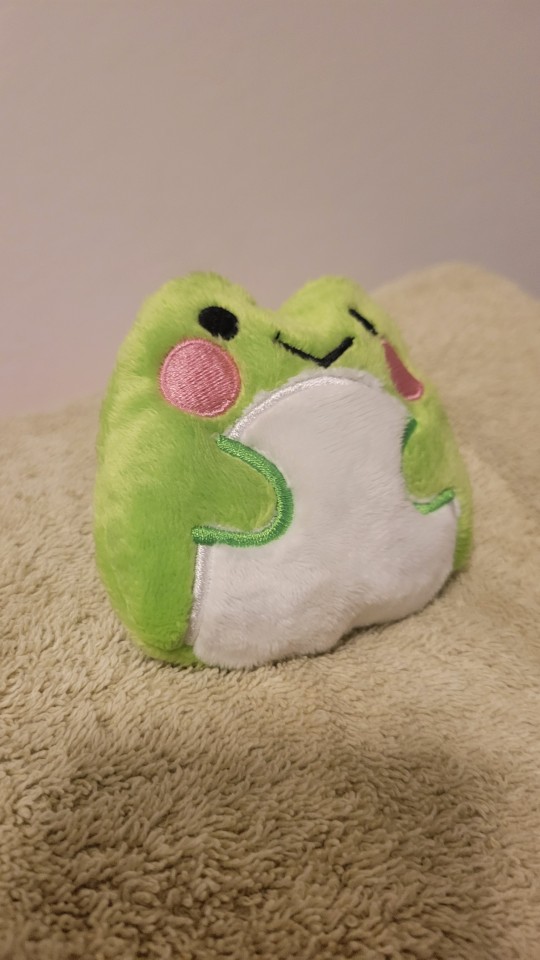
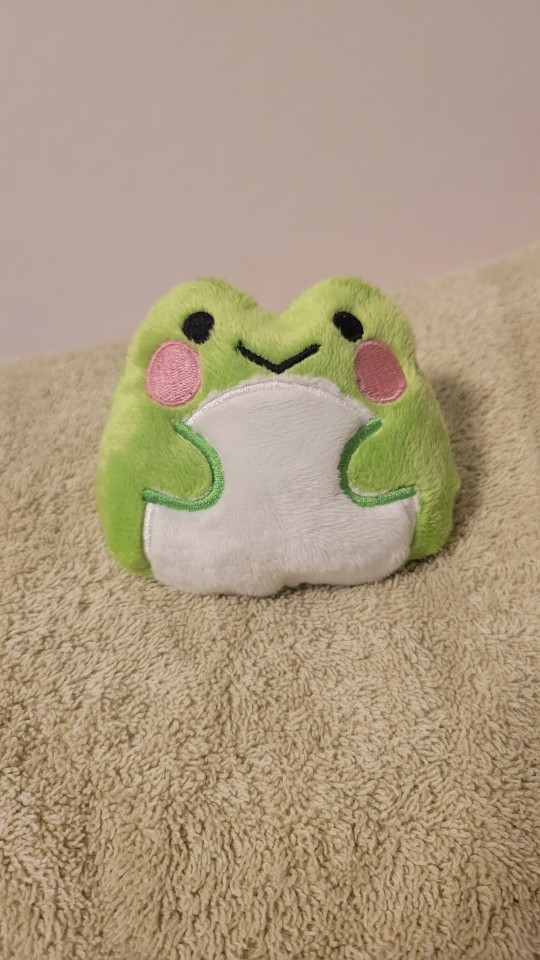
this embroidery machine was the best investment my family has ever made
pattern from fleacircusetsy on etsy!!
8 notes
·
View notes
Text

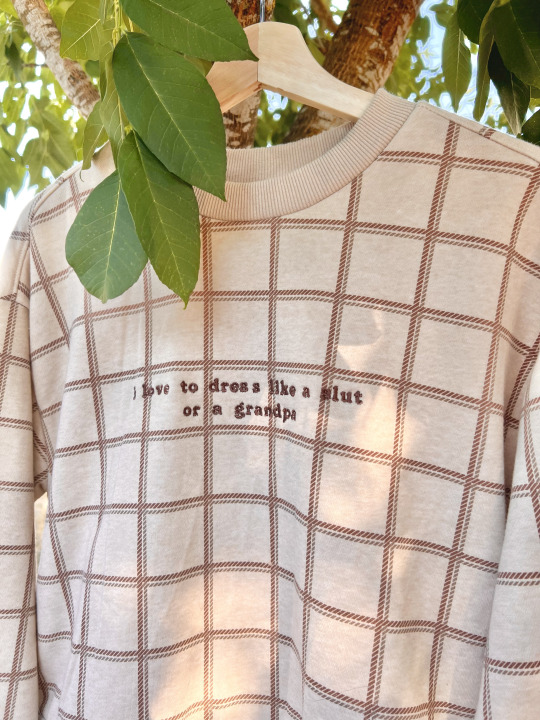
💖🧓🏼💅🏼
#machine embroidery#illustrators on tumblr#clammy heart#embroidery#kawaii fashion#embroidered apparel#embroidered sweater#embroidery machine#custom embroidery#grandpacore#bimbocore#bimbo girl
12 notes
·
View notes
Text
All about sewing tools

Sewing Tools for Professional Results
As with any profession or hobby, using the right tools can make all the difference in the
world and can make the difference between amateur or professional results. Even if you’ve
only sewn a few projects and collected some basic sewing tools, it may be time to learn
about some of the advanced sewing tools designed to give your project that professional
edge.
Most sewing projects can be completed without the following tools, but as you improve
and fine-tune your skills and develop an affinity for quilting, home decorating or clothing
construction, you’ll find these tools indispensable for saving time, increasing accuracy and
simplifying tasks
Cutting Tools
Needlework Scissors and Snips Small, 3"- to 5"-long needlework scissors or snips are indispensable for clipping close to the stitching line or trimming intricate areas of a project. They can be used wherever your large bent-handled shears can’t reach.
Snips have spring-loaded handles. Keep a pair alongside the sewing machine, at-theready
to cut stray threads.
Rotary Cutter
Used with a self-healing mat and a clear plastic ruler, rotary cutters are ideal for straight cuts in one or more fabric layers.
Look for blades that can be easily removed and replaced and a handle that is comfortable. Rotary mats and rulers are made specifically for rotary-blade cutting, and the materials don’t dull rotary blades as other products might. Both the mat and the ruler feature gridlines and angles for cutting accuracy. See more about: rotary cutters
Measuring & Altering Tools Grid Board
Use a large grid board under the fabric and pattern to align the fabric grain while pinning and cutting. A padded grid board allows you to pin into it when stretching or blocking fabric. Some have ironing surfaces that are also helpful for fusing large fabric sections. Consider a rotating grid board if your space is limited. Mats and wide rulers used for rotary cutting are actually
modified grid boards used both underneath and on top of the fabric. See “Rotary Cutter” above.
French Curve or Fashion Ruler
These rulers have a variety of curves to mimic the body’s curves and are used when
altering patterns. It’s helpful for the simplest length adjustment and indispensable when actually changing the style of a garment. Depending on how you turn the ruler and what segment you use, one ruler gives you all the curves necessary to complete pattern lines when altering or drafting patterns.
Marking Tools
FabricMarking Pens
The space-age chemicals used to make these clever pens become more high-tech
every day. The disappearing ink allows you to mark most projects at the exact location
needed—even on the fabric right side— without fear of staining or discoloration.
Look for an ink color that is in high contrast to your fabric, and for accuracy select a fine
tip. Choose a water-soluble pen for long-term projects, when you want the markings to remain until you remove them with water. Air-soluble pen inks disappear within a few hours and are ideal for fabrics that can’t be washed or dampened. Some air- and water-soluble pen manufacturers caution against exposing marked fabrics to sunlight or the heat of the iron because heat may set the ink permanently. Always test the pen on a scrap of the fabric before using it on your project.
Pressing Tools
Tailor’s Ham
Resembling a ham, this pressing tool is used as a base or a mold when pressing curved or shaped seams. It’s available in several sizes and should be covered on one side in cotton and the other in wool. The ham’s curves are designed to mimic garment curves and are used to
set the shape of collars, lapels, sleeve caps and more.
Point Presser & Pounding Block
The raised points of this wooden tool allow you to press deep into a corner without creasing the surrounding fabric. The base is used as a pounding block, or clapper, to flatten seams.
Needle Board
A flat, flexible board with a bed of short needles placed very close together, a velvet board or needle board is used for pressing napped fabrics, such as velvet and corduroy, without crushing the fabric’s pile. A lessexpensive, and less-effective, version of a needle board
features a canvas backed fabric with a raised pile front that takes the place of the needles.
Sewing Tools
SewingMachine Needles
Sewing needles are designed for the type of fabric, thread and stitches you’re using. Using the right size and type of needle will greatly improve your sewing success. For more information on choosing the best needle for your project .
Tip: A stitching problem, such as skipped stitches or looping or shredding threads, at firstmay appear to be a problemwith themachine when actually it’s a call for a new or better-suited needle.
Bodkin
Used for drawing elastic, cord or ribbon through a fabric casing, bodkins are available in several different styles. The pincer is usually the shortest with teeth at one end designed to clamp down firmly on ribbon or elastic and pull it through a tubular casing. Longer versions have a safety pin style closure at one end, and the slimmest version, designed like a large sewing needle, has a large eye for feeding narrow cord in narrow casings. A bodkin’s ball-point end comes in handy for turning fabric tubes right side out.
Point Turner
A point turner is a hand-held, pointed plastic tool designed to poke into tight corners. For crisp, sharp corners and points, use this tool to push out the corners of collars and cuffs before pressing. The opposite end is flat or rounded; use it to hold open seam allowances while pressing, so you don’t burn your fingers.Basting Tape Much faster than hand basting with needle and thread, use narrow, paper backed basting tape to hold zippers, bias tapes and trims in place while stitching.
Fray Preventer
A drop of this liquid on the cut edge of a woven fabric will bond the edges and prevent the fabric from raveling. Before using, test the product on a scrap of the actual fabric, or in an inconspicuous area of the project.
Allow the test piece to dry thoroughly. Then wash, dry and press it as you would the finished project, to be sure the product doesn’t discolor the fabric.
Read the full article
4 notes
·
View notes
Text
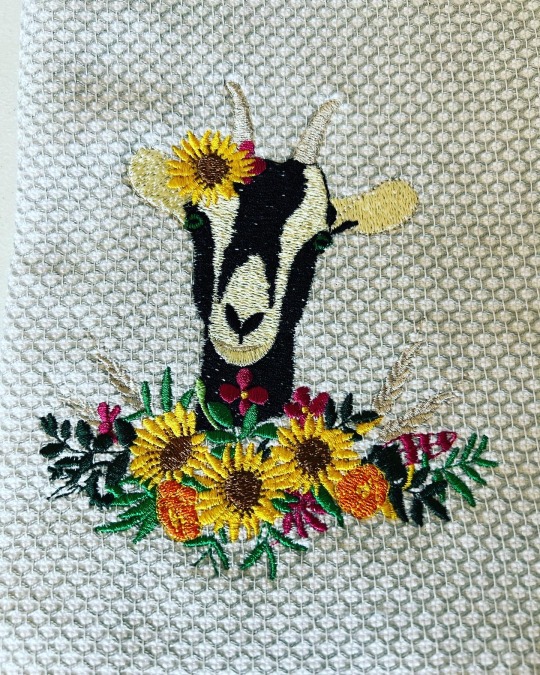
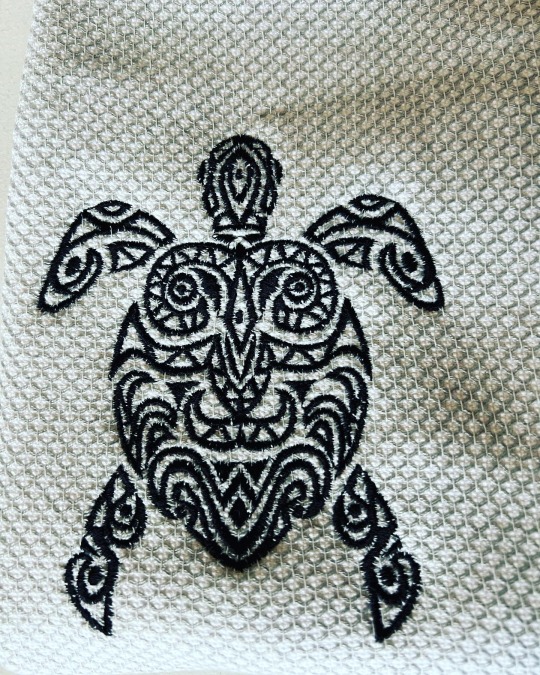
Did this set of dish towels for some family members as a gift!
They were super easy to stitch out and came out amazing looking :D
9 notes
·
View notes
Text
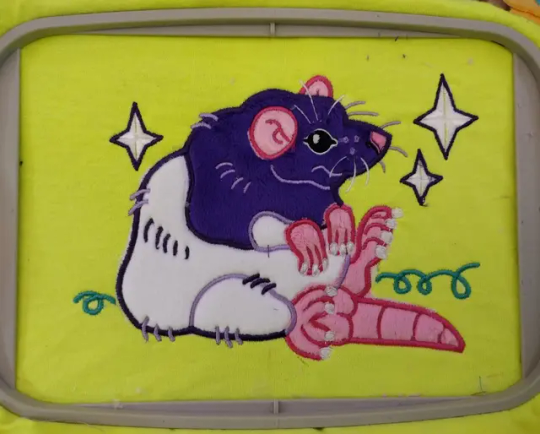


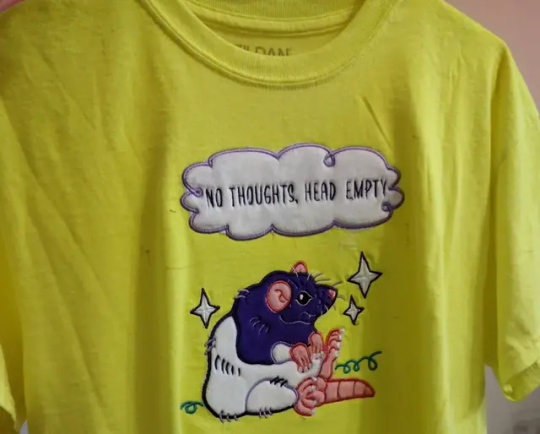
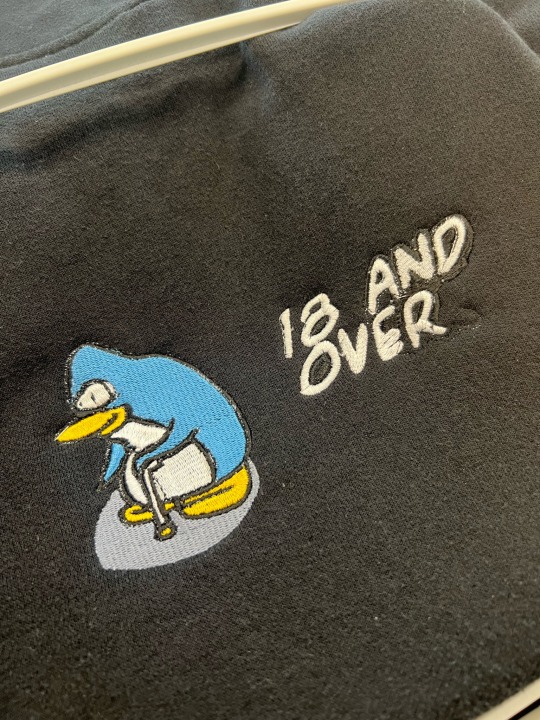
Custom rat meme shirt
#rat meme#rat art#embroidery machine#artists on tumblr#bat-hoax#sewing#custom T-shirt#rat shirt#no thoughts head empty
3 notes
·
View notes
Note
Question, I want to make character plushies ✨someday✨ and I'm really curious.
How do you make the faces that look like, embroidered on? Like how does it work?
Sorry to bother! Hope you have a great day!
They are embroidered!
You can purchase smaller home embroidery machines (versus big industrial ones) and either buy or make files for them. My first machines were Brother PE770s (started with one, bought a second after a while) but I think the current version of that machine is now the PE800? There's smaller machines like the SE400 series but I'd recommend saving up for something with a 5x7" hoop so you don't outgrow it too fast and make sure to shop around locally and online to find the best price.
The PE machines are embroidery only while the SE can switch between a regular sewing machine mode and embroidery mode but personally I'd recommend getting a separate sewing machine. There's other brands too but I've only used Brother machines for embroidery and Singer for sewing 💦 It's worth looking at local shops though to see what they have and what they can service as you'll likely be getting your machine serviced annually for tune-ups.
The other thing to note is you'll need to either buy embroidery files or make your own. I use SophieSew which is a free program but pretty buggy lol The creator had planned a lot of updates but then apparently passed away. I've still been using it for ~7 years 🤷 There are better programs but they can be quite pricey, I'd personally recommend avoiding programs like SewArt that can only auto-digitize (auto converts from a picture but doesn't allow any real control, often leads to gaps in the final designs). There's also lots of folks on etsy who sell embroidery files and some can make you files on commission! If you make your own just keep in mind you'll need to stitch out the test to see the final results- the programs cannot take into account all the physical variables so you need to run a physical test and see how it acts in real life then make adjustments based on that!
Besides the machine you'll need specific embroidery thread (not all-purpose thread) and 40 or 60 weight bobbin thread plus stabilizers to go under (and if a fuzzy fabric also over) your fabric so keep in mind you'll need to spend a chunk on supplies as well.
Here's a tiktok I made a while back showing the process for an AC charm commission (not counting making and testing the file lol). This one is made with my current machine which is a 10 needle semi-industrial but the basic mechanism is the same! Your files basically act as instructions for what the machine will stitch out.
Sorry for the wall of text xD Hope it helps!
18 notes
·
View notes
Text
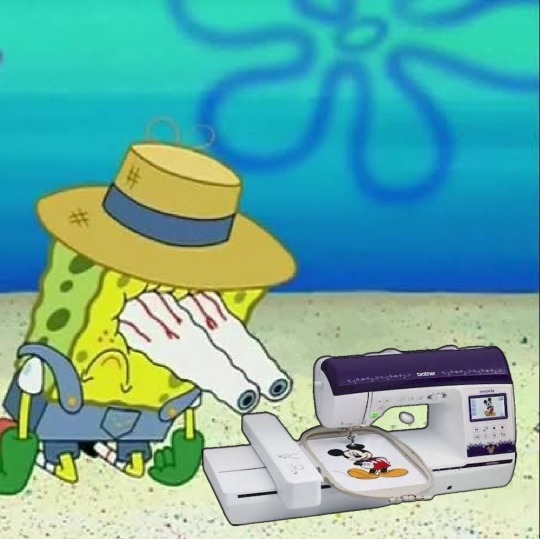
When your embroidery machine is being suspiciously less noisy than usual
5 notes
·
View notes
Text
Hey weird thing to ask but anyone out here ever used an embroidery machine ? ??
I’m trying to learn but I got a few questions..
5 notes
·
View notes
Text
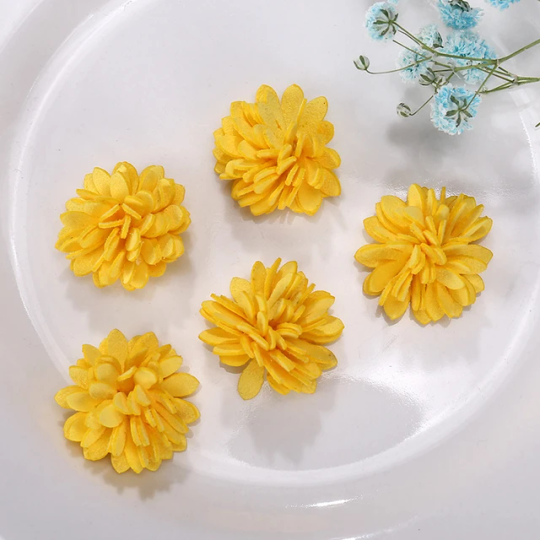
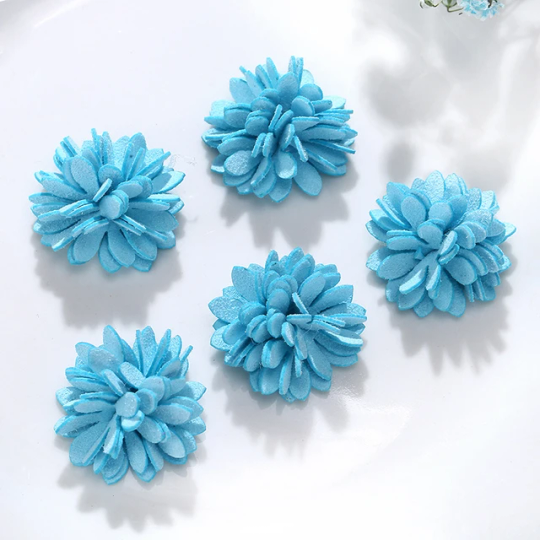
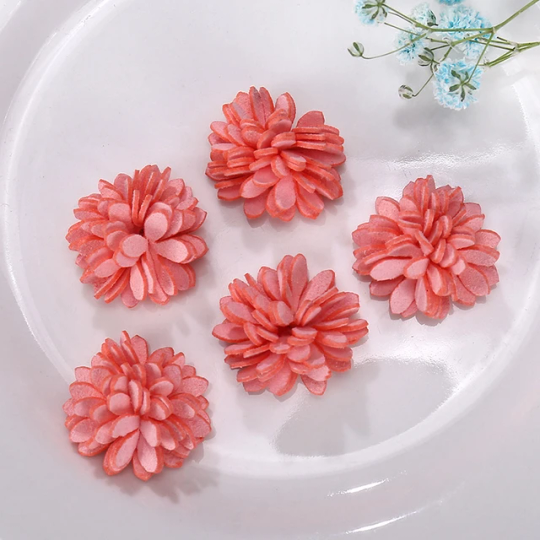
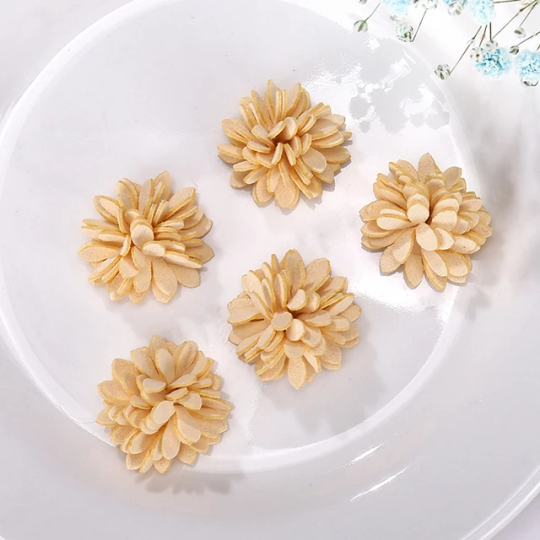

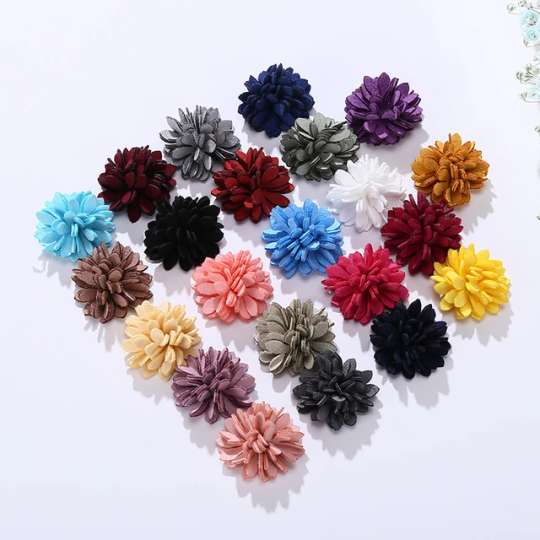
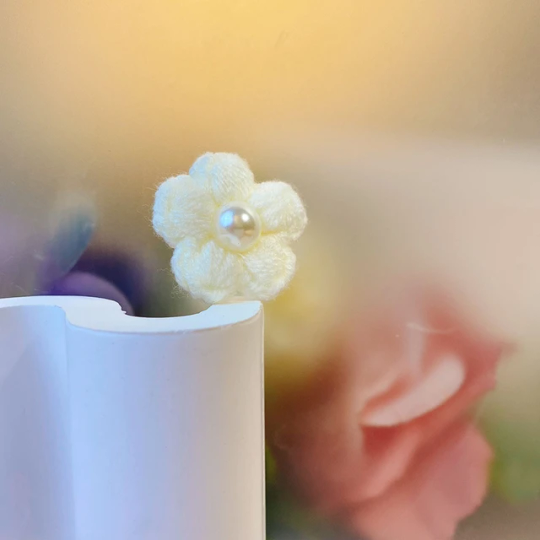
Mini Leather Fiber Flower Crafts Material DIY Clothes Hat Decoration Accessories Patches Scrapbooking Craft Fake Flower
#embroidery#sewing#stitching#handmade#handmadewithlove#craft#crafts#diy#doityourself#fiberart#needlework#textileart#slowliving#sustainableliving#handembroidery#embroideryart#embroiderylove#embroiderydesign#embroideryhoop#embroiderypattern#embroideryflowers#handembroidered#embroiderylife#modernembroidery#freehandembroidery#embroidery pattern#embroidery machine#embroidery hoop#textiles#textile art
2 notes
·
View notes
Text
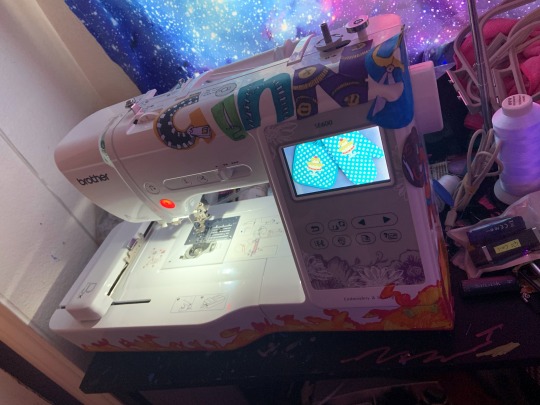
My new sewing/embroidery machine has a name!
Expect new Pokémon embroideries soon!
#embroidery#pokémon embroidery#sewing#sewing machine#embroidery machine#sewing/embroidery machine#naming objects#ginger#ginnger
2 notes
·
View notes
Text

fear me
59K notes
·
View notes
Last Seen Blogs

fantastycznyzygzakmcqueen95
Jestem Szybki!

the-vengeful-maiden
Mika
heartmassage
Brutal Heart Massage
tangerineshoyo
dead blog