linda-darnell
buffalo replaced
i'm sticky as hell #tuservero
1385 posts
Don't wanna be here? Send us removal request.
Last Seen Blogs
osashimi300
Menwatch
purpobandit
Purpobandit And The Mean Ol Moon
kratomprince
fka pilottttjones

sick-of-swimmin-blog
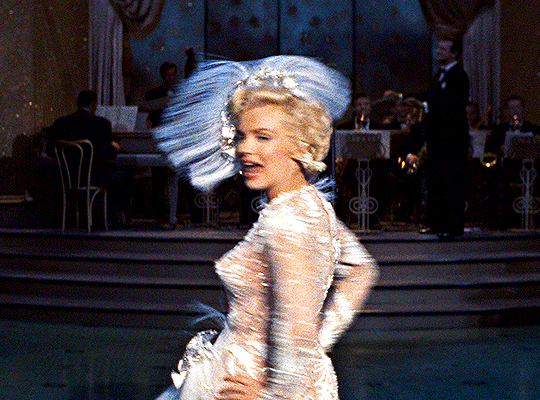
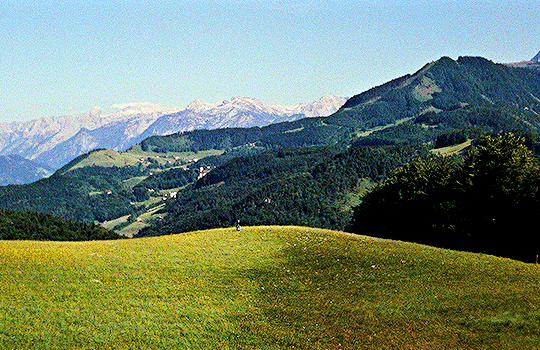
Part of My World
Photo


The Sound of Music (1965)
dir. Robert Wise
6K notes
·
View notes
Photo
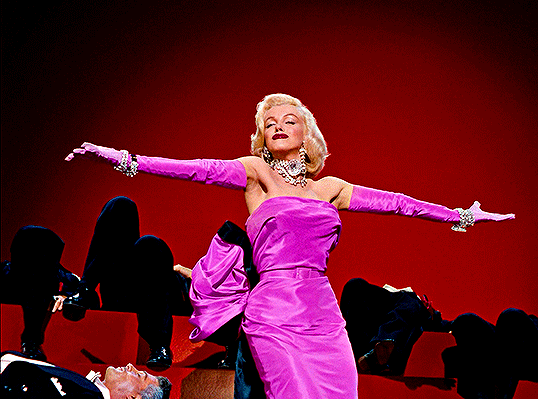

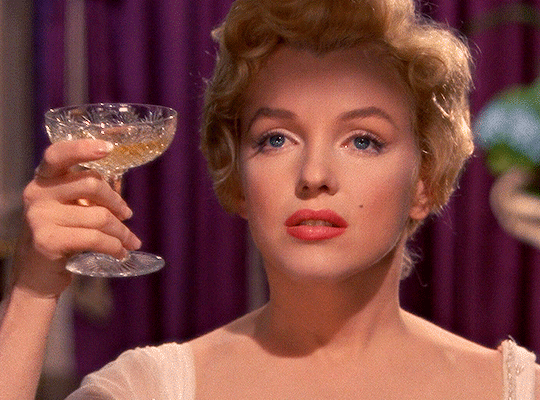

HAPPY BIRTHDAY MARILYN MONROE! 💋
(June 1, 1926 - August 4, 1962 ∞)
3K notes
·
View notes
Text
1K notes
·
View notes
Text
oops
hey guys! long time no see. this year has been packed and busy for me (studying abroad, starting senior year, planning my future etc etc) so i was on an unintentional hiatus... again. i hope to maybe start posting again? if this semester doesn't take up too much time. thank you all for sticking around!! <3<3

1 note
·
View note
Photo


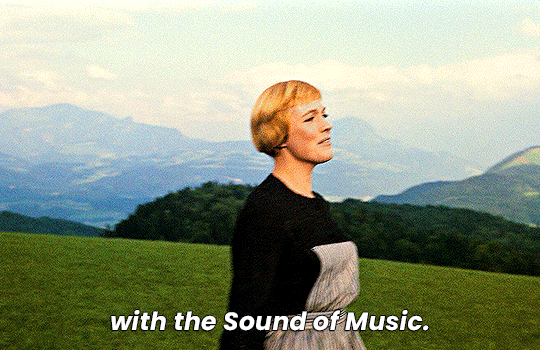

The Sound of Music (1965)
dir. Robert Wise
1K notes
·
View notes
Note
The blending in your Lucas gifset was absolutely gorgeous! Do you have or know a tutorial on how to do it?
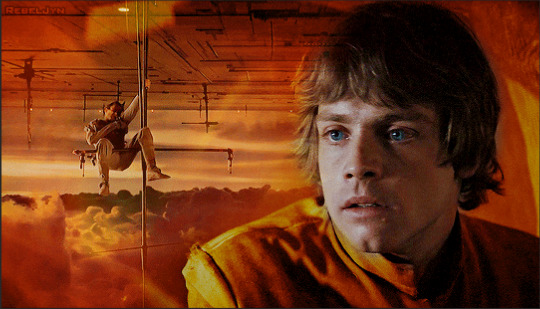
Blending Tutorial!
Firstly, thank you for the compliment anon! Now, I'm going to go through the process considering that you already know how to make regular gifs and know how to use adjustment layers, so I'll be focusing specifically on blending but if you need those tutorials I can make them, just ask!
This is gonna be our end result after the whole process:

This specific gif from this gifset(with the typography removed) is focused on a color palette with only two adjacent colors so it's a bit easier to make the blending look good but this process works for any kind of gif! So let's start the tutorial!
1. Get your desired gifs into the same canvas

These are the two gifs I'll be blending for this gifset. Make your gifs and resize them to the size of your final gif. Remember to turn the layers of each gif into Smart Objects so that you can move them around properly when blending.
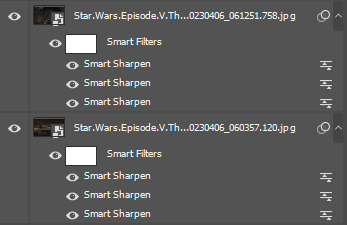
I usually make the gifs and just copy and paste one of them onto the canvas where I made the other one. You can also make your gifs and save them separately from each other first and then put them into the same canvas, but I prefer to make all adjustments except for resizing in one canvas so I can tweak the positioning of each gif as well as the coloring so everything looks the way I want it to.
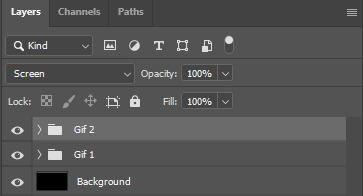
2. Put each gif into a folder

This will make it easier for when you start using adjustment layers on each gif so that the adjustments don't interfere with other layers.
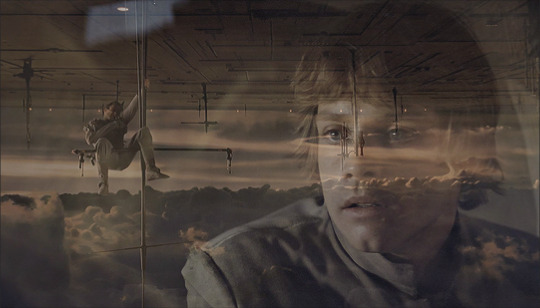
3. Set layer mode to screen
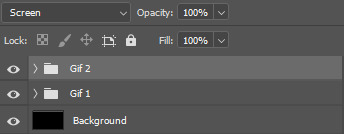
Set both folders to Screen, this will help blend them together better than if you were relying only on the opacity of the layers. I also usually create a new layer and use the paint bucket tool to color it black. Your gif should look something like this:
And your layers like this:
The black background makes sure there aren't any transparent spots in your gif when you use the layer masks to blend them as you can see here:


4. Create layer masks

Select each group one at a time and go into Layer > Layer Mask > Reveal All. Your layers should now look like this:

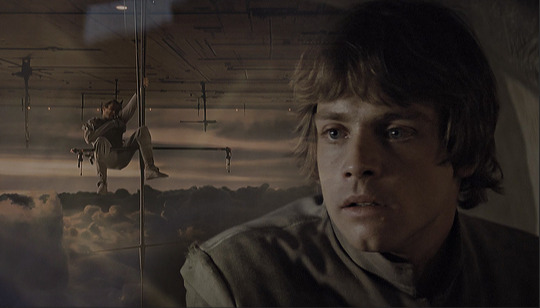
5. Start erasing each gif on the layer mask
Use a soft airbrush to erase each gif to your liking. With layer masks you can use the eraser tool or the brush tool. Layer masks work based on color value(how light or dark the color is). The darker the color you paint with your brush the less opaque it will be. Painting in black will erase the area completely and painting it white will make it completely visible. The eraser defaults to the same effect as if painting with a brush in black.
This is the final result of the blending:
This is how each of the gifs look after I erased them with the layer masks:


This is what my layers look like:

As you can see I've erased one of the gifs way more than the other, that's because I only erased parts of the gif that would interfere heavily with the gif I wanted to be more visible. Make sure to move around the timeline of your gif to see if you need to erase more or less of each gif since the person or thing you're trying to keep visible can move around and get covered.
6. Make your color adjustments
If you've already made your adjustments before pasting both gifs into the canvas you can skip this step. Since this gifset was focused on orange and yellow I adjust my colors to match that. I keep my adjusment layers in groups inside the respective gif's folder so I can turn them all on or off easier and so they occupy less space in my Layers tab.

And this is what the colors look like in the end:
7. Export your gif
This is what my export settings look like:
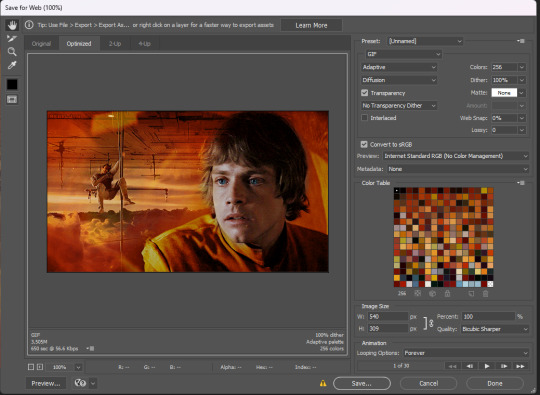
This doesn't interfere with the blending and a lot of these settings are personal preference but I thought it was worth sharing.
And finally we've arrived at our final result as shown previously:
Other blending tutorials:
Now the links to some other blending tutorials that might have different methods(sometimes because of different desired outcomes). I'll be tagging the creators for if anyone wants to look at their content!
Tutorial using gradients and lighten mode by @linda-darnell
Tutorial using erasing with layer masks by @eddiediaaz
Tutorial adding color on top by @miriammaisel
Tutorial using screen and color layer modes by @disaster-lineage
That's it! Hope this was helpful!
112 notes
·
View notes
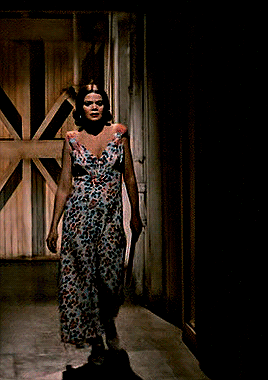
Photo


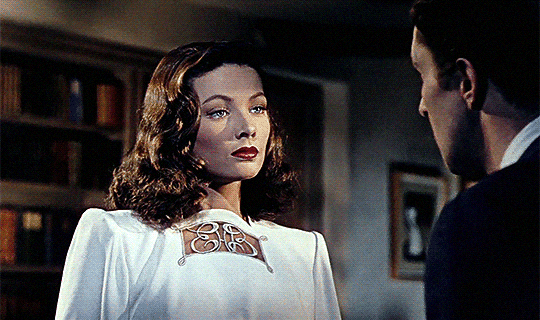

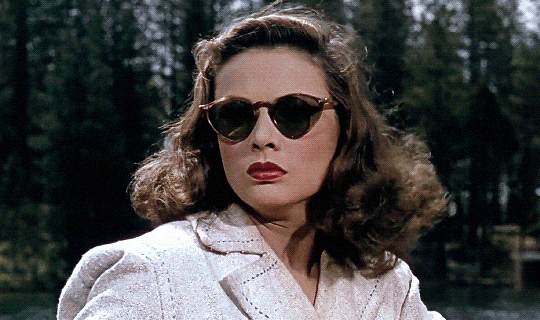
GENE TIERNEY as ELLEN BERENT in
— LEAVE HER TO HEAVEN (1945) dir. John M. Stahl
348 notes
·
View notes
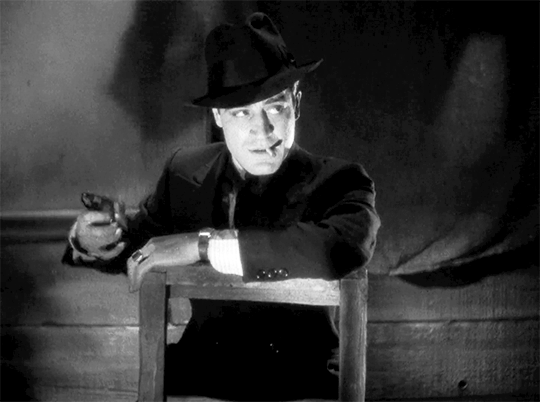
Photo


eileen brennan as billie
the sting (1973), dir. george roy hill.
73 notes
·
View notes
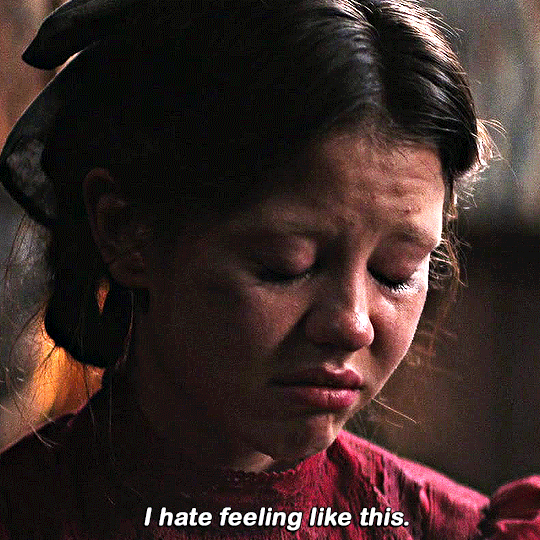
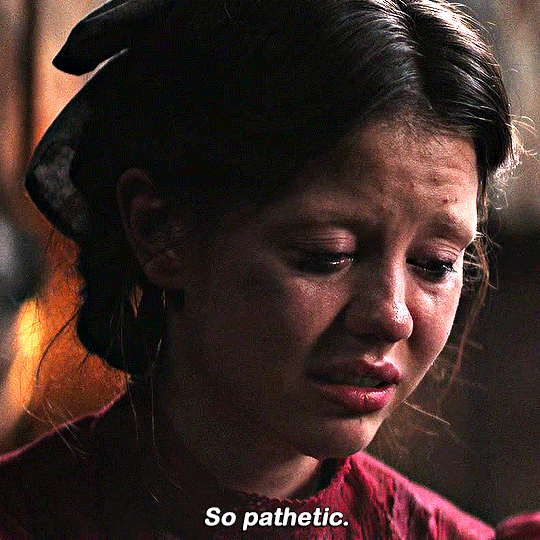
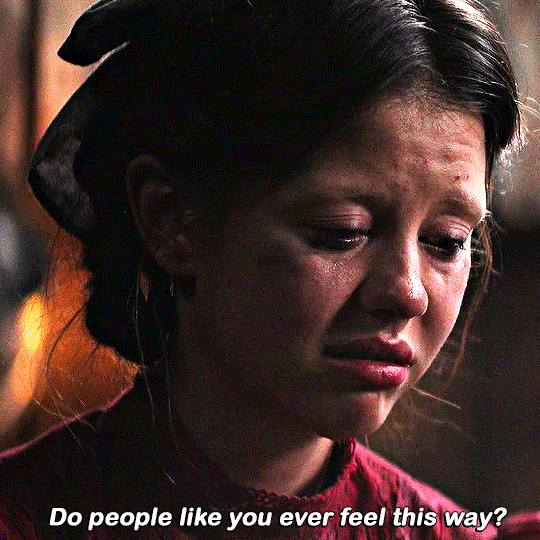
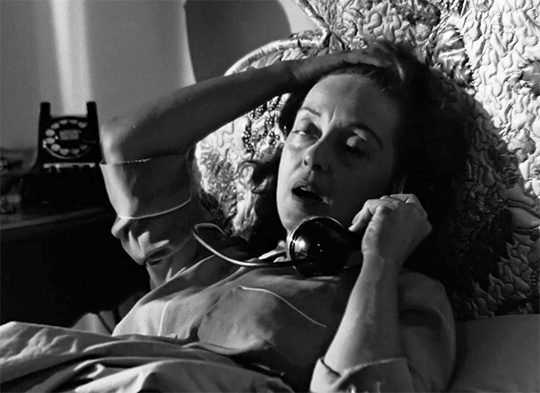
Text


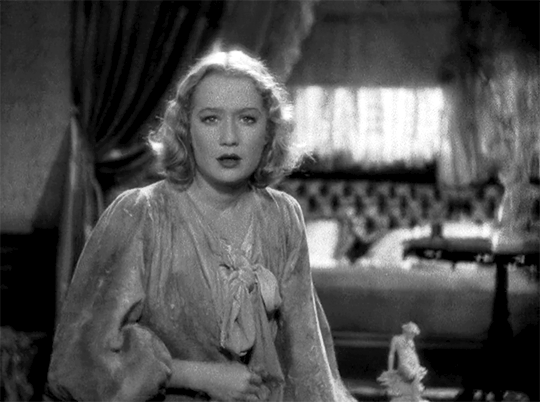


"I´m no good"
" Don´t be silly"
" Oh I´m not! Let´s not talk about it anymore."
"But Temple..."
" I can´t explain it, it´s just me. It´s something inside me."
THE STORY OF TEMPLE DRAKE | (1933)
Dir. Stephen Roberts.
184 notes
·
View notes
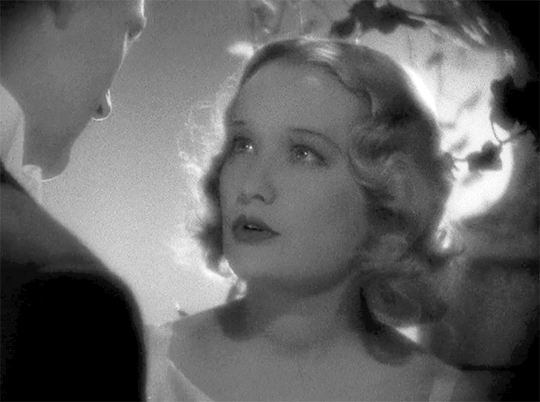
Text
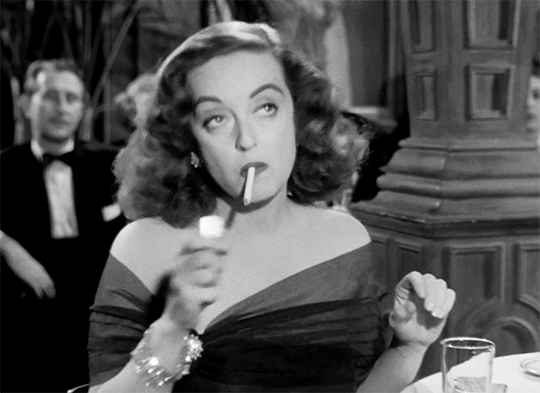


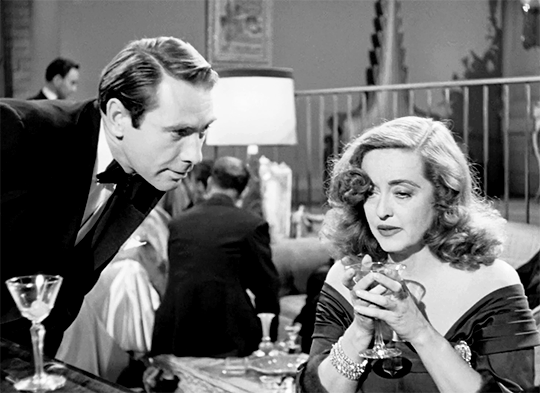


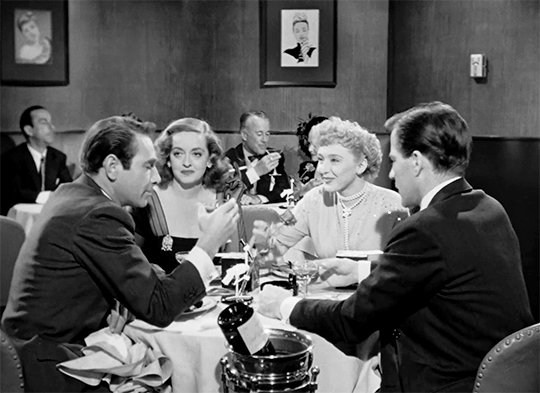
"So many people know me. I wish I did. I wish someone would tell me about me!"
All About Eve ( 1950 ).
Directed by: Joseph L. Mankiewicz
655 notes
·
View notes
Photo

PSCENTRAL — EVENT 14: YOUR URL
For our fourteenth event, we’ll be paying homage to our url. make a gifset inspired by your url - whether it’s your favourite character / fandom or other things that you associate with your Tumblr username, the sky is the limit!
this event will run from april 1st ~ 28th. the event submission deadline is at 11:59pm (pacific daylight time) on april 28th.
to participate:
✦ join the network
✦ reblog this post
✦ make a gifset that fits this month’s prompt
✦ caption your post with: @pscentral event 14: your url
feel free to message us if you have any questions about the event. we’re excited to see what you create!
138 notes
·
View notes
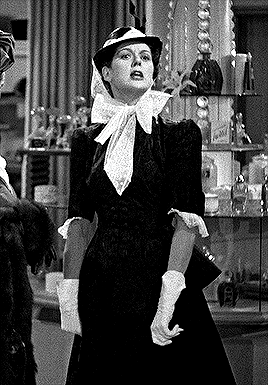
Photo

Audrey Hepburn shows a Givenchy dress during a fashion show, Amsterdam, 1954
543 notes
·
View notes
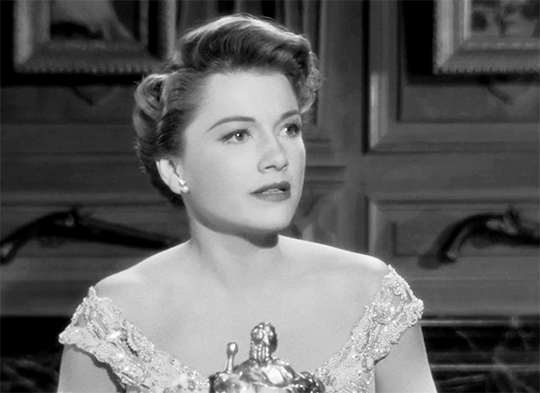
Text


⎯ GRACE KELLY (1929-1982)
↳ Dial M for Murder (1954)
↳ dir. by Alfred Hitchcock
795 notes
·
View notes
Photo

PSCENTRAL — EVENT 13: TROPES
this march we’re focusing on tropes! from the ones that spell out “tropes” to any you can think of, mix and match or pick one and expand on it, the sky is the limit! this event will run from march 1st through 29th. the event submission deadline is at 11:59pm (pacific standard time) on march 29th.
to participate:
✦ join the network
✦ reblog this post
✦ make a gifset that fits this month’s prompt
✦ caption your post with: @pscentral event 13: tropes
feel free to message us if you have any questions about the event. we’re excited to see what you create!
157 notes
·
View notes
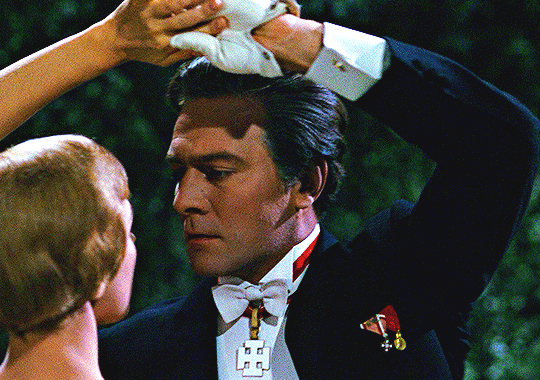
Photo
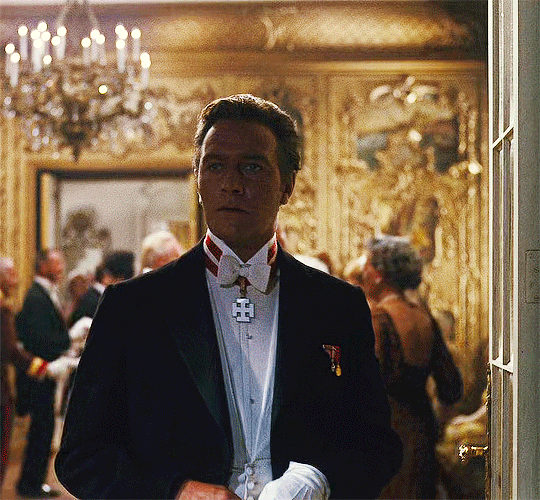

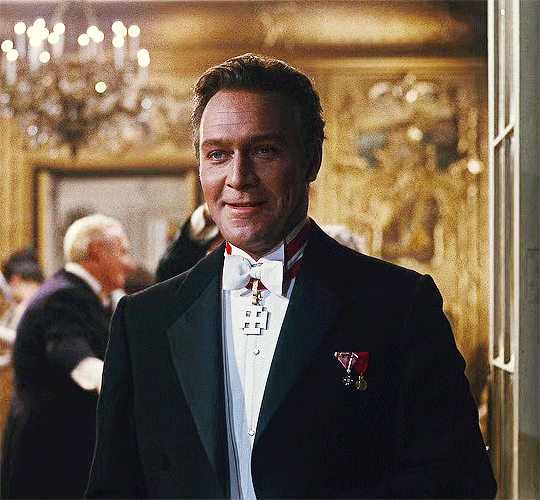
CHRISTOPHER PLUMMER as CAPTAIN GEORG VON TRAPP
⤷ THE SOUND OF MUSIC (1965) dir. Robert Wise
2K notes
·
View notes
Photo


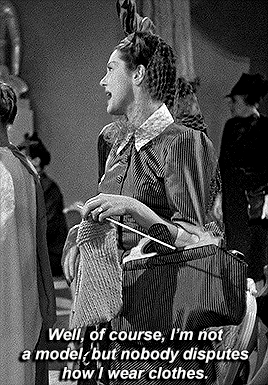


Well, here I am, girls. Move over.
ROSALIND RUSSELL as SYLVIA FOWLER
the women (1939), dir. george cukor.
457 notes
·
View notes