
incaseofemergency-blog1
ESR - Emergency Solar Radio
This is our blog to show our steps and progress though this journey!
- Becca, Sebby, Taylor
19 posts
Don't wanna be here? Send us removal request.
Last Seen Blogs

dimi3infinity
Power Jusho

etekligezegensblog
etekligezegenim

premierinstituteeducation-blog
Premier Institute of Education

forgottenschoolmhs
what is my life

moringmark
Thank you blanchin' MoringMark bot
Text
The End
Overall, we faced a few minor problems during this whole process. They were mostly technology or equipment related. For example, at the thrift store we weren’t aware of how big the speakers would be once we took them apart, so we didn’t know what size of tin to get. We wanted to keep it relatively small, but it had to be big enough to fit the speakers inside. We thought about buying two different sized tins, one slightly big and one small, since they were pretty cheap from the thrift store Talize. We decided to buy one medium sized one instead, and luckily it worked out perfectly.
Once we took the speakers apart, we were worried that the sound wouldn’t be as clear if we kept the speakers inside, so we thought of ways that we could put them on the outside. After already cutting holes in the top of the tin or the solar panels - this was slightly difficult and quite sharp around the edges – we thought we should test the speakers out first from inside of the tin before making any decisions and risking cutting our fingers from making more holes. To our surprise, the music was incredibly clear from the inside even with the lid on. Another bonus.
Another minor problem we faced was getting the krazy glue to touch both the solar panel and the tin on the right side. This was because it was uneven on that side, likely because we were using old and warn out equipment. The glue wouldn’t stick to the tin at first because it didn’t reach it do to the unevenness. We needed a weight of some kind to push the tin closer to the panel, something that was small enough to fit in the lid of the tin box but heavy enough to weigh it down. After a few trial and error items, we grabbed some unopened coolers (BudLight and an energy drink to be exact) and sat them on top of the tin for a while. They were the perfect weights, and before we knew it our problem was solved!
With the power of group work, our team managed to solve all of our problems that we faced and ended up with a successful, innovative piece of technology.
0 notes
Video
The finished product, a bit of a raspy rough sound, but it’s not half bad. It worked out well. A few minor adjustments will need to be done, such as resoldering some of the wires to different locations on the circuit boar for optimal sound and better quality overall. Though, this was a big success.
#finished product#cbcradio#nos#SmashBrosMeleeInBackground#mentalalertness#politics#emergencysolarradio
0 notes
Video
Testing out the old speakers - a success.
0 notes
Photo
Attempting to solder the speakers and the voltaic cells to the circuit board, with the hope and ambition that the placement of the wires will allow the design to function properly without any issues.
The soldering iron gave minor issues, for example, wires never wanting to stay attached to where they were soldered... but once they did, fingers were crossed and prayers were spoken. Hoping this design works.
0 notes
Photo
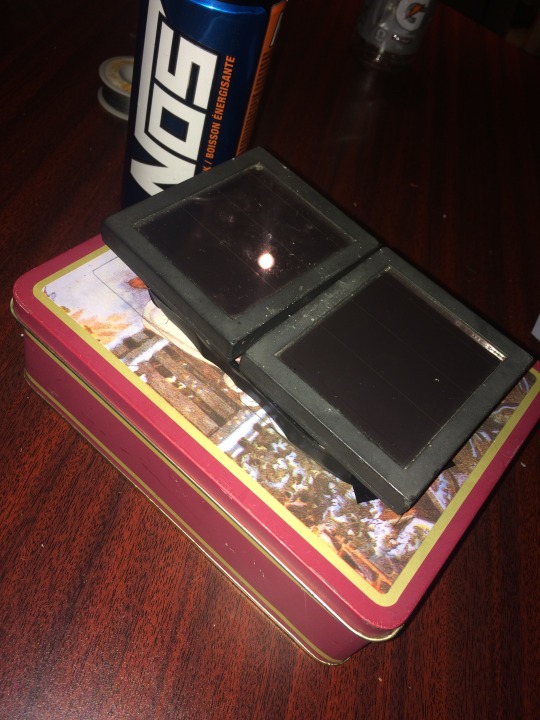
Trying to weigh down the tin so that the krazy glue will stick to the solar panel...
You gotta do what you gotta do.
0 notes
Photo
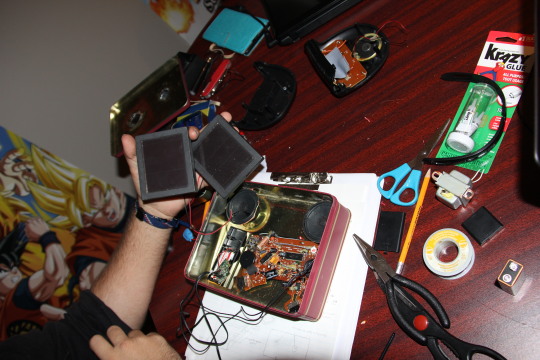
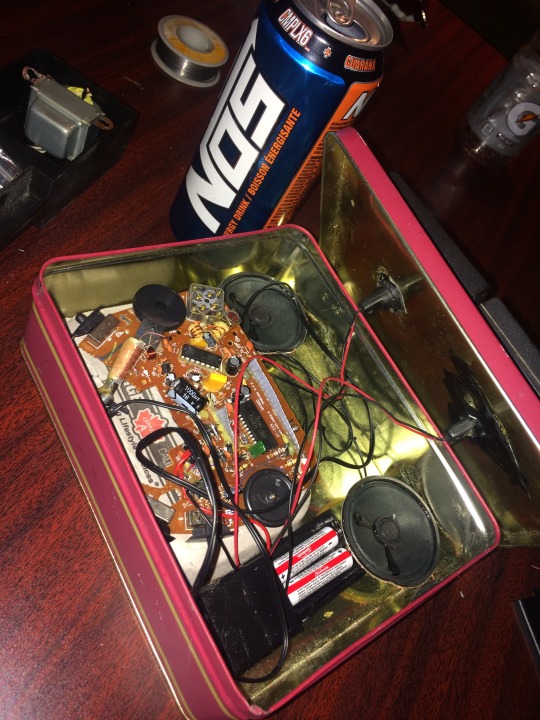
Once everything was taken apart, it was then time to figure out how things would fit inside of the tin casing. Not only that, but this placement was an attempt to determine where the wiring would go and how the pieces needed to be soldered together in order for the radio to function properly. As you see in the above picture, the placement of the speakers was to the back, leaving an appropriate amount of space for both the battery pack and the circuit board. The way things were placed made it accessible and easy to determine the method in which things needed to be mounted.
#krazyglue#tools#hardatwork#timetosolder#accessibility#determination#pride#speakers#circuitboards#batterypacks#wiring#soldering
0 notes
Photo
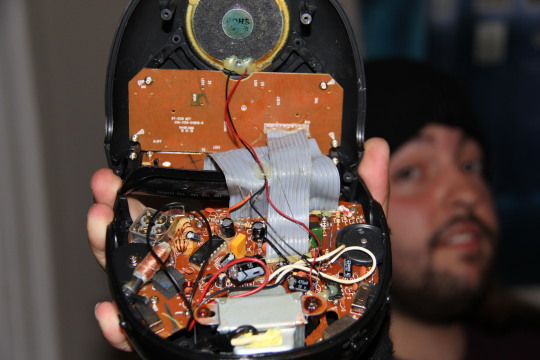
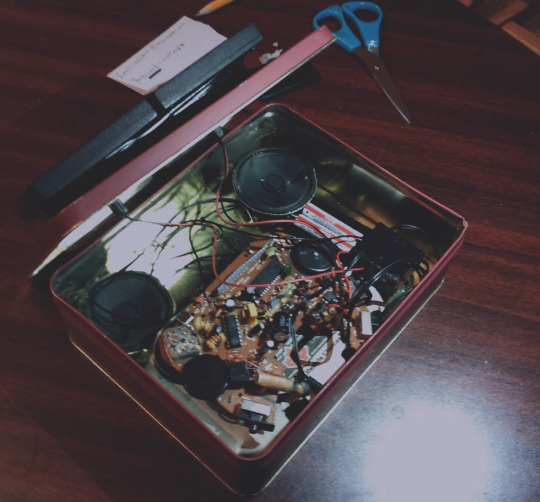
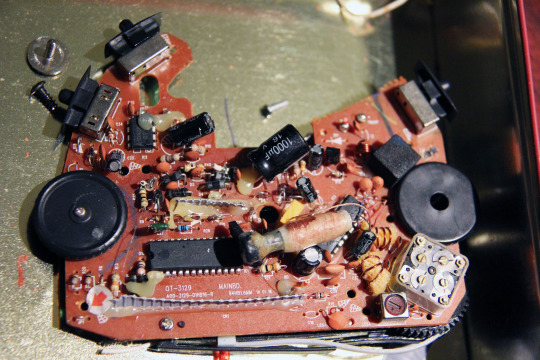
This is what the inside of the radio looks like. The mission was to take it apart in order to freely access the circuit board in which controls the tuning knob, the volume knob, and brings power to the entire piece. This was a bit of a challenge, although with previous knowledge of simple circuits, the attempt was made to create and innovate.
Of course, this was again done with the use of a screwdriver, allowing us to delve inside this technological marvel.
Needless to say, this step was a lot of fun, and you can clearly see how impressed Sebby looks at this stage in the development process.
The next stage. Figuring things out.
0 notes
Photo
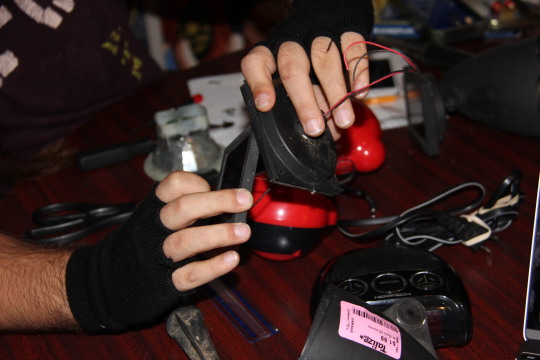
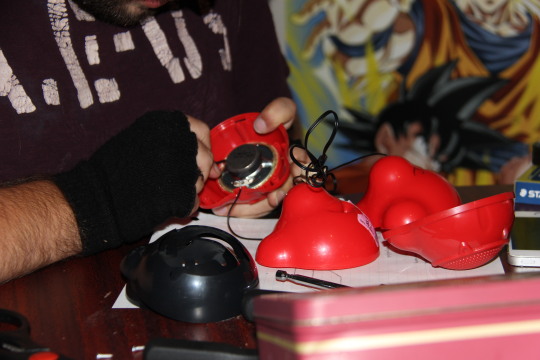
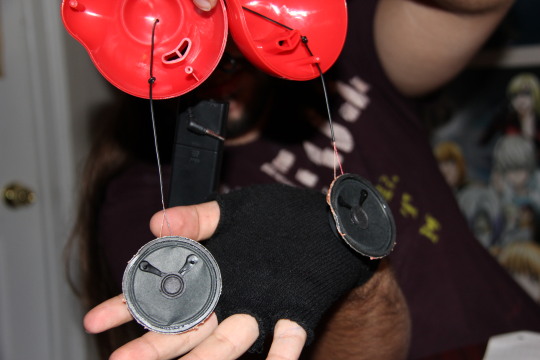
In these pictures, you have a visual of the process involved in taking apart the voltaic cell casing. Once the backing was unscrewed, everything was assessed and analyzed in an attempt to ensure there was no damage to the wiring, no acid was leaked from the battery and to determine how the solar panels work.
From there, something similar was done with the speaker. After figuring out how to take the speakers apart (mainly by breaking apart the casing in which held an protected the speakers), using normal sized screwdrivers and micro screwdrivers the casing was taken apart, the glue taken off, leaving the speakers free to be taken out.
The last step was then finding a way to take the speakers out of the casing without cutting the wires. Solution: Cut the casing and free the speakers from their bind.
0 notes
Photo
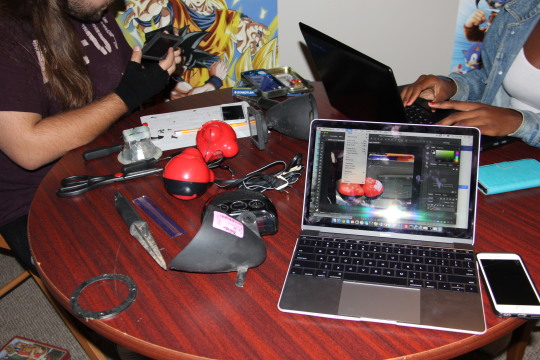
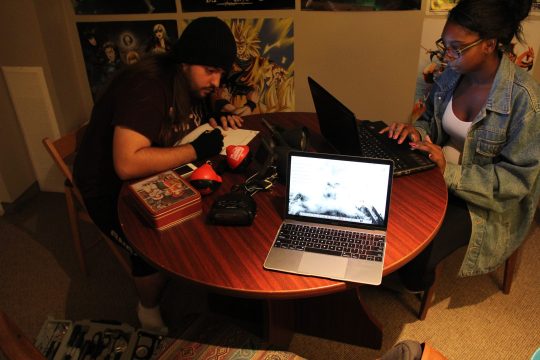
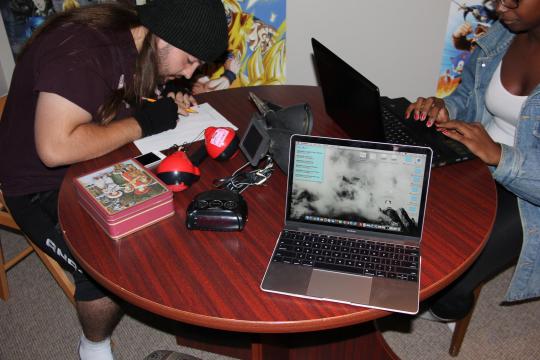
The workspace.
Currently taking the solar panels apart to make sure all the necessary pieces are there, such as the diodes and proper rechargeable batteries.
This was done by unscrewing the back of the casing that holds the voltaic cells.
Luckily, everything was there as needed.
At the same time, you notice on the laptop (if you can see past the fingerprints) that pictures are currently being edited with Photoshop by Becca. This is of course to make them more tumblr worthy and aesthetically pleasing.
0 notes
Photo

The mechanics: The circuit board for the radio in which everything will be later connected to.
Using a compass to get an idea as to where holes need to be cut in order for the solar lights to sit properly on top of the tin can.
That’s after both were placed on the tin, traced, and then measured in order to determine accurate centers in order to things to seem a bit more aesthetically pleasing.
Once holes were cut using some low tech items, such as scissors and an Exact-O-blade, they needed to be properly stretched out to the needed size. Unfortunately it was a little complicated to cut out the tin without properly tools, so the holes were roughly done.
After doing such, the tin had some rather rough edges that needed to be pounded out. Using a hammer, and an iPhone to produce some lovely videos, the tin edges were pounded out in attempt to make them slightly less jagged.
0 notes
Photo
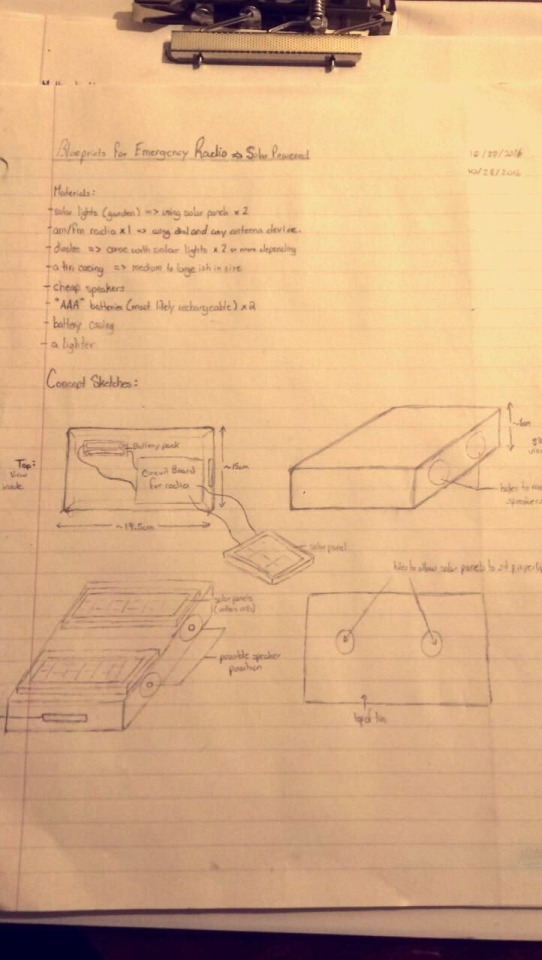
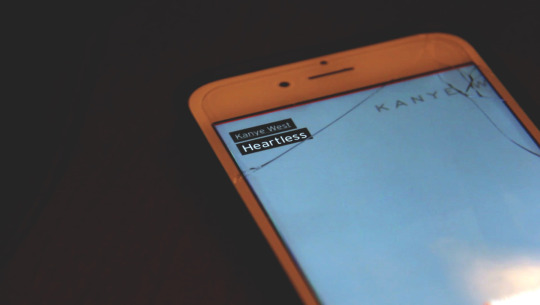
This is the initial concept sketch for our emergency solar powered radio. So far this is the plan Stan. Hopefully it goes well. Seeing some minor flaws but I'll briefly touch up on those later.
#blueprints#multimedia#kanye west#diy#concept#sketch#idraw#idrawstuff#innovation#innovative#inspirational#group#blueprint#materials#radio stuff
0 notes
Text
Small cost for a big investment.
Since we are on a budget for this assignment and people are supposed to be able to make this at home and use it themselves, we acquired a lot of our supplies from discount stores. Actual emergency solar powered radios can range from $30.00 to a shocking $130.00. When you think about it, why would you have to pay hundreds of dollars to be able to have an item that could potentially save lives and make people prepared for disasters that they couldn’t see coming. We are making something that could be of use for people that either don’t want to spend that much or can’t afford something that expensive. So, we went to Talize (it’s like a knock off value village) and got our supplies. We will be posting specifically about what items we got and what purpose they served in a later post. We only spent $19 between the three of us to get everything we needed. We think that they were great finds!
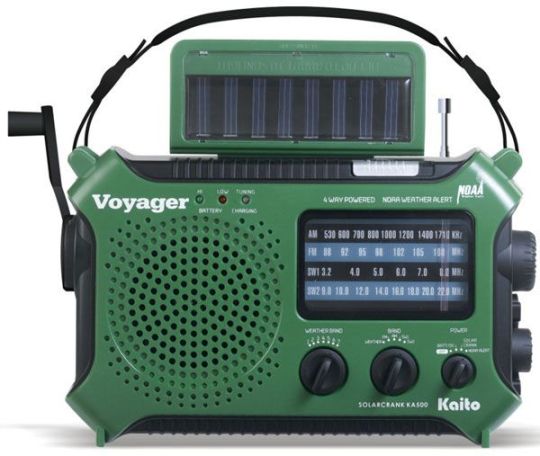
This is what a high- tech radio would look like.
0 notes
Photo
Hard at work! The prestages of concept development. Elaborating and discussing how things should work and look like. Group discussions got us all intuitively involved. Taylor, prepping our Tumblr blog page.
0 notes
Photo
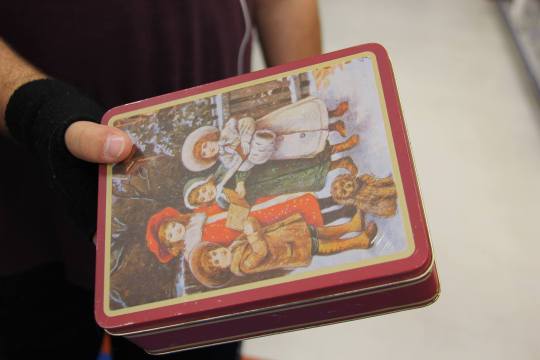

The tin casing in which will be used to contain the mechanisms.
$1 at the thrift store.
0 notes
Photo
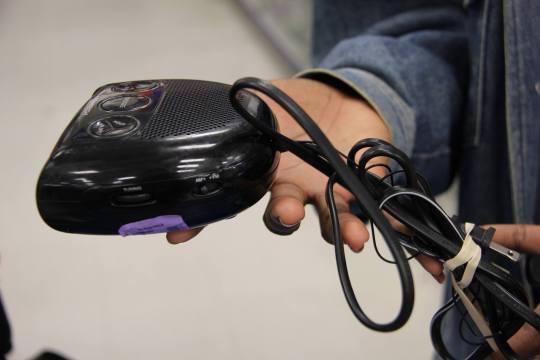
The radio in which will be taken apart and used for the circuit board and tuning knob for our solar powered radio.
$5.99
0 notes
Photo
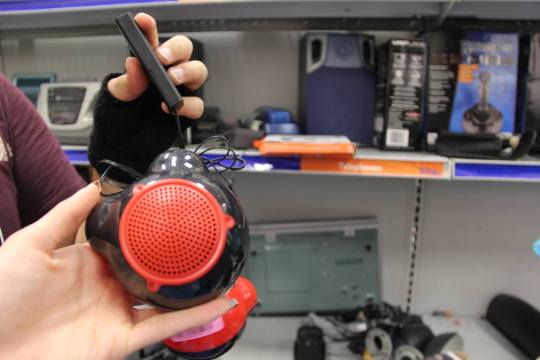
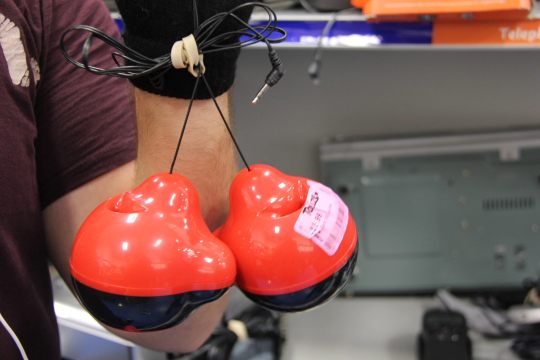
A quick and easy to take apart, cheap pair of speakers in which will allow for simple manipulation of speakers for our model.
$5.99 at Talize.
0 notes