Last Seen Blogs
beepboop260
Idk Man
seiffer55
We all fall. Stand up and try again.
jsuisartistofthestars
Witchcraft & More

jambociao
Take care of your soul.

zipart
just one week of cicada days, we’re losing touch
Photo
5 notes
·
View notes
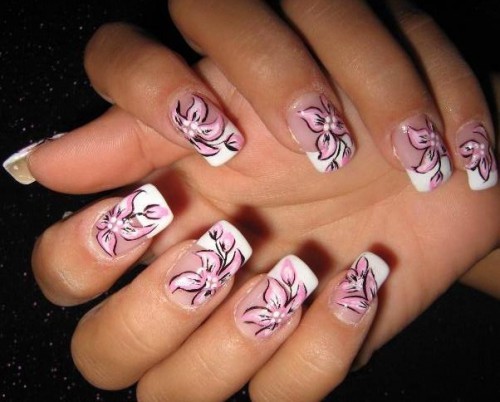
Photo
Dandelion Nait Art.
15 notes
·
View notes
Photo

Funny Snowman Artistic Theme
4 notes
·
View notes
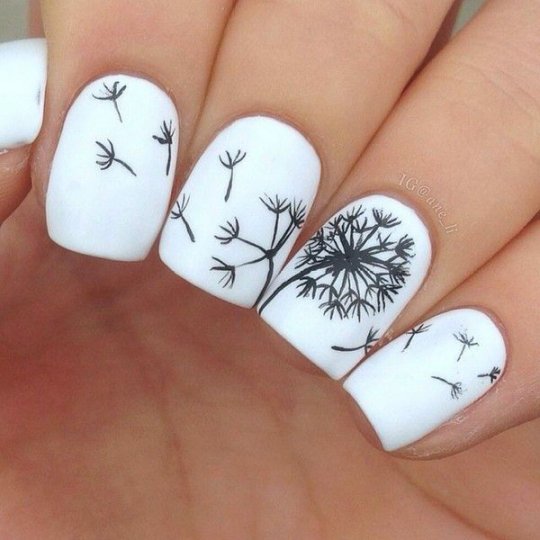
Photo

Tutorial: Kintsugi Nails
Here’s how I did this design– it’s actually pretty simple. You’ll need a couple of shades of gray polish, black polish or acrylic paint, metallic polish or paint, a makeup sponge, and a small brush.
1. Start by painting your nails a light gray or off-white (this is OPI Skull & Glossbones).
2. Tear off a piece of a wedge-shaped makeup sponge, and brush some darker gray polish on the rough edge (here, OPI Cement the Deal).
3. Roughly and randomly dab the darker gray over your base. Don’t cover the whole nail– let some of the lighter color show through.
4. Repeat this polish with a darker gray or black polish, over a smaller area of the nail. I used a black polish (OPI Black Onyx) , but I dabbed it lightly on a paper towel first, so the black wasn’t too pigmented. If it doesn’t look weathered enough for you, you can dab more of the base color, the darker gray, or another similar shade to add more texture.
5. Using a fine brush and black polish or acrylic, paint on some ‘cracks.’ Don’t make these lines as thin as possible, and if they’re a bit wobbly that just adds to the aesthetic.
6. With a metallic polish (here, Sally Hansen Liquid Gold) and your brush, paint a very thin line of gold down the center of the black lines. Finish with topcoat and you’re done.
26K notes
·
View notes
Photo

Nail Show Tarascon 2013. nail cap made by Maître Ken. 3D Resin and acrylic paint
8 notes
·
View notes
Photo

Nail Show Tarascon 2013
21 notes
·
View notes
Photo
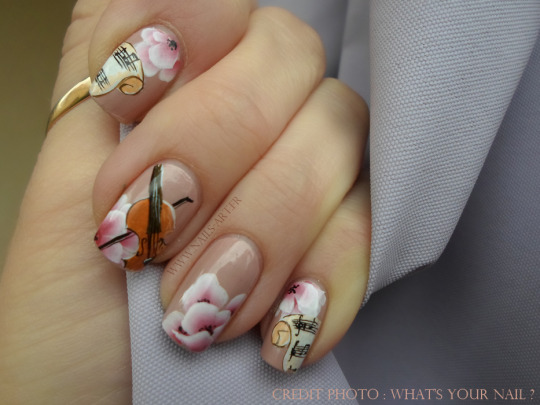
Nail Show Tarascon 2013
30 notes
·
View notes
Photo
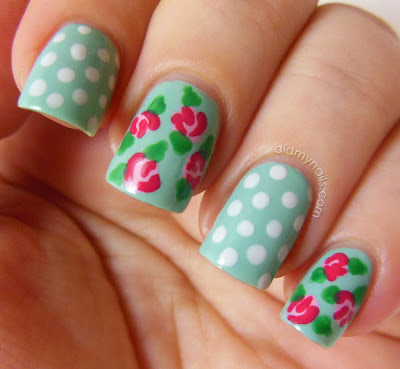
Vintage Rose Nail Art Tutorial
22 notes
·
View notes
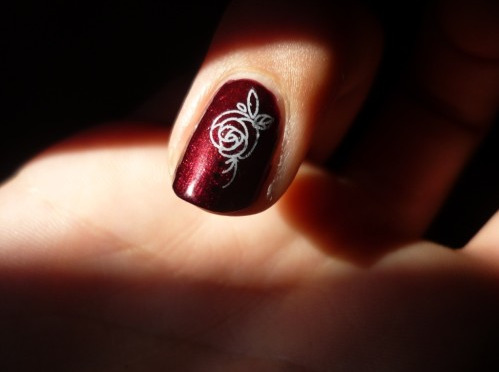
Photo

35 notes
·
View notes
Photo

Seven Deadly Sins Challenge: Week 4 - Sloth. The prompt this week was to create a tutorial based on something easy, you can see my blogpost here and my tutorial on youtube here
2K notes
·
View notes
Photo
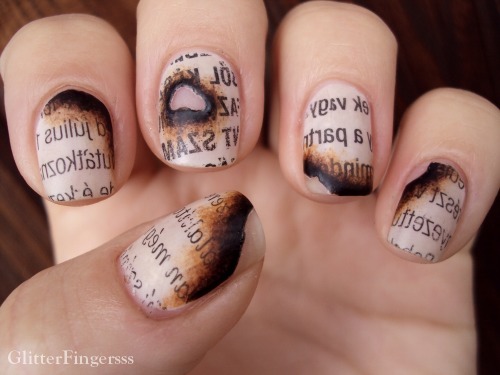
Burned Paper Nails
67 notes
·
View notes
Photo

This video is awesome if you want to discover how this nail art had been made.
7 notes
·
View notes
Photo
4 notes
·
View notes
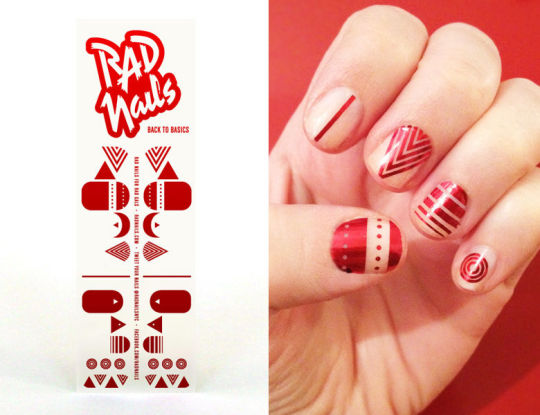
Photo

23 notes
·
View notes