cryptidsquill
Cryptids Quill
🌙request open:
🌙please give me a follow on:
🌙Instagram and Twitter : cryptids_quill
🌙Facebook : cryptids.quill
52 posts
Don't wanna be here? Send us removal request.
Last Seen Blogs
nikethestatue
The mess that's my head

iamtotallycool
Welcome to my heart and soul!

erchomvi
ERCHOMAI.
mchlxx
Untitled

mlb-adrienette
I Am Emotionally Connected To Marinette♡︎
Text
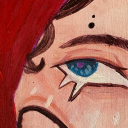
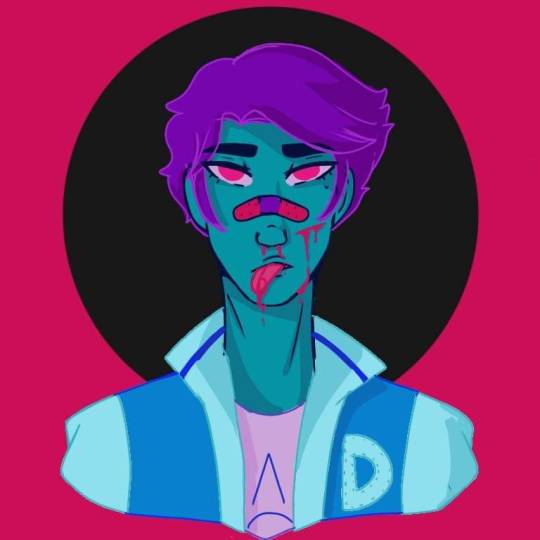
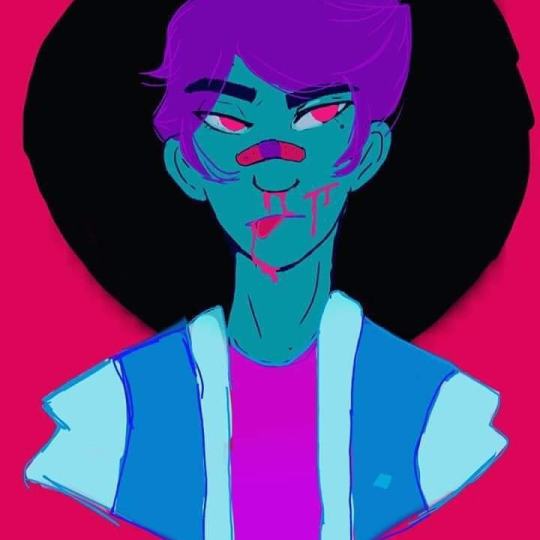
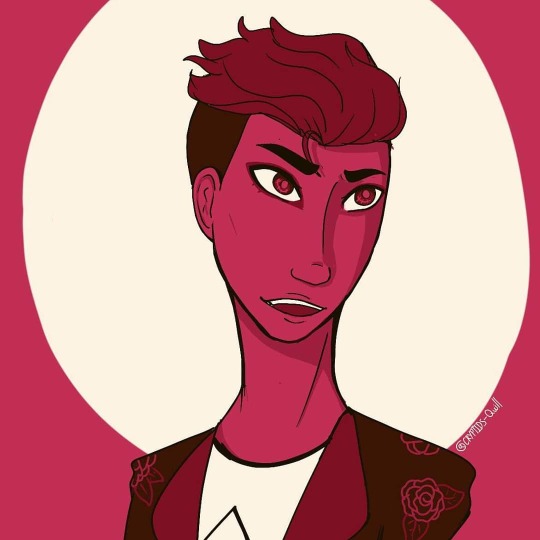
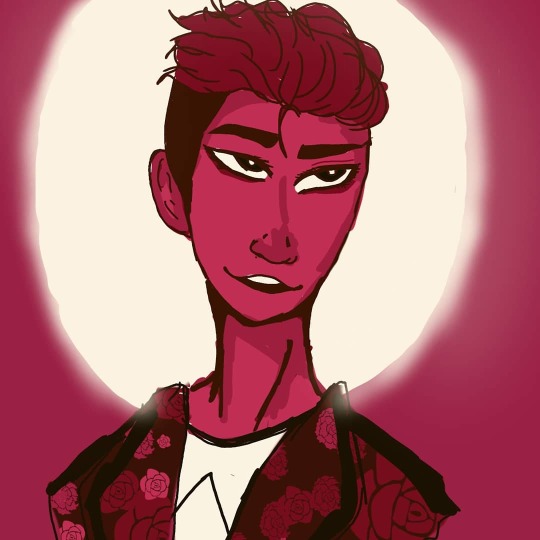
Always been a sucker for those toxic grunge dudes.
Mixed media on card stock
#art#artists on tumblr#transartist#lgbtartist#charcoal#inkillustration#oil pastles#chalk pastel#mixed media#australian artist#traditional drawing#green aesthetic#grunge#punkstyle#punk#queer artist#queer
6 notes
·
View notes
Text
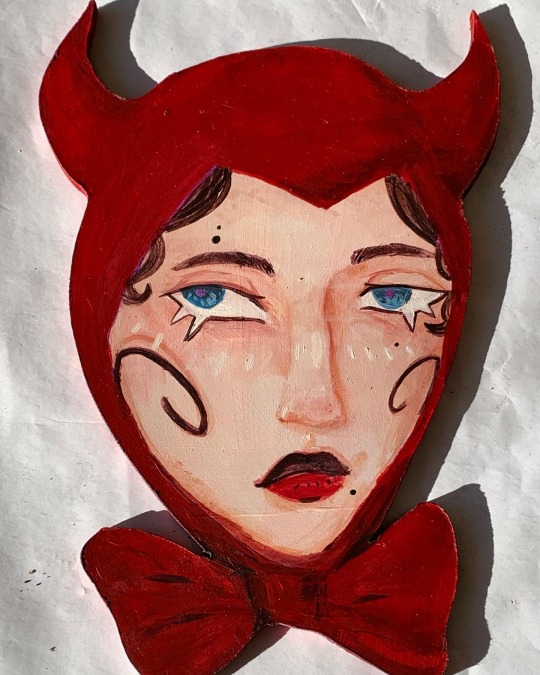
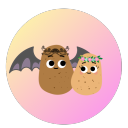
A demonic self portrait
#art#artists on tumblr#transartist#aesthetic#lgbtartist#devil#demon art#horns#devil bonnet#acrylic painting#acrylic#Australian artist
3 notes
·
View notes
Text
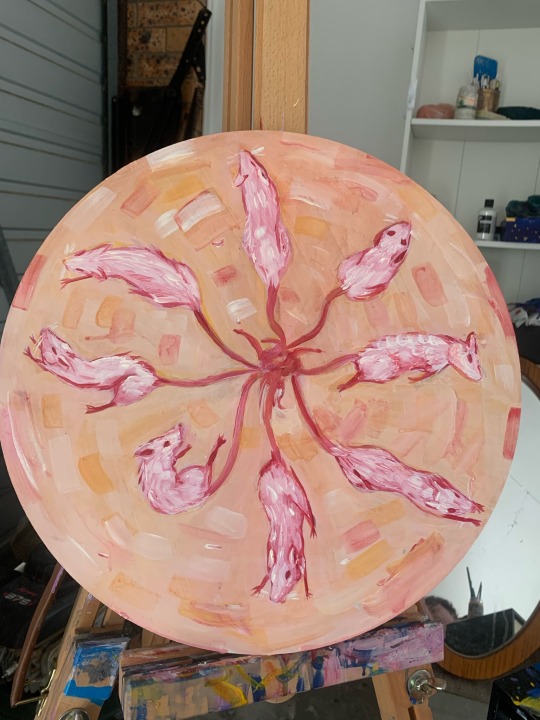
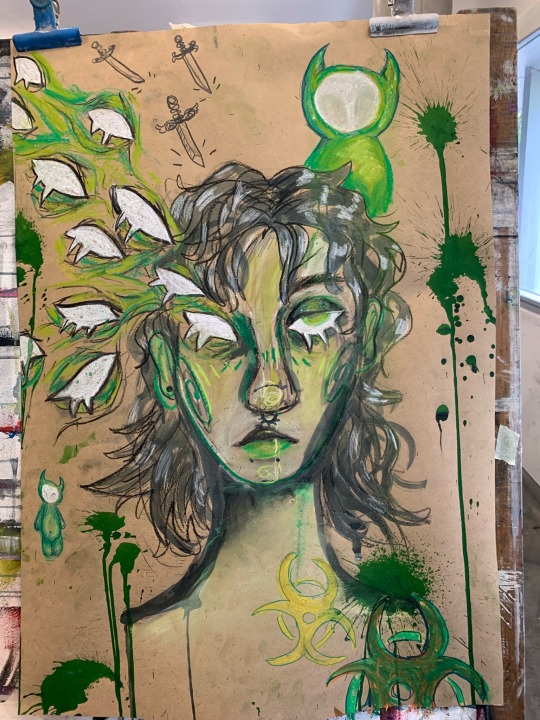
It’s been a while since I posted and my art has changed a lot , this is my rat king
3 notes
·
View notes
Text
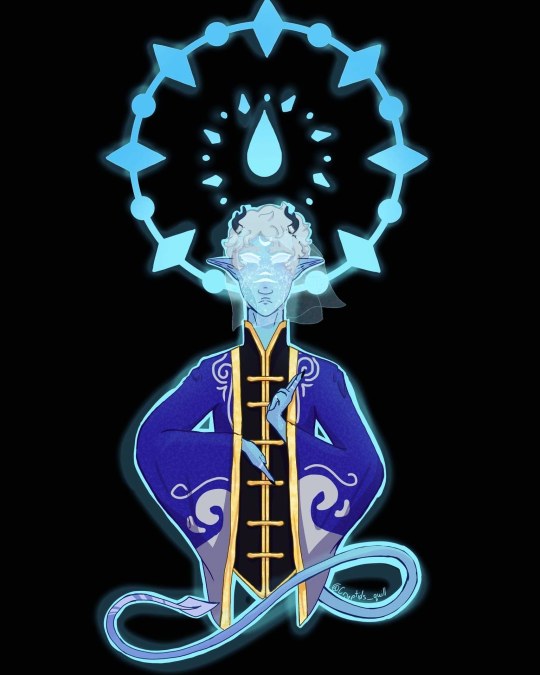
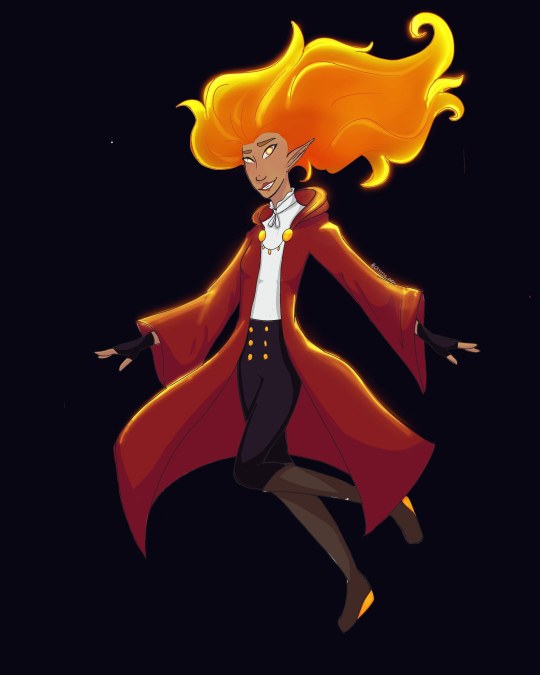
My cleric Lapis is what happens when a conartist accidentally learns his been worshipping Loki.
#my art#dnd character#dnd#teifling#cleric#loki#trickster cleric#gay character#transartist#con artist#religious aesthetic
6 notes
·
View notes
Text

Some traditional art of my boy Calvin.
#lgbt#artists on tumblr#original character#lgbtartist#inkillustration#traditional art#traditional drawing
2 notes
·
View notes
Text
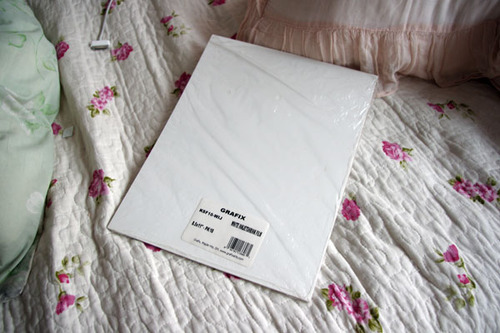
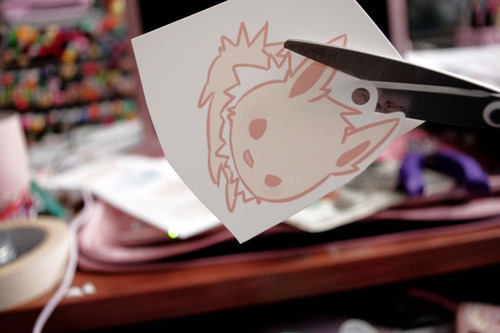
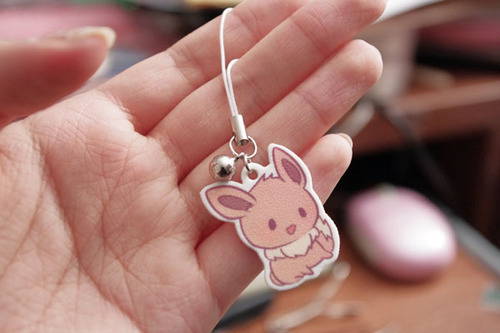
Tutorial: plastic keychains
I know a ton of you have been waiting for this one. Teaching you to make your own plastic keychains!
To start off, I think the biggest question everyone has is what I use to make them. I work with shrink film. You might be familiar with Shinky Dink brand shrink film as a kid. I use Grafix brand white inkjet shrink film. The inkjet kind is relatively pricey compared to the regular kind. If you’re using regular, I don’t recommend you stick it in your printer. Sharpie markers would be good for that.
Alright, now open up the file with the images that you’re working with. Make sure your images are a lot bigger than you want your finished product to be since they shrink significantly.
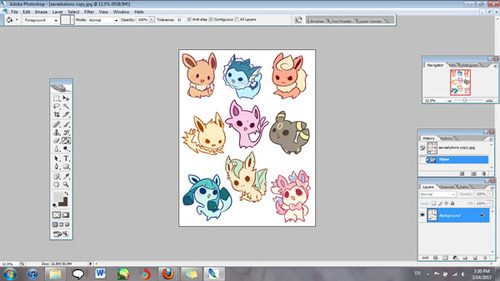
You’ll also want to lighten the opacity to about half. I go somewhere between 50-60%.
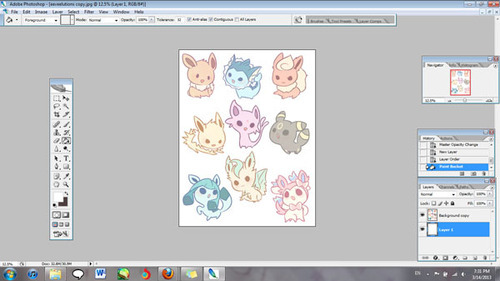
Now print your image out! I’ve found that it works best for me when I have it at the plain paper setting, and standard print quality.
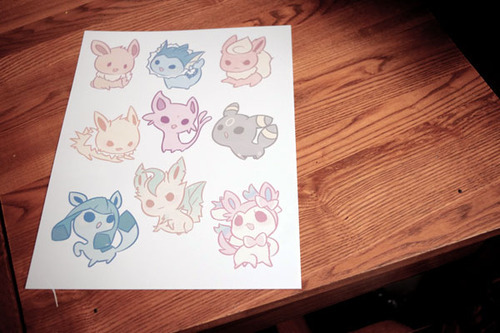
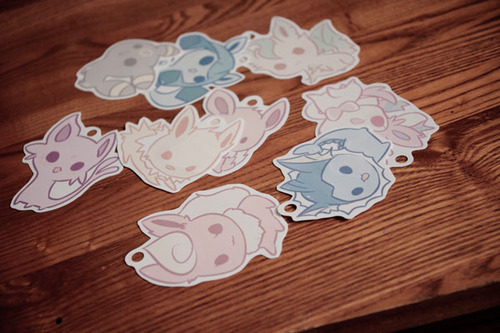
Holepunch with a ¼" holepuncher BEFORE you shrink them. It’s so much more work to have to punch holes when your plastic is thick!
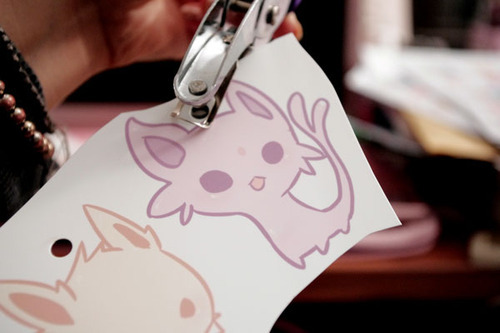
Cut out your design, leaving the amount of border you want.
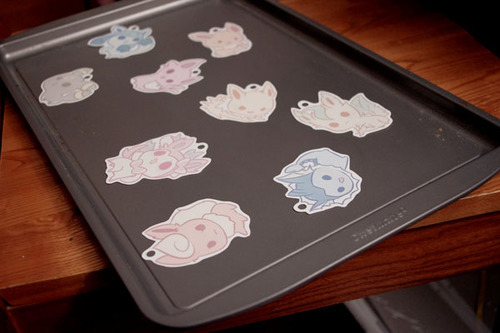
Set them on a tray for convenience. An aluminum foil sheet works too, but I recommend cookie trays because they are easier and quicker to get out of the oven.
Preset heat. Your shrink film package will tell you what temperature to set it at, but I find that it isn’t always accurate for me. I generally set temperature to 350 degrees or so.
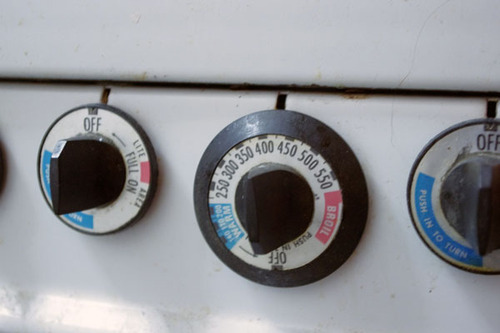
Put them in the oven. Remember to keep track of time! I leave them in for about a minute and a half.
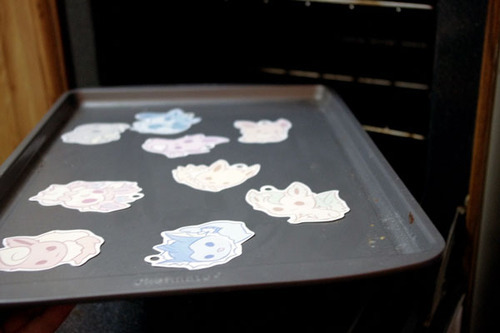
After time is up they should be super small! Magic!

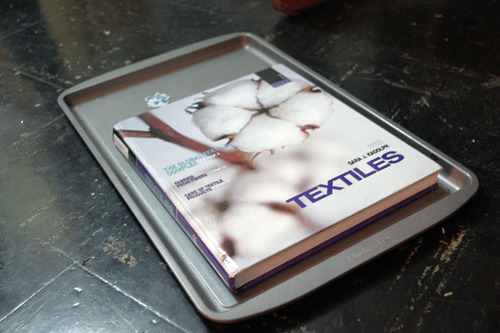
If your charms are not flat, put something heavy on it right out of the oven when they are still hot and malleable.

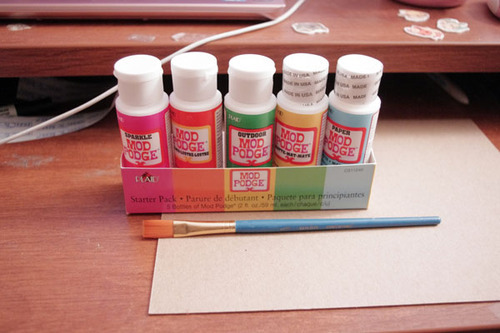
If you’d like to, you can seal them now. In my last two batches, I used clear topcoat nail polish. The problem with that is that I need between 3-5 coats of it, and it takes a while to dry. I’ve been experimenting with modpodge.
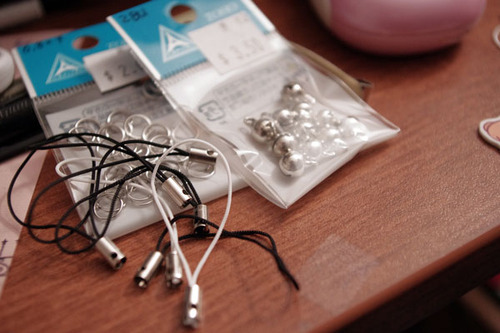
For lariats, you can use jump rings or lobster clasps.
Here is one that I made that wasn’t sealed. The finished texture after shrinking is a little bit rough. There’s nothing wrong with leaving them unsealed, but because they are inkjet printed, the colors wash right of without protection.
This is one that was sealed with modpodge. The colors become a little more vibrant and smooth and water resistant. Things often get stuck on when applying or drying so be careful.
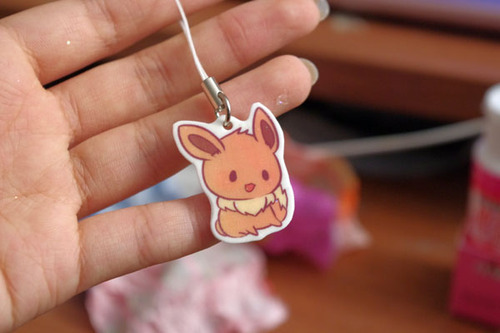
These ones down here were sealed with clear nail polish. They come out shiny if you put enough coats, but the grainy texture will still be there.

Well, there ya go! Have fun making your own keychains!
195K notes
·
View notes
Text
I love how much my art has changed in a year.
1 note
·
View note
Text
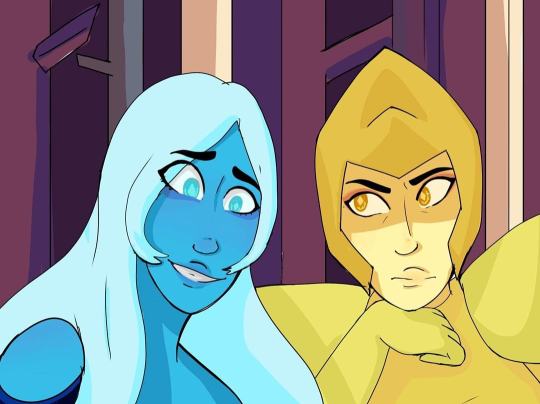
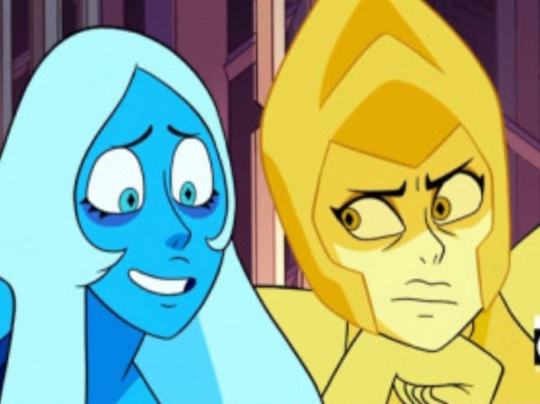
Another scene redraw, YDs colours are hell to work with but this still looks cute.
#steven universe#blue diamond#blue diamond su#yellow diamond#yellow diamond su#steven universe aesthetic
38 notes
·
View notes
Text
Goth wife hours

#ocs#original character#webcomic#Goth#gothgirl#witch#bisexual character#autistic characters#rollerskating
3 notes
·
View notes
Text
Catch my goth gay ass dying over the Beetlejuice musical.
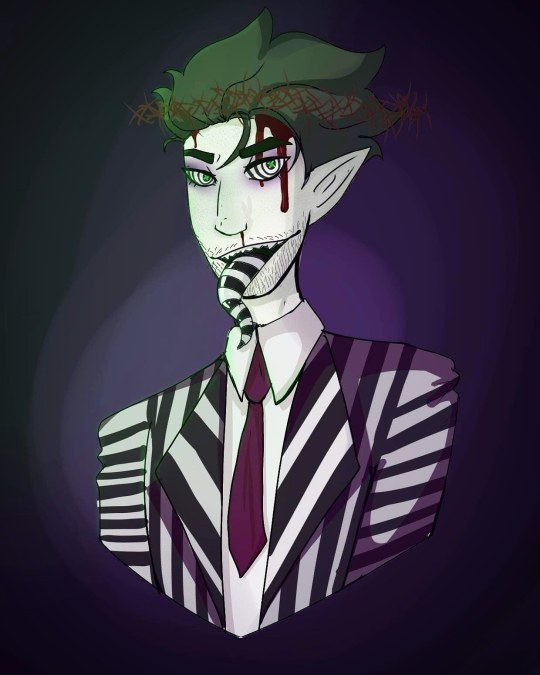
#Beetlejuice#beetlegeuse#beetlejuice musical#gothic#tim burton#digital art#gay artist#trans artist#musicals#horror#monster boy#zombie#ghost#demon
23 notes
·
View notes
Text
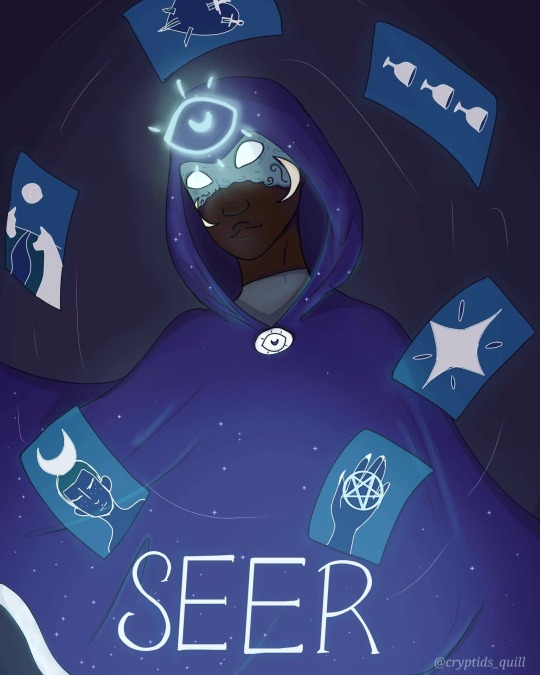
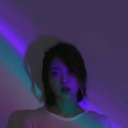
A bit of lighting practice.
The character belongs to @patchouli-propaganda
#gay character#charater design#digital art#superhero#superhero aesthetic#hero#witch#male witch#tarot#tarot cards#transartist
4 notes
·
View notes
Text
Still not over Taz Balance.
#taz#taz lup#taz balance#the zone cast#the zonecast#lich#dnd#transgirl#transwoman#transartist#trans pride#gay artist#digital art
178 notes
·
View notes
Text
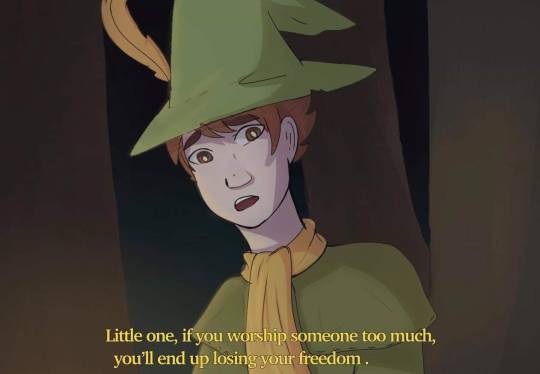
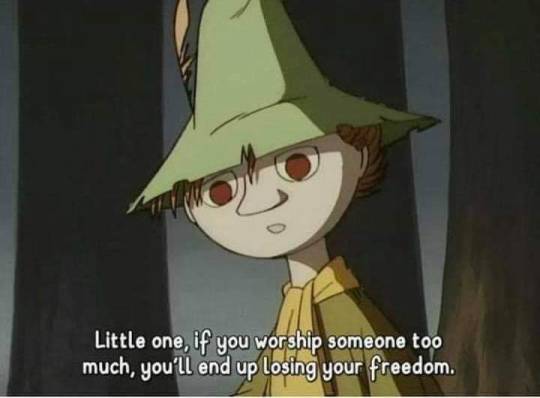
How has it taken me this long to get into Moomin?!
#moomin#moominvalley#snuffkin#digital art#redraw#80s aesthetic#screencap redraws#retro cartoon#cartoon#cute#transartist#lgbtartist#moomin valley
20 notes
·
View notes
Text
The difference a year can make
4 notes
·
View notes
Text
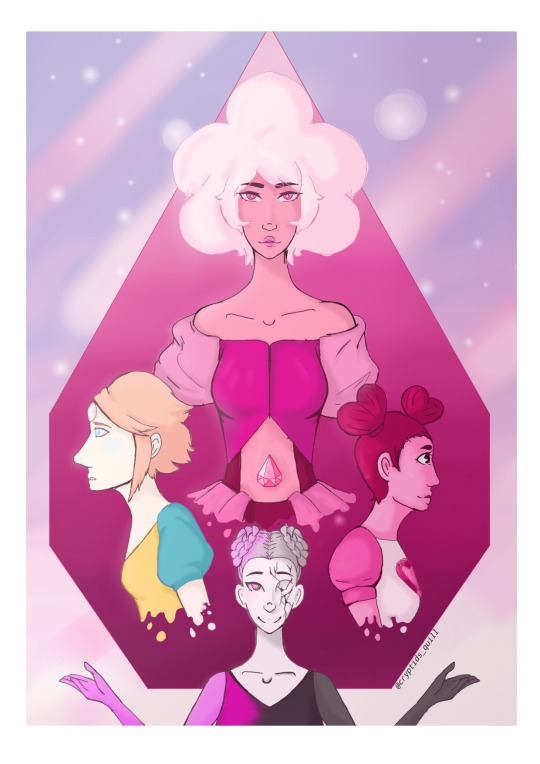
Pink diamonds court.
#steven universe#pink diamond#rose quartz#pink pearl#su pearl#spinel#su spinel#su pink diamond#su pink pearl#great diamond authority#digital art
39 notes
·
View notes
Text
Devilman is still on my mind , honestly it was so good.
37 notes
·
View notes
Photo
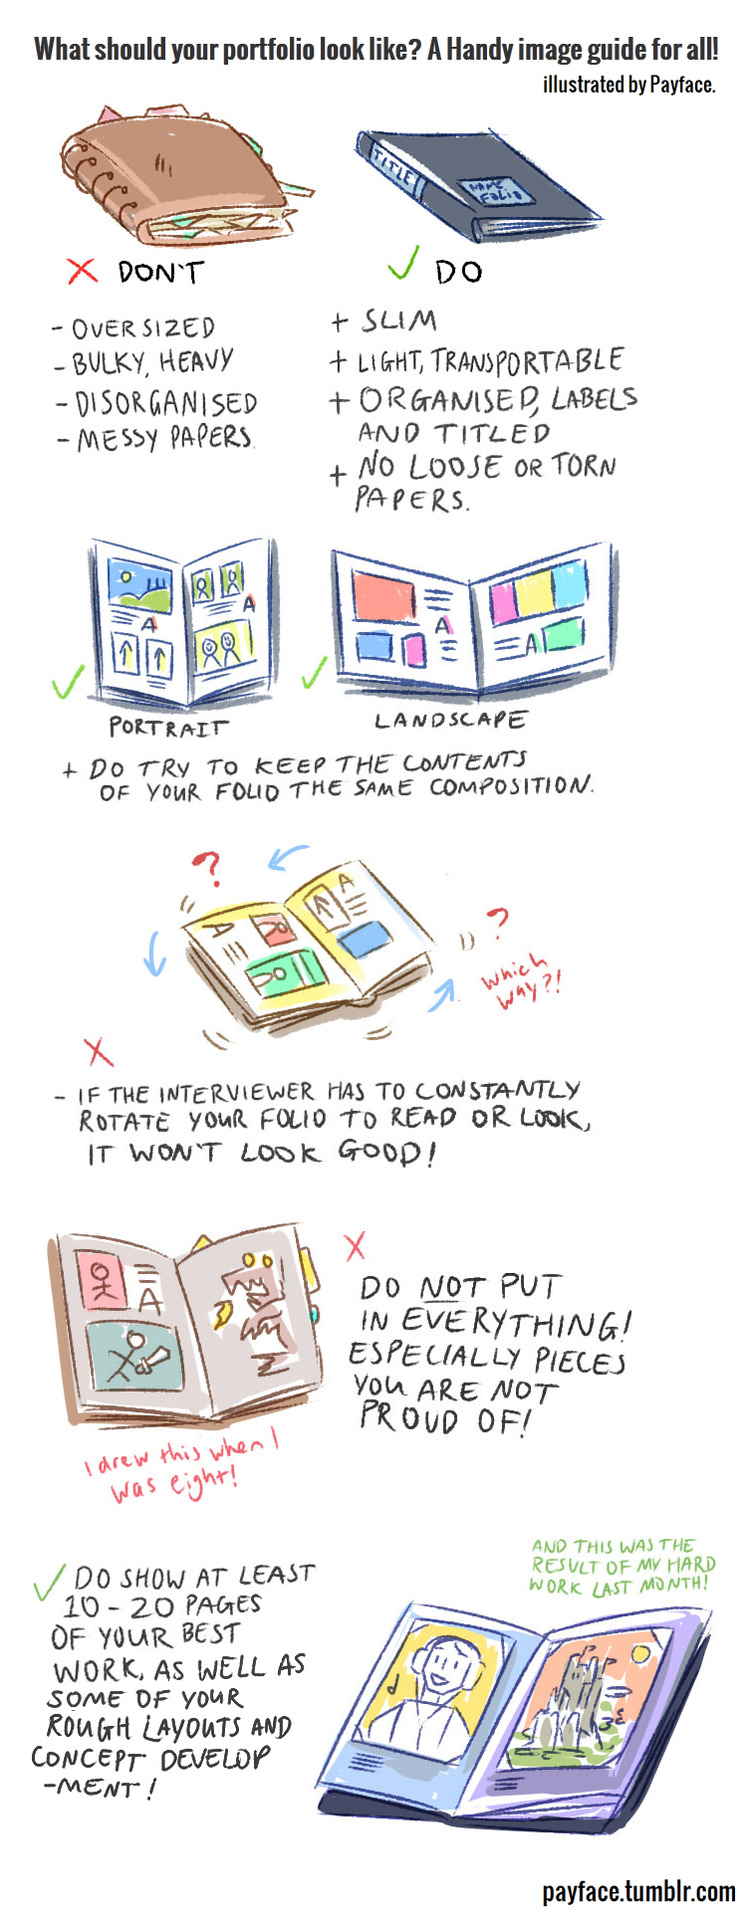
putting this up, since my website project for university is finished and I don’t have to put it on the web anymore.
a very, very basic image guide on how your portfolio should be presented or appear, whether you’re in fine arts, graphic design or illustration, illustrated by yours truly
please do NOT remove the commentary while reblogging, do not reupload anywhere else.
165K notes
·
View notes