cheddarconcarne
Cheddar Con Carne
Production blog for MisterOutcast's homage to the Golden Age of Animation.
93 posts
Don't wanna be here? Send us removal request.
Last Seen Blogs
an-ordinary-housecat
wc designs inspired by wayne mcloughlin

karenwise
Karen Wise
victorilee
some Fangirl

absolutely-zero-regrets
orbo from my games

txt-jpg
txt-jpg
Text


I just got finished with parallax mapping a new area for my interactive-fever-dream adventure game.
2 notes
·
View notes
Text

"I've actually spent my weekend figuring my own victory pose whenever I find something cool and shiny on my adventure. I may be a bit rusty so please go easy on me, okay?" - Colby Cheddar
16 notes
·
View notes
Text


I've mostly been busy with working on expressive character sprites and chapter 2 of my game. Here are some shots of one of the cutscenes that I made.
(I hope you like cheese puns, because Colby is way too cute and innocent to swear in this game.)
~Neonzumi
2 notes
·
View notes
Text
"Who needs airships when you've got helicopter ears?" - Colby
38 notes
·
View notes
Photo
6 notes
·
View notes
Photo
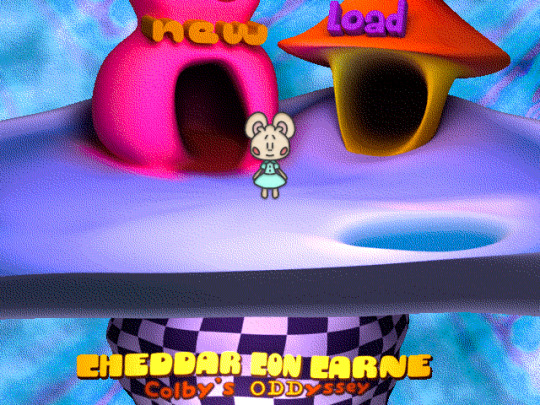
I’ve recently finished the title screen for my game. I made the map using Blender and I did the skybox and web-based dithering in GIMP. It really gives off that pre-rendered 90′s vibe, doesn’t it?
7 notes
·
View notes
Video
youtube
So here is one of the eyecatches that I've made for my indie game, Cheddar Con Carne: Colby's ODDyssey that will play as a transition between chapters.
#youtube#Colby Cheddar#willikers weasel#animation#drawn with krita#RPG Maker#cutscene#vx ace#gamedev
2 notes
·
View notes
Video
14 notes
·
View notes
Photo

4 notes
·
View notes
Photo

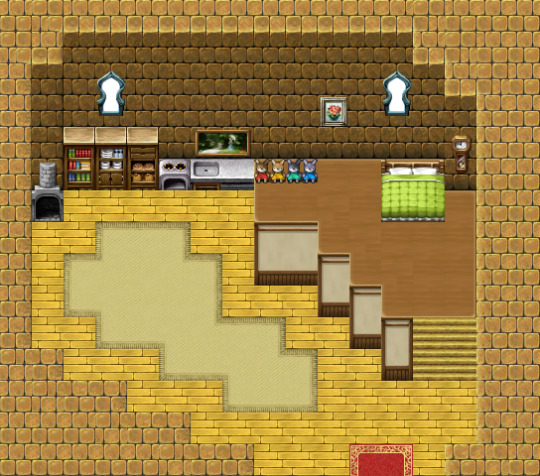
Here is a work-in-progress screenshot of the custom title screen that I've been working on for my game. There might be more details added later on, but I just wanna give you an idea of how the map will look.
0 notes
Photo

A sneak preview of a short animation that I’ve recently been working on. I thought about making some eyecatches between chapters of my game, mostly to give the feeling that you’re playing an interactive surreal comedy anime.
6 notes
·
View notes
Photo
So, I've been thinking about what to do with the name of my game. So, as of right now, my very own indie game shall now be referred to as: Cheddar Con Carne: Colby's Oddyssey.
I feel that with a title like this, it should give you a good idea of what the game is all about: it's about Colby Cheddar, an adorably curious dormouse going on a odd and whimsical journey.
~Neonzumi
0 notes
Text
How I make my parallax maps
In my game, Cheddar Con Carne: Prelude to Whimsicality, a lot of the custom made maps are done through the process of parallax mapping. It is basically where you use a picture that was made outside of RPG Maker. In this post, I'll explain my process for making the parallax maps that I use in my game.
00:Coming up with ideas:
First, I need to figure out what kind of map I want to make. Does it have to big or small? Is it for a cutscene or for gameplay purposes?
Sometimes I like to make either a piece of concept art or a reference board so that I have an idea of the vibe that I'm going for.
01:Sketching out the map:
The first thing I do when making a map is I would make a sketch layer in Krita where I make a rough version of the map. I use the "Grids and Guides" docker with the grid set to 32 by 32 so that when I'm putting in the collision tiles, I'll know exactly where to put them in.
When I was working on my game earlier on, I used to make a rough version of the map using the default tileset, but then I found out that by making the rough map outside of the engine made the maps look a bit less blocky and more unique.
02:Adding in colors:

Next, I would make some paint layers in Krita and by using the trusty "Bezier Curve Selection Tool", I add in some colors onto my map. A useful thing I like to do when making my maps is that I would import the character sprites onto the document so that I know which colors to use. I find this very important because you wouldn't want the characters to blend in with the backgrounds.
03:Adding in details and shading:
Then I finally put in the details to make the maps look more complete. I would turn the "Alpha Lock" on the layers and paint in the shading and lighting. After I'm finally done with that, I would save my map on the Parallax folders of my game.
04:Putting in collision tiles:

After I exported my custom-made map into VX Ace, I would use my custom parallax tileset and put in the collision tiles. The X tiles represent the tiles you can't walk on while the O tiles represent the tiles that you can walk on. Then, I use the invisible collision tiles to clear off the X and O tiles. Then I finally test out the map to make sure the collision detection works properly and I'm done with making my map.
So as you can tell, making parallax maps can take a lot of thought and effort to put into. But even after all this hard work, it’s really satisfying to see my creative vision come to life through the power of the VX Ace engine.
~Neonzumi
3 notes
·
View notes
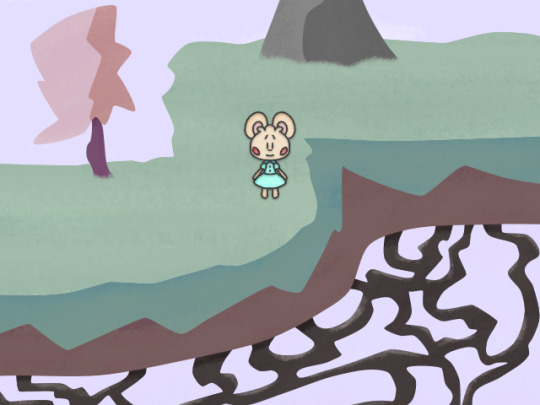
Photo


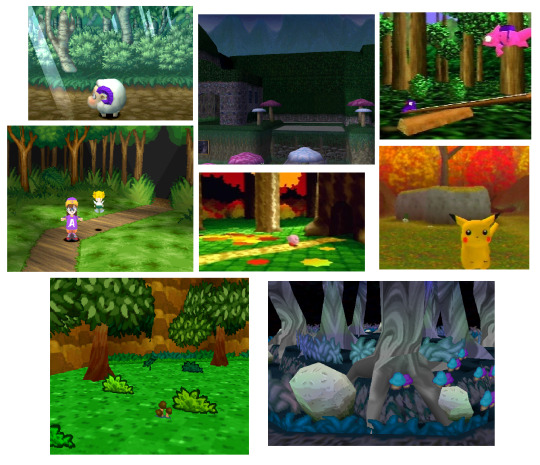
I've recently noticed that my art has been improving a lot since I started development of my game. So I took it upon myself to redo the first few maps of Protyo Forest, just it could match up with the current art style of mine.
~Neonzumi
4 notes
·
View notes
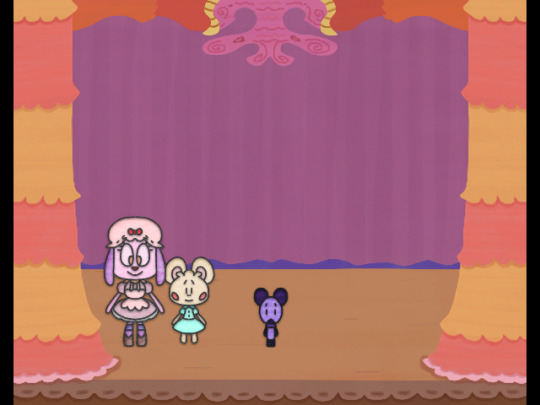
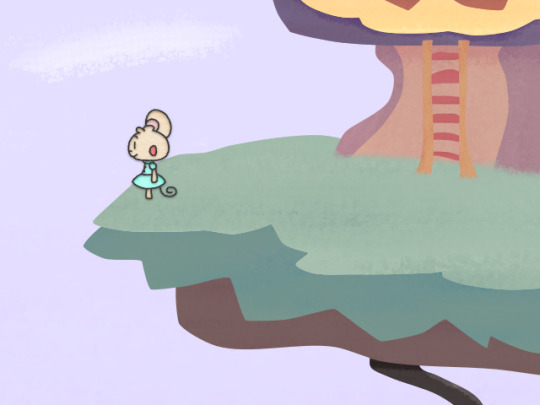
Video
As Colby is about to take a relaxing break after reuniting the two Rabbit sisters together, she stumbles upon a mysterious bunny-shaped building.
Little does that curious dormouse know is that her adventure is about to get more stranger than it already has been.
0 notes
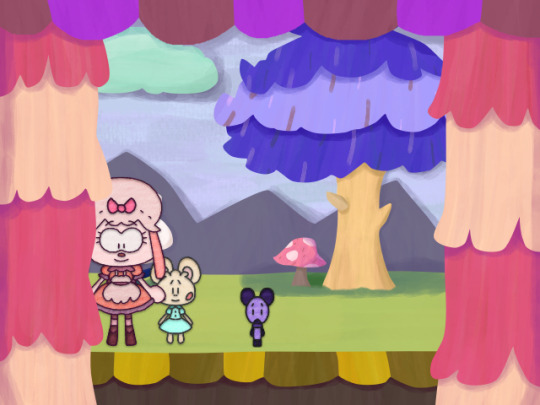
Photo

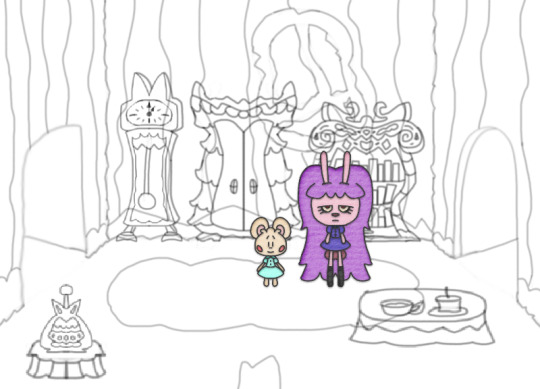
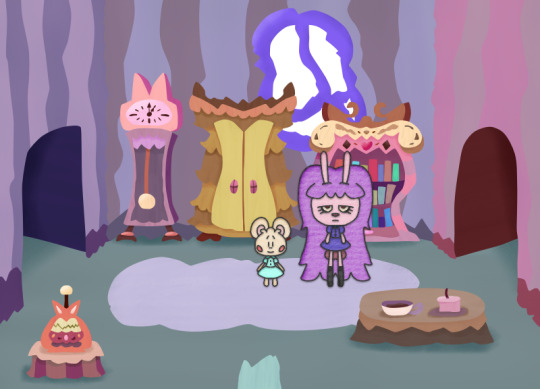
“And so, Colby finds herself in a different part of Whimsicality that is unlike anything she’s ever seen before.“
4 notes
·
View notes
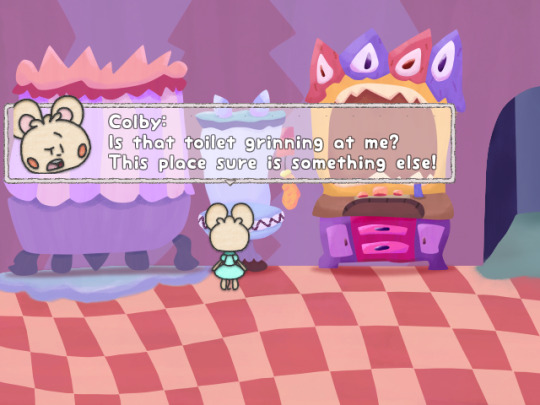
Photo
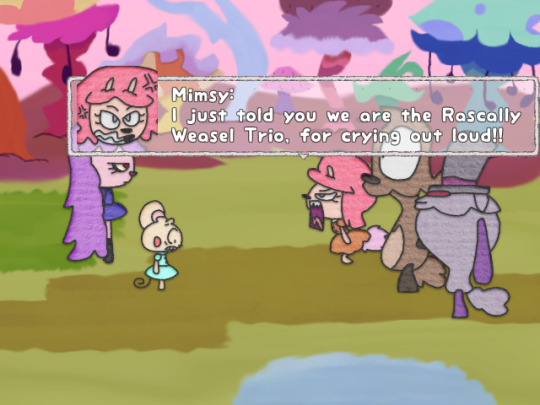


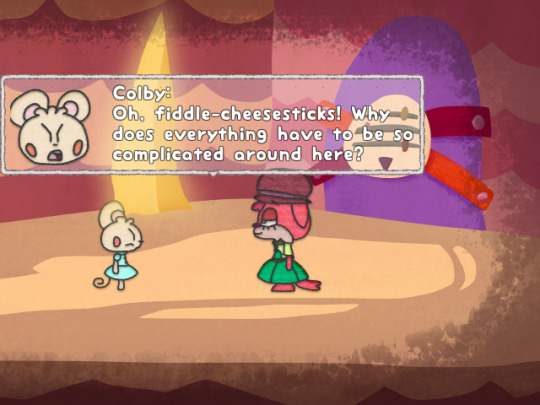
I've recently changed up the message boxes thanks to this speech bubble script that I found:
"Deluxe Speech Bubbles"
It took a lot of work, but I'm caught up with editing the dialogue events for right now. I'm honestly proud of the fact that my game is looking less and less like a regular RPG Maker game.
1 note
·
View note