#refashion
Text
HANDMADE SONIC COSPLAY

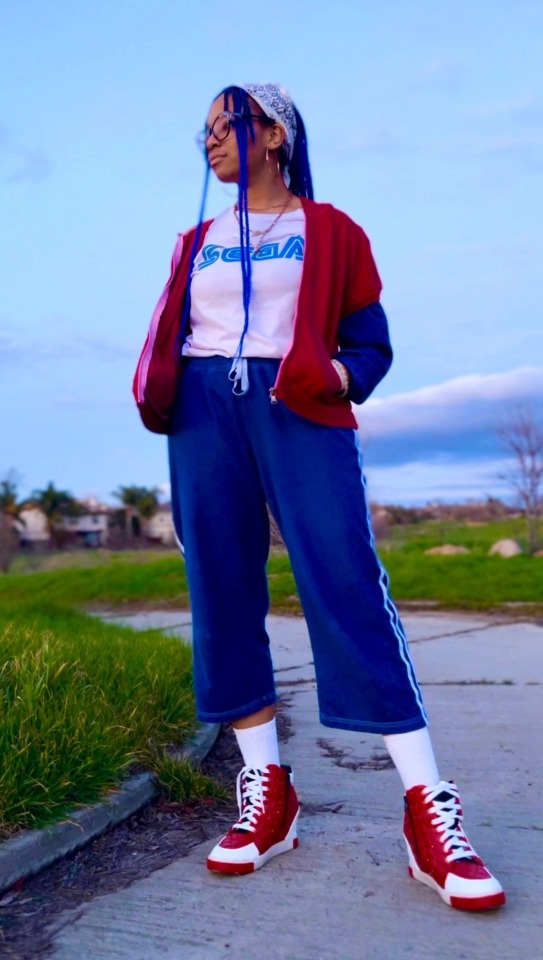
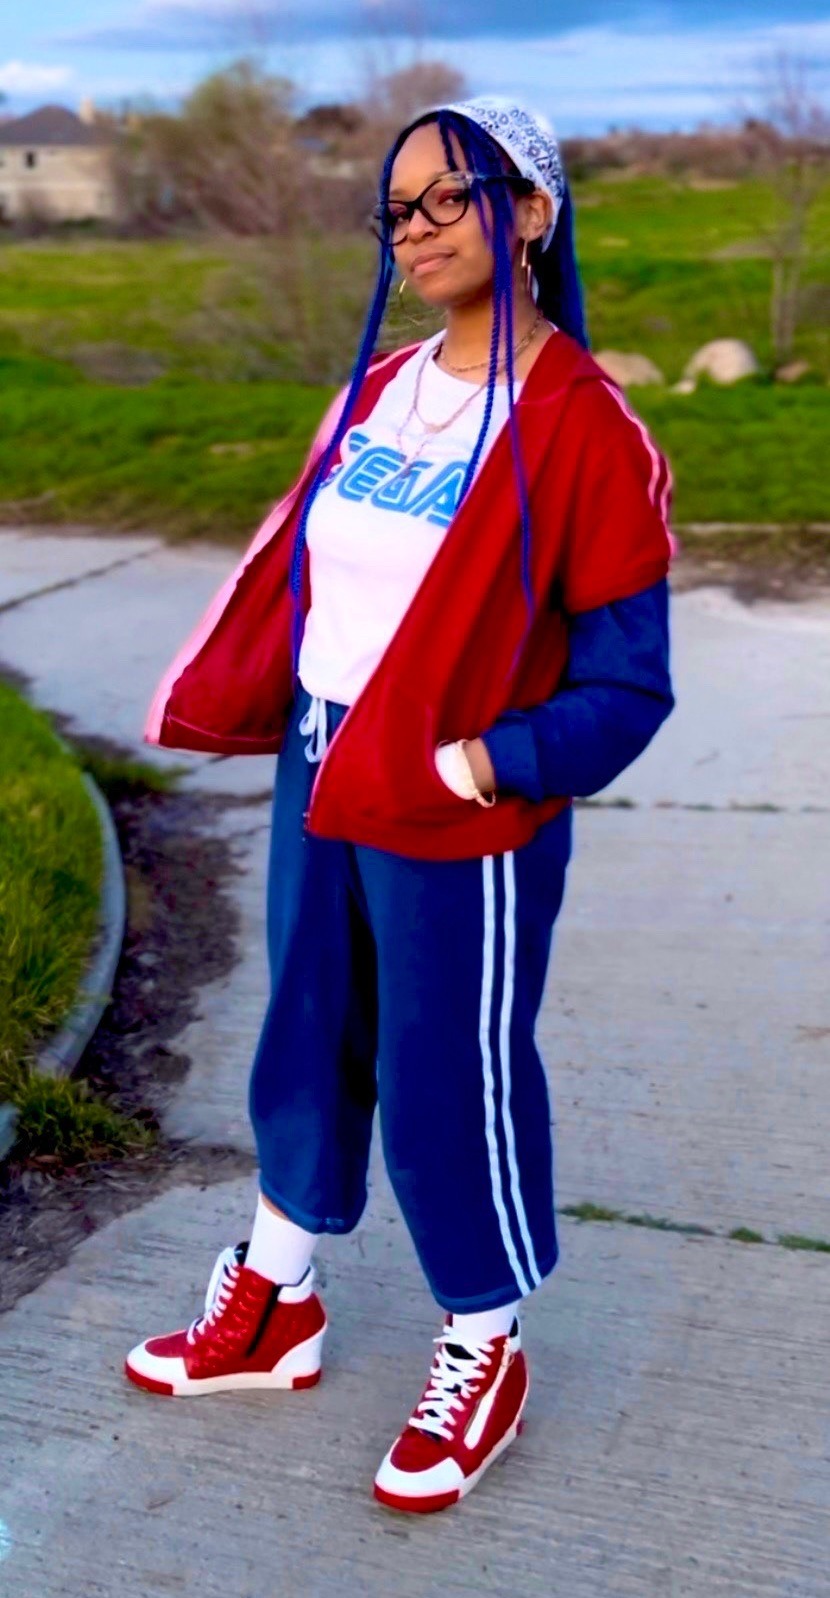

Completely Customized ( Cut, Sewn Back Together, Dyed, Printed, + Painted ) by YOURS TRULY
✨My Commissions are Open✨
BUT Y'ALL WHEN I TELL YOU THE TRANSFORMATION THIS OUTFIT WENT THROUGH WAS CRAAAZZZYYYYYY
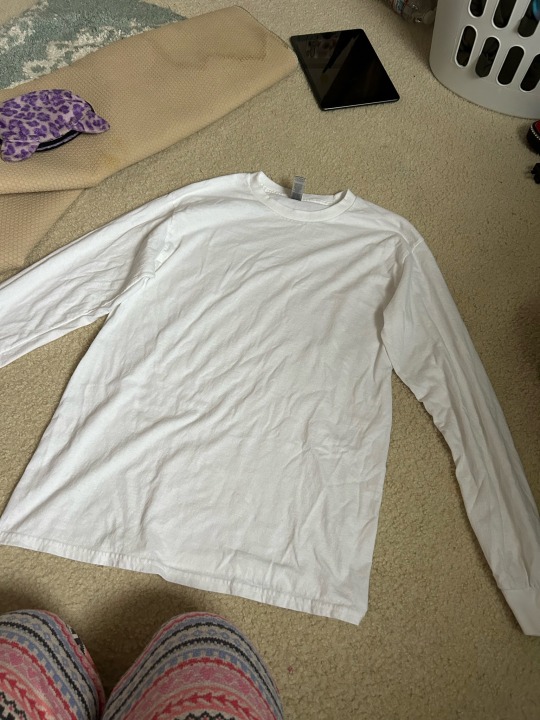
THE SHOES WERE BLACK AND THE CLOTHES WERE COMPLETELY WHITE AND BLANK

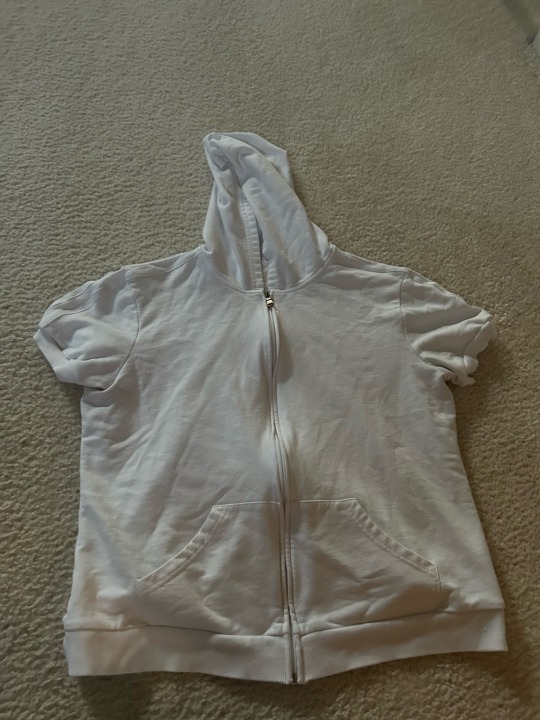

AND IT TURNED INTO THIS
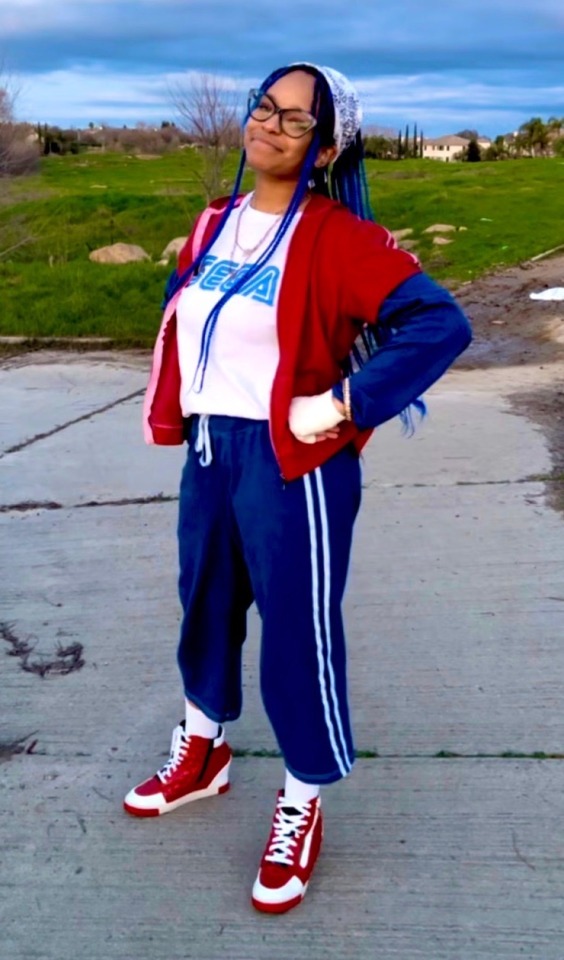
UGH IM OBSESSED
NOT TO TOOT MY OWN HORN BUT I'M SO RAD
THIS OUTFIT IS TOTALLY WICKED COOL
AHHHHHHHHHH 💪🏽💪🏽💪🏽
#sonic the hedgehog#sonic fandom#sonic#sonic cosplay#cosplay#upcycle#refashion#handmade#custom#custom clothing#custom shoes#hand painted#painted shoes#art#my art#black artist#im obsessed#i love it
1K notes
·
View notes
Text
Link
61 notes
·
View notes
Text
Project: scarf to cardigan
Introduction:
Someone gifted me a chiffon scarf a while ago. They'd seen my previous scarf projects, and decided their own scarves would be better off in my fabric stash than unworn in their closet.
I already have plenty of scarves, so I decided to turn it into a cardigan.
The project:
I kept things really simple for this project. I reused my 1 hour dress pattern, or more specifically the one I drafted based on Mary Brooks Picken's drafting guide.
Instead of turning it into a dress like the original pattern, I cut the fabric open at the centre, and made the sides flare out.
I folded my fabric in half, then drew my pattern onto it and cut it out.
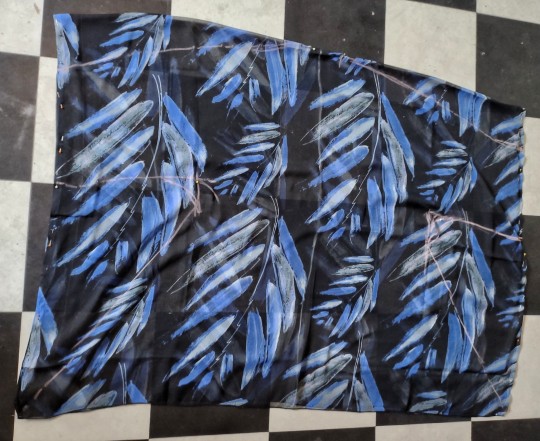
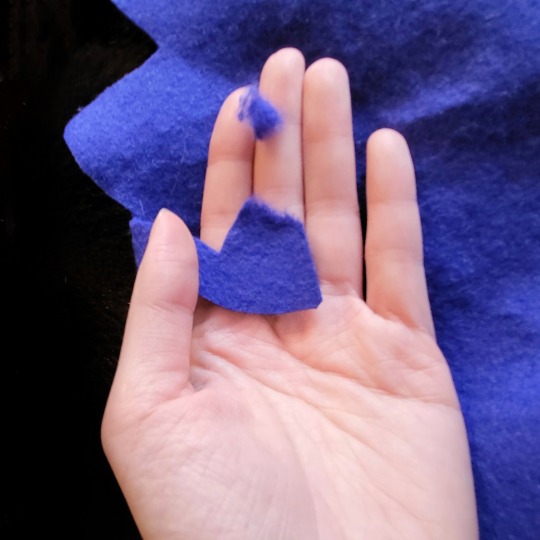
[ID: a black see-through scarf with blue leaves printed on it with with white details. The scarf has been folded in half and laid out flat on the floor. The sides are pinned together. A cardigan pattern has been drawn onto it with pink chalk.]
I used French seams to finish off the seams because the fabric was very prone to fraying. I then finished off my raw edges with a rolled hem (except for the sleeves, as the sides of the scarf were already finished).
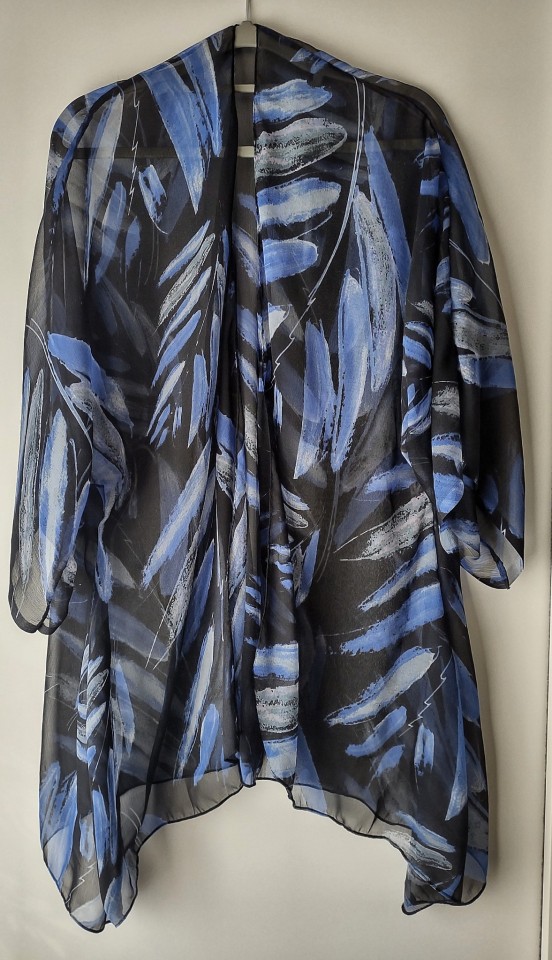
[ID: a black see-through cardigan with blue leaves printed on it with with white details handing from a hanger in front of a white background.]

[ID: a black see-through cardigan with blue leaves printed on it with with white details lying flat on a wooden floor. The cardigan has kimono sleeves and flared sides.]
Conclusion:
This scarf refashion was nice and easy. The result was an airy cardigan that's perfect for warm weather nights when the temperatures are starting to come down a little.
I made the cardigan larger than needed for my specific body shape. This gives me wiggle room in case I gain weight in the future. It also gives this garment a better chance of finding a new home if I ever stop wearing it, because this style of cardigan looks flattering as both an oversized piece and a fitted piece which means it can be worn by a variety of sizes.
#wasteless crafts#project#cardigan#scarf#refashion#cardigan to scarf#diy#one hour dress#kimono sleeves#scarf refashion#fashion#slow fashion#fast fashion#sustainable fashion#sustainability#reduce reuse recycle#zero waste#zero waste crafts#sewing#crafts#fibre crafts#french seam#rolled hem#chiffon
282 notes
·
View notes
Text
🕸️New Etsy Listings 🕸️
#alternative#goth#sewing#alternative fashion#diy clothing#alternative diy#horror#Jason voorhees#customized clothing#refashion#etsyseller#etsyshop#etsy store
13 notes
·
View notes
Photo
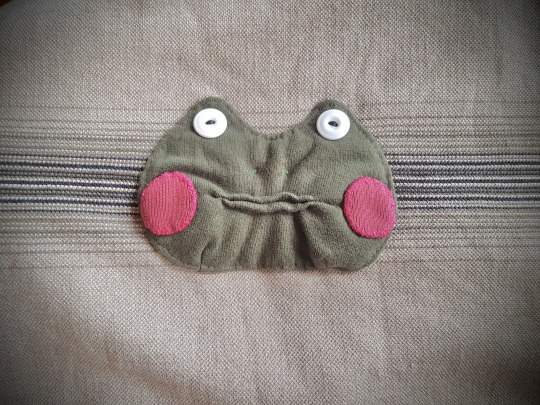
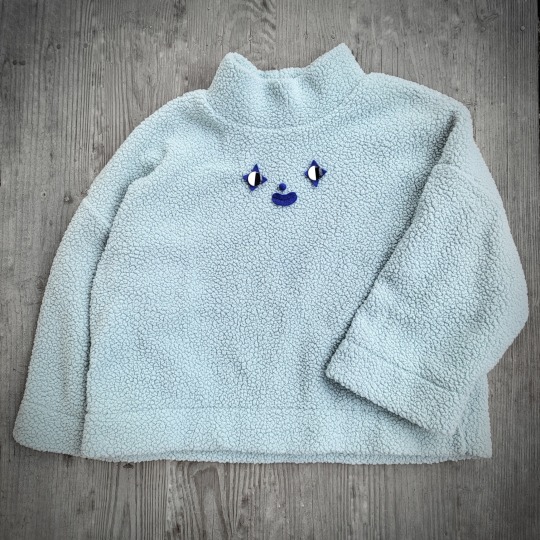
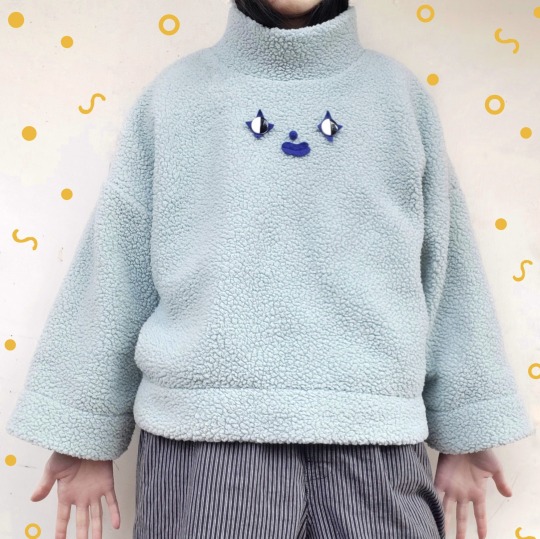
Frog Face Sweater
An oldie from last Christmas. Made with recycled fabrics.

#upcycle#upcycled#frogcore#toad#normcore#crafts#crafting#handsewn#hand sewing#phrog#alternative fashion#frog face#refashion#cute art#frog#art#frog art#sewing#90s fashion#frog fashion#custom patches#sweater#autumn fashion#witchcrafts
22 notes
·
View notes
Text
youtube
I can't believe how easy it was to transform a pair of pants into a groovy new top! 🌸 Check out the bonus no sew dress tutorial too + stick around for more cool things in my house! 😎🏡
#refashionista sheri#refashionista#refashion#sustainable fashion#upcycle#preloved#upcycled clothing#secondhand#reuse#thrift style#sew#easy sewing#diy top#diy clothes#Youtube
5 notes
·
View notes
Text
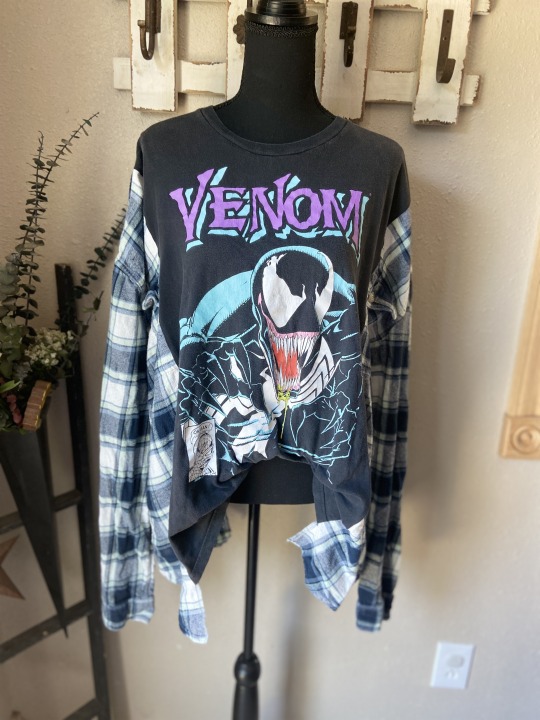
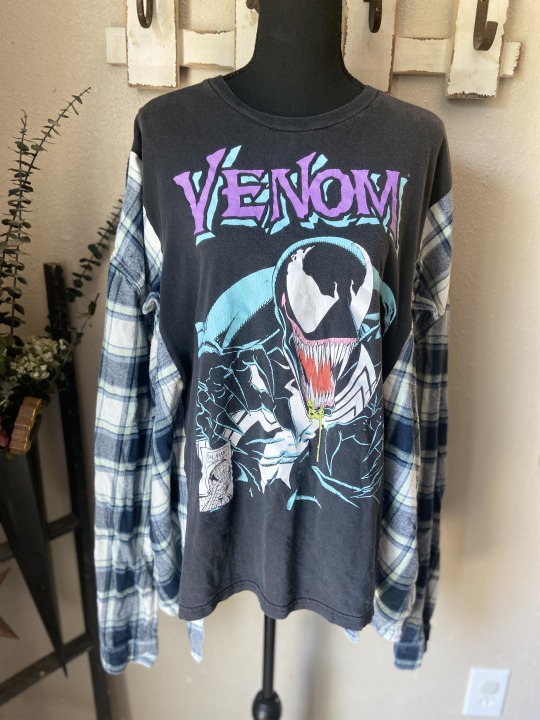
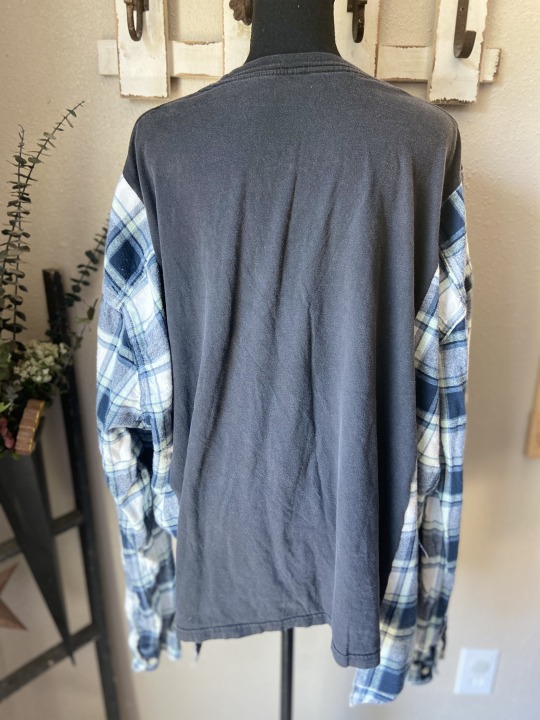

Available in the shop!
We reworked this super awesome Venom tee with a blue and white plaid flannel. This one isn't quite your style? We've got new reworks dropping in our store regularly! Follow us @Mystikeyta on Instagram, Twitter, Facebook, and here on tumblr for wips and drop times!
#diy#handmade#sewing#handcrafted#flannel#spiderman#Venom#Marvel#upcycle#slow fashion#reworked#refashion
19 notes
·
View notes
Text
DIY Sun-Savvy Tote: How to Craft a Stylish Bag with Built-In Hat Holder and Happy Birthday Katie!
Honestly, how have I lived without this bag? My gorgeous hat from the Aloha Hat Company in Lahaina, Hawaii (yes, it took me three tries to find the perfect one) fits like a dream in it. Looks like I have the perfect excuse to jet off to Hawaii and Mexico again, just to show off this super convenient hat-carrying tote!
Creating these how-to videos for you, is always such a pleasure and this one…

View On WordPress
2 notes
·
View notes
Text
youtube
·͜· ♡
#sewing#handmade#diy#ソーイング#お裁縫#핸드메이드#裁縫#만들기#手作#바느질#미싱#sewingproject#ミシン#手芸#refashion#sewinglove#costura#소잉#재봉틀#seamstress#Youtube
7 notes
·
View notes
Text
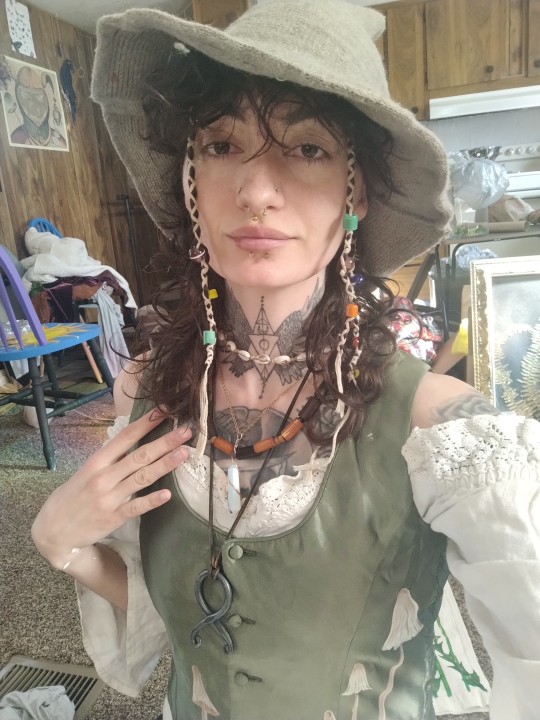
I found this little vest at the thrift store a while back but it had a bunch of oil stains so I took a paint brush to it. Cute little mushroom top
7 notes
·
View notes
Text
3XL lamb long sleeve tee
cotton baby blue crewneck long sleeve tee shirt. cloud dyed blue-grey. lamb portal design screen printed in black ink on front. roots logo on back.
reads: size 3XL. measures: 26” across the chest, armpit to armpit. 27.5” tall from mid-shoulder to bottom hem. 22” sleeve from armpit to wrist.
#hoodie#sweatshirt#totally normal#punkfashion#punk patch#silkscreen#screen print#patched#popart#upcycled#popsurrealism#art patch#screenprint#refashion#remade#art#artclothes#wearable art#art clothes#acid wash#street style#streetwear#sustainablefashion#fashionrevolution#sustainable#rain design#speedball#screen printed#silk screen#blick art supply
7 notes
·
View notes
Text
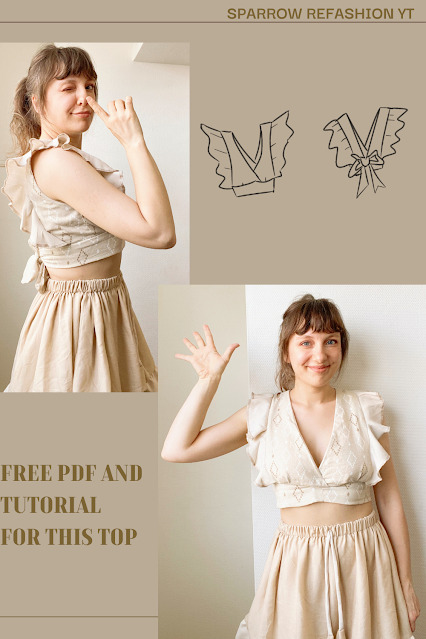
Sew the Perfect Mini Wrap Skort! 🩳🧵/ free PDF
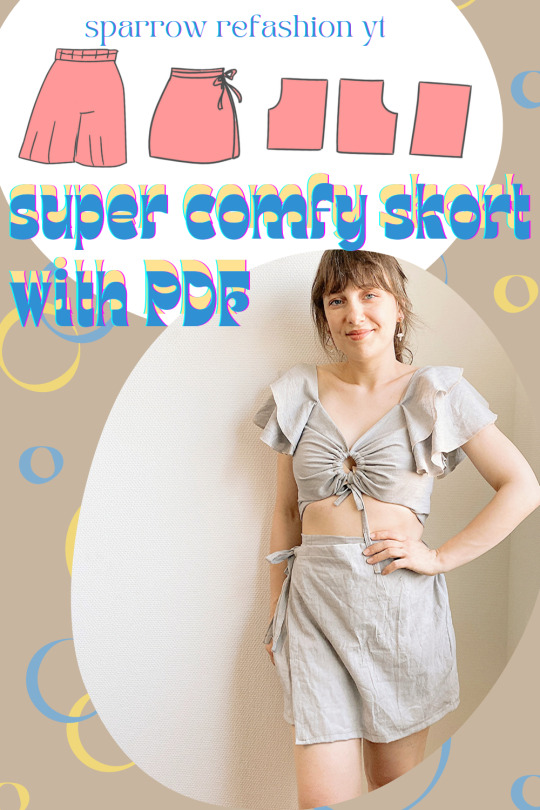
Ready to add a dash of style and comfort to your wardrobe? Look no further! I've got an exciting new tutorial on my YouTube channel that you won't want to miss. 🧵✨
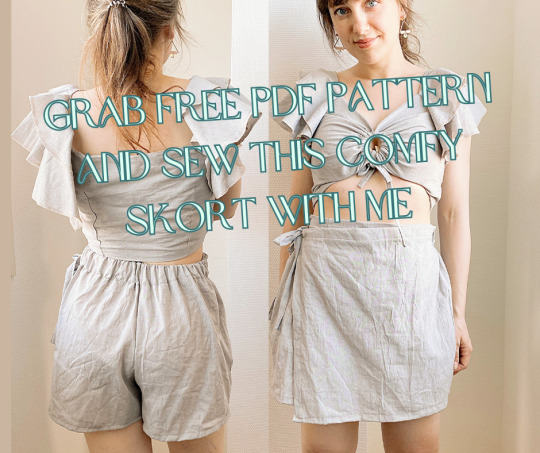
Introducing the Mini Wrap Skort – the ultimate fusion of a skirt and shorts, perfect for your active lifestyle. 🏃♀️🌞 Whether you're hitting the streets, the beach, or just lounging with friends, this skort has got you covered. The best part? I've included a FREE PDF pattern to make your sewing journey smooth and enjoyable.
In the video, I'll guide you through every step, making the process super easy to follow even for beginners. Sewing your own fashionable skort has never been this exciting! Get ready to strut your stuff with confidence and style.
Stay tuned because in my next video, I'll reveal how to sew a stunning top that complements this skort perfectly. And yes, you guessed it – I'll be sharing another FREE PDF pattern to make things even more delightful.
So, don't miss out on this creative sewing adventure! Head over to my YouTube channel now and let's sew up some fashion magic together. 🌈👗✂️ See you there!
LINK
#sew#sewing#refashion#diy fashion#mini wrap skort#skort#pdf pattern#free sewing pattern#sparrow refashion#modern sewing#modern fashion
31 notes
·
View notes
Text
Project: lacy shorts
Introduction:
I've had this old pair of high-waisted shorts for years. While I love them, I don't nearly wear them as much as I'd like because they're rather plain compared to the rest of my wardrobe.
My closet has a lot of frilly lacy things these days, so I figured it was time to update these shorts to make them match the rest of my clothes better.
The project:
This project was simple: I just looked through my lace stash for a trim that would be a good match to my shorts, decided on the placement, and sewed it on.

[ID: a pair of beige high-waisted shorts lying on a wooden floor.]
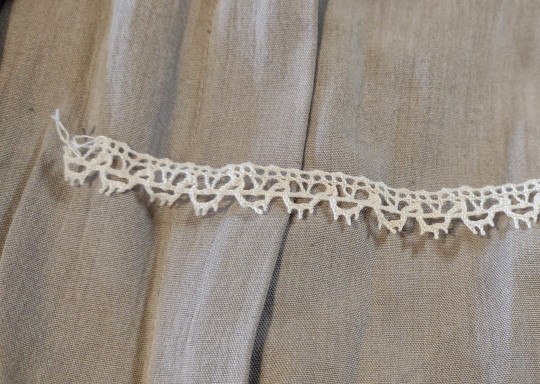
[ID: an end of off-white cotton lace lying on top of beige fabric.]

[ID: a pair of beige high-waisted shorts lying on a wooden floor. Off-white lace has been sewn along the pockets, the edges of the legs, and the sides near the shirred parts of the waistband.]
Conclusion:
If you've got clothes you love but never wear, ask yourself why. Sometimes the solution can be as simple as embellishing the item to fit your style again.
All I did was add some lace to these shorts to make them feel brand new and to make them easier to combine with the rest of my wardrobe.
Projects like these are why I never throw out lace. Aesthetically speaking, it's not everyone's cup of tea. But if you like it, it makes for a very versatile tool to update clothes and hide imperfections with.
#wasteless crafts#project#sewing#how to#tutorial#diy#shorts#pants#lace#refashion#fashion#fast fashion#slow fashion#sustainable fashion#sustainability#fibre crafts#fibre art#embellisments
237 notes
·
View notes
Text
turned this t-shirt into a dress 💖


12 notes
·
View notes
Photo

Cozy Clown Sweater!
Materials you need: 1 secondhand fleece sweatshirt. Some colorful fleece. 1″ round shank button (contrasting color from the fleece, doesn’t have to be the same as mine). Thread and sewing needle. Scissors. Soap and water.
1) Cut 2 diamond shapes from felt that’s just big enough to cover the buttons.

2) Hand wash the diamond felt in hot soapy water (pre-shrinking).
3) Cut a small vertical slit on the diamond felt that’s slightly smaller than the button thread knob. Push the thread knob through the slit to combine the button and felt.

4) Sew the button eyes on the sweatshirt.
5) Sew a couple loose stitches on the diamond felt behind the button face to secure it and prevent it from turning.
6) For the clown nose. Pull apart some felt scrap into fluff. Much more than below. You may now question your method of craft.
7) After gathering enough fluff to a good size ball. Roll it with hot soapy water until it agitates itself into a felted ball.
8) Sew felt nose onto sweatshirt.
9) Cut a kidney bean shape from felt. Sew a curved stem stitch in the middle to separate the lips and secure the lips.
10) You have a good enough clown top to wear to work.
#crafts#crafting#handsewn#hand sewing#fiber art#arts and crafts#upcycle#upcycled clothing#upcycled#refashion#rework#reworked clothing#thrift flip#clown#clowncore#kidcore#kawaii#cute art#cute crafts#kawaii art#textile art
66 notes
·
View notes
Text
youtube
Don't pass by the linen section at the thrift shop! Grab some vintage placemats & make an awesomely adorable bag with me! ♻️🧵
#refashionista#refashionista sheri#refashion#sustainable fashion#upcycle#preloved#upcycled clothing#reuse#thrift style#sew#secondhand#thrift flip#diy bag#easy sewing#tutorial#Youtube
3 notes
·
View notes
Last Seen Blogs

9old-qx
9old

jamespottersrug
k.k

detoxeva
無標題

potty-puppy
✨Go Potty✨
glitterunicornhead
Glitter Unicorn Head