#easy art
Text

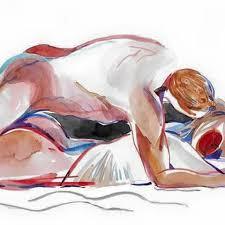
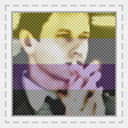
Always by your side...
Fast night art 🖤🤍
#crowly x aziraphale#good omens#my art#aziracrow#crowley#good omens art#david tennant#michael sheen#aziraphale#easy art
17 notes
·
View notes
Text
join now
#art#18 art collective#cc cycle 3 week 18 art#cc week 18 art cycle 3#week 18 art cc cycle 3#week 18 fine art cc#digital art#fine art week 18 cycle 3#3d art#cc cycle 3 week 18 fine art#cc cycle 3 fine art week 18#artículo 18#art vlog#free art#easy art#dark art#fine art#tyla art#art class#anime art#scifi art#my old art#fluid art#cc foundations cycle 3 fine art week 18#me and my art#art journey#art contest#acrylic art#art supplies#art hacks
2 notes
·
View notes
Text
3 notes
·
View notes
Text
Neon
#youtube#trends#dragon art#neon#neon lights#rainbow#glowcore#uv light#intresting#art#artists on tumblr#my art#artwork#draw#drawings#easy art
4 notes
·
View notes
Text
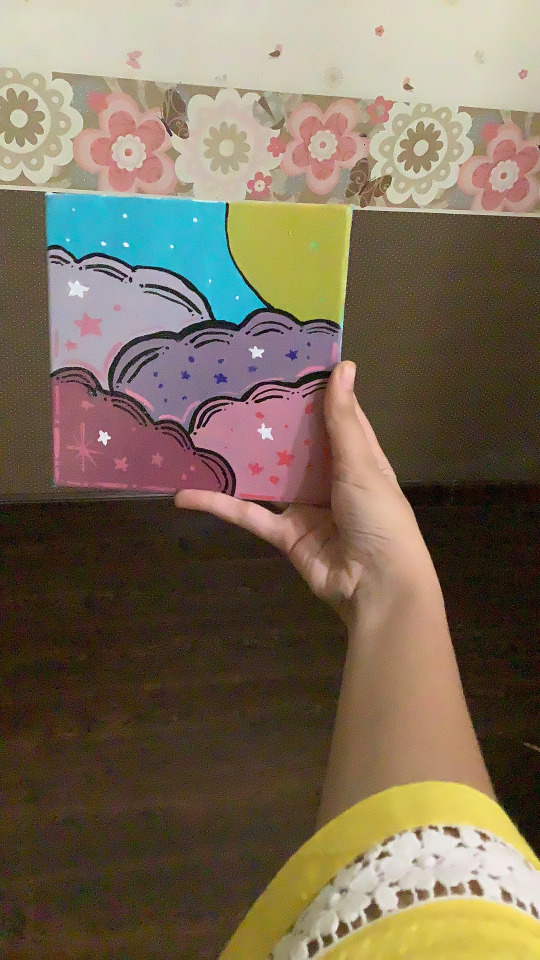
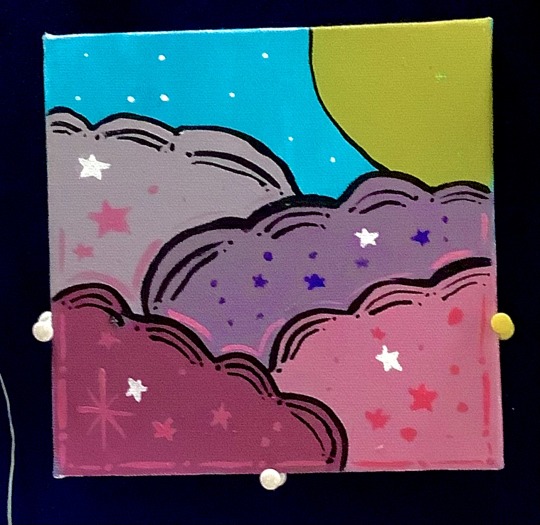
Pls don’t judge I’m a beginner 
#clouds#painting#acrlicpainting#acrylic on canvas#beginners#bright colors#art#sky#canvas art#canvas painting#easy art
6 notes
·
View notes
Text

Learn about 5 beautiful ways to use pressed flowers here: Article 📚 🖊️
#journaling#junk journal#journal inspo#journal ideas#bujo#diy journal#easy art#art ideas#cottagecore#pressed flowers
3 notes
·
View notes
Text

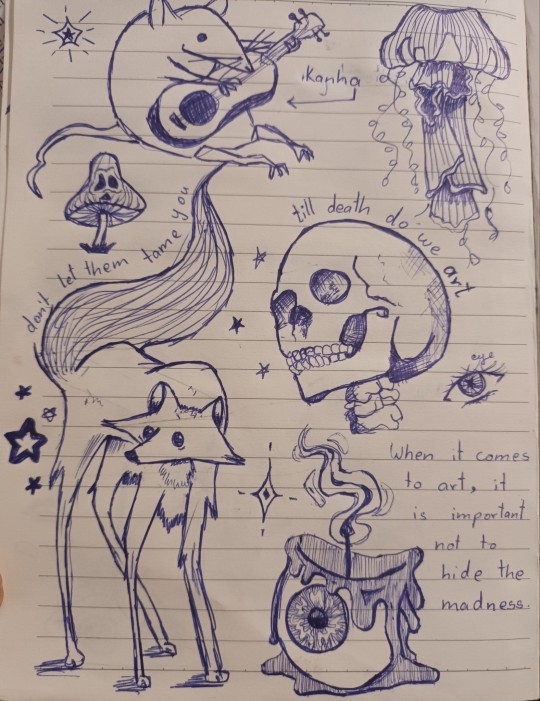
ig: @marynilsenart
#art#artist#artists#artwork#discover artists#simple art#simple drawing#simple drawings#pen art#pen drawings#art inspo#art inspiration#easy art#lazy art
3 notes
·
View notes
Text
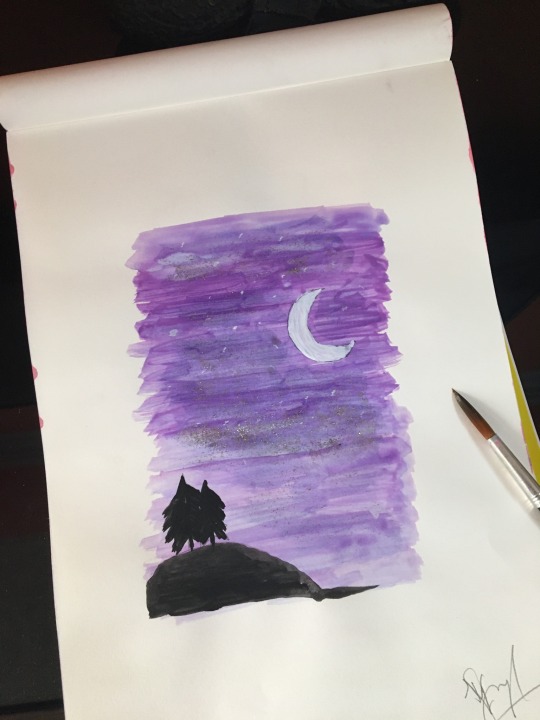
#painting#watercolor#artists on tumblr#artwork#art#original art#artistsoninstagram#my art#artgallery#tumblr art#easy art#aesthetic art#art for beginners#cool art#beautiful#moonlight#trees#night sky#sky
14 notes
·
View notes
Text
🌳🌳🌳

#art#easy art#painting#watercolors#artwork#watercolourpainting#watercolorjournal#art of mine#traditional art#artgallery#artists on tumblr#dailyart
14 notes
·
View notes
Text

Quick scratch board project for art
3 notes
·
View notes
Text
Pusheen the cat step-by-step drawing.

2 notes
·
View notes
Video
Easy Drawing - Cute Giant Panda Cartoon on Whiteboard
#youtube#white board art#giant panda#art#cute art#drawing#dry erase art#dry erase drawing#white board drawing#cute panda#panda lover#easy cartoon#easy art#easy panda drawing#panda drawing#cute easy drawing
2 notes
·
View notes
Text
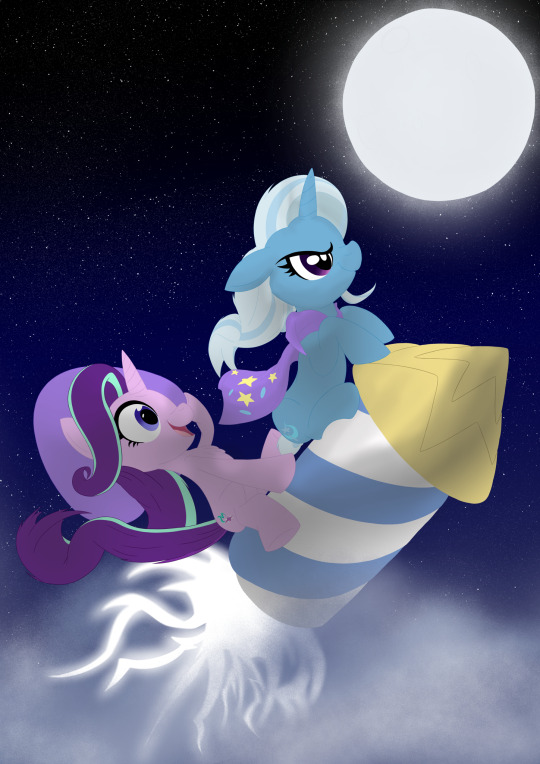
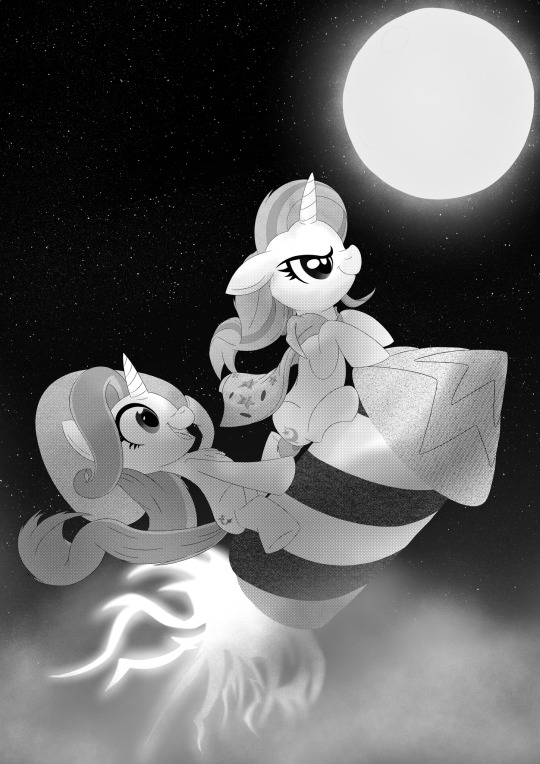
No matter how far you go, the journey is the best part of the adventure...
3 notes
·
View notes
Text
#gacha art#gacha club#gacha edit#gacha pulls#gachagacha#gachagua#fyp2022#my fyp#gacha games#art#easy art
2 notes
·
View notes
Text

shipping win! they have different but equally terrible coping mechanisms
#sangspeaks#sketches#shipping meme#ship dynamic#tumblr exclusive folks. do you wanna know a secret#whenever i haven't posted or drawn in a bit#i make a quick art meme like this and scamper away#and it's usually a hit#this shit's easy all i gotta draw is bald people
37K notes
·
View notes
Text
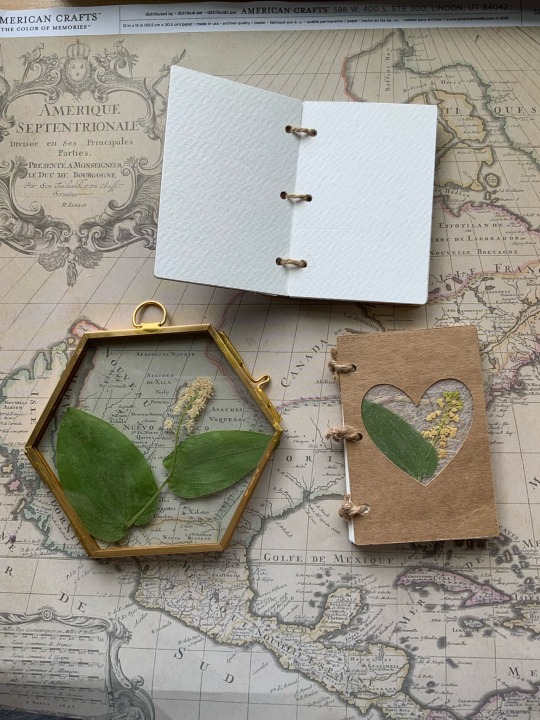
3 Beautiful Ways to Use Pressed and Dried Flowers | DIY Crafts You’ll Actually Keep!
I started working with dried flowers and pressed botanicals a few years ago, and it has taught me a few things.
Delicate dried flowers can burn or disintegrate in epoxy resin.
Glossy Mod Podge however much we love it, can make you cry (and even ruin your floral project).
Depending on your project, pressed flowers MUST be chosen as carefully as you would choose fabric, paper, or paint colors.
So how can you still work with these lovely mediums and create long lasting, archival art that you can be proud of? Read more to learn about 3 of the most botanical-friendly crafts.
Framed Glass Art
What you’ll need:
Double sided glass frame. (any size)I buy mine on Aliexpress or Amazon.
Clear glue, glossy mod podge, or a tape runner.
Pressed flowers
Scissors
How to make it:
Start by selecting your botanical specimens and arranging them in your frame. Use scissors to trim and refine your arrangement until it is to your liking.
Remove all of the flowers, and strategically place dots of clear glue on the inner glass. Wait until your glue becomes tacky. The time will depend on the type of glue that you’re using.
Tip: Test out the cure time by placing a few different sized glue dots on a plastic surface. See how long it takes for the glue to become more viscous and less runny.
Place the flowers onto the glass. Make sure to tack down all specimens with glue until they’re difficult to move. Allow the glue to dry completely before closing the glass frame.
Once dry, display your beautiful arrangement!
I love making smaller arrangements for office spaces and display shelves. These also make adorable secondary gifts in care packages.
Glass offers a more eco-friendly alternative to epoxy resin. Though I love working with resin, I’ve started to become more conscious and selective of my usage to creation ratio.
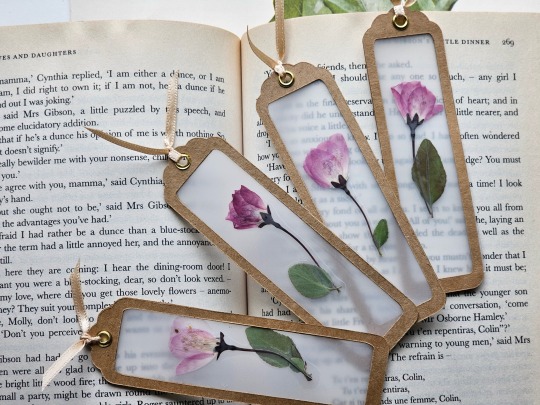
2. Floral Bookmarks
What you’ll need:
Pressed flowers. Preferably long stem flowers that press very flat such as fleabane and daisies. You can also use small flowers without stems.
Self or thermal laminating sheets.
Thermal laminator. (If using thermal lamination)
Scissors
Cricut Cutting Machine (highly recommended for a cleaner result) However, you can also create your own frames. Simply use two gift tags or rectangular pieces of paper. Measure and cut out another rectangle of your preferred size in the center of your paper. Use an X-Acto knife to make the cut out.
Kraft paper cardstock
Glue stick, or my personal recommendation, Kuretake Glue Pens. They will make less of a mess, and create a longer lasting bond on kraft paper.
How to make it:
If using a Cricut machine, start a new project in Cricut Design Space.
Search for “bookmark frame” in the “images” section.
Select a design you like the shape of. You can also create your own by “slicing” new shapes into existing templates.
Resize your design. Choose whatever size will accommodate the shape of your flowers.
Cut out your frames out on kraft paper.
Once you’ve cut out your design, remove half of the frames from the mat. Leave the other half on the mat. This will make keeping them flat easier once you’re ready to assemble everything.
Laminate your flowers. Be sure to use your frame as a guide to arrange them within the window. Leave an inch of space between each arrangement for cutting if you’re making more than one bookmark.
Cut around the flowers, leaving a bit of allowance for gluing them onto the frame. I never measure like I should. Just use the frame as guide to avoid cutting off too much laminating plastic. We will hide the ugly jagged cutting job later. 😅
Return to the mat and apply a generous layer of Kuretake glue to the entire surface of the frames still stuck to the Cricut mat.
Carefully place the laminated floral arrangement on the frame.
Apply another layer of glue around the edges of the lamination, and also on the other frame.
Place the second frame over one of the mat frames, and press down firmly. Tip: You can also place a book on top to keep them flat.
Let your bookmarks dry for about 20 minutes before adding your embellishments. I love using key charms, grommets, ribbons, or tassels.
Check out my inspo photos below! Get creative with decorating.
3. UV Resin Pendants
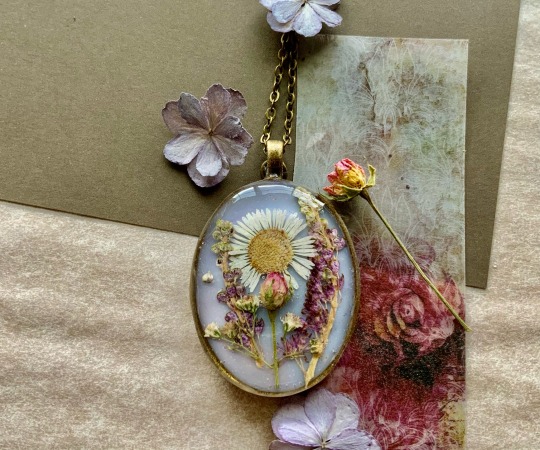
Before I started working with UV resin, I was told that it isn’t light fast. Which is true for most resins on the market. I’ve also heard that it yellows over time and that the UV light burns flowers.
These are all things that I’ve experienced working with flowers in UV resin. However, I’ve managed to make projects that have stayed glossy, clear, and beautiful for over 2 years now, and I want to share my tips and tricks!
Tip #1: USE a high quality UV resin such as the one from Counter Culture DIY.
Tip #2: AVOID using delicate flowers such as forget-me-nots, hydrangeas, larkspur, etc. If the petals are thin and delicate, they WILL become distorted or burn. Think florets, spaced petals, and small leaves.
Tip #3: USE opaque, strong, and VERY flat flowers such as pressed Violets, Chamomile, Fleabane daisies, Rosettes, Queen Anne’s Lace, and Baby’s Breath.
Tip #4: AVOID flowers with too many overlapping petals. These will trap air bubbles inside of your resin layers that tend to express during curing. They tend to cause very large holes and gaps.
What you’ll need:
Very high quality UV resin (My suggestion: Counter Culture DIY)
Cabochon bases or frame pendants
Barrier tape (if using a frame instead of cabochon base.)
Toothpicks to pop bubbles (I actually prefer using a sewing needle)
Light Curer such as a nail lamp. I use the Melody Susie 36W nail lamp from Amazon. Counter Culture DIY sells one specifically for their UV resin as well.
Pressed Flowers (My favorite seller on Etsy)
Optional: Colorants. I use mica powders, acrylic paints, and black and white resins from Counter Culture DIY (not sponsored, I wish!) These give your resin a background to stand out against.
Nitrile gloves
How to make it:
Start by applying a thin layer of UV resin to your base or taped frame. This will be the layer with color (if using pigments).
2. Pop any visible bubbles with a toothpick and cure the first layer for about 1-3 minutes.
3. Apply a thin dot of clear resin to the first cured layer. This will give your flowers something to stick to as you arrange them.
4. Once your flowers are arranged, apply a few strategic dots of resin around them to keep them in place. Cure the first thin layer without covering the flowers completely. Remember to pop bubbles!
5. Continue to add thin layers. Cure each layer for 1-3 minutes each. Repeat this process until your flowers are covered and your top coat has a domed appearance.
6. Finished! Avoid touching your project for several minutes until fully cooled. You don’t want fingerprints in your shiny top coat!
For more floral project ideas, check out my Pinterest below!
#pressed flowers#unique gifts#vintageinspired#art#home & lifestyle#floraldesign#fashion#books and literature#cottagecore#beauty#art tutorial#easy art#art ideas#artists on tumblr#books & libraries#floralart#handmade art#diy art#diy tutorial#journaling#inspo#writing#craftinspiration#my art#art supplies#artwork#floral#flowers#paper craft#diy ideas
3 notes
·
View notes
Last Seen Blogs

nauticallygay
angsty, gay, and nautical
boytoyinc
boytoy

brunokaio
Sem título
winniethewife
Love it when you talk that nerdy shit.
triptocaiine
it may never be over.