#eastercrafts
Text

#zoupa#aesthetic#dark fantasy#fantasy art#fantasy aesthetic#horror art#cosmic horror#fantasy horror#scifi horror#cosplay#horror aesthetic#beauty in darkness#dark beauty#dark art#im a creep im a weirdo#grunge#dark#art#dark aesthetic#the darkness#dark artist#dark grunge#darkcore#darkness#sausagecore#easterpicnic#eastercrafts#easteregghunt
32 notes
·
View notes
Text

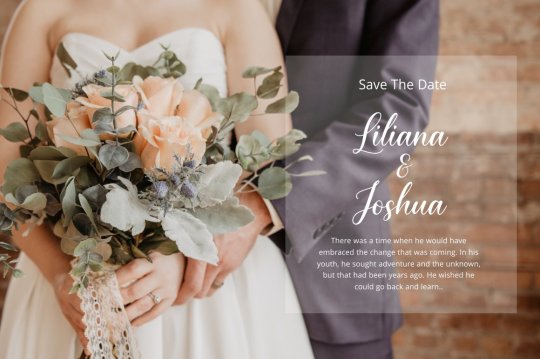


Mistery Heart font designed by Sronstudio
#fonts#calligraphy#typography#design#webdesign#script#handwritten#calligraphic#font#type#typeface#lettering#handlettering#easter#easterclipart#eastercrafts#happyeaster#easter2024#easterdecorations#brand#branding#branddesign#brandingdesign#weddingfonts#weddinginvites#savethedate#weddingdetails#weddinginspiration#businesscard#businesscarddesign
11 notes
·
View notes
Text
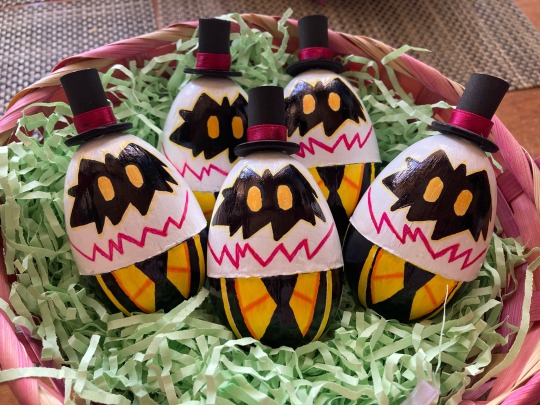
The Egg Bois
Ta-da! Here’s my complete home project of Sir Pentious’ little minions from Hazbin Hotel. They all turned out so adorable and I’m so in love with my hard work right now. Yes, each of them are filled with sweets inside!~
Hazbin Hotel (c) Vivziepop
Hope U enjoy and Happy Easter Sunday~
11 notes
·
View notes
Video
youtube
Bunny Decor DIY Craft
#youtube#bunny#decor#home decor#home design#art#arte#papercraft#paper art#wood#lace#gold#button#easter#eastercrafts#paper#cute
2 notes
·
View notes
Text
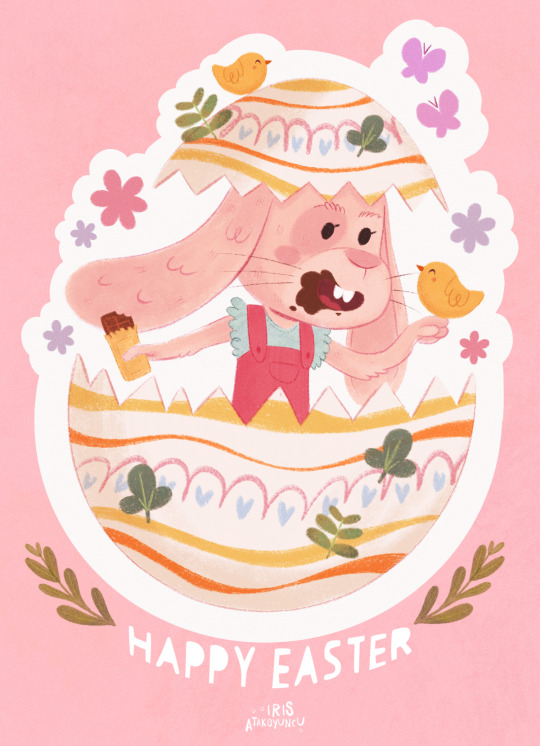
#childrensbookillustrator#easterillustration#easterfun#easterforkids#kidlitart#easterbunny#easteregg#springtimeillustration#picturebookillustration#illustrationforchildren#illustratorforkids#childrensbookartist#kidlitillustration#childrensbookdesign#childrensbookart#holidayillustration#childrensillustrator#kidlitcreators#eastercrafts#happyeaster#digitalpainting#visualdevelopment#conceptart#artist#disney#procreate#pixar#artistsoninstagram#childrensillustration
7 notes
·
View notes
Text
Deze Pasen heb ik besloten om eropuit te gaan en al mijn 👪🪺eieren in één mandje te doen. Waarom ze verspreiden als ik ze allemaal kan verzamelen en 📽️🎬🎞️ mijn eierciterende collectie op één enkele, uniforme locatie kan presenteren? Zeker, het is misschien 🎲💰🔥 riskant, maar ik ben bereid de gok te wagen vanwege de pure komische waarde van het kijken naar een 🧺🥚🔵🔴🟢mand vol kleurrijke eieren. Wie heeft er diversiteit nodig als je een 🐇🥚🧺mand vol eierkwaliteit kunt hebben? Deze Pasen omarm ik mijn innerlijke buitenbeentje en ga ik all-in voor het basket 🌆🎰🎆🎲-spel. Pas op, wereld; dingen staan op het punt extreem te worden 🤣😂😹 hilarisch.
#EasterEggs#EasterBunny#EasterSunday#EasterBasket#EasterHunt#EasterBrunch#EasterDecoration#EasterWeekend#EasterCelebration#EasterCrafts#EasterDinner#EasterJoy#EasterChicks#EasterParade#EasterTraditions#EasterFamily#EasterFun#EasterFestivities#EasterMorning#EasterLove#EasterMagic#EasterPastels
0 notes
Text

Happy Easter from Cambridge Montessori Preschool in Kharghar, Sector-21, Navi Mumbai! Wishing you a joyous day filled with love, laughter, and lots of chocolate eggs! 🐰🌷🥚
@cambridge.montessori.10
#HappyEaster#EasterJoy#EasterCelebration#EasterBunny#EasterEggHunt#EasterFun#MontessoriEaster#PreschoolEaster#CambridgeMontessori#Kharghar#Sector21#NaviMumbai#EasterAtSchool#EasterCrafts#easteractivities
0 notes
Text
DIY Easter Bunny Making Ideas

0 notes
Photo

🐰🌸Need to keep your little one's busy this week? Check out this comprehensive list was thoughtfully created with simple, easy, and fun Easter ideas: https://busytoddler.com/easter-activities-for-kids/
#SuraMedHealthCenter#Easter#EasterActivities#EasterCrafts#CraftIdeasforKids#easter2024#HappyMonday#MondayMood
0 notes
Text
Crafting With Cats Easter Special ~ Easy Catnip Easter Eggs ~ The Only Kind of Easter Eggs Mew'll Want! MOL
1 note
·
View note
Text
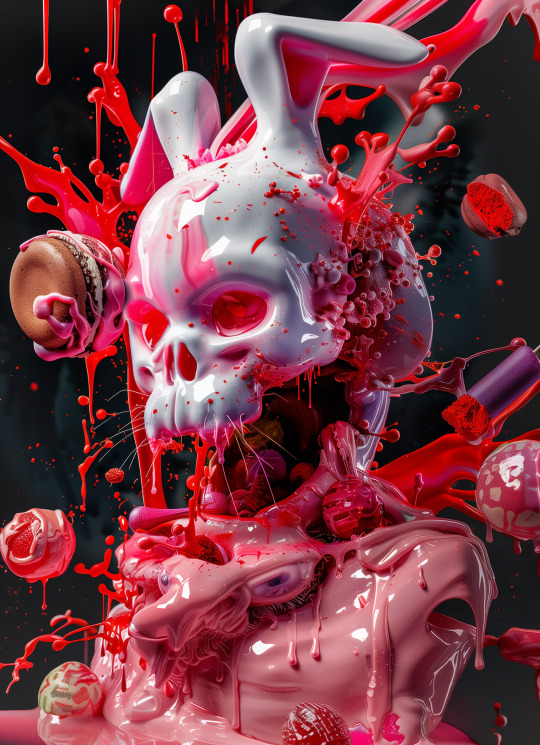
#surreal#macabre#horror#dark#easterpicnic#easteregghunt#easterbunny#easter 2024#strawberry#zoupa#sugarcore#implodes#easter bunny#eastercrafts#soft pink#pink aesthetic#easter#bunnies#bunny#mushroom#mushrooms#fairy#happy easter#pastel goth#goth#pastel gotic#rabbit#bunny rabbit#wings#spring
28 notes
·
View notes
Text


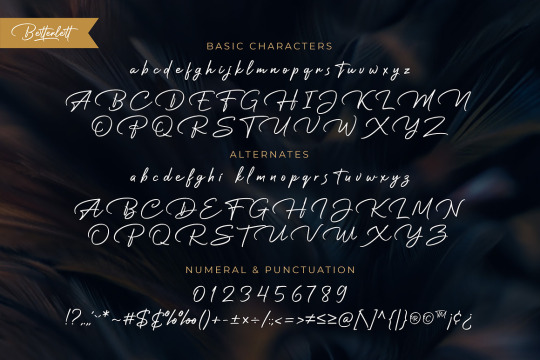
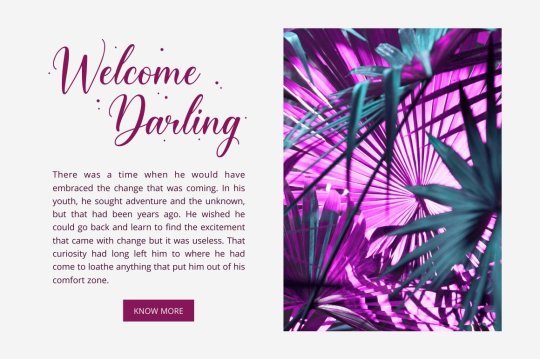
Betterlett font designed by Digitype Studio
#fonts#calligraphy#typography#design#webdesign#script#handwritten#calligraphic#font#type#typeface#lettering#handlettering#easter#easterclipart#eastercrafts#happyeaster#easter2024#easterdecorations#brand#branding#branddesign#brandingdesign#weddingfonts#weddinginvites#savethedate#weddingdetails#weddinginspiration#businesscard#businesscarddesign
10 notes
·
View notes
Text
1 note
·
View note
Video
youtube
DIY Carrot Decoration
#youtube#eaterdiy#eastercrafts#easterdecoration#easter decorations#diy project#diy tutorial#diy projects#diy craft#diyeaster#easterornaments#handmadeeaster#handmade#eastercrafting#eastercraft#easterdecorationideas
0 notes
Link
🥚🎨 Looking for a fun and unique way to decorate Easter eggs? Try egg dying with shave cream! This technique creates beautiful, marbled designs that are sure to impress. 🛀🏽 To get started, all you need is some hard-boiled eggs, shaving cream, food coloring, and a shallow dish. Simply spread the shaving cream in the dish, add drops of food coloring, swirl with a toothpick, and roll the egg in the mixture. 🌈 The result is a one-of-a-kind egg with a colorful and whimsical design. Plus, this method is safe and easy for kids to do. Get creative and experiment with different color combinations for a truly unique Easter egg decorating experience!1. Materials Needed for Egg Dying with Shave Cream🎨 To dye eggs with shave cream, you will need the following materials: - Hard-boiled eggs - Shaving cream - Food coloring - A baking sheet or tray - Toothpicks or skewers - Paper towels 🥚 Start by boiling eggs and allowing them to cool. Cover a baking sheet with shaving cream and smooth it out. Add drops of food coloring and swirl with a toothpick. Roll the egg in the cream mixture. 🌈 Let the eggs sit in the cream mixture for 10-15 minutes. Use paper towels to wipe off the excess cream and coloring. Rinse the eggs with cold water and pat dry. The result is a beautiful, marbled effect. 👩👧👦 This activity is perfect for kids and adults alike. It's a fun and creative way to decorate eggs for Easter or any occasion. Get creative with different color combinations and patterns. Have fun!2. Preparing the Shave Cream Mixture for Egg DyingTo create the perfect shave cream mixture for egg dying, you'll need a few ingredients. Start by gathering shaving cream, food coloring, and a shallow dish. Squirt a generous amount of shaving cream into the dish and spread it out evenly. Then, add a few drops of food coloring to the shaving cream. Using a toothpick or skewer, swirl the food coloring into the shaving cream until it's evenly distributed. Don't overmix, or the colors will become muddy. Once the colors are swirled to your liking, it's time to add the eggs. Gently place the eggs into the shaving cream mixture, making sure they're fully coated. Let the eggs sit in the mixture for about 10-15 minutes, allowing the colors to fully adhere to the eggshells. Afterward, gently rinse the eggs with cold water and let them dry. Now you're ready to show off your beautifully dyed eggs! 🐣🎨3. Applying Shave Cream to Eggs for DyingApplying shave cream to eggs before dying them is a fun and easy way to create unique designs. Here's how to do it: - Start by hard-boiling your eggs and letting them cool. - Squirt a generous amount of shave cream onto a plate or tray. - Smooth out the cream with a spatula or your fingers. - Add drops of food coloring to the cream and swirl with a toothpick. - Roll each egg in the cream until fully coated. - Let the eggs sit for 10-15 minutes before wiping off the cream with a paper towel. - Rinse the eggs with water to reveal the colorful designs. Using shave cream adds a fun and unexpected element to traditional egg dying. Plus, it's easy to customize the colors and patterns to your liking. Give it a try this Easter! 🐰🥚4. Dying Eggs with Shave Cream: Tips and TricksLooking for a fun and unique way to dye Easter eggs? Try using shaving cream! Here are some tips and tricks to make your eggs turn out perfectly: Use a deep dish or baking pan to hold the shaving cream. Add drops of food coloring to the shaving cream and swirl with a toothpick. Roll the egg in the shaving cream mixture until it's completely covered. Let the egg sit in the shaving cream for at least 10 minutes. Use a paper towel to wipe off the excess shaving cream. Rinse the egg under cold water to remove any remaining shaving cream. For best results, use white vinegar to help the dye set: After rinsing off the shaving cream, place the egg in a bowl of white vinegar for a few minutes. Remove the egg from the vinegar and rinse it under cold water again. Pat the egg dry with a paper towel. Don't be afraid to get creative with your designs: Use different colors and patterns to create a unique look. Add stickers or draw on the eggs with a marker before dyeing them. Try using different types of shaving cream, such as foam or gel, for different effects. Have fun and enjoy your beautifully dyed Easter eggs! 🐰🥚🎨5. Removing Shave Cream from Dyed EggsTo remove shave cream from dyed eggs, follow these steps: - Gently rinse the egg under cold water to remove any excess cream. - Use a soft-bristled toothbrush to scrub away any remaining cream. - If the cream is stubborn, soak the egg in a bowl of warm water for a few minutes. - Dry the egg with a soft cloth or paper towel. - Repeat the process for any remaining eggs. 🥚🧼 Don't panic if the dye comes off while removing the cream. It's normal and won't affect the final result. 🧽🌡️ Use warm water to make the cream easier to remove. 👀🔍 Check the egg thoroughly to make sure all the cream is gone before displaying or eating. 🚫❌ Avoid using hot water or harsh chemicals, as they can damage the egg's color and texture. 👌👍 With these simple steps, your dyed eggs will be cream-free and ready to enjoy!6. Decorating Dyed Eggs with Shave Cream PatternsTo decorate dyed eggs with shave cream patterns, you will need hard-boiled eggs, food coloring, shaving cream, and a toothpick. Fill a shallow dish with shaving cream and add drops of food coloring. Swirl the colors with a toothpick. Roll the egg in the shaving cream mixture, covering it completely. Let it sit for 10-15 minutes. Use a paper towel to wipe off the shaving cream and reveal the beautiful pattern. Rinse the egg with water and let it dry. You can also use stencils or tape to create different patterns. Have fun experimenting with different colors and designs! 🎨🥚7. Storing Dyed Eggs with Shave Cream for Future UseTo store dyed eggs for future use, try using shave cream. It's a fun and easy way to keep your eggs looking vibrant. Here's how: 1. Start by dyeing your eggs as you normally would. Let them dry completely. 2. Once dry, squirt some shave cream onto a plate or shallow dish. 3. Roll your dyed eggs in the shave cream, making sure to coat them completely. 4. Let the eggs sit in the shave cream for about 10 minutes. 5. Rinse the eggs off with cold water and dry them with a paper towel. 6. Store the eggs in a carton or other container in the refrigerator until you're ready to use them. 7. When you're ready to use the eggs, simply wipe off the shave cream with a damp paper towel. 🐰 This method not only keeps your eggs looking great, but it also adds a fun sensory element to the egg-dyeing process. Plus, it's a great way to repurpose shave cream that might otherwise go to waste. Give it a try! In conclusion, egg dying with shave cream is a fun and creative way to decorate your Easter eggs. This method allows you to experiment with different colors and patterns, resulting in unique and beautiful designs. It's also a great activity to do with kids and can be done with materials you likely already have at home. So, why not give egg dying with shave cream a try this Easter? It's an easy and affordable way to add some festive flair to your holiday decor. Don't forget to share your creations with friends and family using the hashtag #shavecreameggs 🐣🎨👨👩👧👦 https://shavingformen.com/egg-dying-with-shave-cream/?_unique_id=649710853d5a4
0 notes
Text

How to make a 3D Easter rabbit hanging decoration
#happyeaster#easterdecor#eastersunday#easterrabbit#easterbunny#paperrabbit#origami#eastercrafts#rabbit#bunny#3dpapercraft#artsandcrafts#diycrafts
0 notes
Last Seen Blogs

miss-madithe-baddie
perpetually wandering

just-tactician
Forgein tactician
writingfordreams
taking requests!

iamselfreliant-blog
Untitled
incorrectgreenwardenquotes
incorrect greenwarden quotes