#HSR cosplay
Text
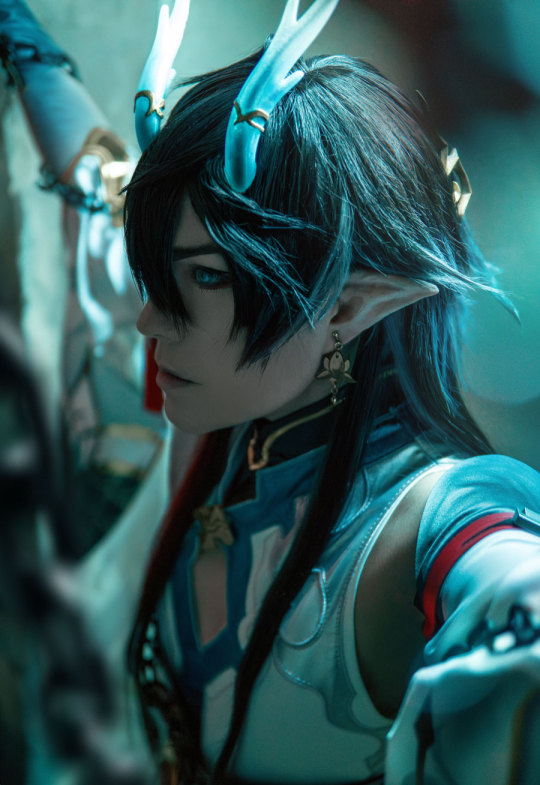


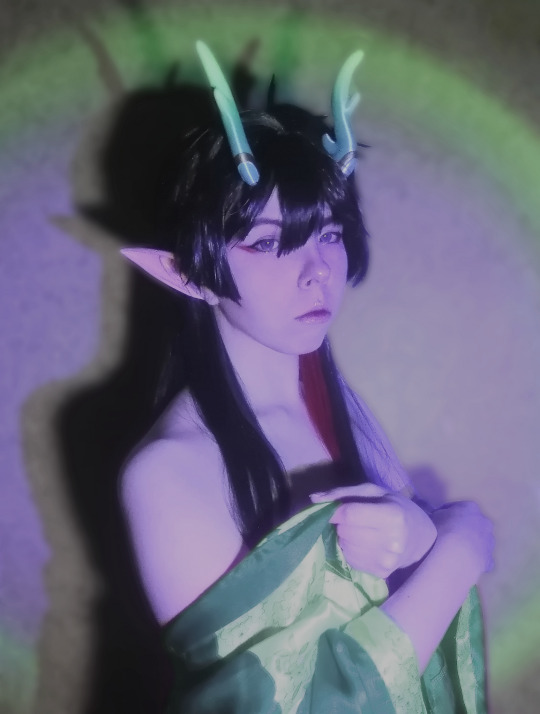
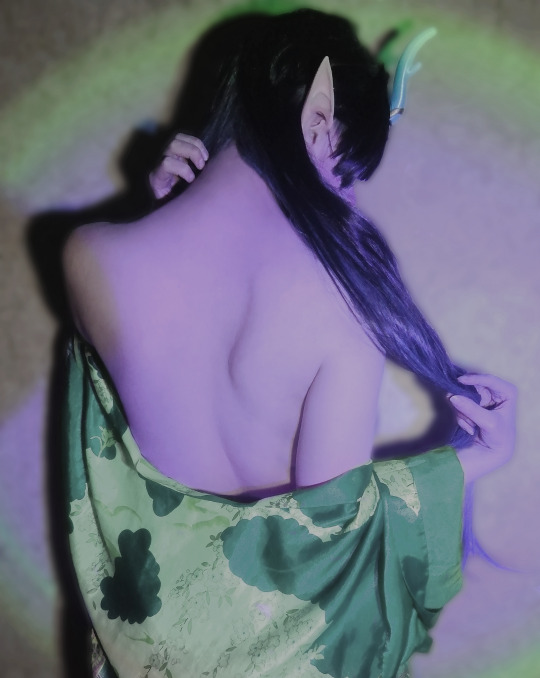
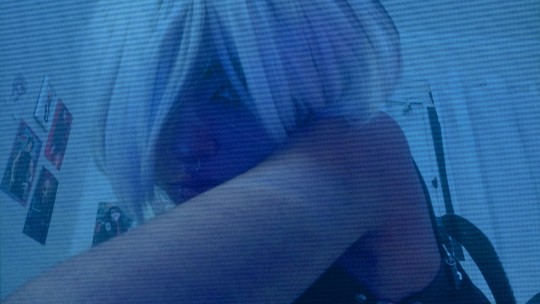
𝘍𝘳𝘰𝘮 𝘣𝘪𝘳𝘵𝘩, 𝘢𝘭𝘭 𝘵𝘩𝘢𝘵 𝘦𝘷𝘦𝘳 𝘭𝘢𝘺 𝘣𝘦𝘧𝘰𝘳𝘦 𝘩𝘪𝘮 𝘸𝘢𝘴 𝘣𝘶𝘵 𝘢 𝘭𝘪𝘨𝘩𝘵𝘭𝘦𝘴𝘴 𝘥𝘶𝘯𝘨𝘦𝘰𝘯. 𝘛𝘰 𝘵𝘩𝘪𝘴 𝘥𝘢𝘳𝘬𝘯𝘦𝘴𝘴, 𝘪𝘳𝘳𝘦𝘭𝘦𝘷𝘢𝘯𝘵 𝘴𝘪𝘯𝘴 𝘣𝘰𝘶𝘯𝘥 𝘩𝘪𝘮… 𝘪𝘳𝘳𝘦𝘭𝘦𝘷𝘢𝘯𝘵 𝘮𝘦𝘮𝘰𝘳𝘪𝘦𝘴 𝘦𝘯𝘨𝘶𝘭𝘧𝘦𝘥 𝘩𝘪𝘮.
📸: @doryoku.n 💙
#dan heng#imbibitor lunae#dan heng cosplay#honkai star rail#hsr#hsr cosplay#star rail#star rail cosplay#dan heng il#hsr dan heng#imbibitor lunae cosplay
185 notes
·
View notes
Text
cosplaying aventurine... need a hot man to cosplay dr ratio and take homoerotic photos with me
#hsr aventurine#drratio#honkai star rail#aventio#ratiorine#hsr#veritas ratio#dr ratio#aventurine#cos#cosplay#hsr cosplay#do people cosplay on here
44 notes
·
View notes
Text

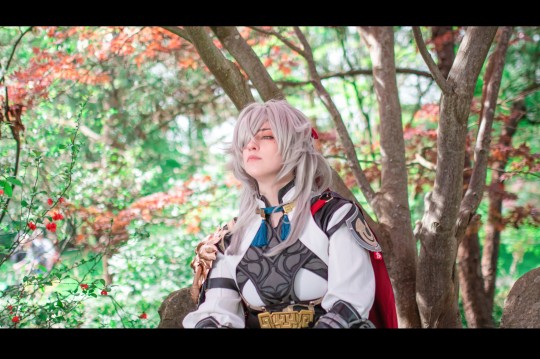

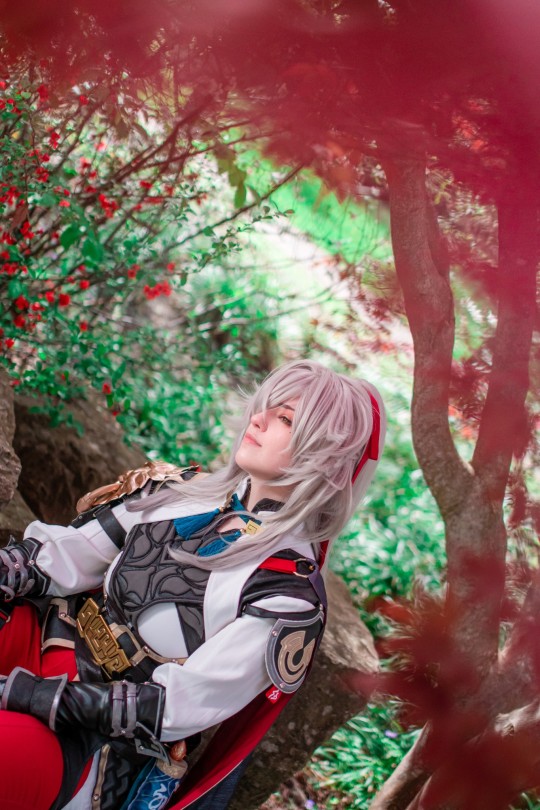
@ymbarel - Jing Yuan
Pictures by me
14 notes
·
View notes
Text

#honkai star rail#imbibitor lunae#dan heng#hsr cosplay#hsr dan heng#hsr#dan heng cosplay#honkai dan heng
33 notes
·
View notes
Text


My Topaz & Numby cosplay from Katsucon 2024! Featuring @lightbenderlin as my delightful March 7th~
The trotter pattern was a collaboration with Hologramo on Instagram; I'll be working on posting the pattern and instructions for free this weekend!
#honkai star rail topaz#topaz and numby#hsr cosplay#plus sized cosplay#puppets#muppet style puppet#TBH this absolutely broke my HoyoVerse account and Russian cosplayers keep arguing in the comments about my weight SO#hopefully y'all behave a little better
15 notes
·
View notes
Text
Free Numby Sewing Pattern!


This is a collaboration with Hologramo (Instagram and Etsy) and is of moderate difficulty, intended for people with some understanding of sewing patterns, fabric grain, etc. The pattern can be used for a plushie or for the muppet-style puppet shown above!
FABRIC: I used shiny performance stretch fabric for all elements except the shell, which I made from white cotton knit and heat transfer vinyl. Fleece also worked well in testing, so minky and other similar fabric should work as well. I do NOT recommend cotton weave (muslin, quilting cotton, etc) because that test was much too rigid for my purposes as a muppet. You'll need about 3/4ths of a yard of black fabric, 1/2 yard of white, and 1/3 yard of gold and purple each.
STUFFING: If you're doing a plushie, you will only need Polyfill or other stuffing, but if you're doing a puppet I used a bit of Polyfill for the throat/ears/legs plus upholstery foam in 1/4 inch and 1 inch thicknesses.
The pattern:
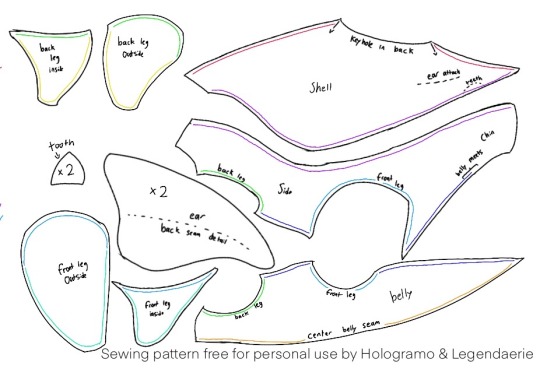
Scale the above image to whatever size you need (Paint, not Paint 3D is an easy tool to print at 150% size or more) and print it out on your computer. (Mine I think scaled to six pages?) Cut out each piece, taping pieces that printed on multiple pages together, and lay it as so on FOLDED FABRIC with the salvage edge at the bottom of the image.
Cut out each of the shapes above (giving you two mirrored pieces of fabric) and a second set of two for the teeth and ears. You'll also want a second set of shell fabric if you're making this a puppet or want more dimension in the back.
Side, belly, and both legs should be in black fabric, teeth and ears should be in gold, and shell should be white.
THE BODY
Begin to line up the seams by matching up the colored lines - deep blue is where the belly and the side meet, for example - with the right sides (the pretty sides) of the fabric together. I recommend sewing the front and back pieces of each leg together first (leaving the large hole at the top) then one belly to one side as illustrated below (rough sketch).

Now, you'll want to ease the front and back legs into the green and blue holes illustrated above. You might need to just barely snip along the fabric of the legs, or gather them, but the end result should give you legs that are not quite flat. If you're having trouble, I recommend watching a tutorial on sewing puffed sleeves - it's a very similar process.

With your arms sewn in, you can now sew the two belly seams together! Leave a large gap in the center of the belly (between the legs) if you're making a puppet - this is where your hand will go.
PUPPET STEPS ONLY: Now is when you will need to stuff the legs! Fill with Polyfill or other fluffy stuffing to the desired density, then cut a circle of scrap fabric and sew it on the other side of the leg hole to stop the stuffing from slipping out. You need to do this to keep the body cavity empty, while also ensuring the legs look properly filled. Here is a picture of what the 'bottom half' of Puppet!Numby looked like with his legs fluffed:

The white are the circles of scrap fabric that keep the leg fluff contained.
You can do the ears and teeth now, too; just put two mirrors pieces together, right sides together, sew most of the way through then turn inside out. I stuffed my teeth with upholstery foam cut into pyramid-like shapes and my ears with a front piece of 1/4 inch foam and backed with Polyfill, but it's up to you how to do these. Set the teeth and ears aside for now.
THE SHELL
The reason I did the white shell in cotton was because I wanted to iron on the decals for Numby, and polyester glitter stretch does not want to take HTV (heat transfer vinyl) very well. Sew the two pink seams on the back together, leaving the keyhole open.
Sew your shell pieces together first, then make your HTV pattern of it of paper and make sure things line up. Unfortunately, due to image limits on Tumblr (and losing the pattern pieces) I can't put the pattern for his markings here. Iron on the decals (on one shell side, if you cut out two sets) before moving to the next step!
PUPPET STEPS ONLY: Now is when you make your first cut with foam! Cut two pieces of the back pattern in 1/4 inch thick upholstery foam and glue the two middle seams together at an angle so that the foam forms an arched/dome shape. (Mine looked like a horseshoe crab.) I used the E6000 fabric glue. Trim any sharp edges smooth, then use the foam as a 'filling' for a sandwich of the shell pieces. If you need more advice on working with foam, I recommend looking up fur suit head tutorials or videos from drag queens discussing how to make padding. You need foam, not Polyfill, to make a shape that holds together when the body cavity is empty.

THE FILLING
If this is just a plushie, now is when you can sew most of the shell to the lower half of the body, add the teeth and the ears, and stuff like most any plushie. For the puppet though... your work is just starting.
If you want to make this a puppet, you'll need to make a mouth out of cardboard with a scored hinge, and straps for your fingers and thumb out of duct tape. There's tutorials elsewhere for how to make a Muppet-style puppet elsewhere and this is already HILARIOUSLY long, so check those out. I recommend adding a little narrow piece of cardboard on the top, just past where the pads of your fingers sit, to help 'grip' the puppet mouth when manipulating it. This can just be taped on.
Once the mouth is assembled, sew 3/4th of one side of the shell to one side of the belly/side piece we made earlier, leaving space but the nose for the mouth to be glued in. It'll look almost like a clam, with the white shell piece as the top hinge and the belly/side/legs as the bottom hinge. Cut a ~5 inch wide strip of your 1 inch thick foam and form a large 'ring' inside Numby right around where his front legs sit. It needs to be a continuous piece because we'll be relying on the tension of the foam wanting to lay flat but being forced into a ring to give us structure. Trim the sharp edges, glue the ends together, and pin the legs to the foam to help it dry in place.
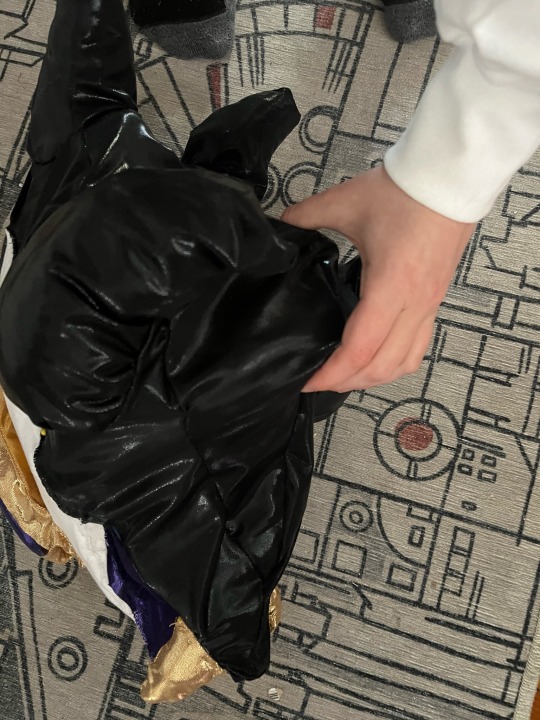
Above is an image of me grabbing the foam circle - note that the 'throat' and 'belly' are totally empty.
Use more foam to fill out the sides of the puppet, again placing the pieces behind the legs to coax them to stick out. I also put a little bit of foam under Numby's chin where the fabric sticks out - glue that piece to the cardboard just past where your thumb rests on the lower jaw mechanisms. Hand-sew the other side but leave the snout open. Below are some more photos of the hollow inside, showing the upholstery foam (white and green)


For the ears on the puppet, I cut a single long piece of heavy-gauge wire I had laying around into a U shape, carefully bending the cut ends so that they were no longer sharp. Cut tiny slits in the white shell fabric at the front of where you want your ears to sit. Thread this wire into one ear, then through the hole in the shell. Glue/tape the bend of the U to the outside top part of the cardboard jaw, then repeat on the other side with the other ear.
Handsew the ears to the white shell, the teeth to the lower jaw of the puppet, and attach the puppet mouth to both top and bottom. Glue on the purple fabric to the ears and the inside of the mouth, and there you go!
Please feel free to reach out with questions! Happy sewing!
17 notes
·
View notes
Text
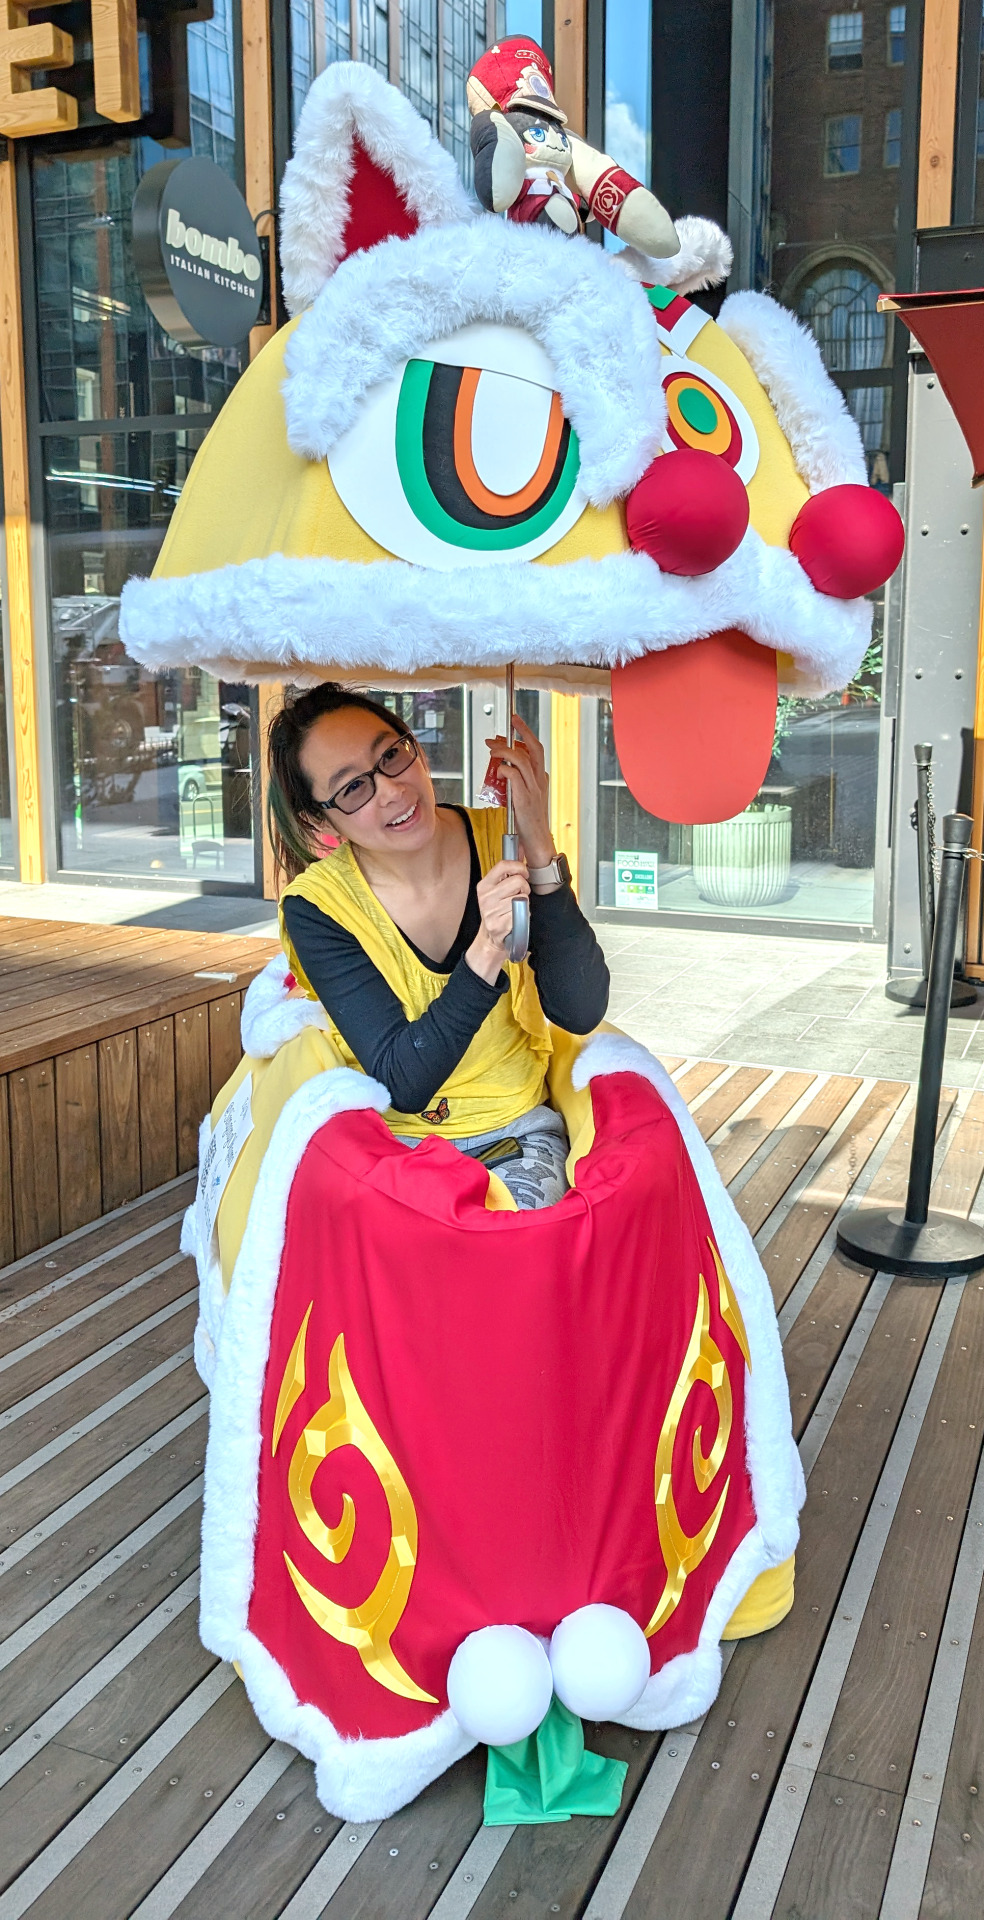
Diting (by @SingingOkami) - Honkai Star Rail @ SakuraCon 24 (Sat 03/30)
#honkai star rail#hsr#diting#hsr diting#xianzhou luofu#🏹 xianzhou alliance#hsr cosplay#sakura con#sakura con 2024#sakuracon#sakuracon 2024#sakuracon24#sakuracon2024#sakura con 24
7 notes
·
View notes
Text

9 notes
·
View notes
Text
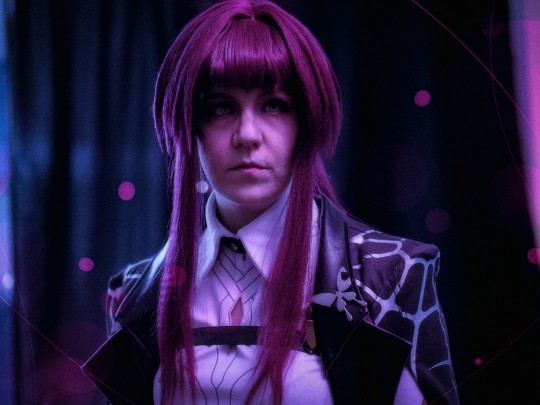


Kafka 🕷
9 notes
·
View notes
Text
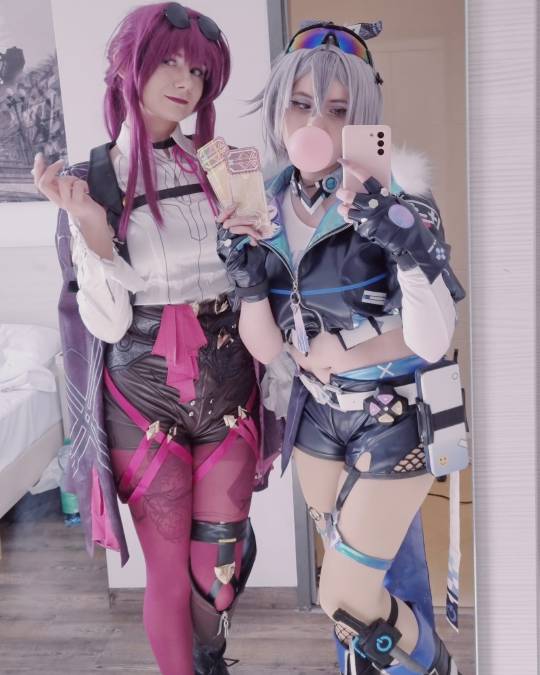
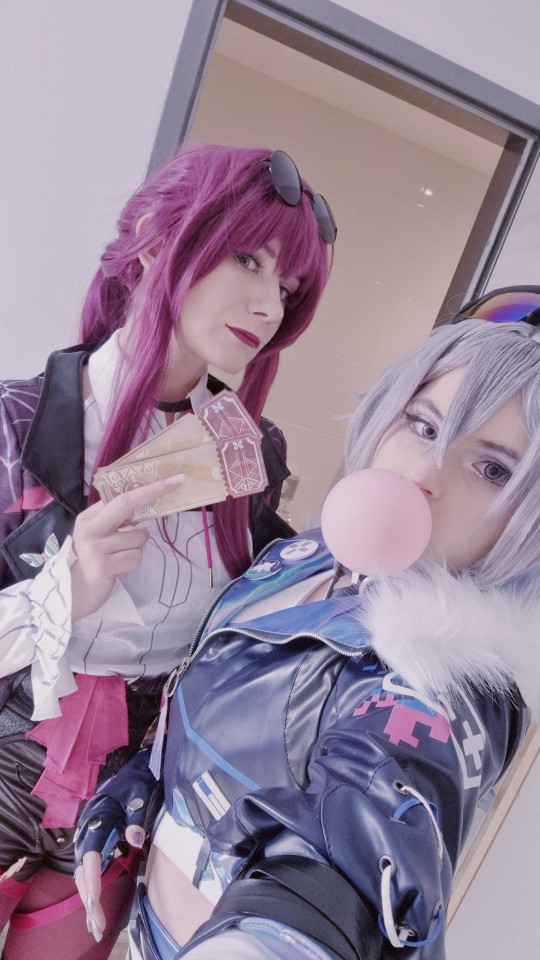
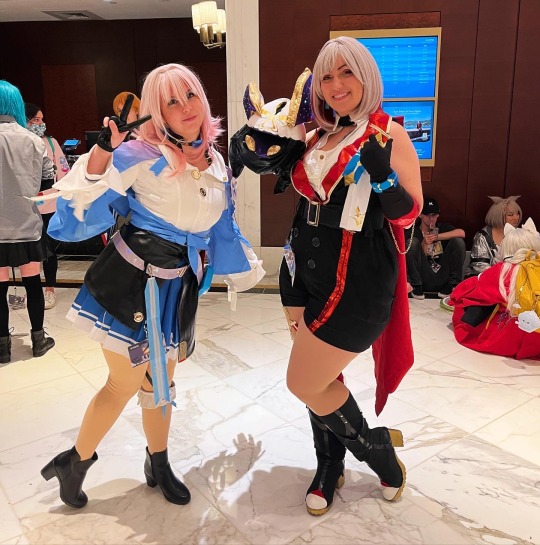
Kafka and Silver Wolf on duty 🌟
Panta as Kafka
Me as Silver Wolf
- Honkai Star Rail
#honkai star rail#hsr kafka#silver wolf#stellaron hunters#hsr cosplay#cosplay#hoyoverse#hoyocreators#kokorokon
9 notes
·
View notes
Text


https://instagram.com/fernandaelric
#girls who lift#muscular waifu#cosplay#feruchan#fitblr#girlswholift#cosplayer#fitness#fitspo#gym rat#topaz cosplay#topaz#honkai star rail topaz#hsr topaz#topaz honkai star rail#cosplay hsr#hsr cosplay#hsr#honkai star rail
7 notes
·
View notes
Text


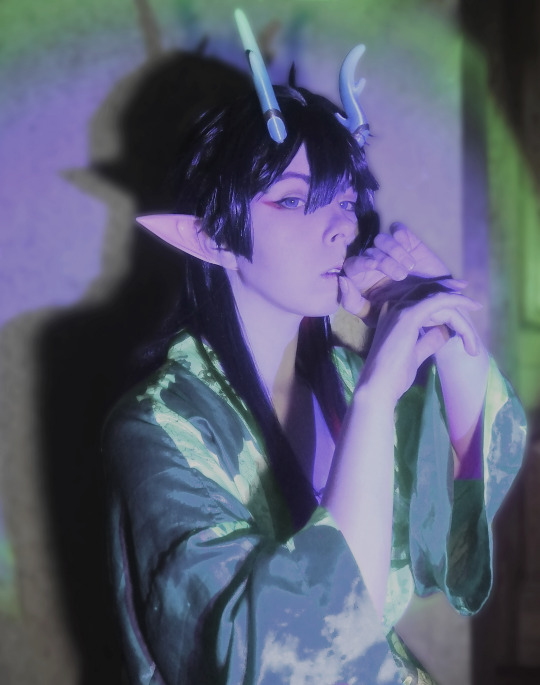
𝘍𝘦𝘷𝘦𝘳 𝘥𝘳𝘦𝘢𝘮
🦁: @doryoku.n 🐉: @tenshi_senpie
#jingheng#hsr cosplay#star rail cosplay#dan heng#dan heng cosplay#jing yuan#jing yuan cosplay#honkai star rail#star rail#imbibitor lunae cosplay#imbibitor lunae
75 notes
·
View notes
Text
HELP. I WANNA COSPLAY BUT I CAN'T CHOOSE WHO TO COSPLAY AS PUCHANGINERS WHABDBD
#genshin#genshin impact#genshin impact cosplay#genshin cosplay#poll#panty and stocking#honkai star rail#honkai#HSR#HSR cosplay#Honkai star rail cosplay#nilou#kafka
9 notes
·
View notes
Text

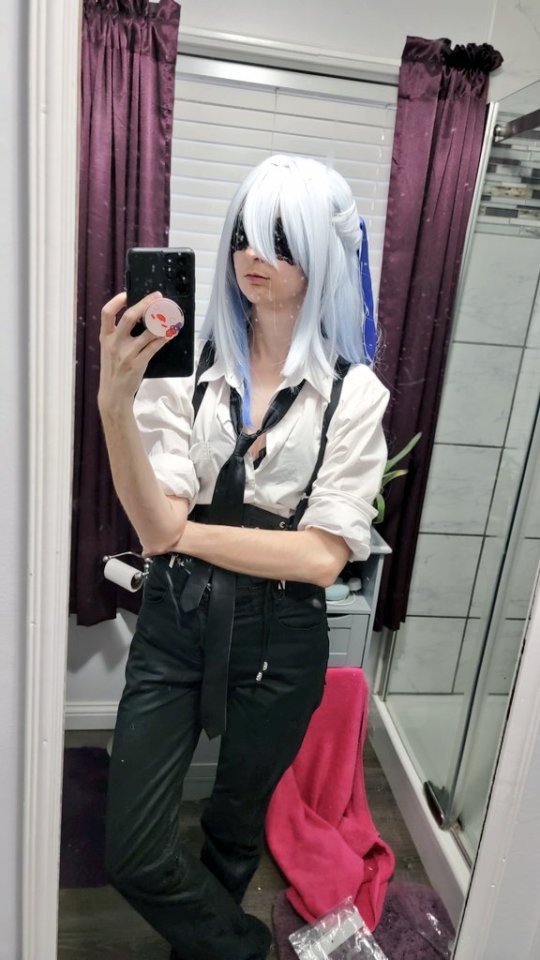
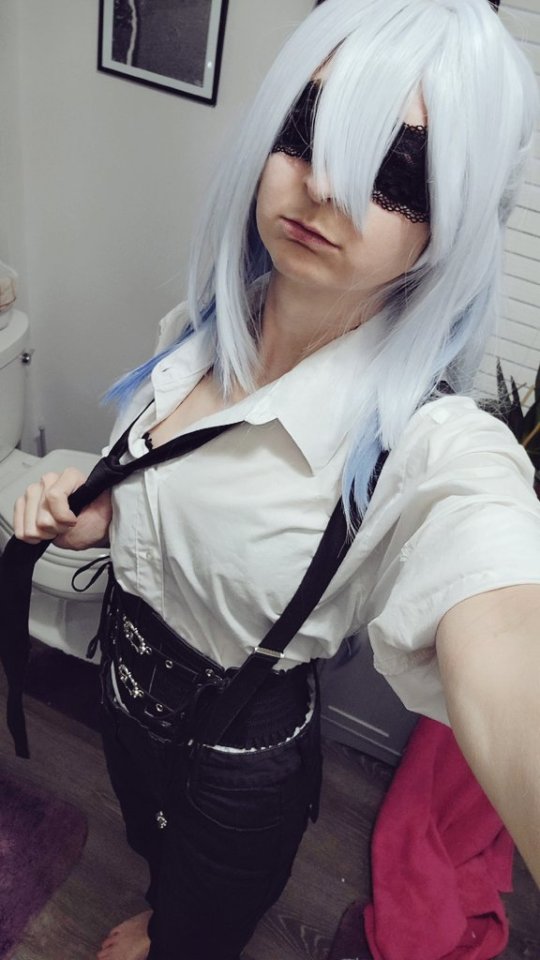
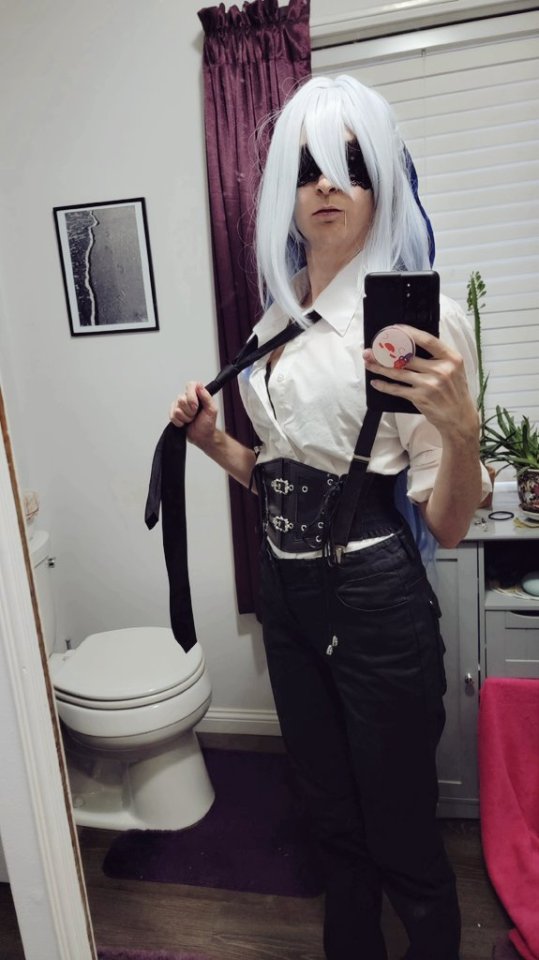

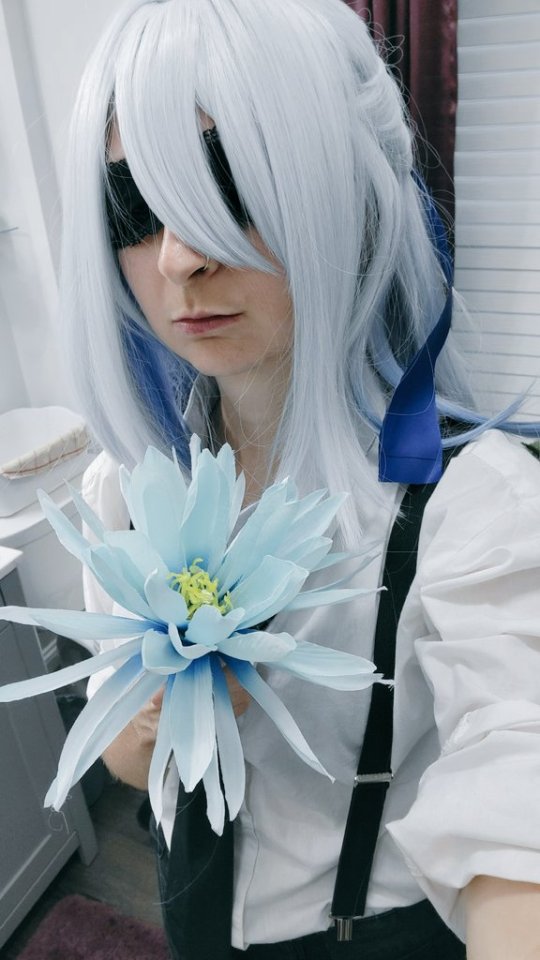
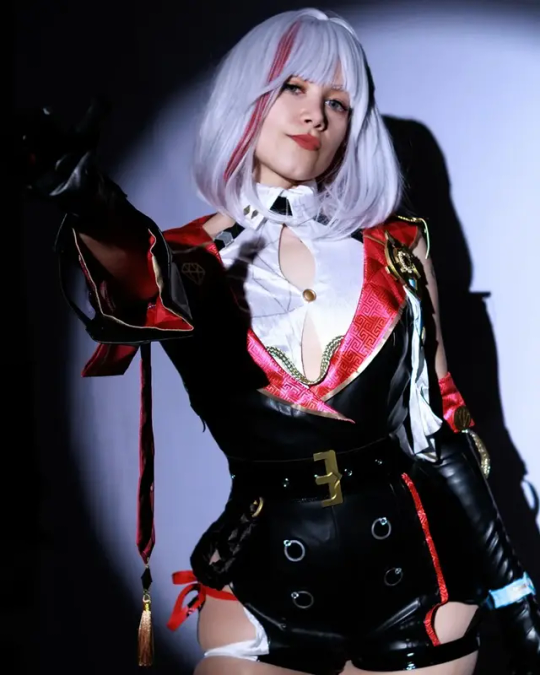
bought a wig (and flower) and quickly threw together a closet jingliu cosplay, because pretty ladies in suits and ties are 😍
#hsr#honkai star rail#jingliu#honkai star rail jingliu#hsr jingliu#jingliu cosplay#closet cosplay#cosplay#honkai star rail cosplay#hsr cosplay#nonbinary cosplayer#lee cosplays#i wanna do better photos at some point. its hard to see what im doing with blindfold 🤣#and the onws with the red contacts didnt come out right because bad lighting made it hard to even see them#also need to fix the wig. needs cut a little and the hair pulled up in the back needs to be higher. also my hair band i made fell apart lma#and my face is dumb and weird so probably need makeup or something next time so i can make jingliu actually pretty 😭#trying to decide if i should take this to a con#day-lees
16 notes
·
View notes
Text


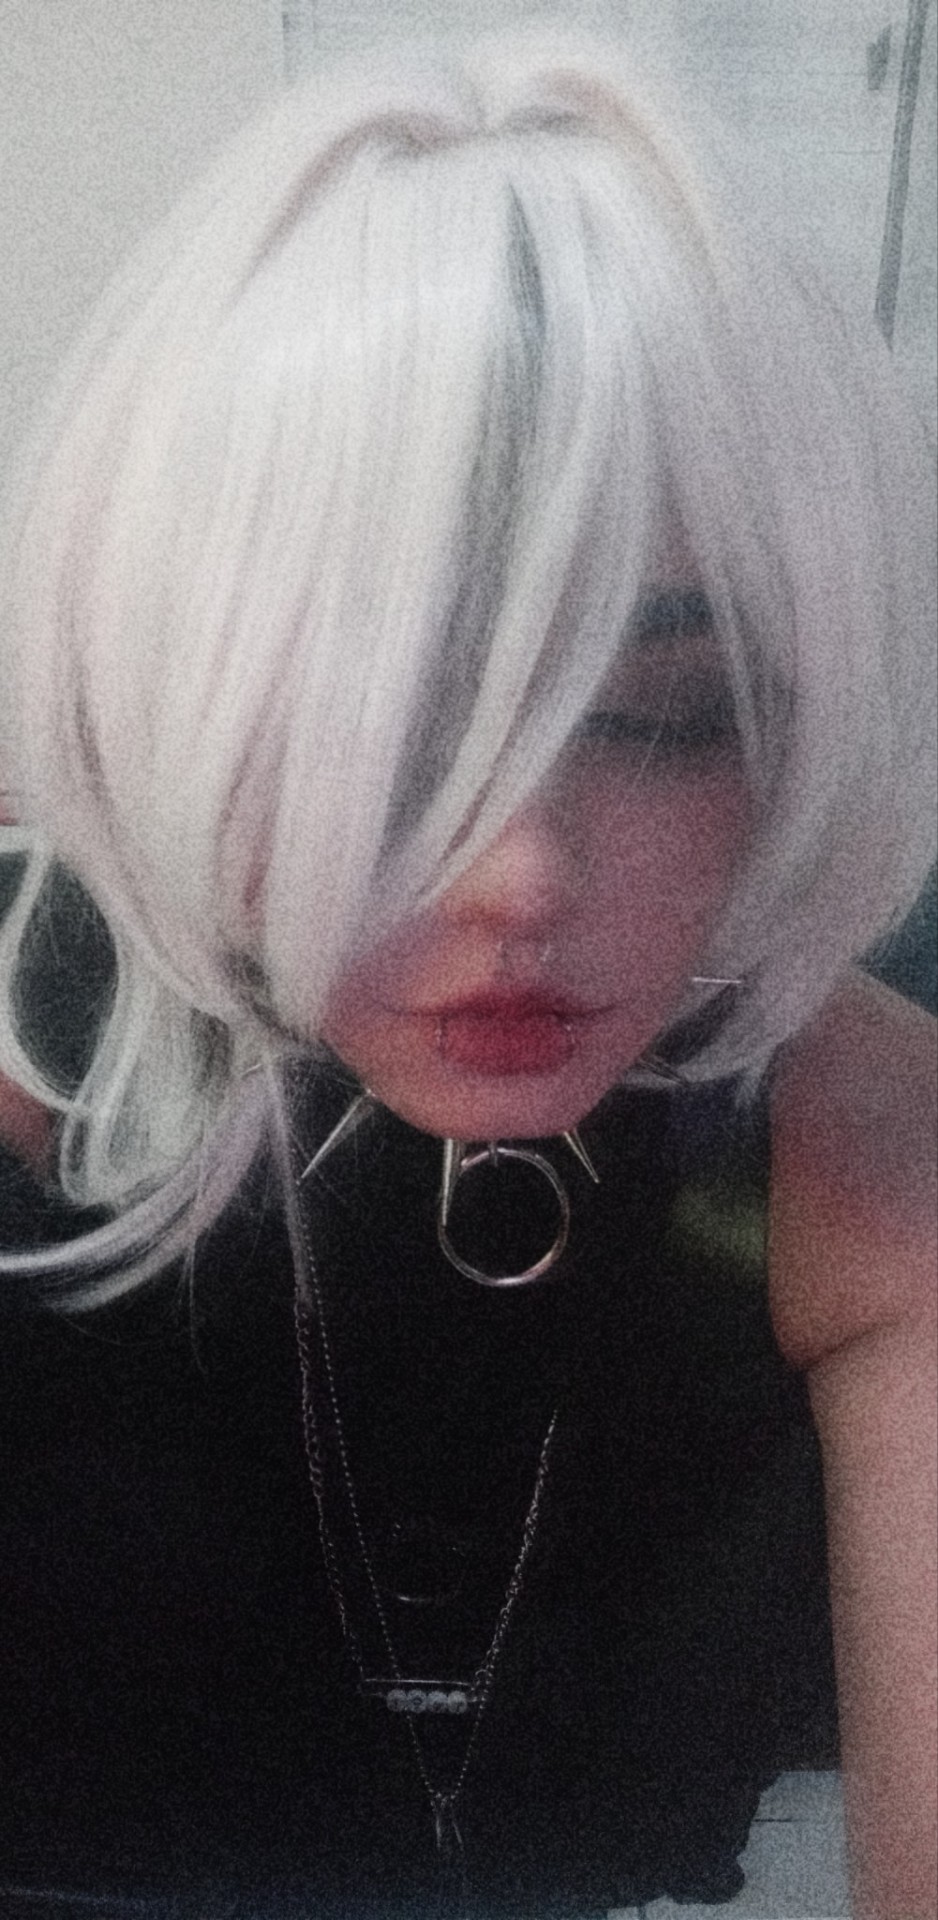

something a little different than usual
not art, not mcr content, instead an improvised arlan cosplay lol. I only have his wig (I didn't cut it because the idea of cutting it gave me heartaches so yes, it's pre stylized and not very accurate but bear with me for a bit xd) and purple contact lenses, I don't have his outfit and i don't think I wanna make his outfit, i like giving my cosplays an original improvised outfit. I also added a cheek scar just because || poison - he/him
#hsr#hsr cosplay#honkai star rail#honkai star rail cosplay#cosplay#arlan#hsr arlan#arlan cosplay#nonbinary#enby boy#enby#lol emo
7 notes
·
View notes
Text

i've been working on a 3d model for kafka's pin ^-^ gonna try and give it a test print this week and make any adjustments, when i'm happy with it i'll post the STL as a 'pay what you'd like'
12 notes
·
View notes
Last Seen Blogs

putnisbest69
Untitled

privatedarius
Outdoors & Outback

lundqvistcontreras
The Life of Santiago 739

nisasuni
Perempuan Matahari

carmenlaren
Singer/Model/Actress