#photography studio
Text

Cigarette card illustration depicting scene from Chinese photography studio. Date unknown.
107 notes
·
View notes
Text

Photographers Morgan & Marvin Smith prepare to take a picture of model Sara Lou Harris Carter, New York, 1940 🖤📸🖤📸🖤
#Morgan Smith#Marvin Smith#Sara Lou Harris Carter#photography#1940s style#1940s fashion#1940s vintage#1940s#40s style#40s fashion#40s#decade: 1940s#vintage style#vintage fashion#vintage photography#original photographers#retro photography#black men#black woman#african american#afro american#black model#black beauty#photo studio#harlem renaissance#black folks#black people#black photographers#photography studio#1940s photography
13 notes
·
View notes
Text
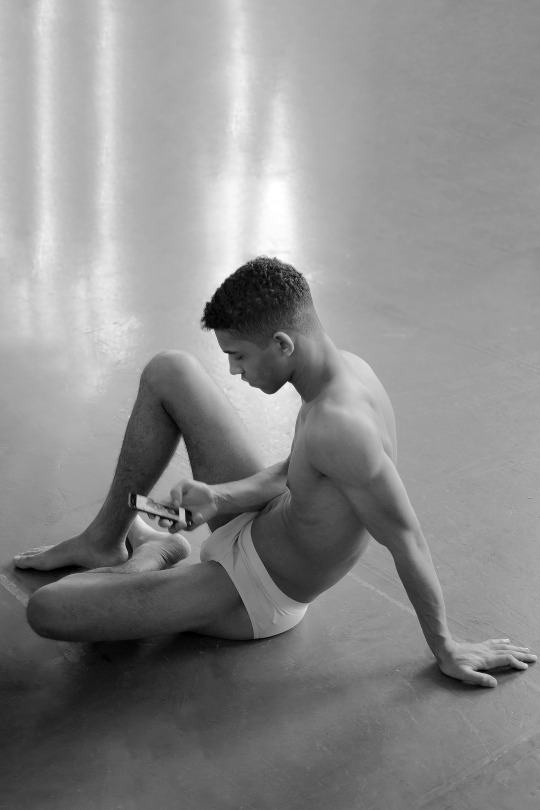
Jan Carlos Diaz in Studio
#male#male model#male portrait#model portrait#portrait#portrait photography#photography studio#black and white photography#male beauty#black male#handsome#handsome male#male physique#male form#beautiful men
73 notes
·
View notes
Text
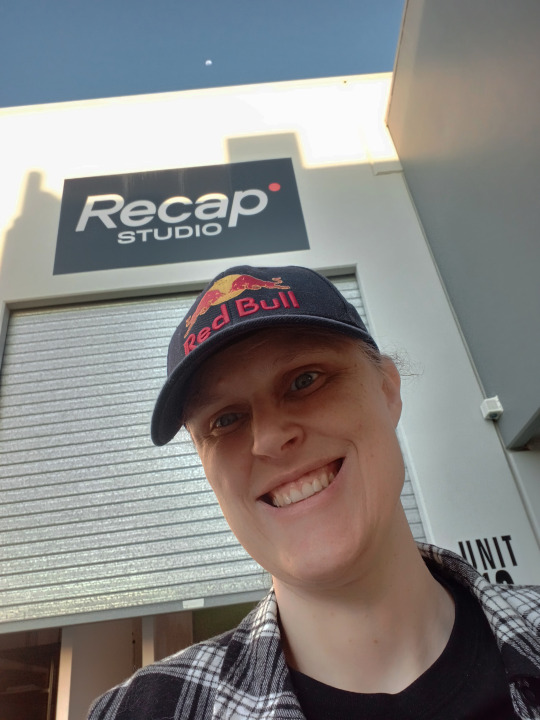
I love to thanks Recap Studio for allow us to film Prom Queen a Slasher Mini Web Series Documentary at their Photography Studio and best wishes to them and their business.
Thanks guys!💋🌹💜🎬🎥
#Prom Queen#Prom Queen a Slasher Mini Web Series#April 2024#Documentaries#Filming#Photography Studio#Recap Studio
2 notes
·
View notes
Text

A tiny update, and I do mean tiny, to my studio nook
If you know how I work, you know I like flow state. And to get to flow state, I need my workspace clean and efficient.
What prevents me from making more (useful) BTS and photography tutorials is that I have to set up my cameras, write a script, and record a voice over.
I'm done with that. I mounted a GoPro I never use overhead, set up a platform support for an old phone to the side, and clamped a voice recorder to a shelf.

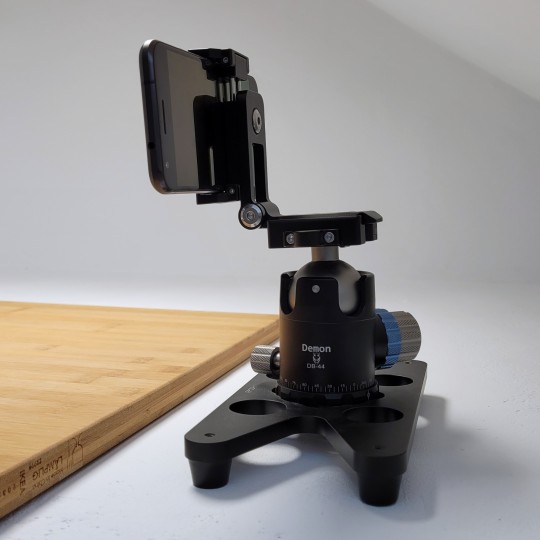
That's it. I'll still spend time in editing but I've cut out 50% of the work already. And next time I take a photo, I'll just turn these things on and talk it out.
What helped me get here was, oddly, Tumblr Live.
After 2 weeks of streaming, I realized I didn't need to be so produced to give value to people.
Now if only Tumblr Live let me use multiple cameras...
Anyway, next YouTube video will be live on Feb 1 followed by an essay on Substack about storytelling in photography on Feb 4.
25 notes
·
View notes
Text
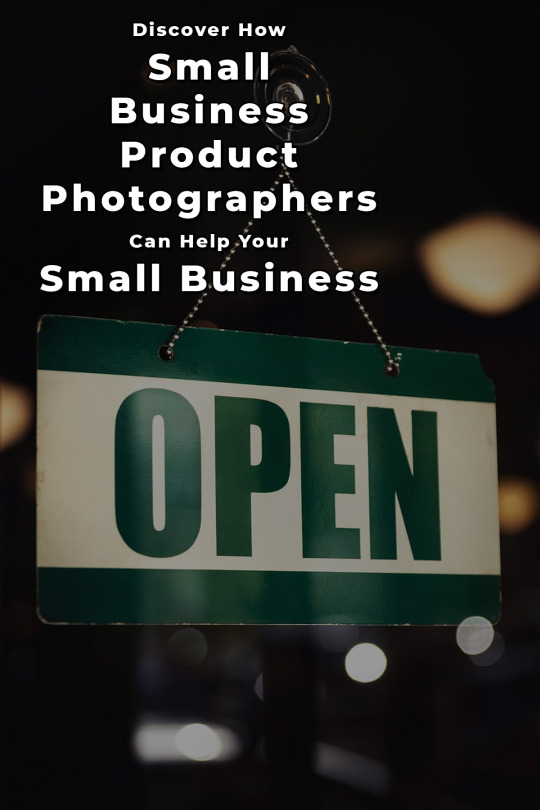
Why Your Small Business Needs Tailored Photography
Large studios might not get the essence of your brand. Discover the power of personalized product photography for small businesses. Tap now to elevate your brand visuals! 📷🌟
#BrandElevation #TailoredPhotography
#small business#product photographer#product photography#marketing#photography#photography business#photography studio#photography service
4 notes
·
View notes
Text
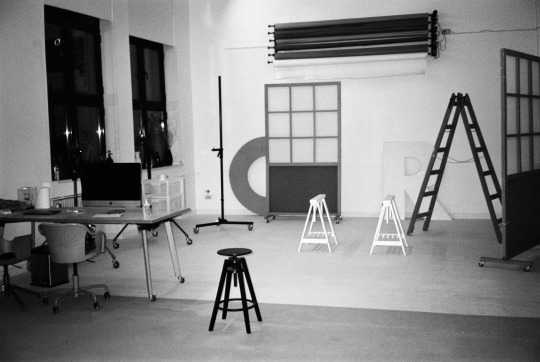
Fomapan 100
#35mm#atelierele#scanteia#casa presei libere#product photography studio#photography studio#bucuresti#bucharest#romania
2 notes
·
View notes
Text
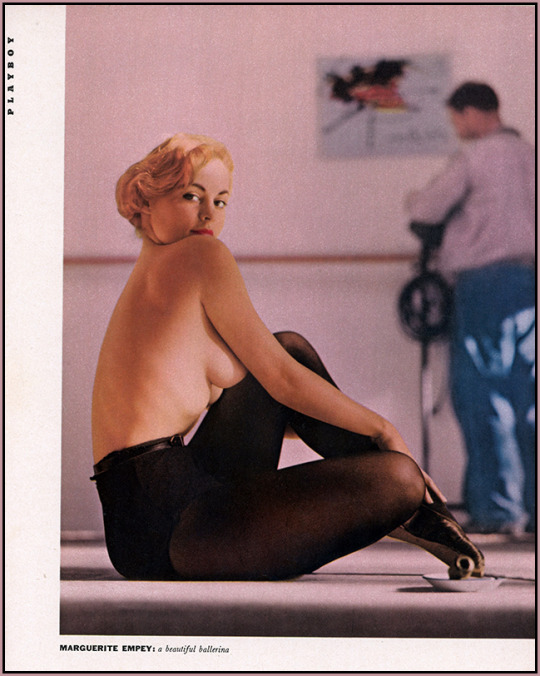
Marguerite Empey Miss May 1955
from The First Two Dozen Playmates Playboy magazine Jan 1956
I just like this picture.
#playboy bunny#playboy magazine#beautiful model#modelshoot#photography studio#photography#circa 1956#circa 1955
7 notes
·
View notes
Text
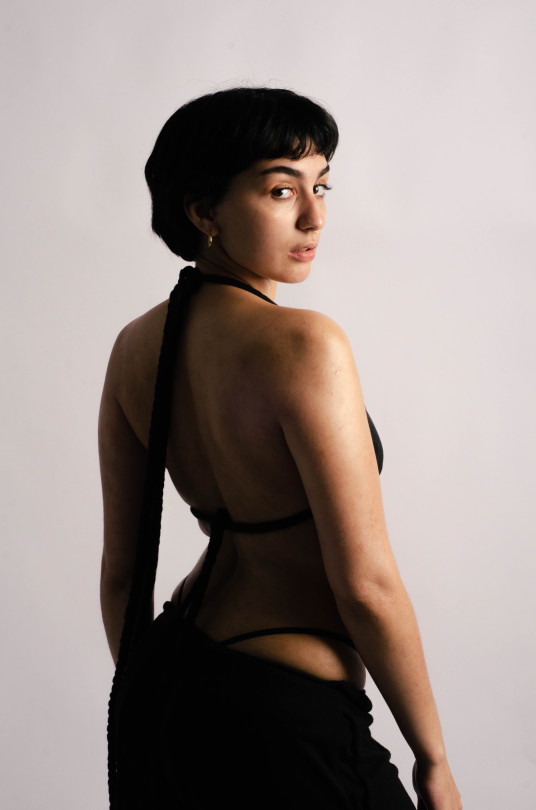

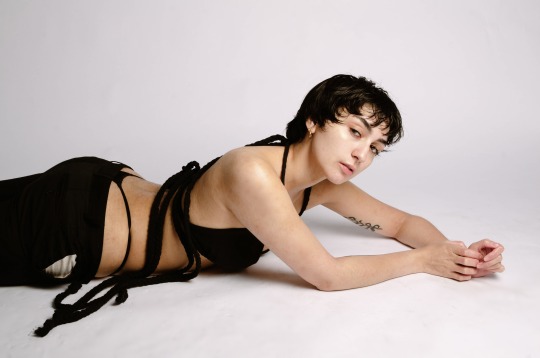
Photography: Joaquín Bosch
Styling: Tomás Nehuén Luján
Estudio: Mannekin
3 notes
·
View notes
Text
(ノ・ω・)ノ Behind the scene at my fursuit maker's photography studio
....................
✂️🧵🖌️🎨: Doki (xiaoquandoki10)
🐯: me (Minh Minh)
#first fursuit#furry#furry community#furry tiger#minh minh#minh minh the tiger#furry fandom#kemono fursuit#kemono#behind the scenes#photography studio
5 notes
·
View notes
Text
instagram
2 notes
·
View notes
Text

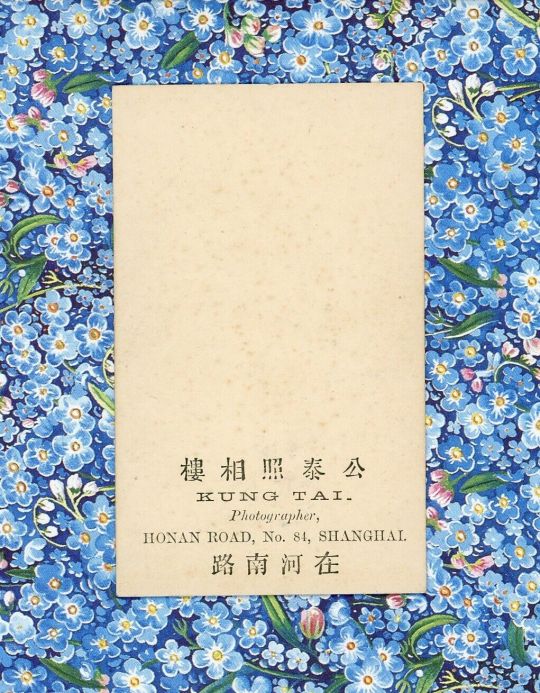
「公泰照相樓在河南路」
42 notes
·
View notes
Video
Kaprus Jaya in Sawidji Studio
#youtube#original photographers#portrait photoshoot#contempoary artist#artist portrait#photography studio#Dewi Dian reich#sawidji studio#portraiture#fotografie#kunst studio#artist studio#photography lovers#portrait lovers
2 notes
·
View notes
Text
Important Things to Know When Making a Photography Studio room
Setting up the perfect photography facility is not a basic task. There are usually few important elements, which you should consider for creating a studio that satisfies your preferences. Some involving these factors include your budget, equipments and the necessary place intended for setting up typically the studio. This articles can provide answers for all your current queries along with the things you need for building an exceptional studio. If you are getting to the picture taking field, you may across various choices in front of you. It's rather a wedding party photography, wildlife picture taking, nature photography or perhaps a normal facilities. Once you need decided on these options, your up coming task is in order to select the correct equipments and add-ons required for the kind of photography you are planning to get. Aside from these elements, recognize an attack know the particular available size and even location of typically the studio.
Choosing a Studio Size:
Typically the size is also one of the important plus initial factors that will you must consider when setting upwards a studio. Generally, a room, that is longer in this length can carry out better for managing the ambient lights as well because the artificial illumination of your studio room. You ought to have enough area for installing very soft boxes, umbrellas because well as additional necessary components of your current studio. 10-12 area can be ideal for setting up some sort of simple studio. Ideal for music videos, editorial and eCommerce photography select to the studio should also have suitable air circulation that can keep your catches comfortable.
Location and Budget:
The finances that you will be going to invest takes on a crucial role throughout the creating plus quality of your facility. When you are creating a Photography facility, it is quite imperative to include all of the required items that it will be easy to purchase in the budget, it does not make a difference how small precisely how small its. Looking for equipments regarding discounts and gives can assist you to save a few money. There are usually also many sellers in the market place, who are providing employed studio items like muslins, umbrellas, foundation stands in addition to power bills, which could save your money. A part from these, you also have a good option to rent the accessories in addition to cameras.
#photography studio#White Room Photography#blackout studio#infinity cove#Ideal for music videos#editorial and eCommerce photography
5 notes
·
View notes
Text
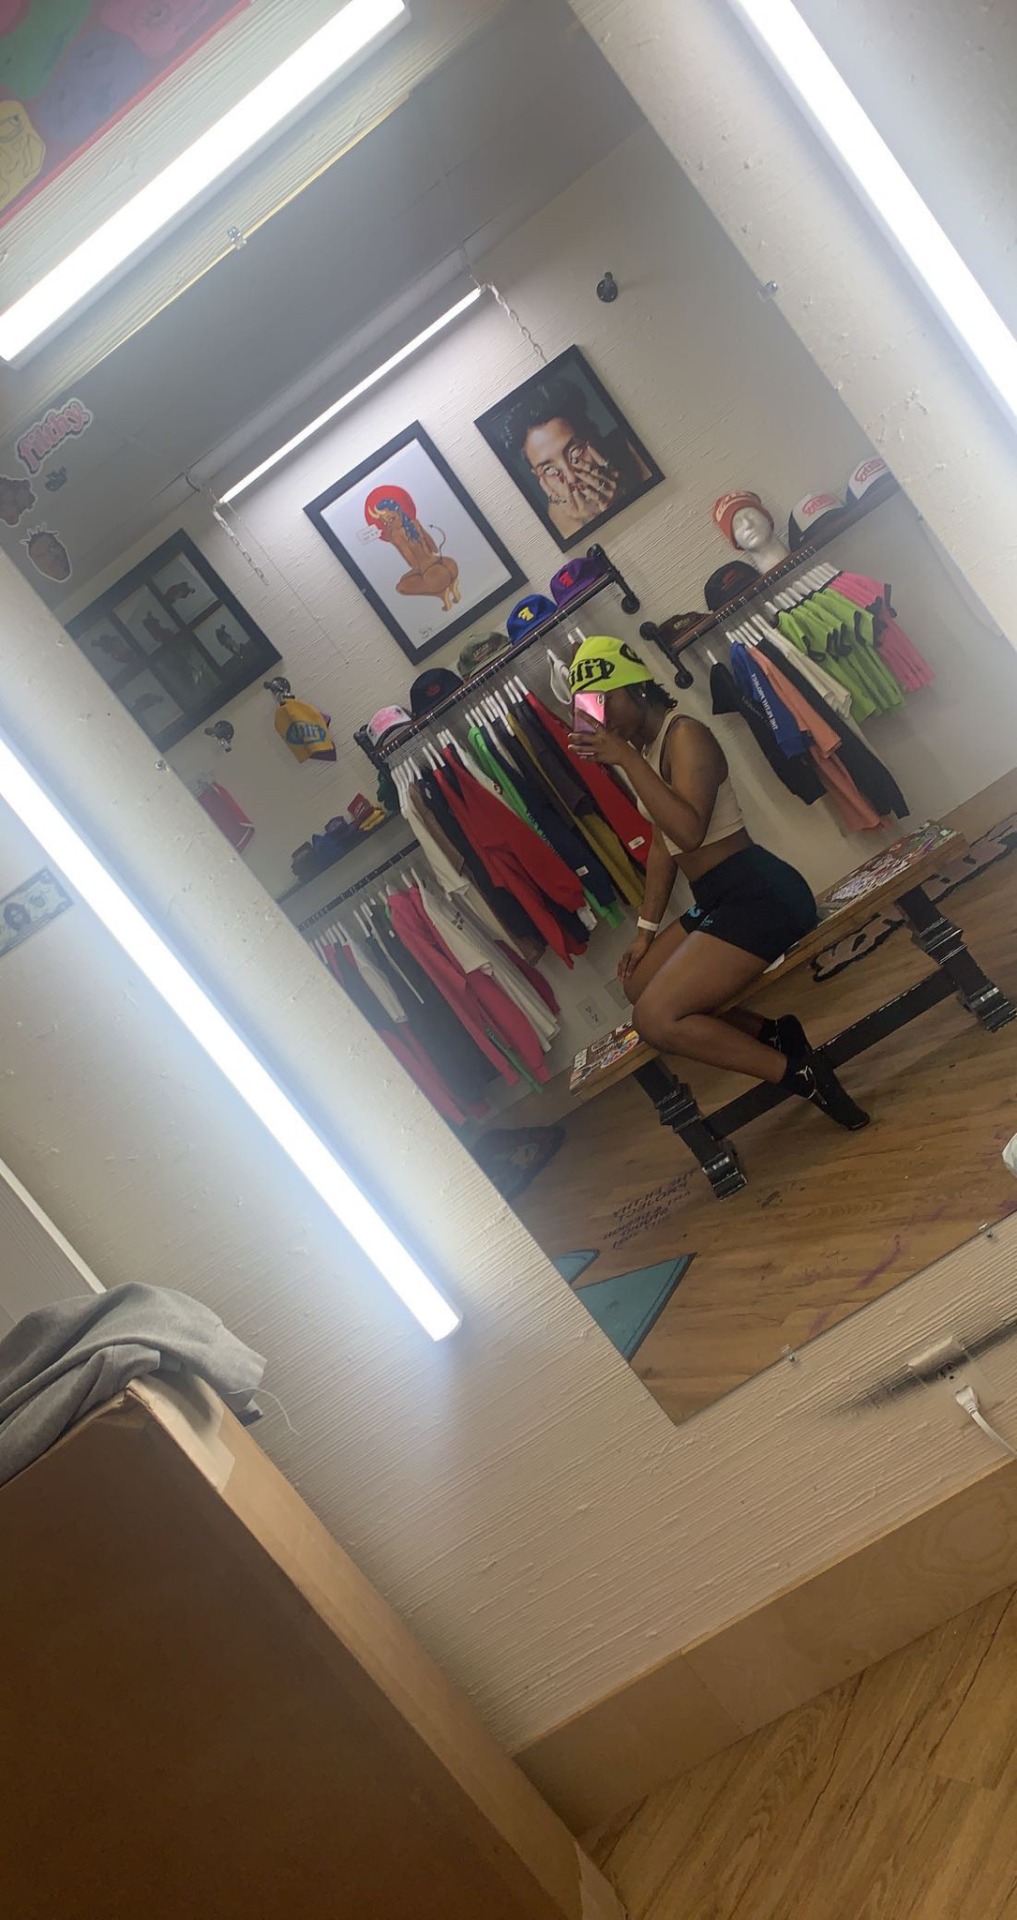
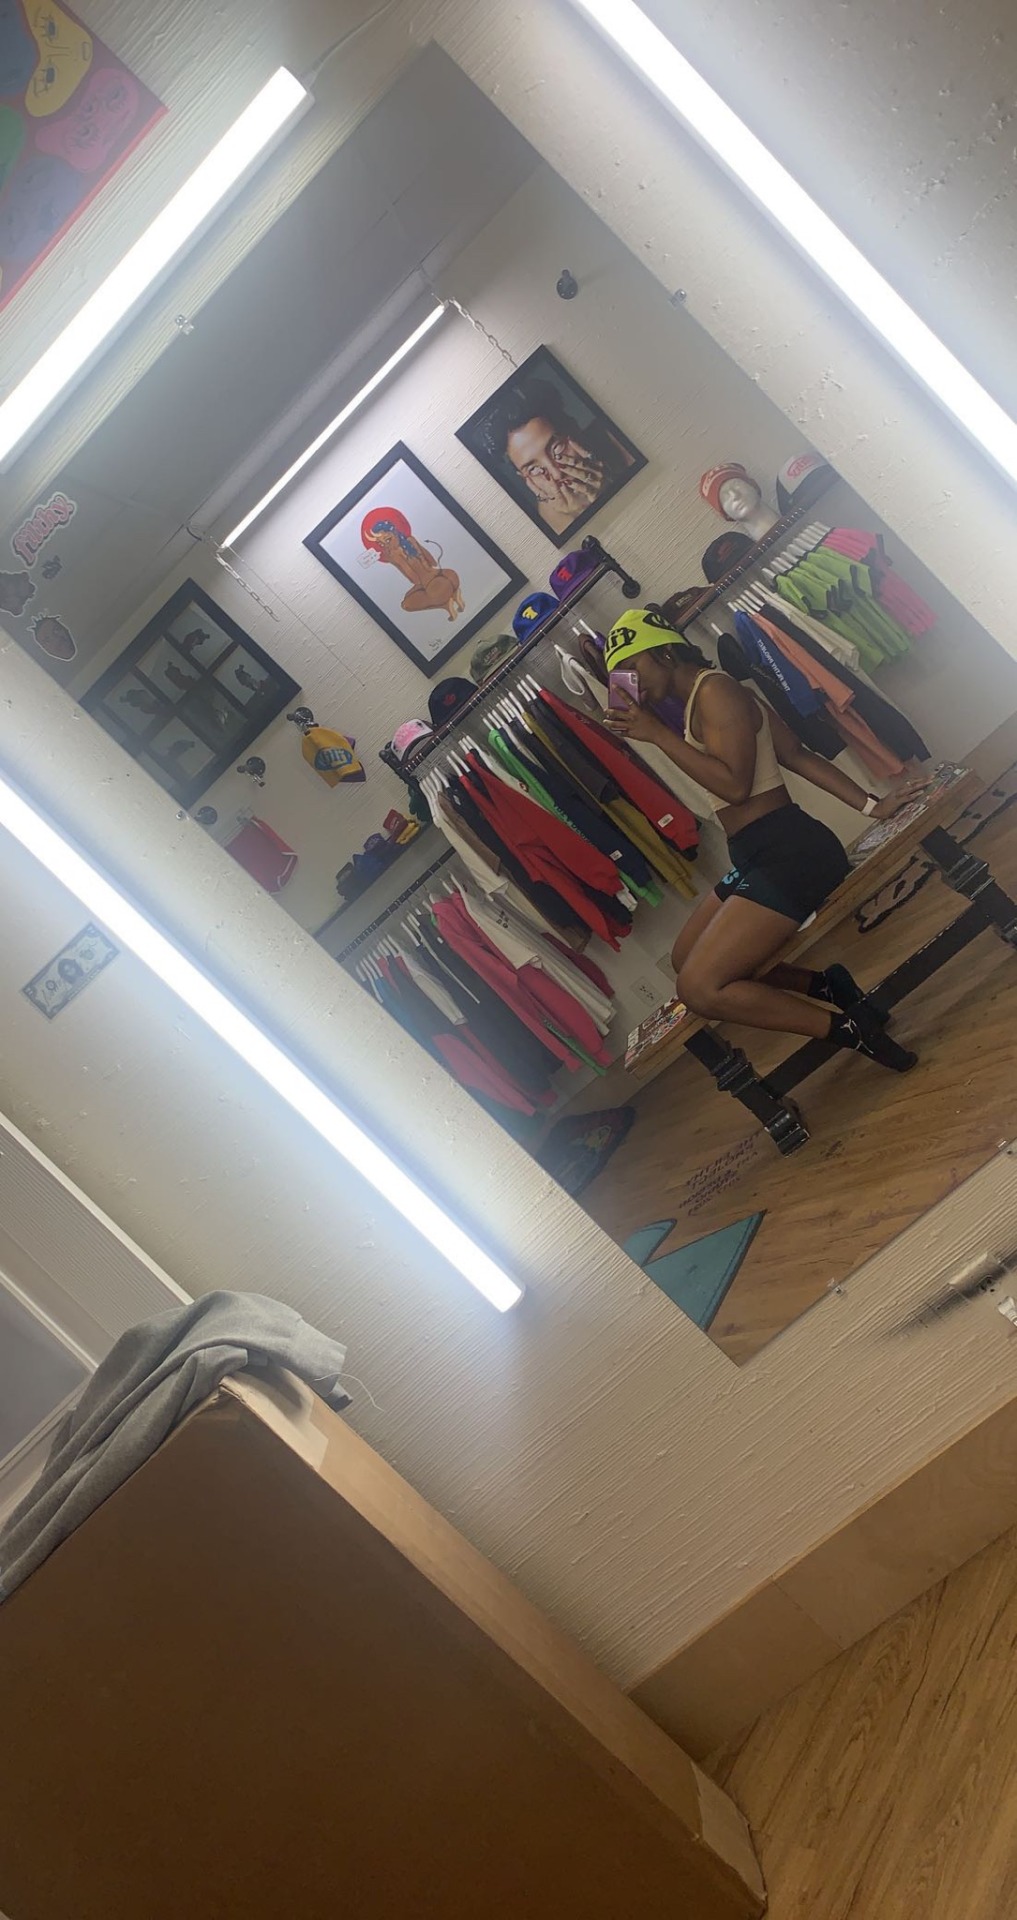
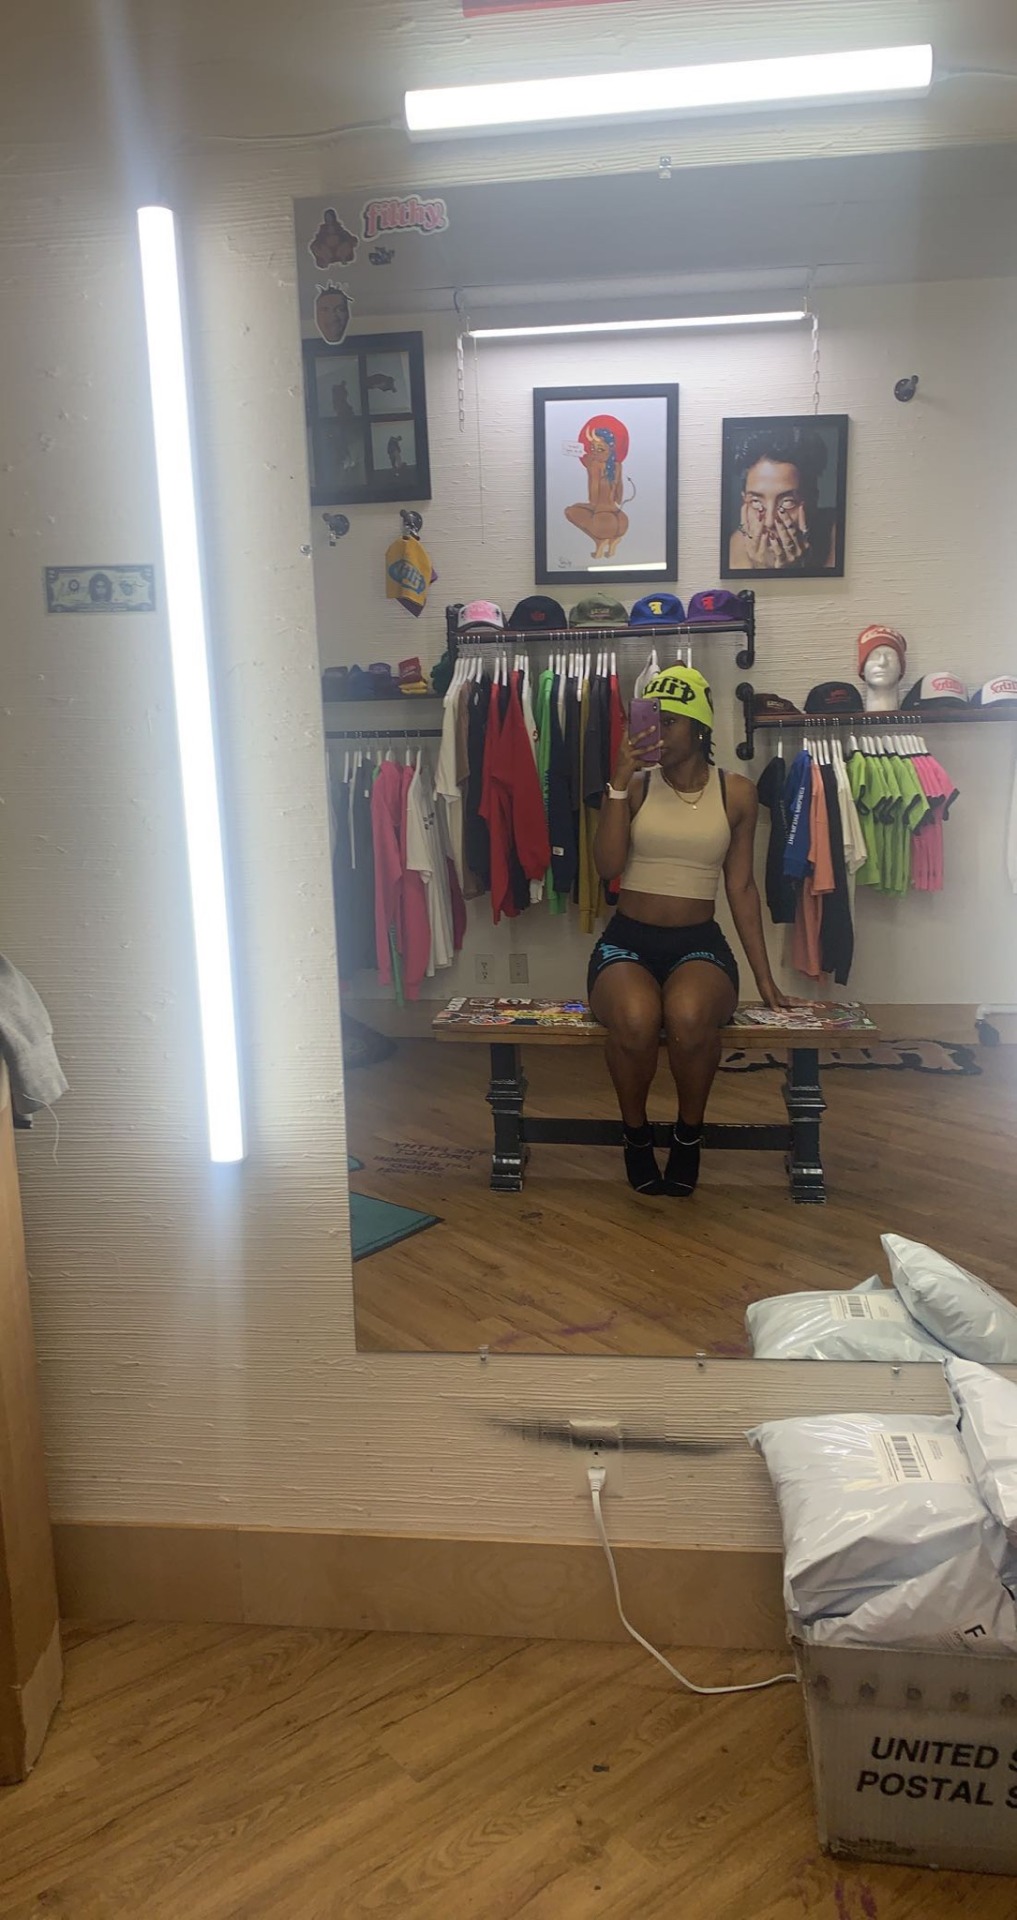
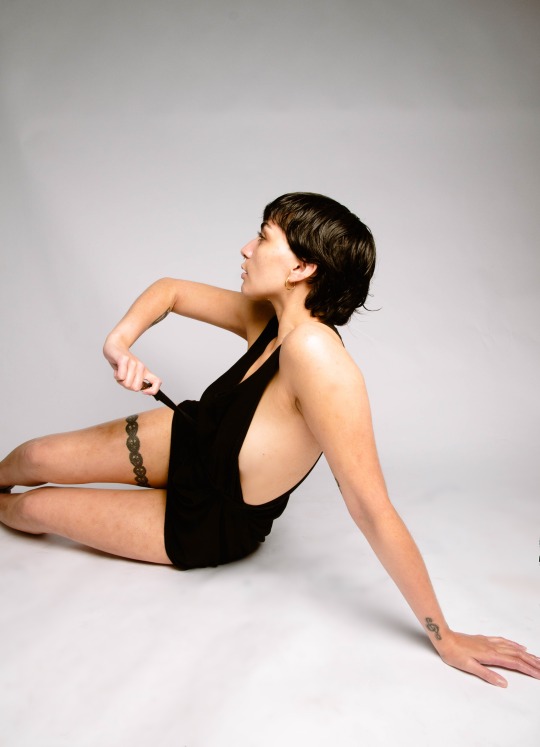
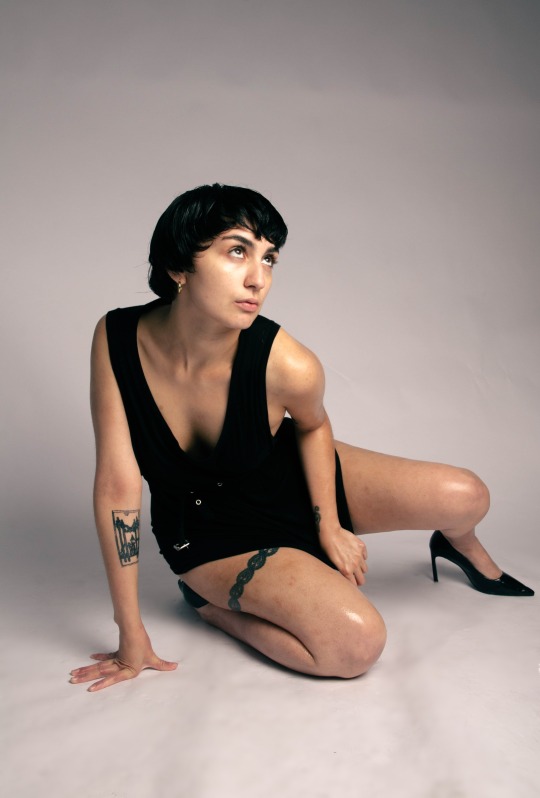
studio vibes
#studio#ambiance#artwork#beautiful photos#photography studio#streetwear#street fashion#house art#thick babe#thick vibes only
5 notes
·
View notes
Text
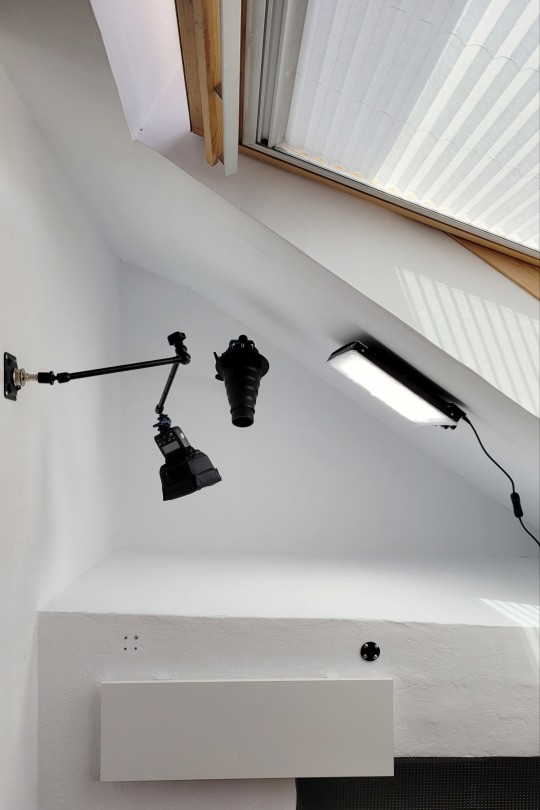
Studio update: Back to white
I repainted my studio nook white over the weekend because the dark gray was giving me new issues.
Something else that I changed was the LED panel: it's a "flexible" LED panel rather than a regular one. (Although it's not as flexible as advertised but I wasn't going to bend it anyway for my purposes.)
I changed the light because I wanted to mount the panel on the sloped part of my studio nook rather than overhead on the boom arm.
But the sloped part is just drywall, so I needed something very lightweight, much more so than my regular LED panel.
I just used drywall anchors, a wall mount, and a mini ballhead. The mini ballhead is attached to the frame of the flexible LED panel.
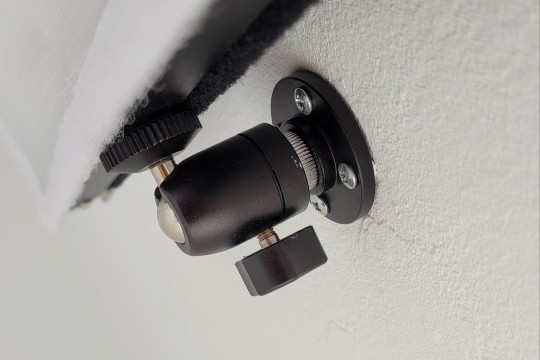
It's offset from the wall but that's fine because the plug won't let it sit flush anyway.

It gives a bit more light and is quieter than my regular LED panel, so I'm pretty happy with this so far. It's only daylight temp rather than bicolor and the remote control kind of sucks, but for under 50€, still a good deal for me.
27 notes
·
View notes
Last Seen Blogs

caroline-draws
I draw sometimes
deeptripstore
DEEP TRIP
warraigoe-a
* ( MULTI !

thelemontree
S + J

klownkoster
remember to take breaks and stay hydrated ♡