#dragonframe
Text
youtube
Made a Stop Motion film to the song Overijssel for my semester film. Check it out!! :]
210 notes
·
View notes
Text
I'm going back to school for animation so I decided I might as well post some of my stuff online.
Homework, charcoal on one sheet of paper. Animated using Dragonframe.
49 notes
·
View notes
Text
a lil stop motion loop i did :)
5 notes
·
View notes
Text
where’s the caveman
happy 20/4 :)
#ytp#youtube poop#meme#memes#scooby doo#shaggy#animation#cartoon#toon#comedy cartoon#comedy toon#comedy animation#short animation#short cartoon#short toon#dragonframe#stickybones#stop motion#stop motion animation#drawing#art#artwork#illustration#digital art#digital artwork#digital illustration#artists on tumblr#animators on tumblr#420
3 notes
·
View notes
Text


animation gifs! Some of my favorite scenes i did
50 notes
·
View notes
Video
animation by @apartmentdfilms :)
happy holidays!
#happy holidays#merry christmas#christmas 2022#holidays#animation#animated#stop motion#stopmotion#javadoodles#java doodles#stop motion animation#2d animation#dragonframe#animated gif#looping#animation loop#wholesome#cups#coffee cups#present#stopmo#apartment d films#claymation#paper cutout animation#cup animation
14 notes
·
View notes
Text
ANIMATION 102: Animation Tests
As part of my work for Animation 102, I completed my four outstanding animation test exercises over the course of three days. Using my free time during the Easter holidays to rent a space in the university campus's stop-motion animation studio and a stop-motion armature to complete the animations. I also utilized the stop-motion program DragonFrame for the animation process.


The first animation I started was the animation for lifting a heavy object. Using some footage, I had been able to have filmed by a colleague at the uni of myself lifting a box as a reference for the character's performance. I chose a discarded Post-it note in the other room as the heavy object. One difficulty with this was when the character had to lift the paper, as the hands of my armature didn't have fingers to grab the sides of the paper. I borrowed some white tac from the receptionist and used it to stick the paper to the armature's hands.

The next day, I worked on the animation for the light lift. I thought, in a similar vein to using the paper as the heavy object in the light lift animation, I'd use a heavy-looking object as a light one to subvert expectation in a comical way. Although I couldn't find a weight or any other heavy-looking object on the campus for me to use, I was able to construct a convincing-looking weight using the spare magnets used for keeping the metal armatures feet in place.


Another problem I ran into was the armature not being able to lift the weight in the air properly and hold a pose with it, which made these portions of the animation frustrating. Eventually, I realized the problem was the joints were too loose to hold a pose with the weight. So I used the joint adjuster tools that came with the armature to tighten the joints of the figure.


The next day, I filmed the live-action reference, this time pulling a wheely bin outside my home and pushing a wall for reference in the final two animations, I'd be animating. For the pulling animation, I used some wooden blocks held together with white tac as a stand-in for the bin, using a tiny bit of white tac to keep the hands on the blocks.

For the push animation, I decided to not use a prop and instead have the shape of a wall be implied through the armature's performance, similar to a classic mime routine.
During the filming of the pull sequence, I realized at some point, the camera had zoomed in randomly in between frames. I figured this must've been because, at some point when I was walking between taking the pictures and checking the computer monitor with the sequence playing, I might've grazed against the camera shaft, making the camera zoom in slightly. It was too late for me to fix the camera and redo the frames. next time I will try to be more aware of my surroundings, especially around the camera.
Finally, after I saved my animations onto a USB to bring home, I uploaded the tests to my Vimeo page and edited together a showreel using Adobe Premiere Pro. Of which I also uploaded to Vimeo.
vimeo
Overall, I'm very satisfied with the work I produced from this part of the Animation 101/102 course. I feel my skills with stop motion, particularly with the software DragonFrame, have greatly improved. It's been really interesting working through practical issues and problem-solving to achieve my desired shots. I hope to create and produce more work with the program and other industry-standard stop-motion software in the future.
2 notes
·
View notes
Text
My animation instructors were never big fans of music videos, but all my favorite animations have been exactly that. I was commissioned to create this music video for Steven Markow to his song Way Out Revenge. The animation was done using recycled materials, mostly found in the art studio I was working in during the last spring of my undergrad.
Instagram
Website
#rissa groves art#rissa groves animation#animation#stop motion#stop motion animation#animator#undergrad#art school#commission#music video#animated music video#recycled#upcycled#dragonframe#adobe suite#premiere pro#after effects#adobe#traditional animation
2 notes
·
View notes
Text
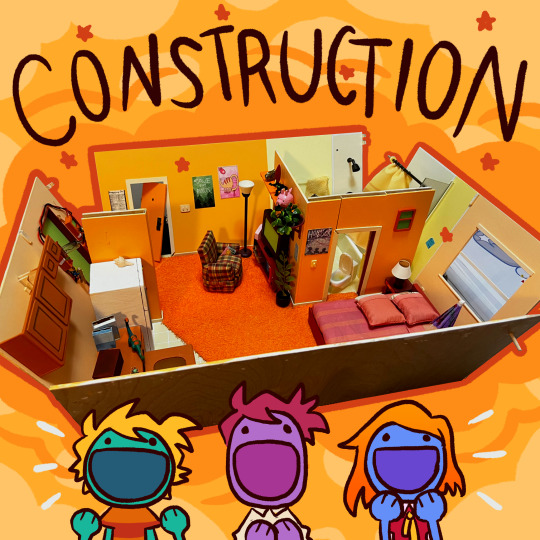
The sets in Un-portalable are hand built and modular, which allows for shooting at multiple angles! The characters and effects were then animated and composited using Toon Boom Harmony, Dragonframe, and Nuke!


#student film#unportalable#animation#experimental animation#nuke#dragonframe#toon boom animation#toon boom harmony
5 notes
·
View notes
Video
youtube
ANIMATION REEL - Bottéon Sasha - Bande démo 2022
My Youtube Channel
#animation#reel#digital#traditionnal#2D#stop motion#stopmotion#stopmo#pixilation#bande démo#art#artist#artists on tumblr#dragonframe#dragon frame#adobe#premiere pro#my art
2 notes
·
View notes
Text


Here are some behind-the-scenes photos from Bless You!🤧
Get ready for clay, karaoke, and lots of slime!
1 note
·
View note
Video
youtube
Process for recent stop motion hybrid project - commercial spot for biological food product sourced extraterrestrially for human consumption in the year 2088 by corporate overlords VEIL Conglomerate. [Produced with Michael Vickner - Software used: Dragonframe, TVPaint, Toon Boom Harmony, Adobe Creative Suite]
#animationprocess #stopmotion #dragonframe #tvpaint #toonboom #toonboomharmony #adobecreative #animationart #commercial #analog #cannedfood #product #compositing
#animation process#stop motion#dragonframe#tvpaint#toon boom harmony#adobe creative cloud#animation art#commercial#advertising#analog#canned food#product#compositing
1 note
·
View note
Link
Dragonframe Latest Premium Version
#Dragonframe#DragonframeLatest#DragonframeLatestPremiumVersion#LatestModel#LatestPremiumVersion#premiumversion
0 notes
Text
worst day ever
#animation#cartoon#indie animation#indie cartoon#indie toon#toon#short animation#short cartoon#cutout animation#cut out animation#dragonframe#flipaclip#drawing#art#artwork#digital art#digital artwork#artists on tumblr#animators on tumblr
2 notes
·
View notes
Text
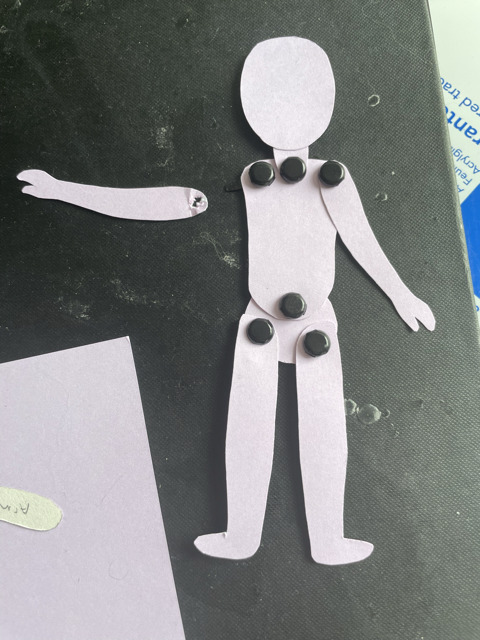
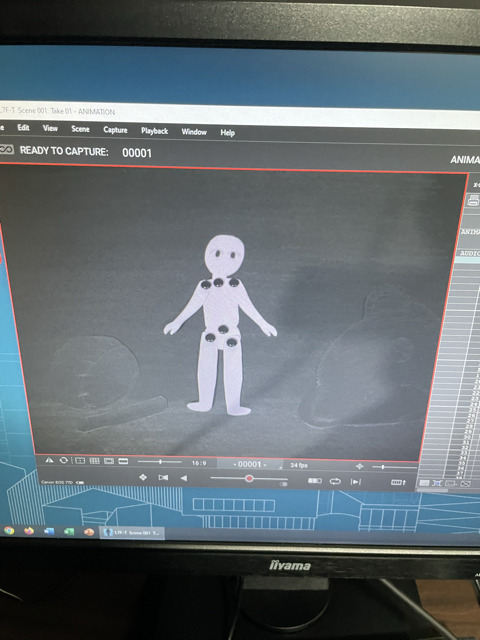
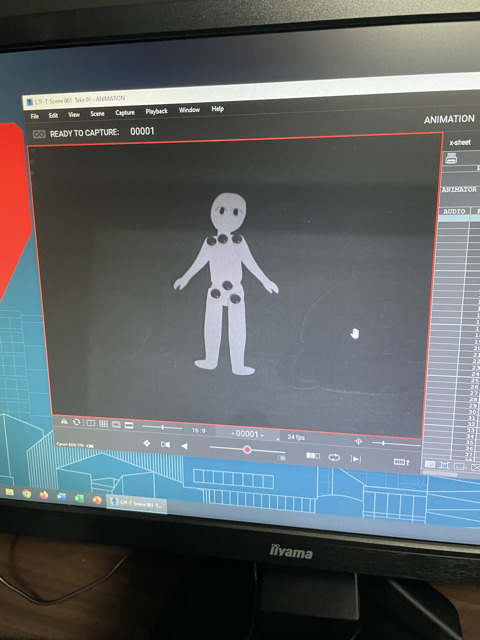
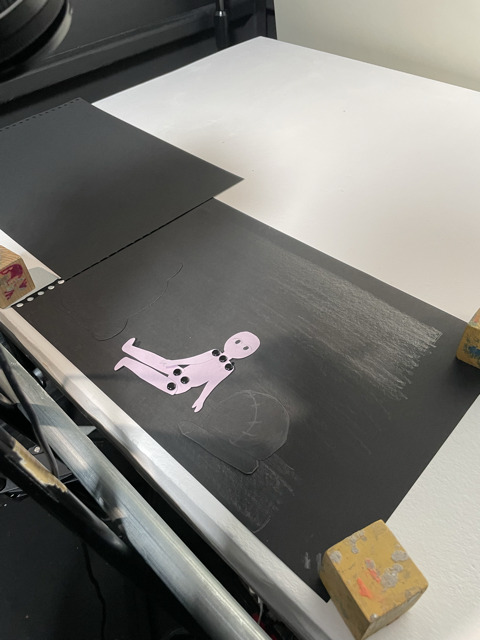
INTRODUCTION TO CREATIVE PLAY: LOST AND FOUND - CHARACTER ANIMATION TEST.
For the final stage of my project, I created an animation test to experiment with the 2D paper cut-out puppet I had made. I also created a background with moveable parts to go with it.
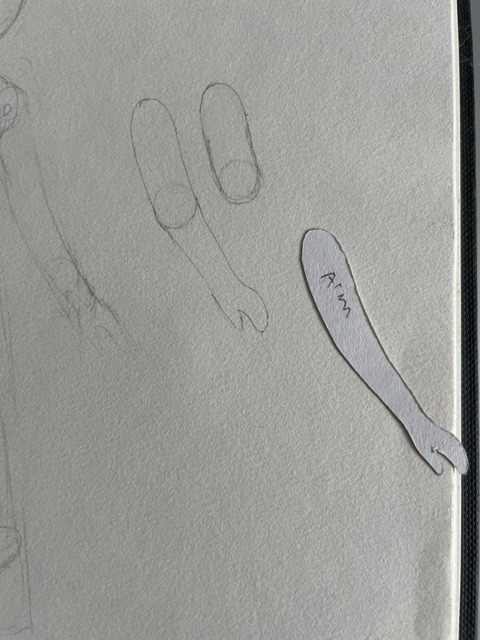
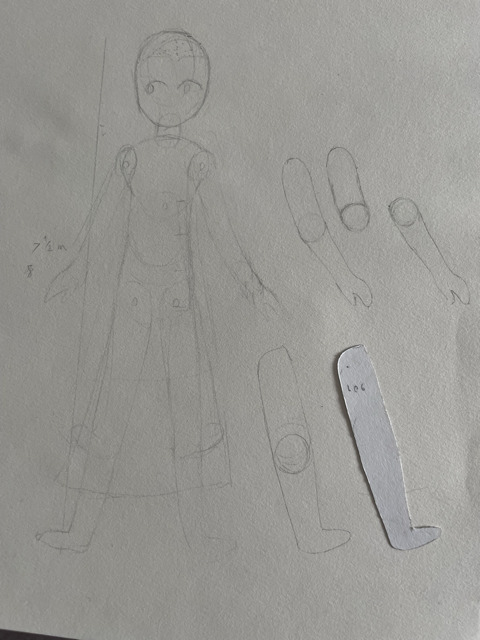
I briefly experimented with drawing blueprints for a puppet with articulated elbows and knees, which I drew using the template parts I'd made to make the prototype puppet parts. However, I ultimately scrapped this idea due to wanting to focus more on getting the background and animation test itself done and because I felt the character having non-articulated arms and legs would add to the feel of the character being a cheap children's doll and would give her a unique style of movement that I could experiment with.
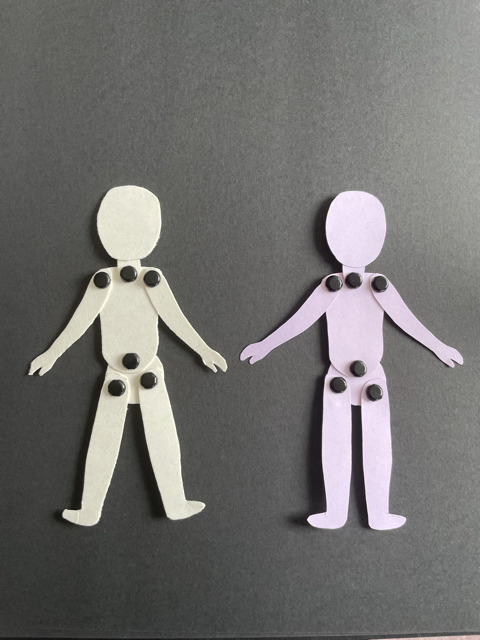
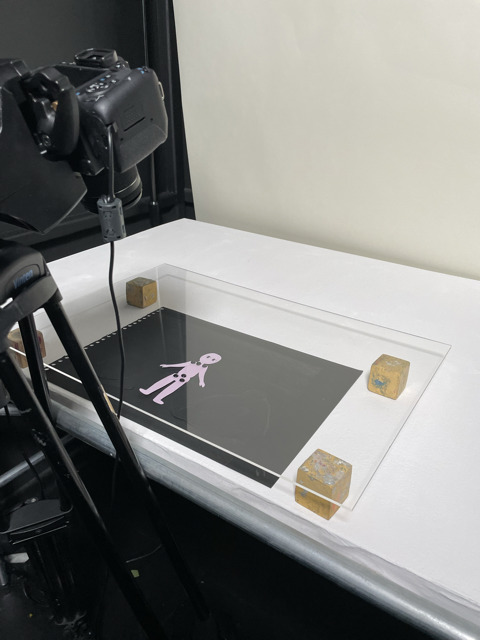
For my final puppet, I used the template parts to trace around lavender/periwinkle card paper. I believed using this light-coloured card, would not only help the doll stand out from the black background, but also give the piece a splash of colour contrasting with the dark monochrome colour palette.
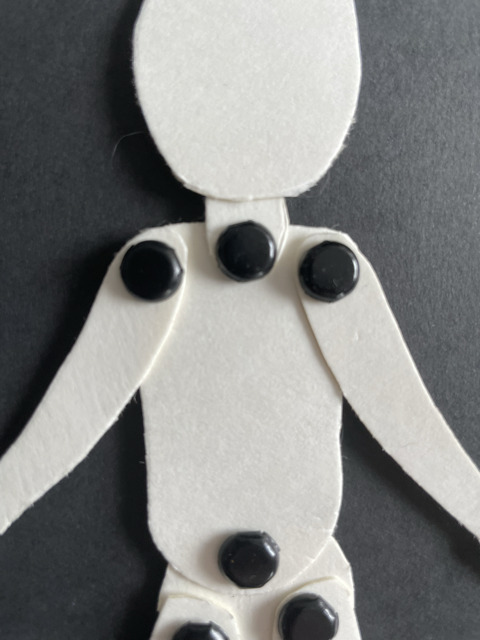
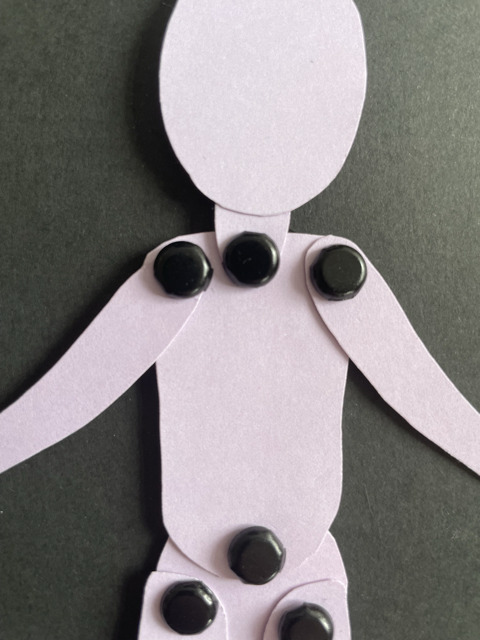
During the process I did make some mistakes with this puppet, like making the shoulder articulation point on the left side of the doll a bit too close to the chest, resulting in an unnatural and slightly lob-sided arm placement. Not to mention, the arm later breaking off as I had placed the articulation hole too close to the beginning of the arm. Therefore I had to make a second one with the arm hole slightly further down the arm. Had I made the puppet again, I would reference the points of articulation on my previous prototypes so that they would be properly placed and symmetrical.
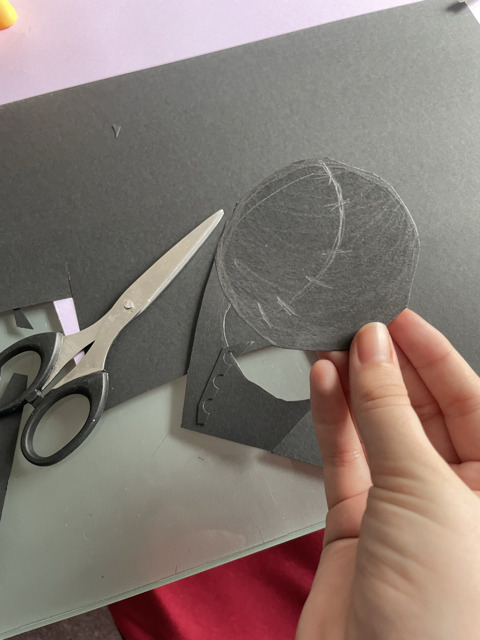
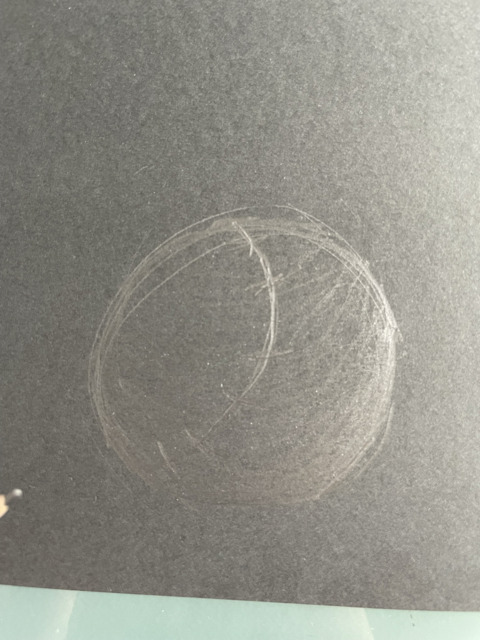
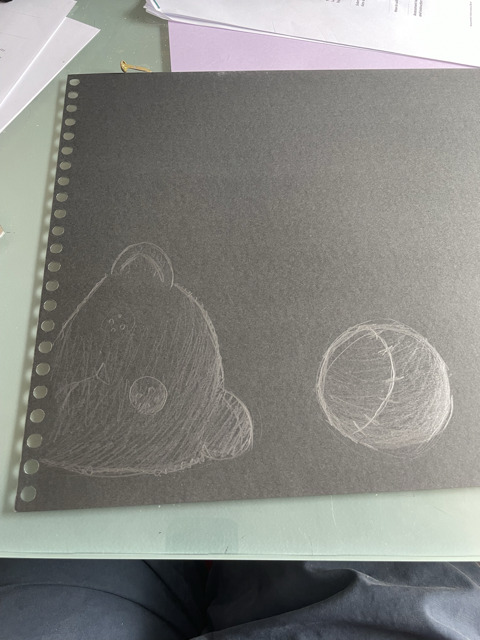
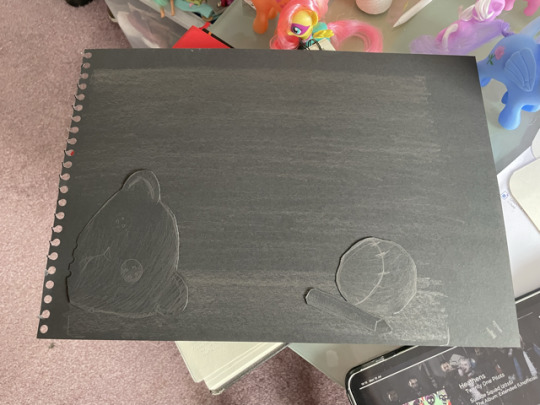
For the background, I used a black piece of paper and shaded it with a BH pencil. Adding and shading the floor and dust in the air, portraying the feeling of a dusty, dark underside of the bed.
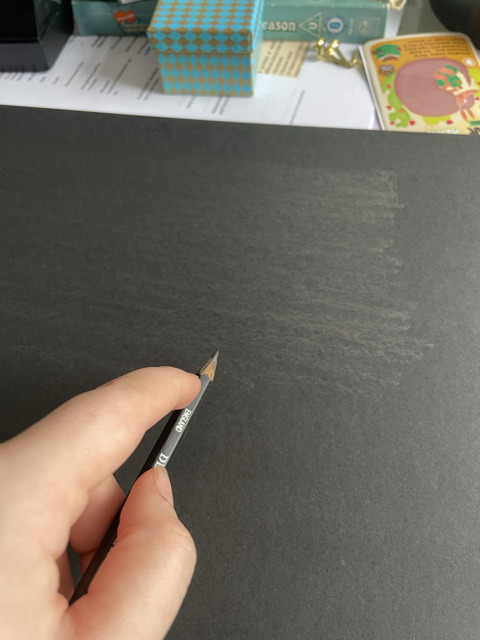
I also wanted to use charcoal in the shading to add further texture to the piece. However, I discovered I didn’t possess any drawing charcoal (likely to have gotten lost during a house move). If I had more time, I would have gone out to buy more charcoal before starting the background. Along with this, I also cut out shapes for the background dressing such as a lost teddy bear, a baseball and a discarded pencil, objects that could conceivably be found under a child’s bed. I shaded and drew in details with the pencil I had used for the rest of the background.
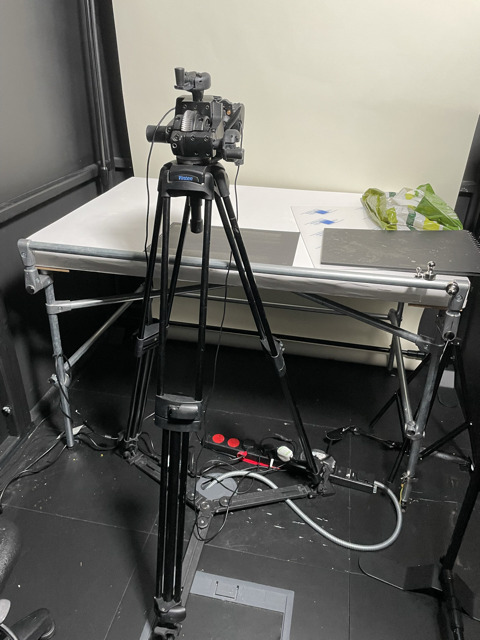
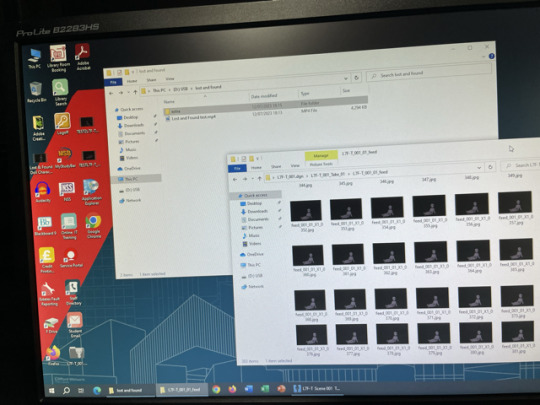
With these assets made, I went to the Media City Campus to film the test. I was hoping to use the down facing multi-plane camera in the Stop Motion Studio that is specifically designed for 2d animation such as paper cut-out animation. However, another student was already using the multi-plane camera and had already set up their project there. So Instead, I used a regular camera. I modified the position of the camera and tripod so it would face down at the table.
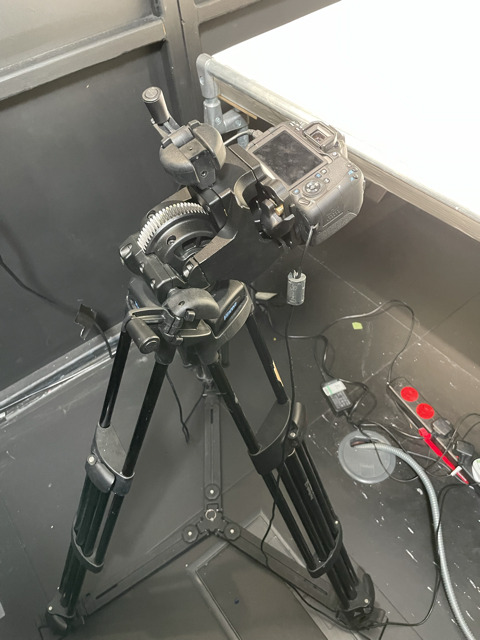
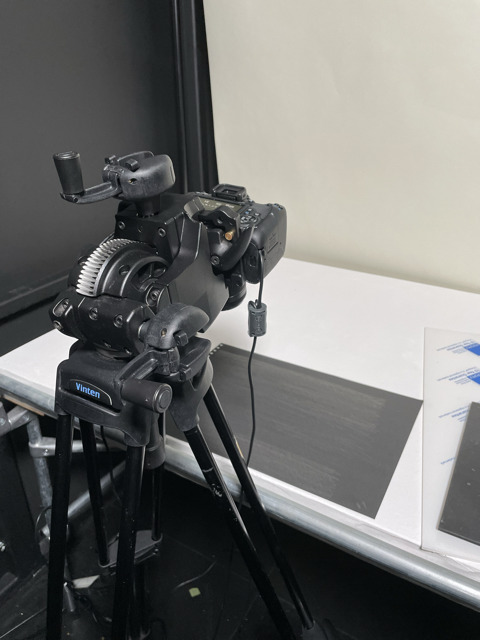
For the set-up of the background and doll, I initially wanted to experiment with placing a piece of Perspex on the background and some pieces of the dressing, to give the illusion of depth of space in the scene. However, when I placed the clear Perspex over the scene, I saw on the camera how the reflective surface of the Perspex showed the glare from the stage lights, which was very distracting and would break the illusion of the scene, so I ultimately decided not to use the Perspex.
I used the program Dragon Frame to animate the sequence, which overall took me a day and a half to animate. Once it was done, I exported the film to a USB, edited a title and credits into the film using Premiere Pro and exported that as an mp4.

Overall, I am proud of how the test came out. I think I managed to breathe a lot of life and character into the doll puppet and the movements conveyed the doll's personality well. I’m also glad I was able to complete the test under some of the circumstances and with the resources that were available to me.
#lost & found#creative play#stop motion#animation#stopmotion#paper cut out#video#dragonframe#animators on tumblr#intro to creative play
1 note
·
View note
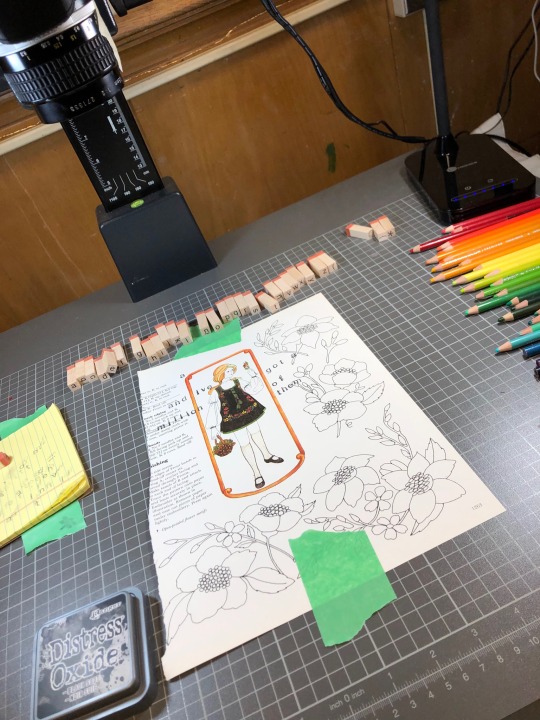
Text
Research Project!!
While I'm working on my film, I decided to study the different techniques of making puppets for stop-motion and how to use the software and equipment needed to learn this process in animation.
During the week of March 11 - 17, I experimented with Dragonframe and found it quite interesting to use! I really wanted to learn more, so my instructor gave me a demo, and I found it very helpful and I can't wait to use it more in my stop-motion practice and future projects!
I took notes and feel more confident on how to read the camera settings and Dragonframe a lot better. The demo gave more context and now I feel like I can go lighting fast and finish my animation fairly quickly. I'm working on finishing my 2.5 puppets by this Sunday and start animating!


Time to go and animate! 📸✨
0 notes
Last Seen Blogs
lepandaking
Untitled

tomexraider
womp

dailymosskin
daily mosskin
missionerror
MiSsIoN ErRor

fkmedyablog
FK MEDYA