#but the finer details are wild af
Text
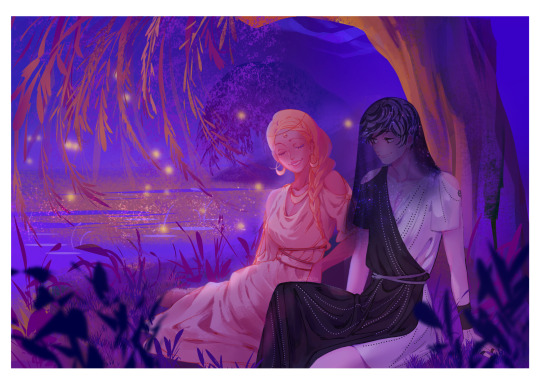
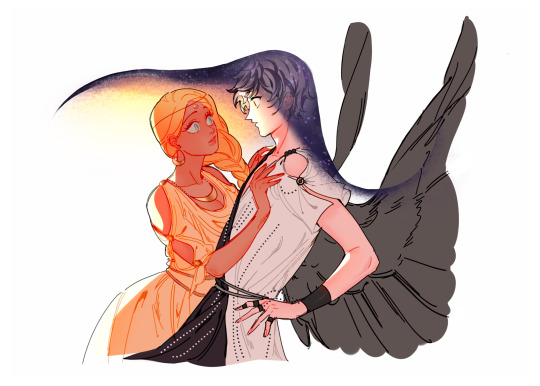
the myth of eros and psyche
#akia art#olba#baxter ward#thought this would be a fun parody/au! (ignoring the other trappings of the myth) 🤣#in hindsight the veil looks goofy but it worked in my head LOL#step 4 later maybe (i wanted to make sure i hadn't forgotten how to do illos#also all i initially rmbed and what inspired this was eros being a drama queen + psyche sicced w a million trials#but the finer details are wild af#i think eros/psyche is tame by olympus metrics but (my) modern sensibilities disagree 🤣 myth as allegory vs narrative ig
374 notes
·
View notes
Text
Moth’s crash course for excellent character reference pictures
Or: how to get the artist you commission to absolutely LOVE you
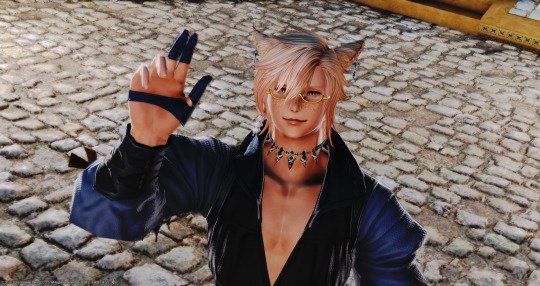
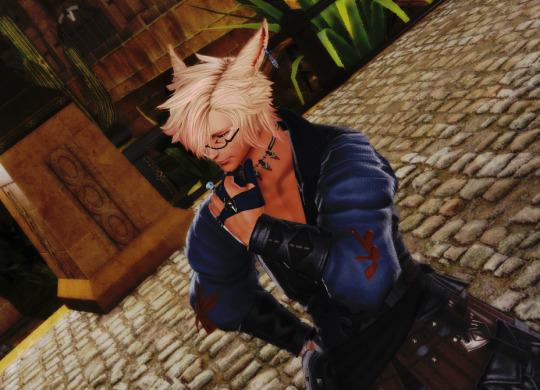
morning/afternoon/evening, friends! Moth here with my baby boy Q’rinha (or Rin, as i like to call him) here with some tips and tricks on how to get some baller reference shots of your character that will make your, and the artists’ you’re commissioning, lives A LOT easier.
one thing i noticed from all the times i’ve been commissioned, as well as some instances of buddies of mine being commissioned, is that the occasional person commissioning us tends to be a bit... lacking when it comes to reference shots. they’re either too low-res or they just show multiple shots of the same angle. the latter isn’t bad, per se, but there tends to be instances where, while there ARE awesome shots of one angle, there are other angles that are unfortunately not as great. asking for more references is normally not an issue, but there are some people (like yours truly ahaha ;;) who are a bit apprehensive of asking for more because we don’t like confrontation and have had experiences where folks were a bit... abrasive.
so that’s why i’m here! i’ve provided many a reference for my girlfriend, who says i’m an artist’s dream come true when it comes to references (idk if she’s actually just gushing with rose colored glasses or if she’s being legitimate). i have no idea how this applies to other artists, as i’ve.. never really commissioned them, but as an artist myself, i know i absolutely need as many references as possible to get every single nitty-gritty detail on these disasters SE likes to call “fashion”. so here we go: Moth’s tips and tricks on how to get amazing reference shots using our good friend: Group Pose!
DISCLAIMER: this is not a proper “how-to”, but more a collection of tips and tricks that i have found helped me as well as other artists get the most out of the fine details in SE’s outfits. feel free to utilize as many or little of these tips as possible.
also, there are A LOT of pictures. folks with slower internet connections, you’ve been warned.
The Basics
if i had to work with an absolute minimum for reference pictures, i would probably work best with eight screenshots minimum.
wait... only eight?!
yes, eight, but bear with me! Group Pose/GPose (or Final Instagram, as i like to affectionately call it) comes with an amazing variety of tools that can help get just the right angles needed at the best resolution possible!
consider the fact that the average monitor resolution these days is 1920x1080, and depending on whether you play the game in Windowed (like me), Borderless Windowed, or Fullscreen, the resolution of your screenshots could end up a little less than that. now granted, when you first boot up GPose and try to get as close to your character as possible, you end up with something along the lines of this (with a bonus photobomb by MAPEL the mammet):
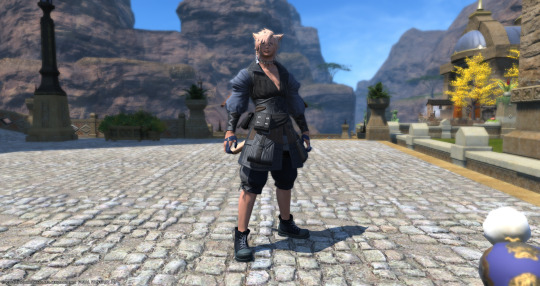
that’s... okay, but it doesn’t help me as an artist see all of the tiny details that’s on the outfit. The seams are hard to see, and the details on the buttons and clasps are pretty much nothing but little blurs. it makes the artist play a guessing game we really don’t want to play. this is when you start utilizing our good friend, the Camera Position section.
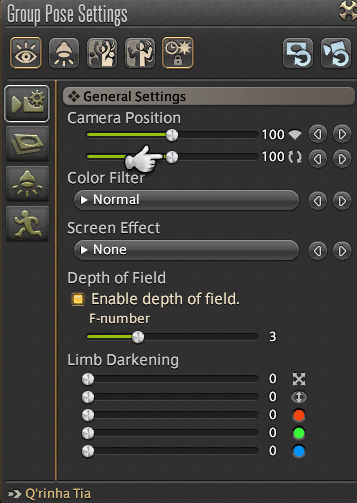
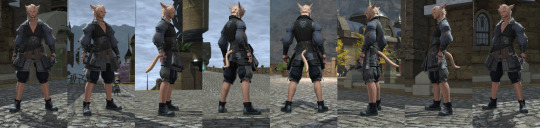
the camera position has two meters: Zoom (top) and Rotation (bottom). i personally adore the Rotation meter and abuse it to bits when it comes to coming up with dynamic screenshots, but it’s also a good friend when it comes to references! see, if you set the rotation to either 50 or 150, the character becomes virtually horizontal. and then if you put the zoom at max and make a few careful adjustments...
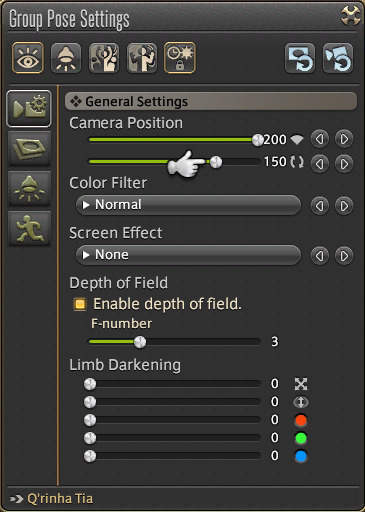
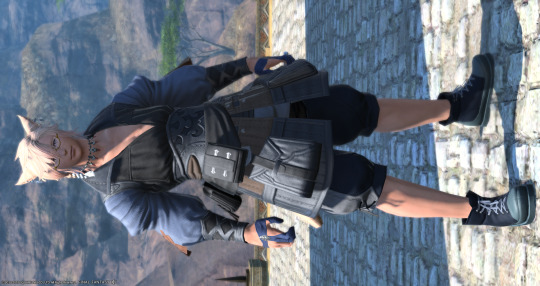
that looks much better!! all the seams are visible to the naked eye, and the details on the clasps and buttons are more visible. if you go into your FFXIV screenshots folder and rotate the picture left (if you did 50) or right (if you did 150), you basically now have a reference picture that’s almost 2000 pixels high! WILD!!
so back to why i could work with eight screenshots minimum: following this technique, if you take screenshots in both the cardinal and intermediate directions, you end up with eight screenshots of a complete turnaround of your character in hi-res! it lets the artist see the finite details of an outfit in multiple angles without sacrificing a different angle that’s hard to see.
so now that we have that out the way, let’s move onto...
The Background
“wait... why would the background matter in reference pictures?”
oh, it matters. when it comes to reference pictures, the focus must be on the character. having a background that’s too busy could cause eye strain, and it could also cause confusion when the artist is trying to make out finer details.
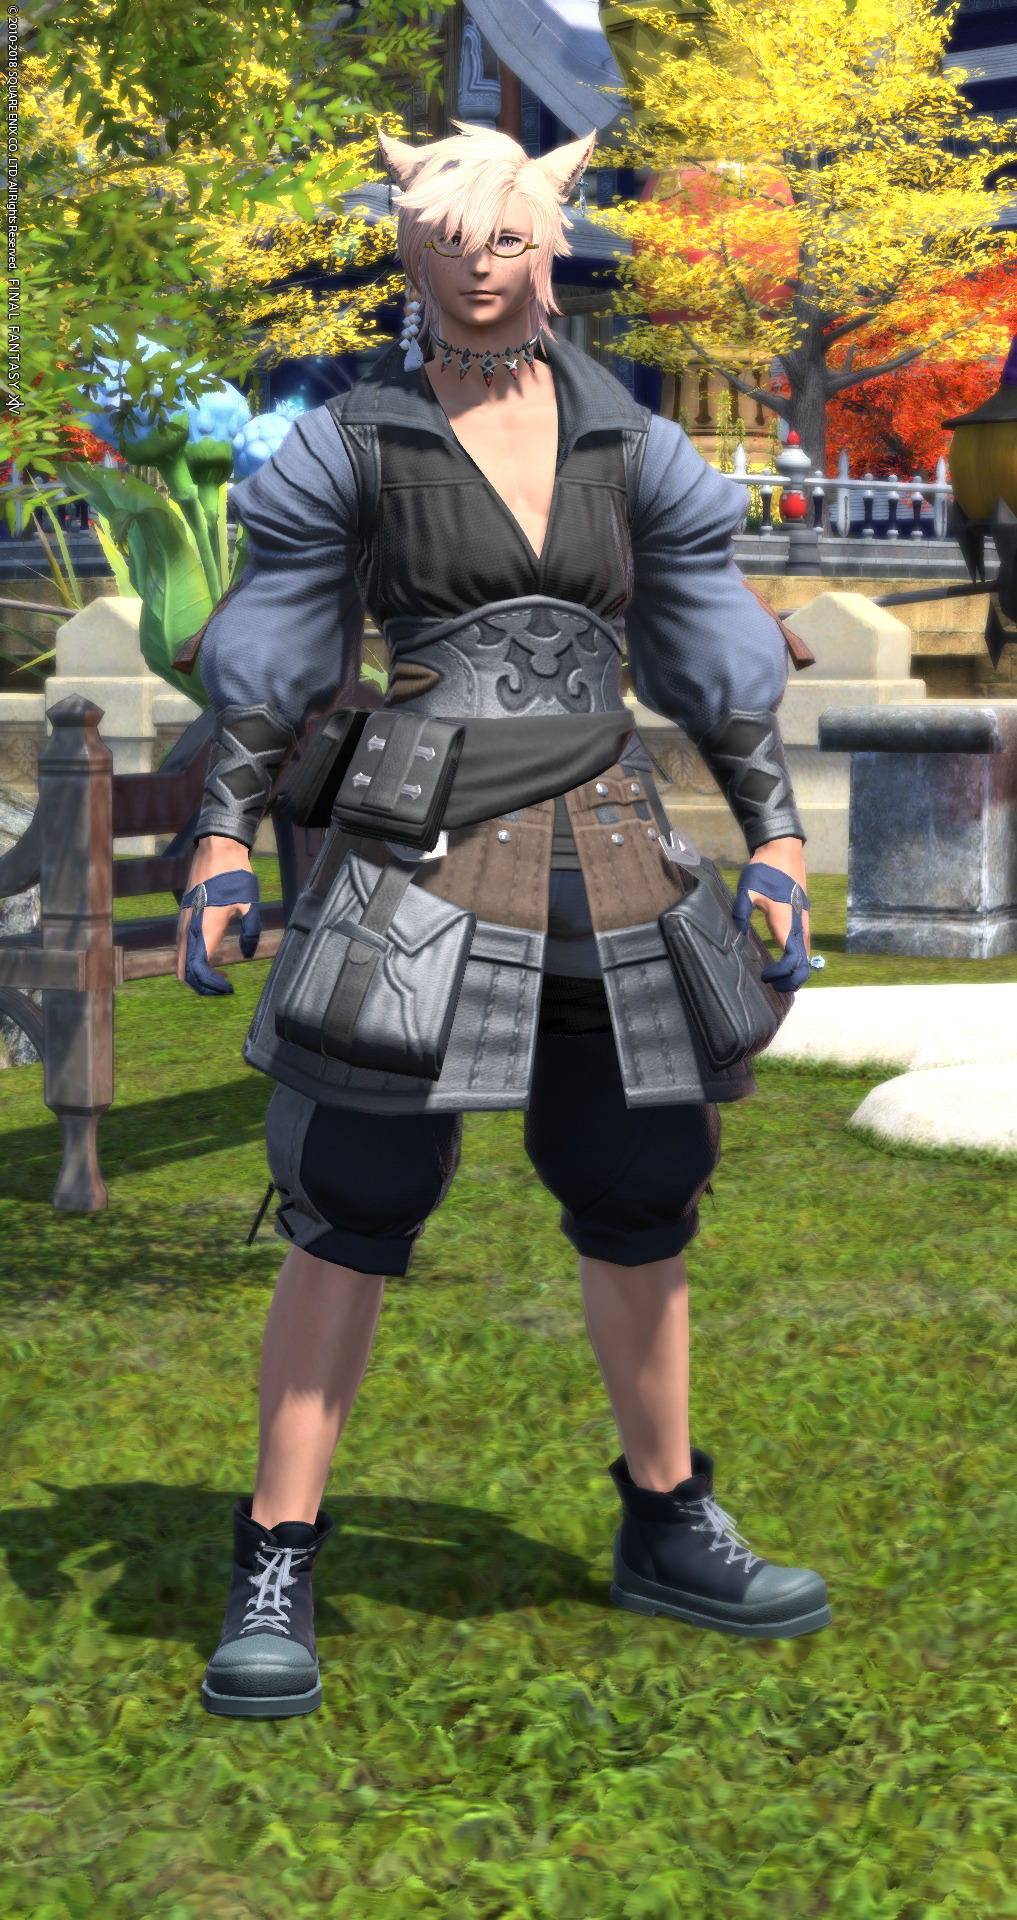
here’s an example of a busy background. hurts to look at, right? with all of the trees and the colors in the background, it makes it hard to focus on the character when trying to make out details -- imagine trying to stare at this for several hours on end. it’d make me want to close SAI almost immediately.
as a suggestion for a background, i would suggest areas with a lot of neutral, duller colors. try to choose an area that has colors that are not prevalent on your character’s attire, as well. this will make your character the primary focus of the picture while also keeping eye strain to a minimum, which is good for the artist as they’re already working on something that causes a lot of eye strain.
some open-world areas i’ve found are ideal for getting reference pictures are:
The Goblet
Coerthas (Central and Western Highlands)
Ishgard
The Churning Mists
the rocky areas of The Fringes
The Lochs (anywhere outside of the Ala Mhigan Quarter)
The Ruby Sea
Azim Steppe
granted, this is not a complete list, nor is it an absolute must to follow. there are loads of places in the other maps that are full of areas ideal for reference screenshots, and a bit of finagling can make even the most detailed backgrounds easier to look at. consider this as a starter kit for when you do decide to take pictures, but don’t know where.
bonus: if you have a room in a FC house that’s not as busy, those work as well. in fact, a completely empty room is the absolute best and can work to your advantage!
The Lighting
A GPoser’s worst nightmare is working with lighting, and that’s also an issue with artists as well. thankfully, SE recently released an option that will let you freeze the time and weather, but that only goes so far. oftentimes, there will be a shadow that will obscure a detail an artist needs, and we’re found to be putting in extra work just to make sure we get it right.
hence i would suggest working with lighting that’s as neutral as possible. ironically, cloudy or foggy days are what i find works best, as the lighting is neither warm nor cool, and you don’t have to worry about the glare of the sun causing unnecessary shadows.
“okay, i think i’m set and ready to... wait. it’s night time! SHIT!!”
never fear! that’s why we have the Lighting Settings in GPose!
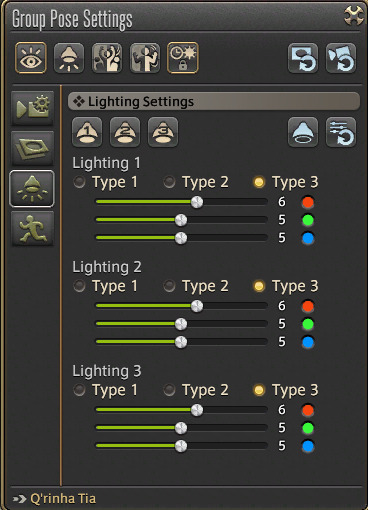
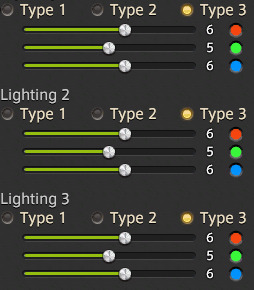
not a lot of people have completely mastered how this section works-- hell, i’m one of those people. however, utilizing all three of these lights can work in our favor! see, if you have your camera set at a specific angle and turn on a light, the light will be pinpointed at the area the camera was in. with this knowledge in mind, we can set the lights at three key locations that will get the maximum amount of lighting with the minimum amount of shadows.
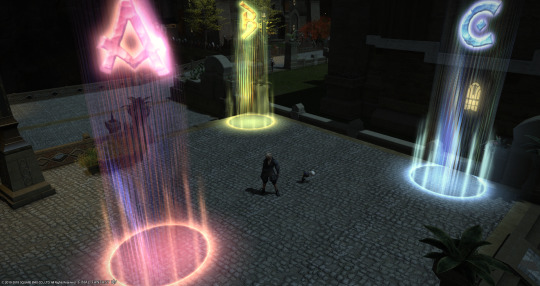
these are about accurate for the angles/distances i put the lights on and the settings i have ‘em on. the default settings are usually too yellow for my tastes, i find, so i usually bump the blue up a notch so that it cancels out the yellow and looks more neutral. with everything like this, it gives me a clear view of everything on an outfit without any intense glare or dark shadows.
this can also work during the day since lighting is usually strong on one side; just turn a light on the shadowed side and boom!
Go the Extra Malm
say you want to go from being an artist’s friend to an artist’s BEST friend. while the eight angles are a good starting point, and even with all the tips utilized here, there will still be details that are obscured by clothes or limbs. while the above tips are good for a basic commission, these will be ESPECIALLY useful if you’re looking for more dynamic artwork.
Getting the Nitty-Gritties.
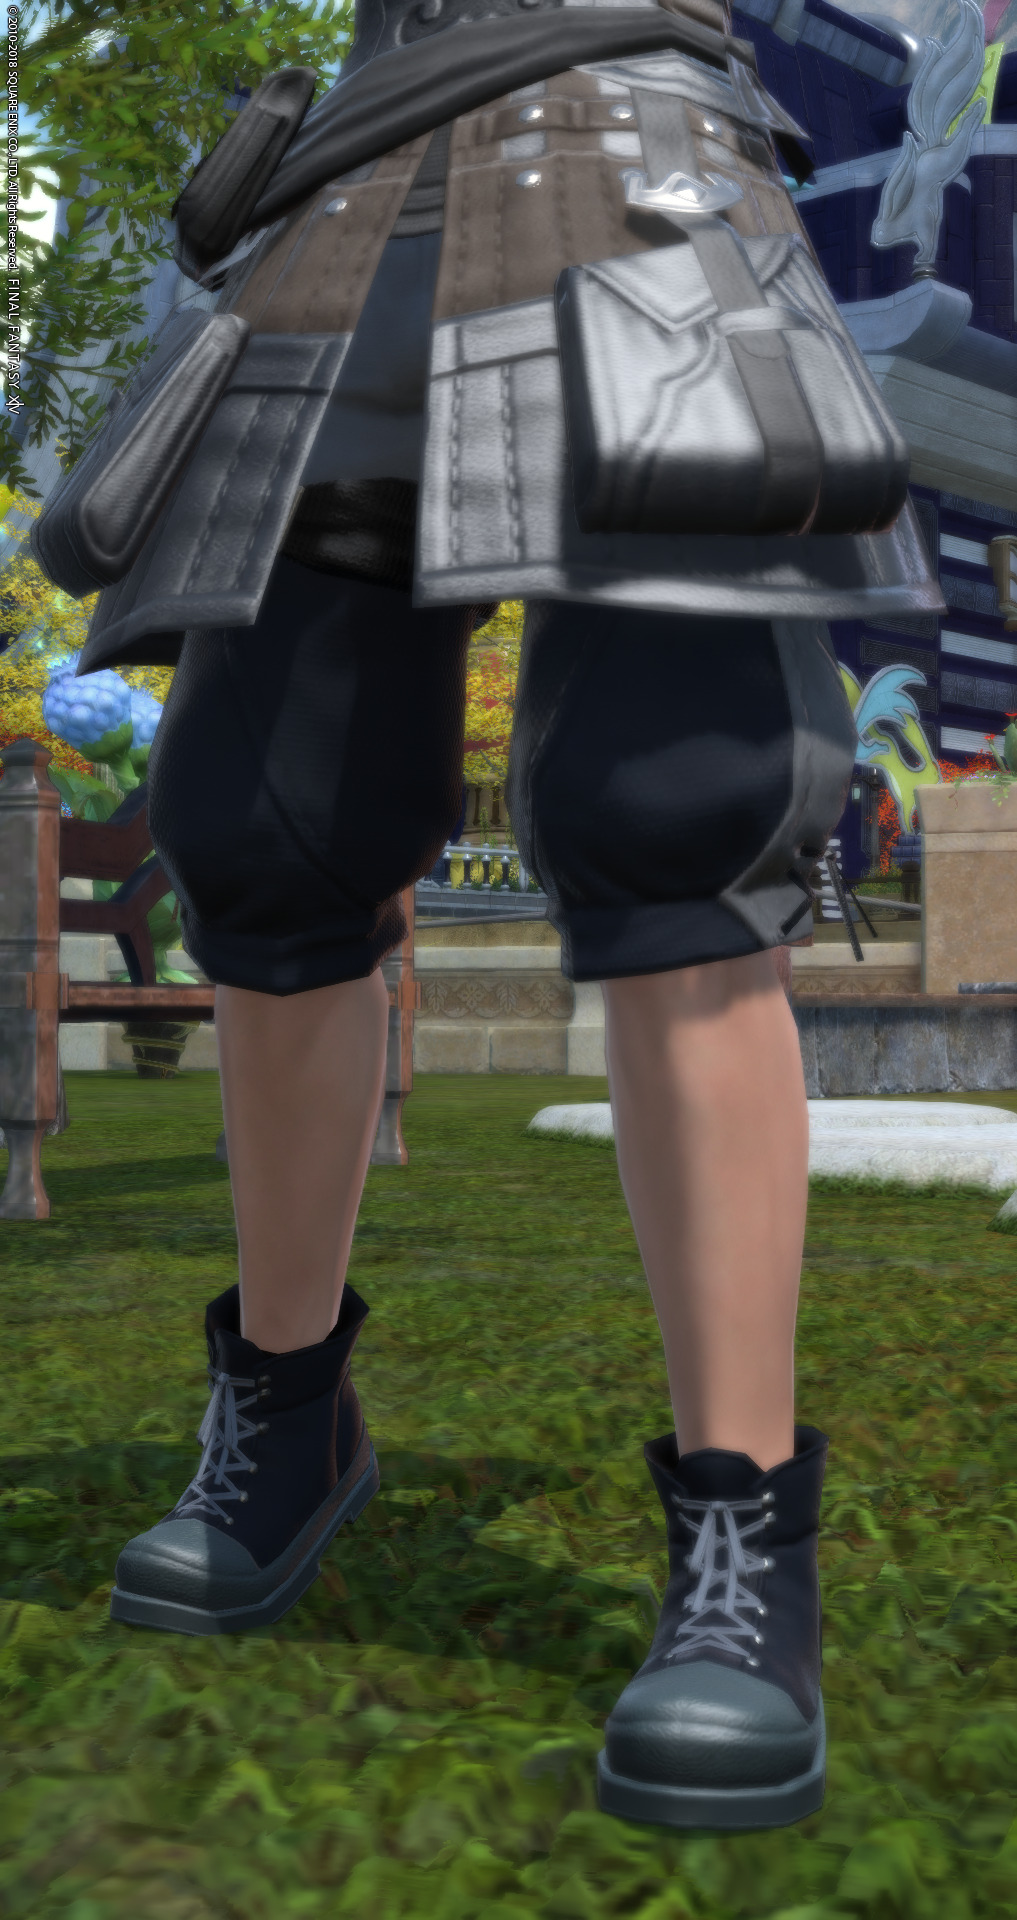
say your outfit has a lot of pouches or details on their waist, like what you see above. and you can’t see those details because of the limbs being in the way. if that’s the case, you should consider having your character do a pose that has their arms in the air, and freezing the position in GPose. for example, here i have my miqo’te boy doing the /cheer emote. emotes that work for this on most races are:
/cheer
/rally
/hug (or /embrace)
/deny
/stretch
/facepalm
/huh
/congratulate
these are emotes that have most, if not all, races and genders with their hands in the air. this gives you opportunity to take some excellent screenshots with the limbs not in the way.
The Proper State of Undress
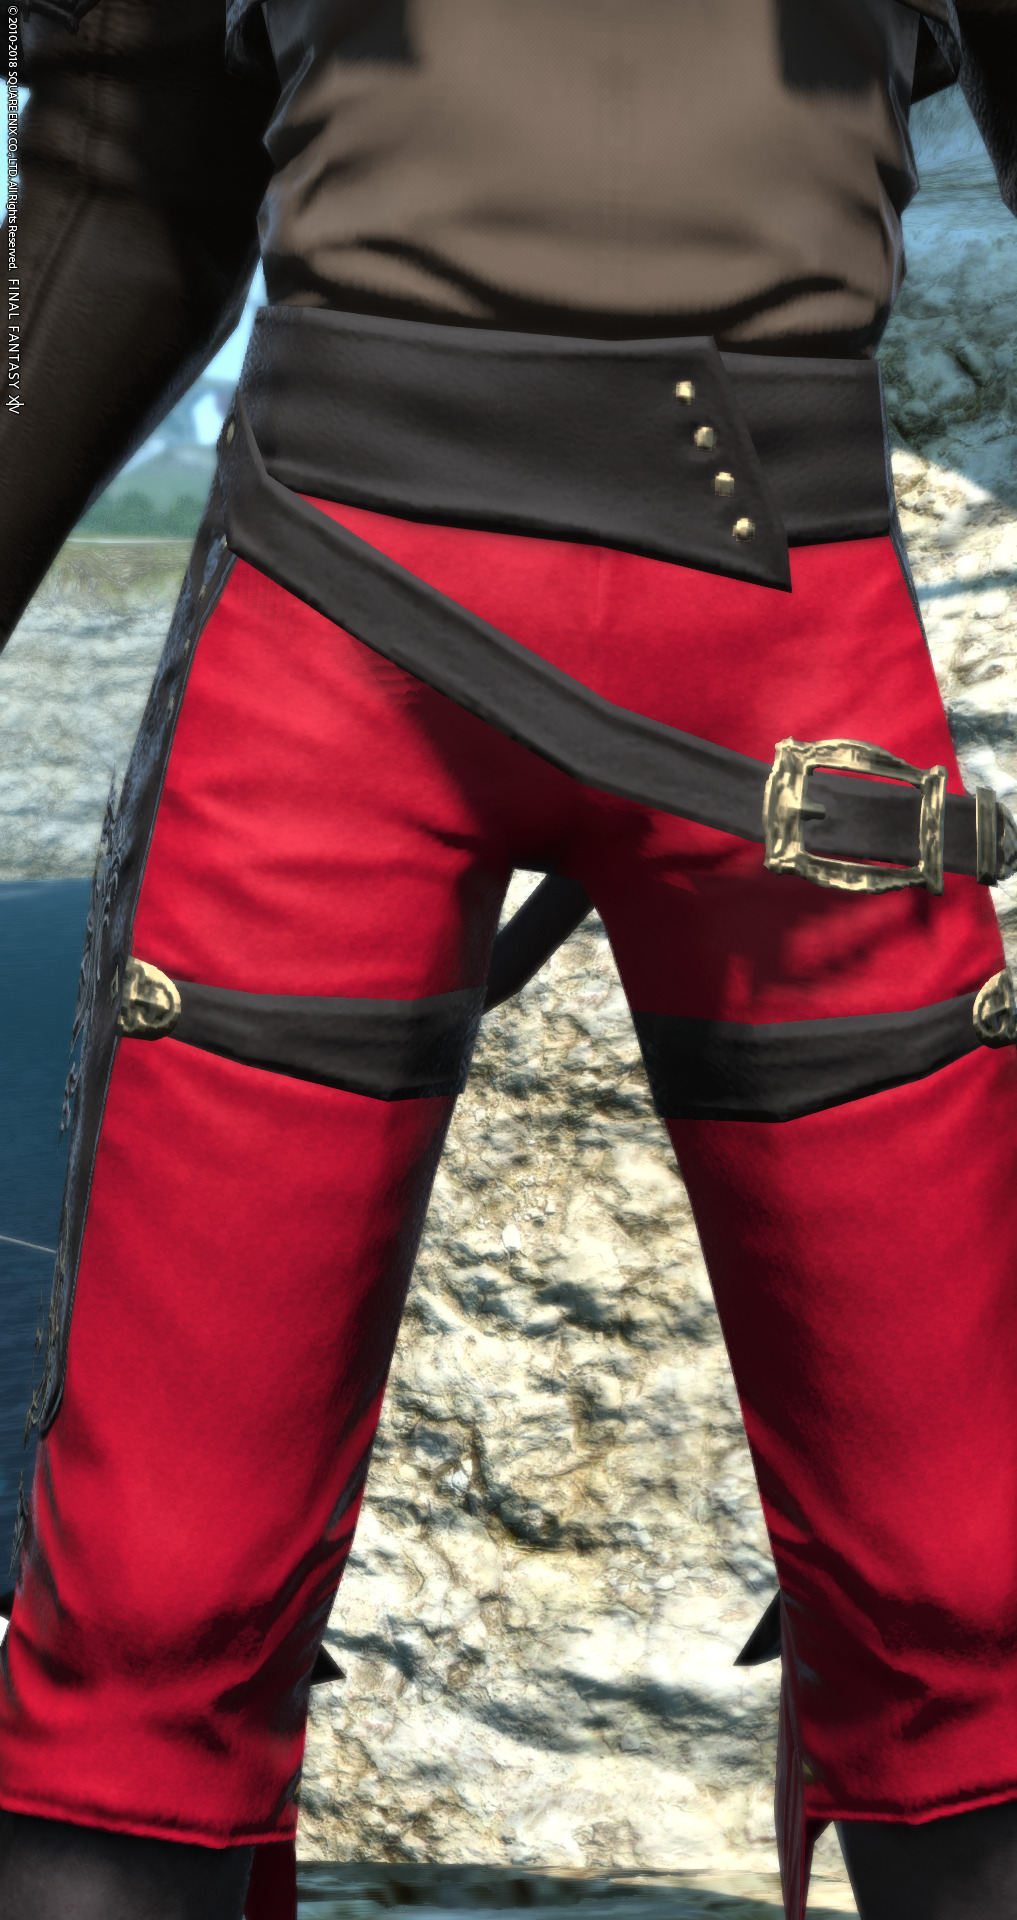
say you want a commission of your character partially undressed, or you’re so into providing the most detail possible that you want to get shots of your characters clothes underneath that dope AF coat. in that case, don’t skimp out! try to take reference pictures of the clothes underneath as well. for example, say i have references of my other baby boy Yoseff wearing the Red Mage AF gear; but i know that outfit is chock full of detail, even in the trousers. in that case, i either remove the top completely or have him wear a top that’s as inconspicuous as possible in order for me to get the most detail possible when taking screenshots.
What About Weapons?
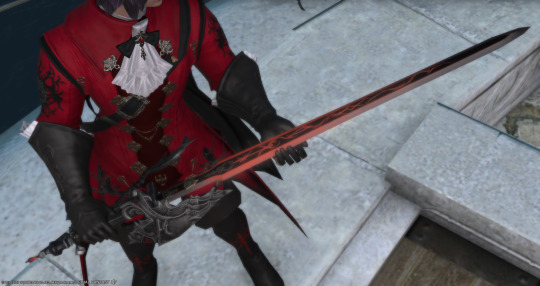
say you want a picture of your character doing an AWESOME picture of them in combat with their favorite weapon. usually for flat weapons like swords and axes, one or two screenshots of a full view of a weapon is usually enough. finagle with the angling enough so that every last bit of the weapon takes up the screenshot, and you’re golden. however, if the weapon comes with additions (such as the guard on the Murgleis), then additional screenshots will be needed in order to get clear views of those details as well. just like above, don’t skimp out! also, try to take pictures of the weapon unsheathed!
for swords and axes, the following will work:
a full view of the weapon
the blade of the weapon
the grip/shaft of the weapon
the pommel (if it’s not immediately view-able on the shaft)
for bows, the following works:
a full view of the bow
the top half of the bow
the bottom half of the bow (if the top half is not symmetrical)
the quiver on the back
for staffs and anything else, take pictures of the following:
a full view of the weapon
four screenshots (front, back, both flanks) of the top/area with the most details
the shaft (if applicable)
full view of any additional details the weapons come with (MCH’s aetherotransformer or the RDM’s floating focus, for example)
a full view is ALWAYS recommended as it gives artists an idea of how the weapon’s size compares to the model.
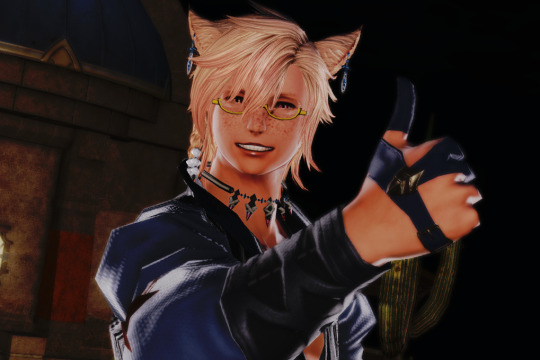
Don’t Forget That Well-Trimmed Hair
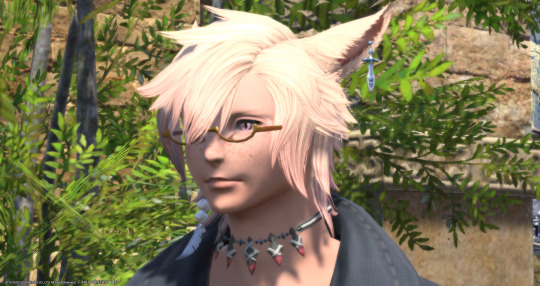
one thing that i also like to do but is wholly optional is provide an additional eight screenshots of the head. there are usually smaller details that are missed from the full-view that can only be seen more up close, such as freckles and jewelry. i like to do a complete 360 of the head for a good view of how the hair falls, but for the absolute minimum, about four or five shots of a turnaround of the head will do.
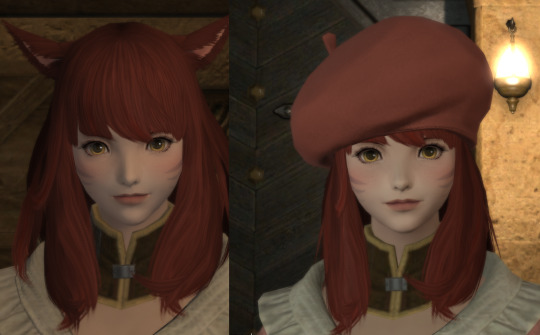
if your character wears hats, take pictures of the hat on and off! not only do hats mess with the hair, but the additional screenshots will give the artist a clear view of the character’s face. this is especially useful if the hat your character is wearing obscures any part of the face, which could result in potentially missed details.
of course, this is only necessary if your character doesn’t intentionally hide their face. additional screenshots of your character’s bare face isn’t needed if they intentionally obscure their face with a mask or helmet.
...And that’s about it!
i hope this guide helped you all out with figuring out what is needed for some amazing references! as i stated in the disclaimer, none of this is intended to be an iron-clad rule. rather, these are meant to be suggestions to help make your life and your artist’s life a lot easier. these have helped me, they’ve helped my artist friends, and i am sure they will help you.
if you have any questions, or if there’s anything you think i missed, don’t be afraid to shoot me an ask! my ask box is always open.
happy snapping!
~Moth
#ffxiv#ff14#final fantasy xiv#final fantasy 14#ffxiv screenshots#ff14 screenshots#in which moth likes to pretend she's a know-it-all#this took me all morning#i'm sorry for any typos i didn't proofread this#!!guides
39 notes
·
View notes
Last Seen Blogs

official-gospel-gang69
gospel gang content galore

mistresslucyworldsstuff
Mistress

deserviceshop
Untitled

naoeferdinand
Les Amours

quasimessiah
the book was better