
morbidhorrors
MorbidHorrors
The MorbidHorrors, one and only mind ya. This is pretty much a place I reblog cool things, post some artwork and possible little stuff i do with friends
3255 posts
Don't wanna be here? Send us removal request.
Last Seen Blogs
tedkaymusic
Headline Smasher

dyspnoeic
The Glass House

the-sim-cc-finds-blog
THE SIM CC FINDS

nflshirt
NFL Shirt

amerr02
Untitled
Text
tag dump make it easy to find my stuff
#morbsarts#ocshit#storytimescrub#sketchdump#requestwhat#xboxmoments#pcmoments#howwefriends#fandoms#fanart
12 notes
·
View notes
Text
A Helping Hand
It’s a scary time out there for a lot of people! Massive hurricane storms are tearing parts of the world apart and I can’t even begin to imagine what it’s like to be caught up in something like that!
We all have a responsibility to do what we can in times like these, especially if you have any sort of influence over others, I feel like it’s important to do something good and positive with that. A positive and very active community like this can do wonderful things if we put our minds to it!
With that being said, we are selling special edition gold septiceye shirts with fanfiber as a means of raising some sort of money for the relief funds in relation to these disasters. If you can help out at all please do and if you can’t afford to buy one yourself then please spread the word around to as many as you can because that costs nothing and we can all afford to spread a good initiative.
You can buy the shirts at the link below and remember, every little bit helps!
https://jacksepticeye.fanfiber.com/

11K notes
·
View notes
Photo


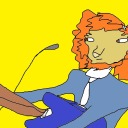
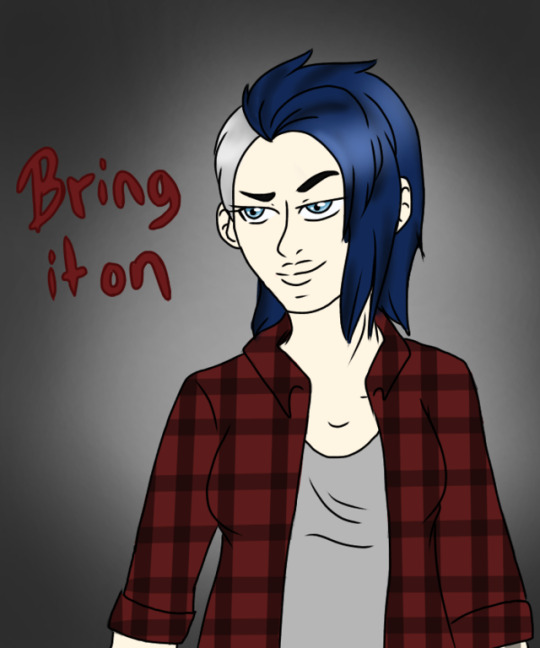
Here’s the thing I drew for Turmoil, just in case :)
7K notes
·
View notes
Photo
Check it out guys dead by daylight blog!!~
Nea Karlsson, dead by daylight roleplay blog
7+ years of rp
18+ Mature, Gore, Violence, etc almost everything goes
12 notes
·
View notes
Photo
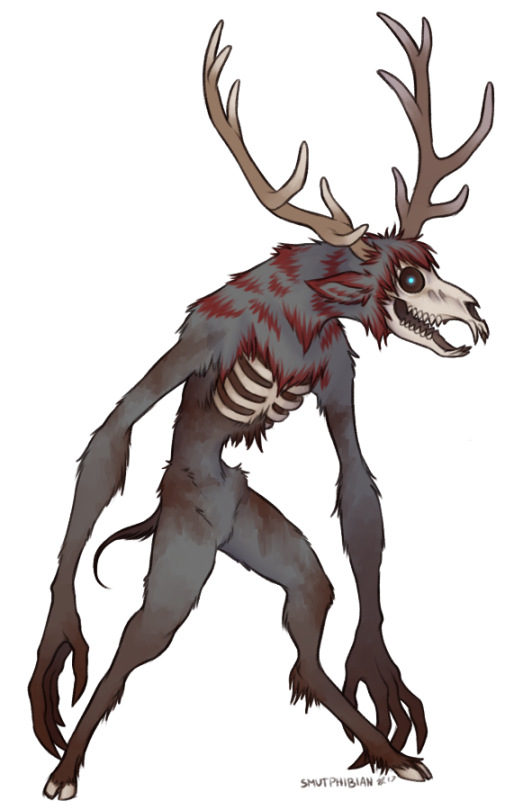
Commission of a wendigo character design for HamsterFag on FA
38 notes
·
View notes

Photo
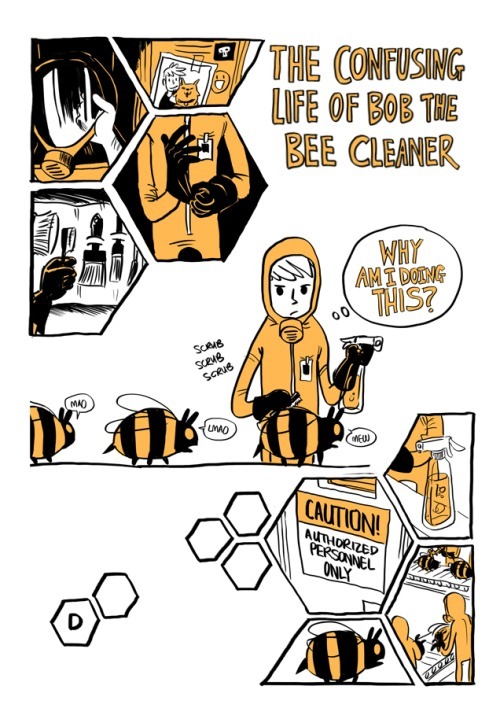

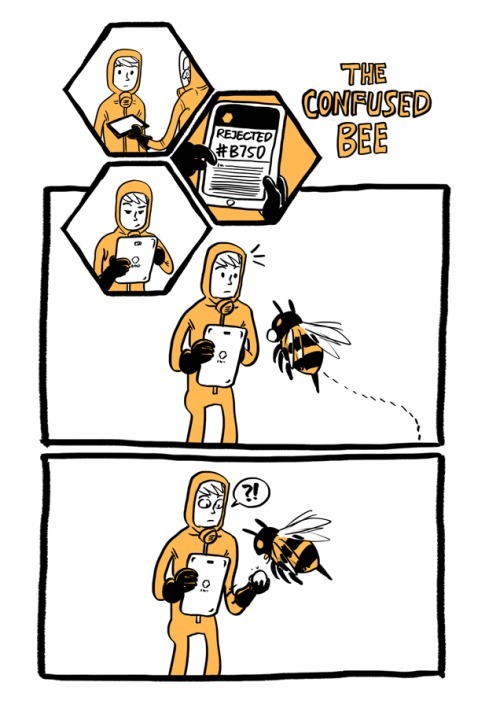
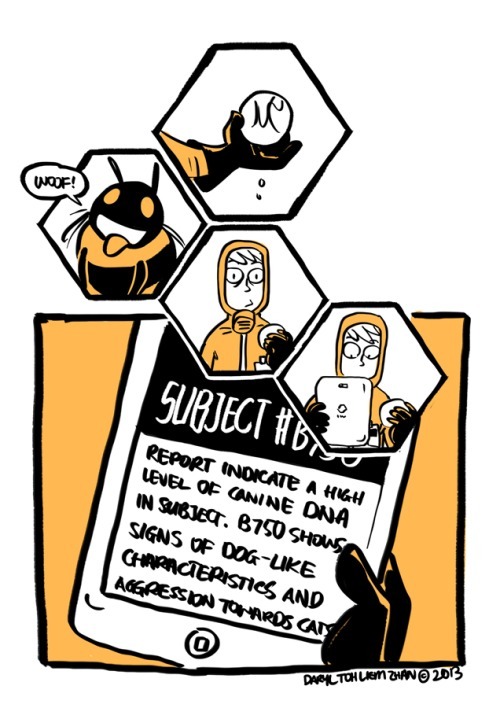
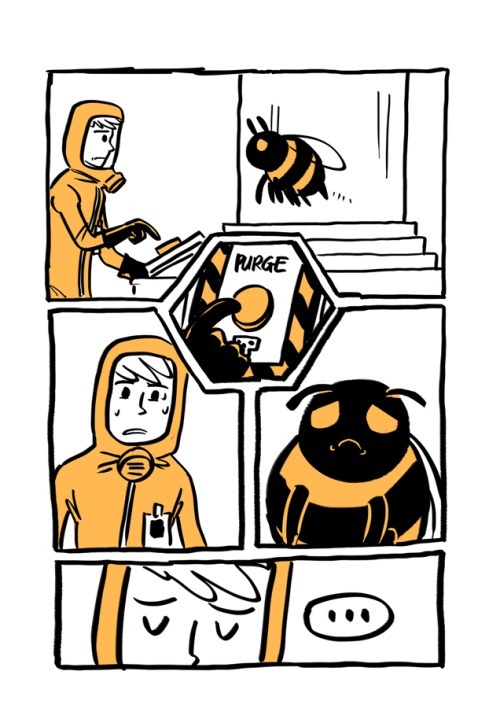


The Confusing Life Of Bob The Bee Cleaner © Daryl Toh Liem Zhan 2013.
Bob hates bees ever since his beloved dog Scott was killed by a swarm two years ago. Because of that, he’s in a conflicted dilemma of quitting his job in a secret government lab, cleaning cat-size bees (with cat personalities due to DNA experiments).
When he was ordered to end the life of one of the bees that was a failed experiment (due to it being confused itself thinking he’s a dog), Bob reluctantly takes it back home instead and care for it as a pet.
64K notes
·
View notes
Photo
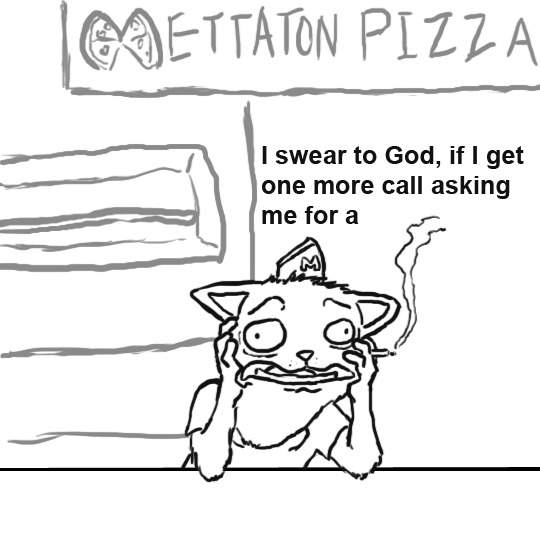

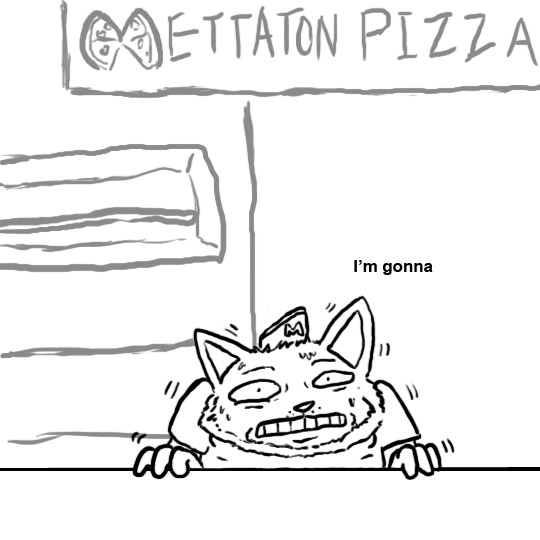

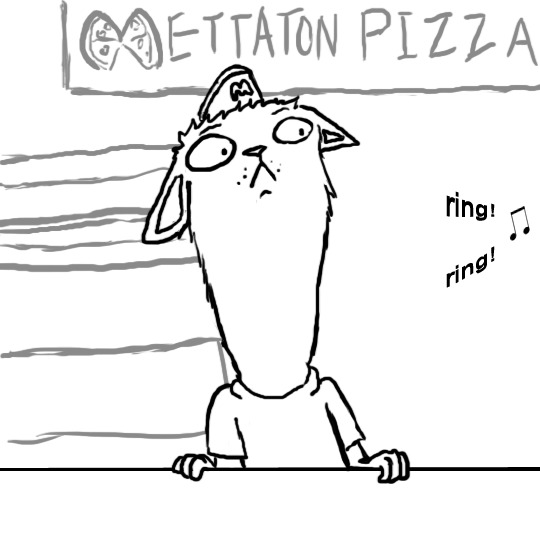

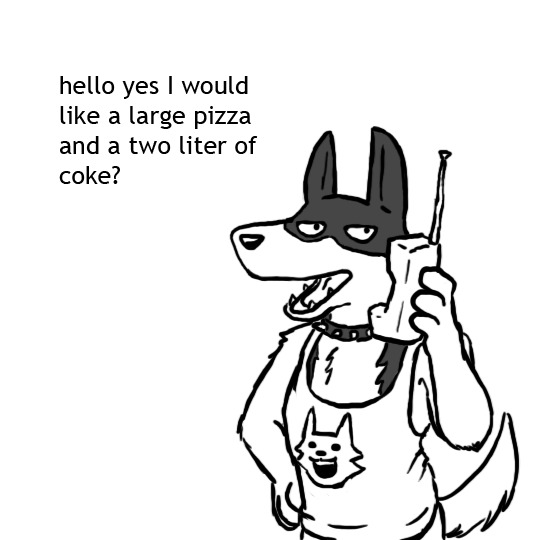
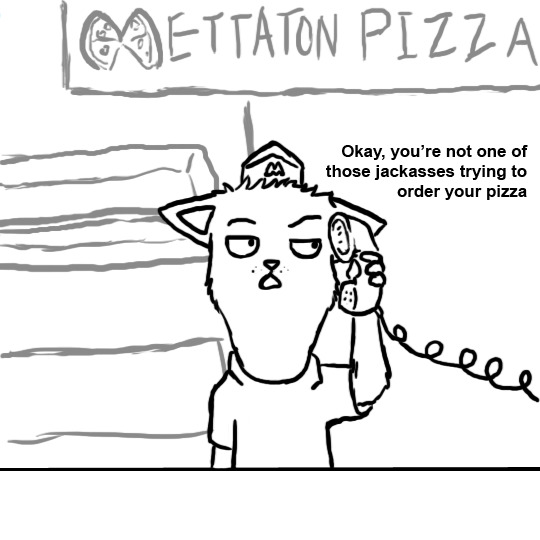
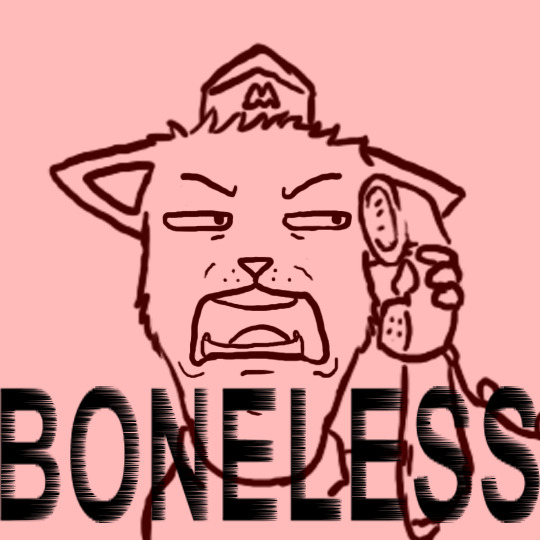
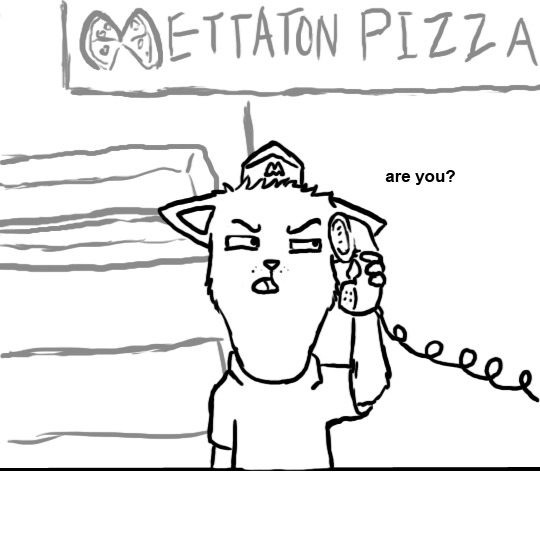

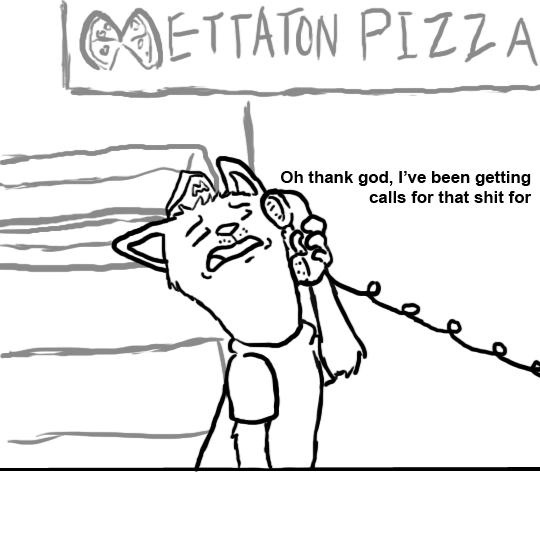

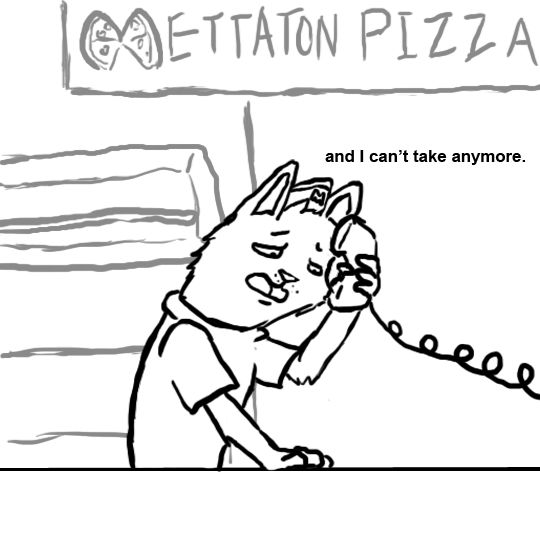
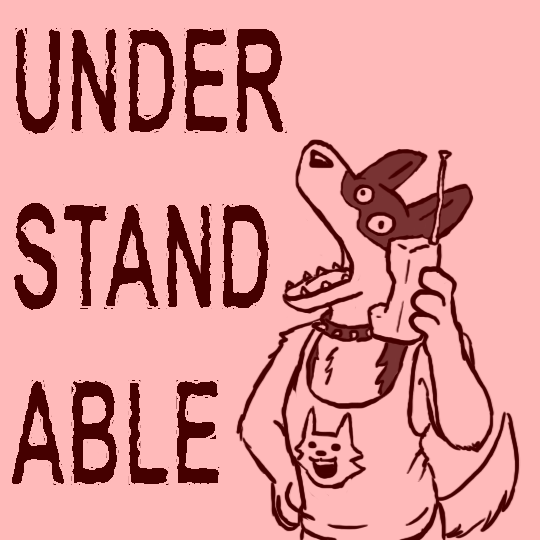


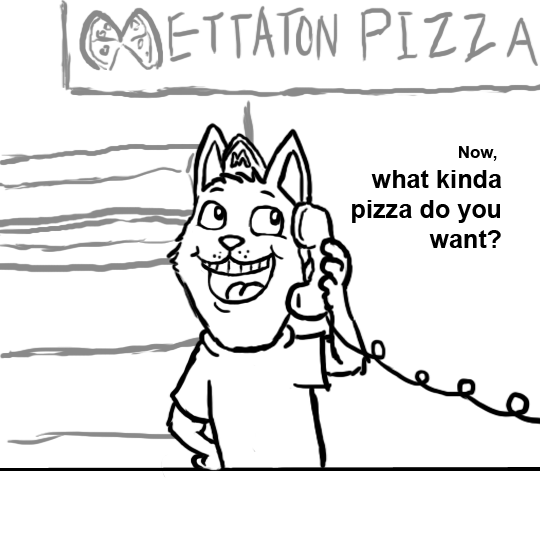


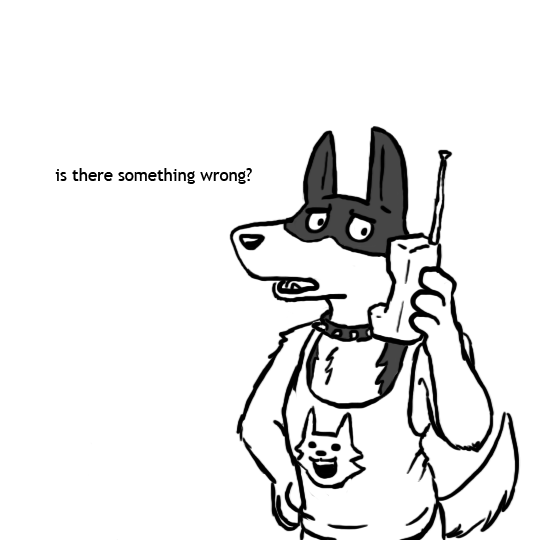
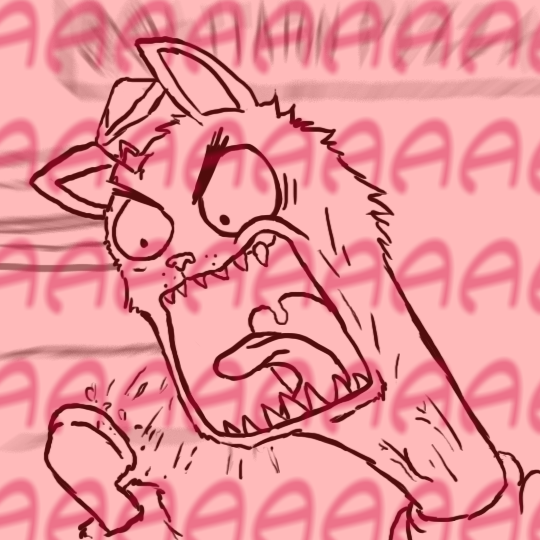
I don’t know if you’re aware, but a lot of people have been ordering boneless pizzas lately…
27K notes
·
View notes
Photo


Halfway there, just two more prints and I’m done with this series! They should be done tomorrow (and thankfully done for AX phew) but I hope you like these! I tried a little bit of a different technique with my usual lineless style to make sure all the characters popped out so hopefully it’s not too jarring or different
11K notes
·
View notes
Photo
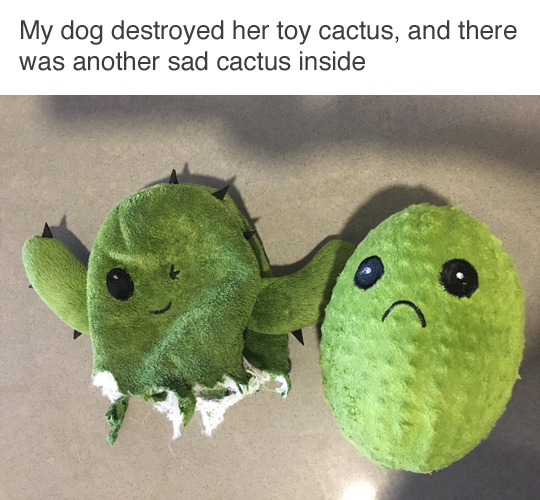
This company understands dogs. (via jpellizzi)
244K notes
·
View notes


Photo
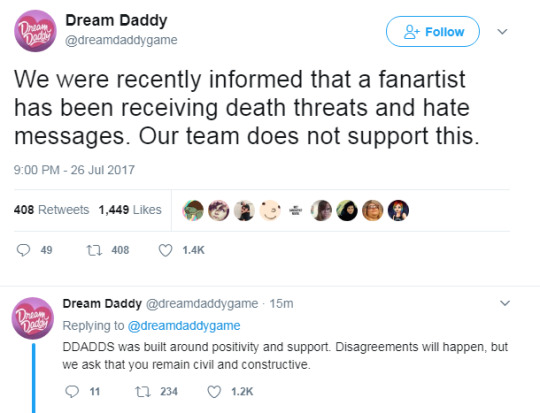

I THINK THIS HAS TO BE A RECORD FOR THE SHORTEST TIME THE CREATORS HAD TO STEP IN TO TELL THE FANBASE TO CHILL THE FUCK OUT. HOLY SHIT.
40K notes
·
View notes
Photo

Illustration for @tedlyanderson’s Sunshine Cheer Squad Go!!!
2K notes
·
View notes
Text
Jackpunzel
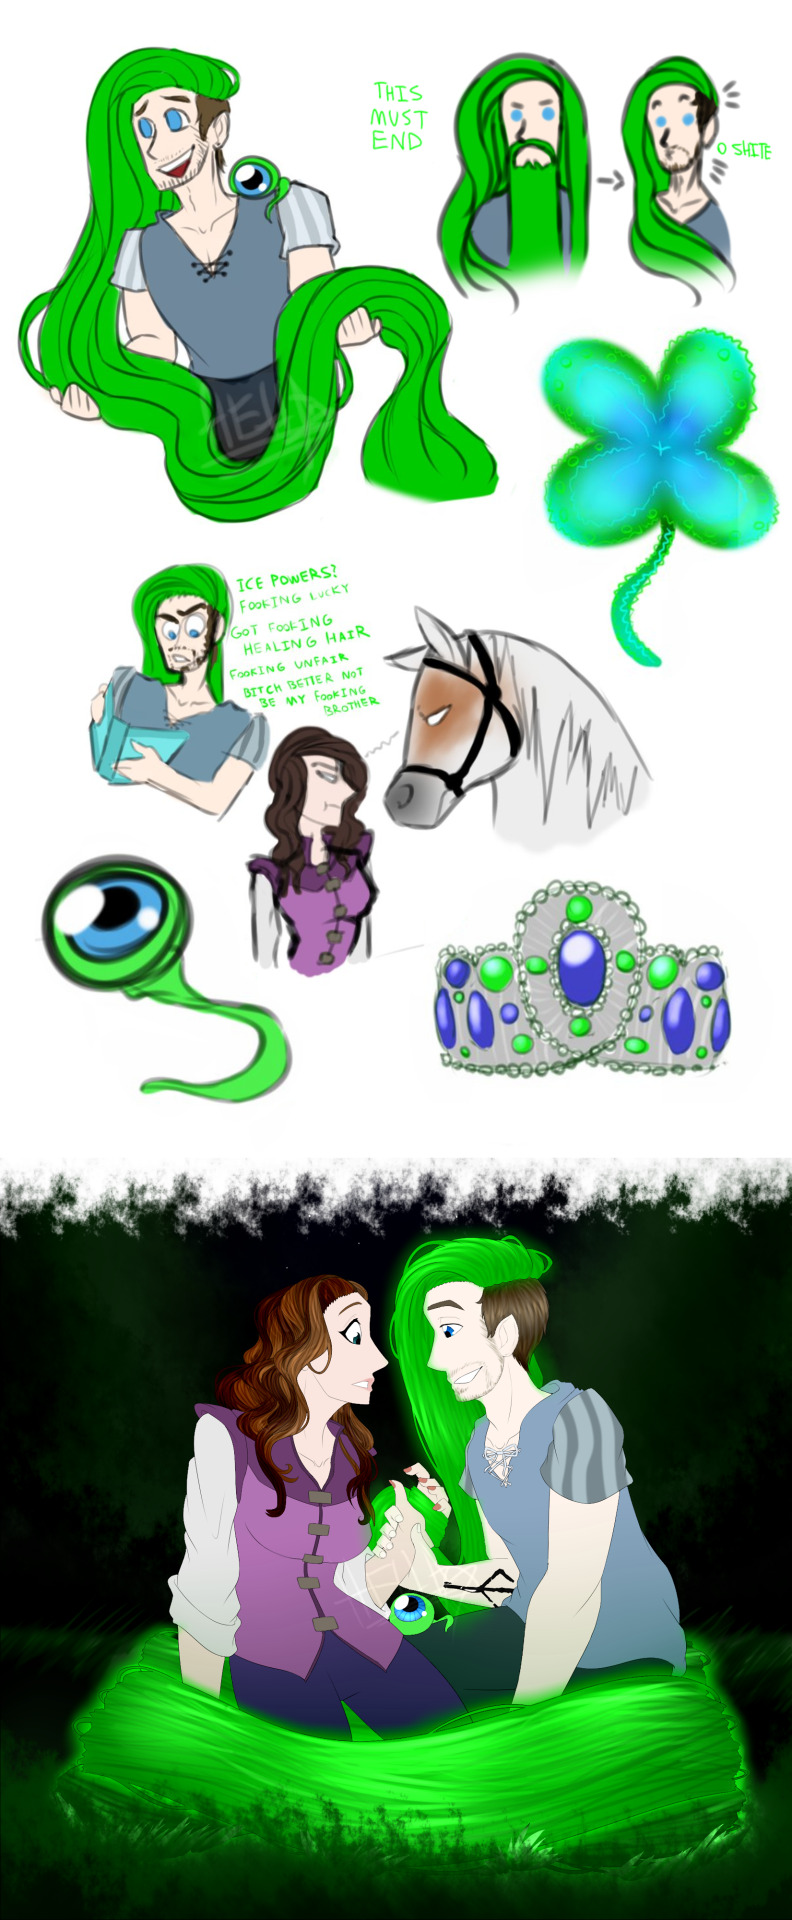
“Clover gleam and glow”
Don’t look at the crown.
Don’t.
2K notes
·
View notes
Text
It’s Murder time at college so everything’s chaos
369K notes
·
View notes
Text
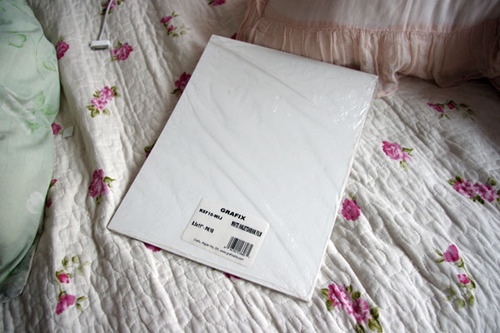
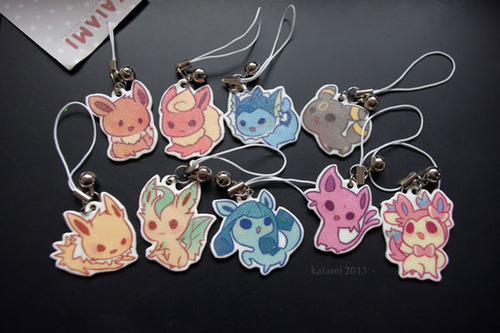
Tutorial: plastic keychains
I know a ton of you have been waiting for this one. Teaching you to make your own plastic keychains!
To start off, I think the biggest question everyone has is what I use to make them. I work with shrink film. You might be familiar with Shinky Dink brand shrink film as a kid. I use Grafix brand white inkjet shrink film. The inkjet kind is relatively pricey compared to the regular kind. If you’re using regular, I don’t recommend you stick it in your printer. Sharpie markers would be good for that.
Alright, now open up the file with the images that you’re working with. Make sure your images are a lot bigger than you want your finished product to be since they shrink significantly.

You’ll also want to lighten the opacity to about half. I go somewhere between 50-60%.

Now print your image out! I’ve found that it works best for me when I have it at the plain paper setting, and standard print quality.

Holepunch with a ¼" holepuncher BEFORE you shrink them. It’s so much more work to have to punch holes when your plastic is thick!

Cut out your design, leaving the amount of border you want.

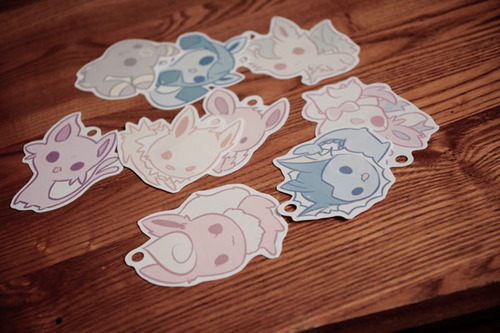
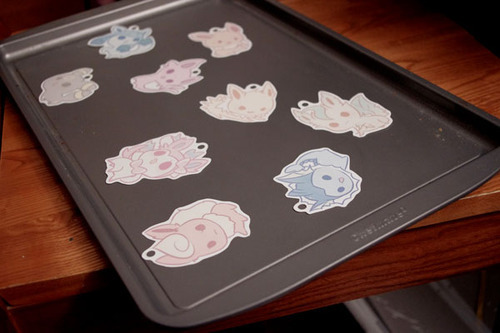
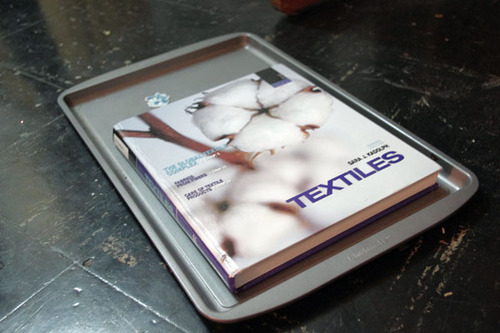
Set them on a tray for convenience. An aluminum foil sheet works too, but I recommend cookie trays because they are easier and quicker to get out of the oven.
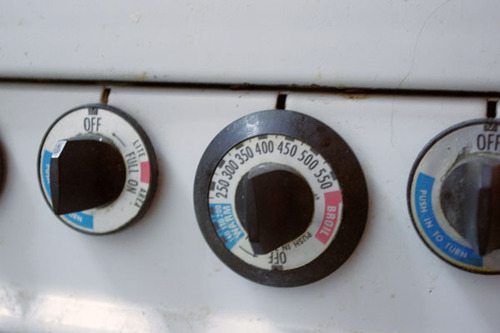
Preset heat. Your shrink film package will tell you what temperature to set it at, but I find that it isn’t always accurate for me. I generally set temperature to 350 degrees or so.
Put them in the oven. Remember to keep track of time! I leave them in for about a minute and a half.
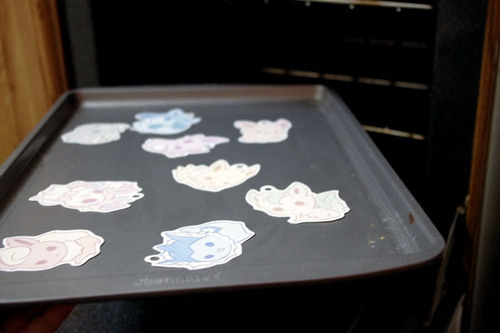
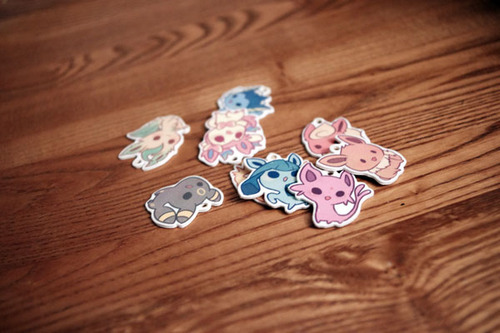
After time is up they should be super small! Magic!

If your charms are not flat, put something heavy on it right out of the oven when they are still hot and malleable.
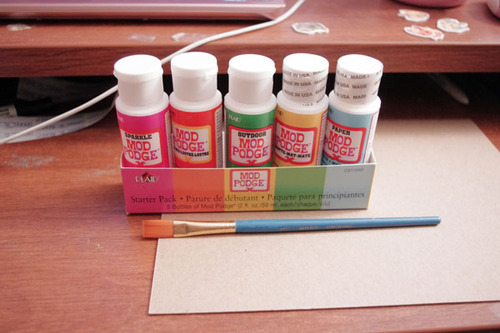
If you’d like to, you can seal them now. In my last two batches, I used clear topcoat nail polish. The problem with that is that I need between 3-5 coats of it, and it takes a while to dry. I’ve been experimenting with modpodge.
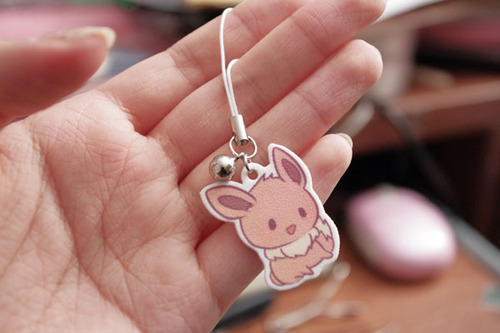
For lariats, you can use jump rings or lobster clasps.

Here is one that I made that wasn’t sealed. The finished texture after shrinking is a little bit rough. There’s nothing wrong with leaving them unsealed, but because they are inkjet printed, the colors wash right of without protection.
This is one that was sealed with modpodge. The colors become a little more vibrant and smooth and water resistant. Things often get stuck on when applying or drying so be careful.

These ones down here were sealed with clear nail polish. They come out shiny if you put enough coats, but the grainy texture will still be there.
Well, there ya go! Have fun making your own keychains!
195K notes
·
View notes