
Last Seen Blogs

otra-forma-de-amar
But i wont cry for yesterday.

unclescrunkle
molly

joelcest
crazy little critter

bloggtrends
Trending News

dlitetttop
Daesung & T.O.P
Text
Project Reflection
Overall I am happy with the way the project went. There were some areas of the project however I didn't feel went as smoothly. The creation of the CD Booklet was handmade, which I never would of wanted to do. But because professional booklets can only be ordered in bulk I felt like making my own was a good option. I used a Semi Gloss paper, which looks really nice. As I had to stick them together the pages are pretty think and it struggles to fit in the case. The inlays do look goo though and look good in the case.
The photoshoot went as expected as well. I knew the kind of shots I wanted and knew how to setup the lighting. Fortunately I didn't end up using much lighting as there was a decent amount already in the room. I did manipulate the light using black material, to increase the shadows. Focus stacking wasn't a plan of mine for the images, but when shooting I thought that it would be the best way to get a detailed image of the sub. Not shooting underwater I think was a good idea as well, despite maybe having a bit more work in Photoshop to do.
The video for the project was something I was really looking forward to do. I knew from the beginning that I would want to collaborate with a film crew and knew who I wanted to use. The film crew were the same guys who came to Australia with me to film the feature length documentary. I know how good these guys are at what they do. Despite them having all the experience, a fair few of the shots were filmed by myself, especially in London. Directing the film was something I felt I would be good at. I have an eye for detail and knew exactly the shots I wanted. I spent the weekend over the guys shoulder making sure they got the shots I wanted for the film and telling them where to film and what angles to use etc.... Originally I was going to use Callum to edit the film as he is a freelance editor as well. I took this task on myself though, having some minor experience with Premiere Pro from second year. Editing the video together went quite well I think, using some simple effects and transitions along the way. The sound design was something I had never done before. I used YouTube to source the sound as this was the easiest option and there was a lot to pick from. Blending the sounds together was quite fun and a good learning curve for me that I can take with me on future videos.
Overall I am happy with the project. I wanted my idea to be something that was different than anything else in the music industry. I feel that the Audience that I am catering for is an audience that hasn't been looked at in the this industry.
0 notes
Video
youtube
The video is now finished and exported. I am pretty pleased with the outcome baring in mind I don't have much video editing skills. I have watched my friend edit videos before and I have a bit of experience using Premier Pro from second year, where I had to edit a 2 minutes video. Putting the video clips together wasn't too much of a hard task, I had a good idea with how I wanted it to look. With the sound I also had a clear idea with how I wanted it to sound. Sourcing the sounds weren't too hard, using YouTube video mostly, converted to mp3. Blending the sounds over multiple layers was the hardest bit and choosing the levels of each sound. I tried to decide the levels of sound based on where the camera was and how far away the sound would be. I didn't do this on some shots however, like the London drone shot where you can hear voices. This is because I wanted those shots to sum up the sounds of this area. I feel that the shots taken on HMS Belfast have been shot well so that they look like a submarine. Submarines have a very similar look to the inside of a large ship and if not told it was a boat, I don't think any one would notice.
0 notes
Photo
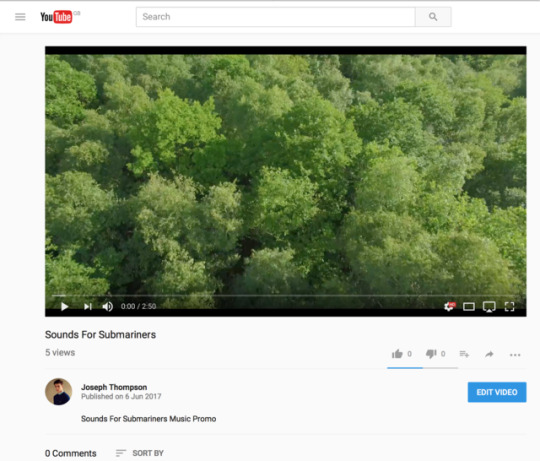
The video has now been uploaded to my uni YouTube account. It is a pretty simple task uploading to YouTube. I only had to enter the name and description for the video. You can view the video at 1080p because of the export settings I gave the video.
0 notes
Photo
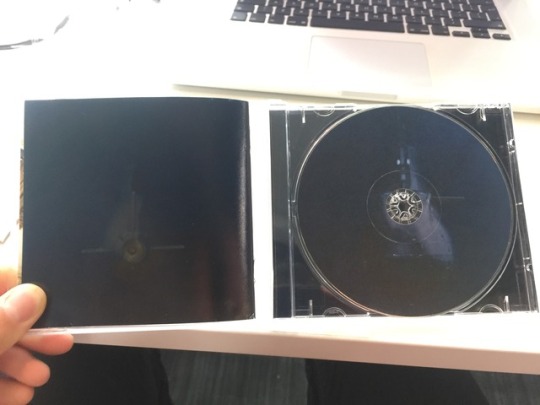
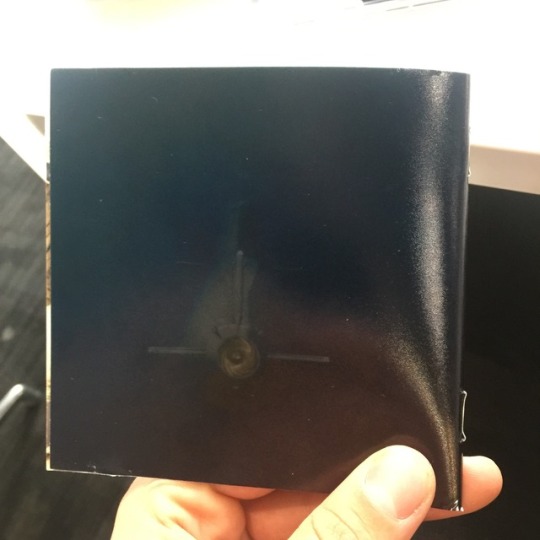
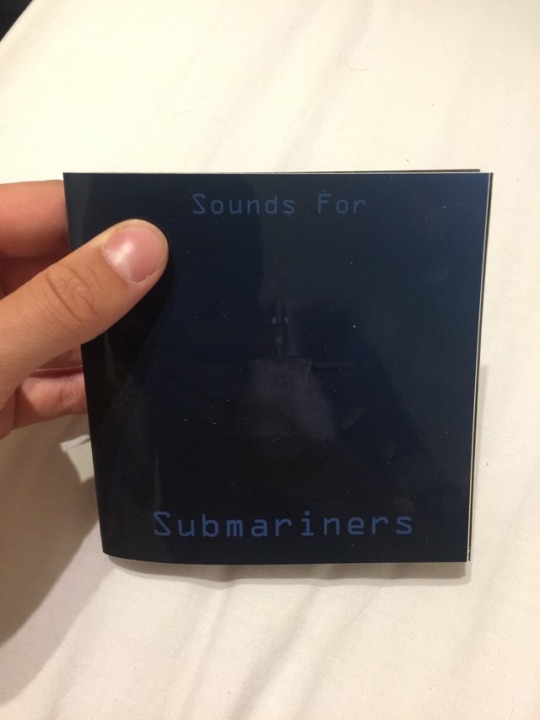
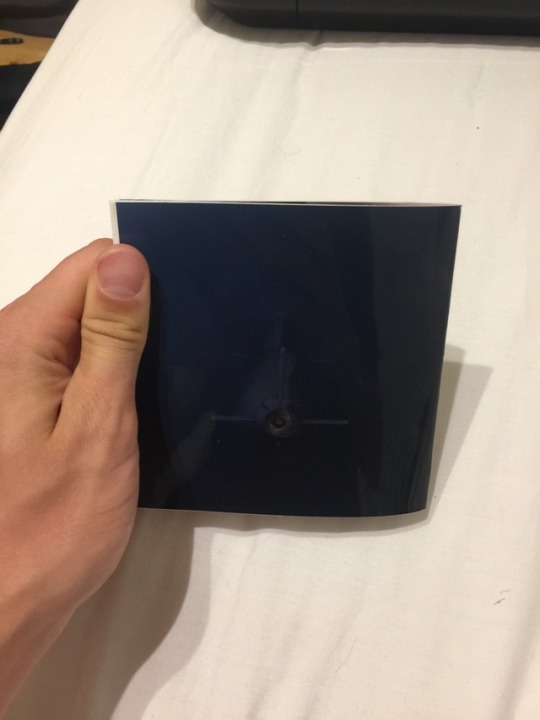
Here is the CD finished. The booklet just about fits into the case. The inlays were pretty easy to do as I just needed fold the edges and then stick them together. The image on the CD is pretty faint but this is because the paper for the sticker isn't that great quality and was only printed on the office printer.
0 notes
Photo

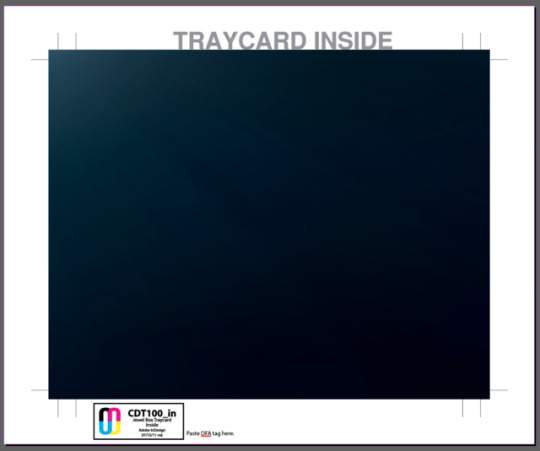
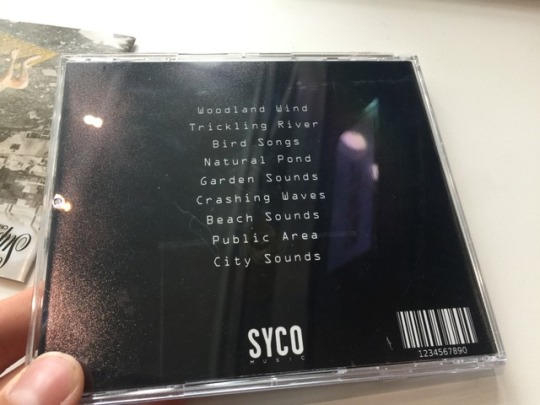
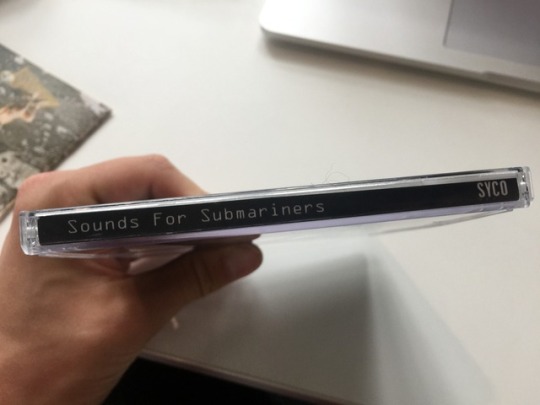
Here are my tray cards that will go inside the CD case. The outside inlay took more work obviously. I added the same song names that are in the iTunes mock up. I have added the album name and the record label on the edges of the inlay. I have also added a random bar code so it’s more realistic. The image on the back is the rear of the sub that is faint behind the text, which I quite like.
0 notes
Photo

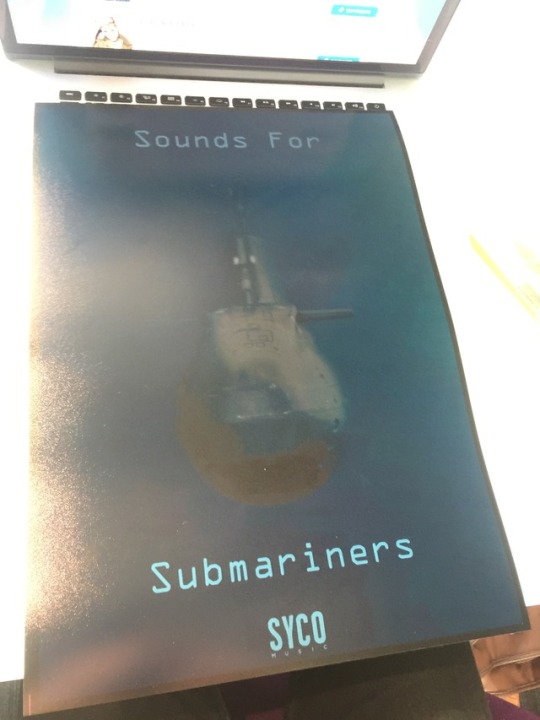
I have printed and cut out the booklet for the CD. I printed onto Semi Gloss paper and stuck them together. If I printed online using a professional service them I would only be able to order a minimum of around 50. The camera again struggles to pickup the image but it looks better in real life.
0 notes
Photo
I have printed my A3 poster onto Semi Gloss paper. My phone struggles to pick up the image as it is dark and also the paper reflect slightly so I have bumped up the exposure. I am happy with the look of the poster and quite like the black boarder, it frames the image nicely. The colour of the text looks different in the image but it is the same colour in real life.
0 notes
Photo
I printed a mock up of the CD booklet at home on Glossy paper. It is pretty thick and only just fits inside the CD case. The images look good next to each other and the front and rear cover work well as well, with the light coming from the same direction.
0 notes
Photo
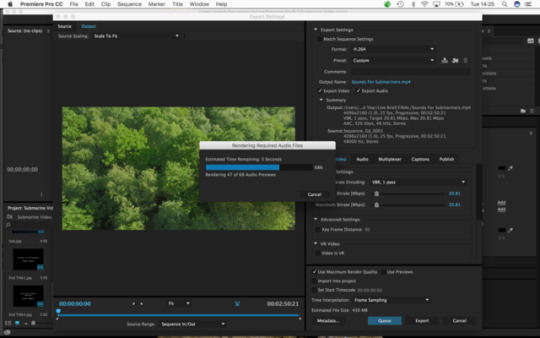
Now the video is finished I can export it. When exporting I use a number of parameters to ensure the video is being exported correctly. On the format I make sure it is set to H.263 and on the Preset I choose YouTube 1080p, as I am uploading to YouTube. Then I make sure ‘Use Maximum Render Quality’ is ticked. Then I can click Export.
0 notes
Photo
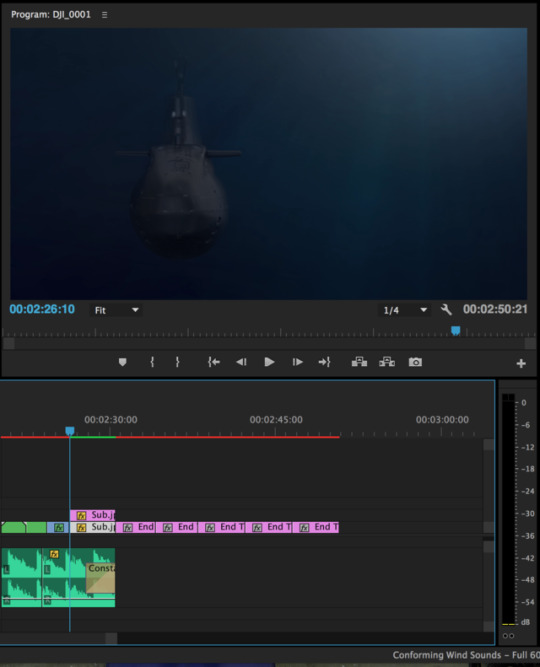
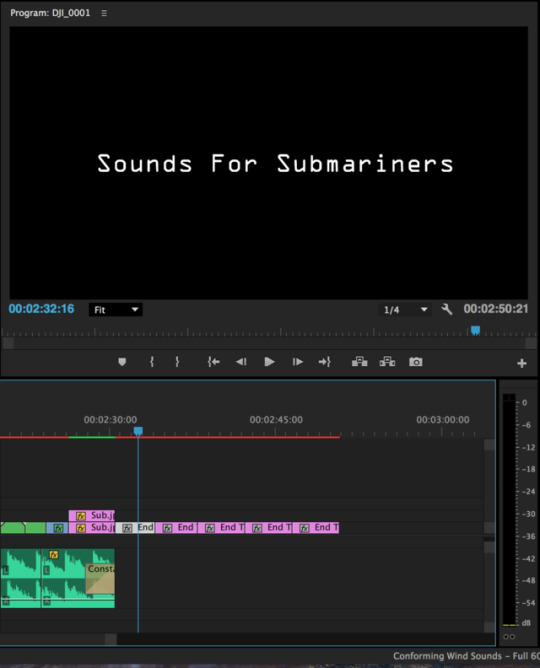
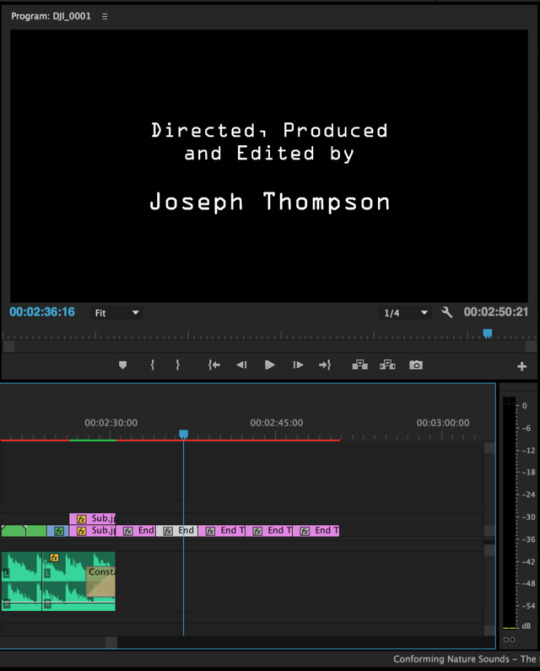
I have added in the end scenes to the promo film. The sub shot is what was explained earlier, the submarine gets bigger as if it is coming towards you. Then the title screen appears, using the same font as used on the social media images. Then I have 4 credit screens which mention me, Toby, Louis and Callum who all helped film the video.
0 notes
Photo
I have created a simple template myself which is 12x12cm, to fit into a CD case. I have added all of the images that will create my booklet. However as I am printing myself I will need to rearrange the images so that when printed each half image will be next to the correct image.
Now the images are on the correct pages. The middle page will stay the same and half of the images have been swapped on the first and last image. The from cover has also been added to the back cover.
0 notes
Photo
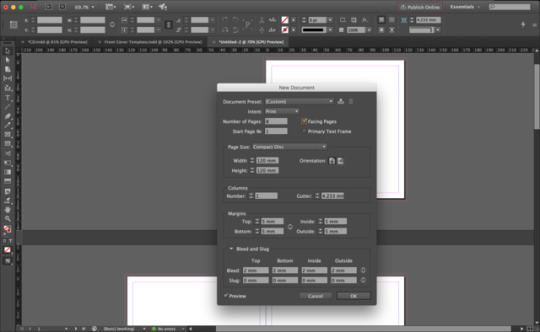
I have decided to make my own template for the booklet. It’s a very straightforward task, just entering in the right dimensions of 12x12cm. I have made the pages spreads as well with a 5mm margin and 2mm bleed, so there isn't any white lines. I have included 10 pages and will be exporting pages 2-9 as these are the double spreads.
0 notes
Photo
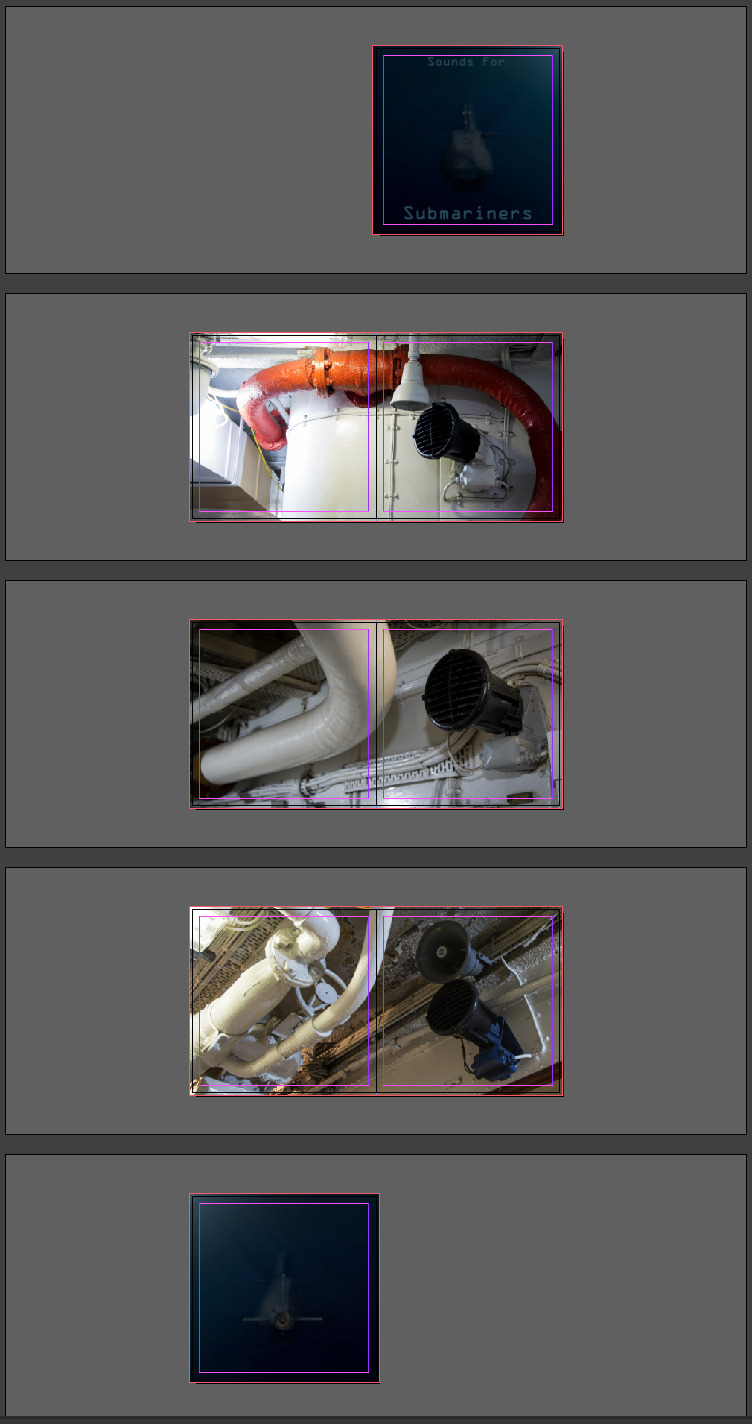
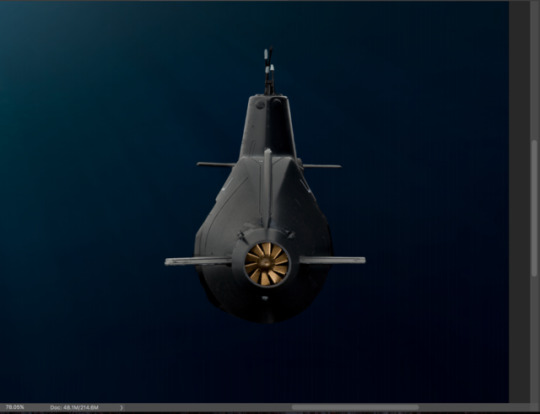
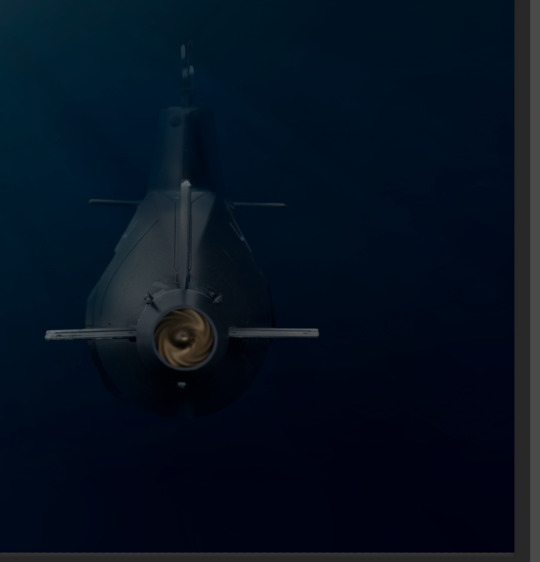
Here is the 4th and final image to support the main image. I have created a similar version of the front cover, however of the rear of the sub. The light has been moved to the left so that it matches with the front cover when viewing against each other.
0 notes
Photo
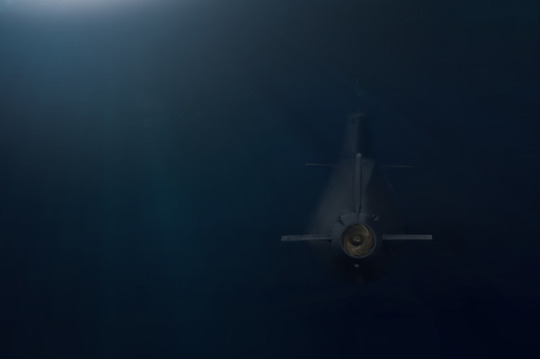
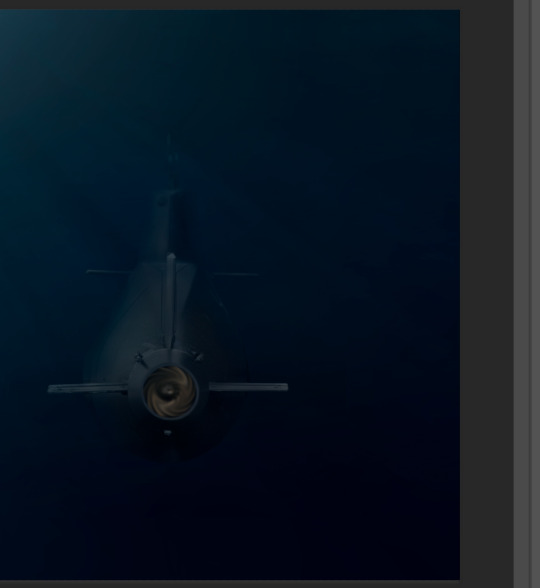
I am editing the 4/4 image to support the first image. This image will be similar to the front cover but will be of the back of the sub instead. This will go onto the rear cover of the booklet and will finish the 4 supporting images. This is how the image will start in Photoshop after I had created a mask on the sub image, cutting it out.
Next I will blur the middle of the sub so that it looks realistic. This is because the middle of the sub is further away and wouldn't be in focus, especially since it’s underwater:
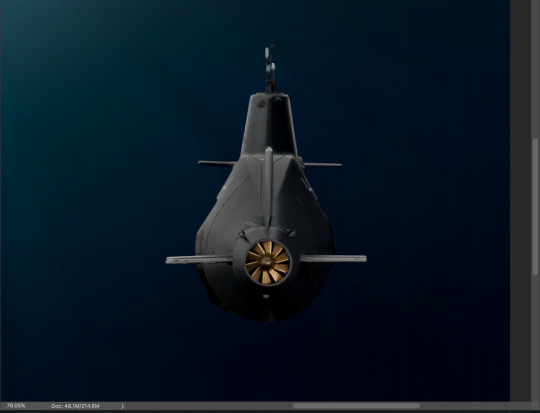
Next I will begin the process of darkening the edges and blending it in with the background:
More blending has gone on, using the paintbrush tool on the mask itself. I went around the edges and some of the middle of the sub with the black paintbrush on the mask, this will increase the opacity on the painted areas of the sub:
0 notes
Photo
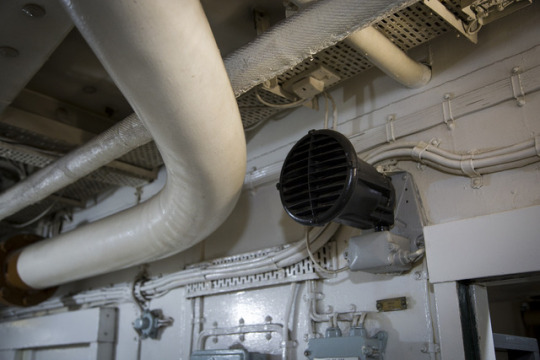
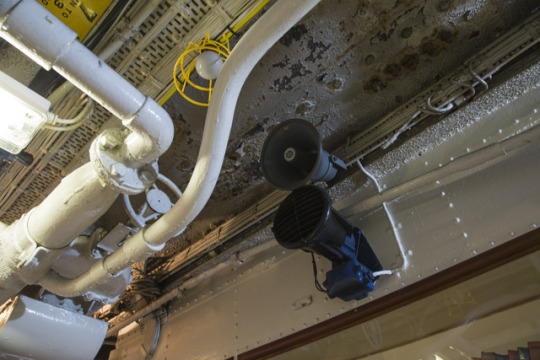
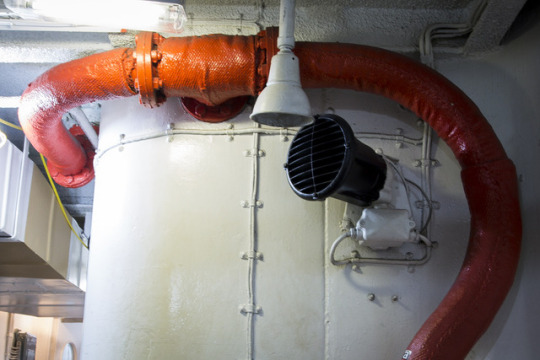
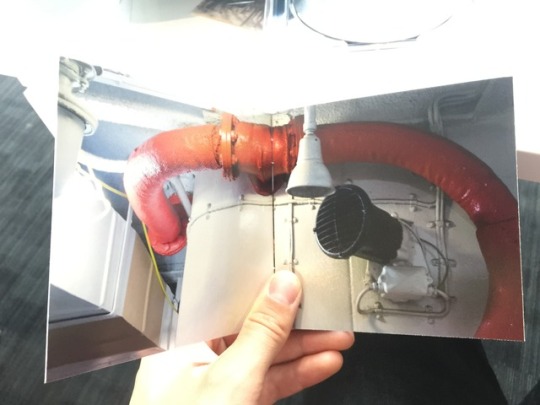
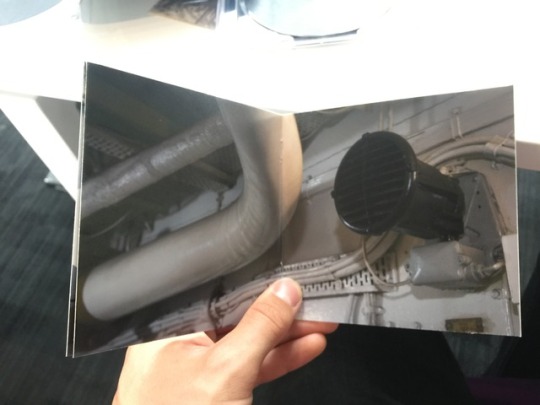
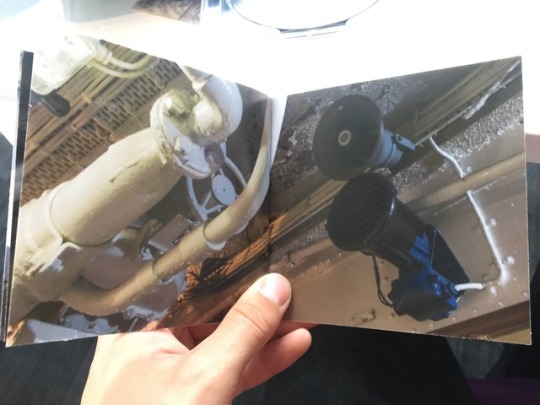
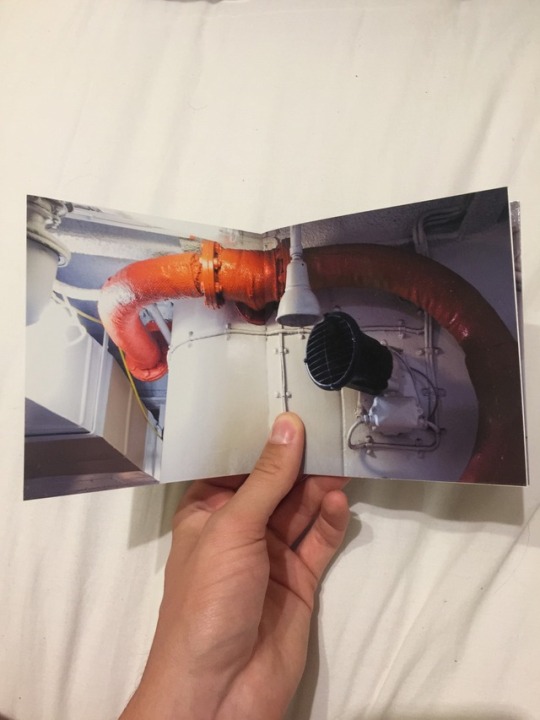
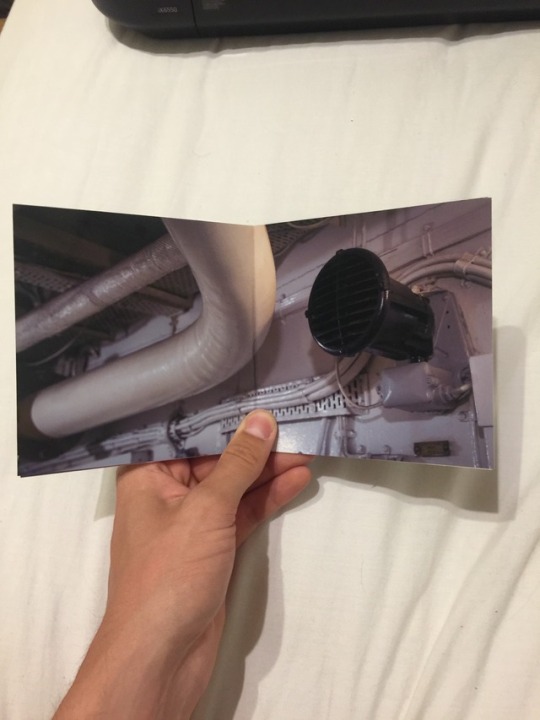
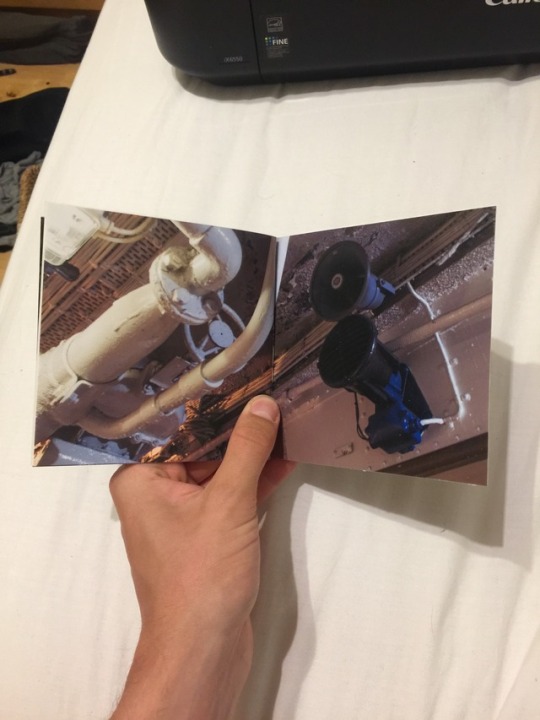
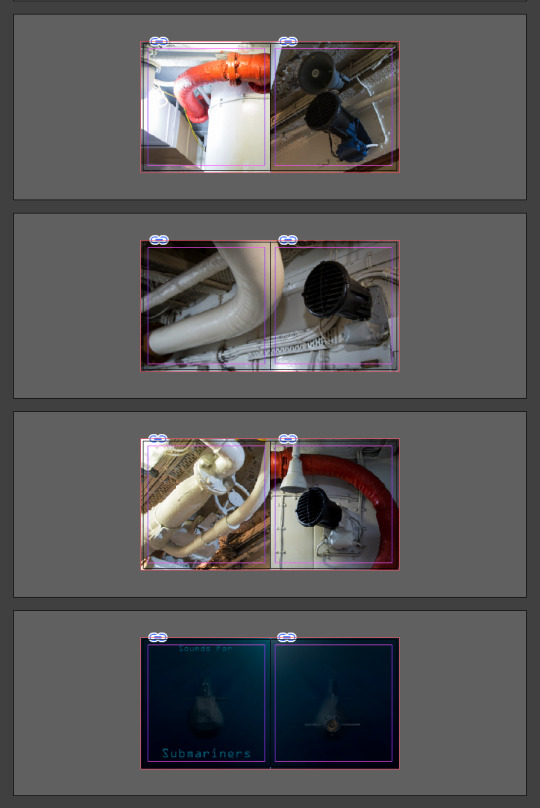
Here are 3/4 of the supporting images. I have chosen these 3 images as I like the pipes running through all of the images. The images all feature tannoys that would be seen inside submarines. This keeps the theme of sound and submarine close together. For the booklet I will be cropping the images as the booklet will have a 2:1 ration, which the images don't have.
0 notes
Photo
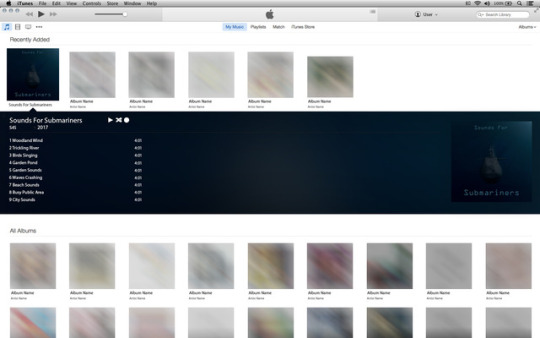
Here is the album in iTunes with the song names as well. I chose 9 track names to put on the album. These will also go on the back of the physical album.
0 notes
Photo
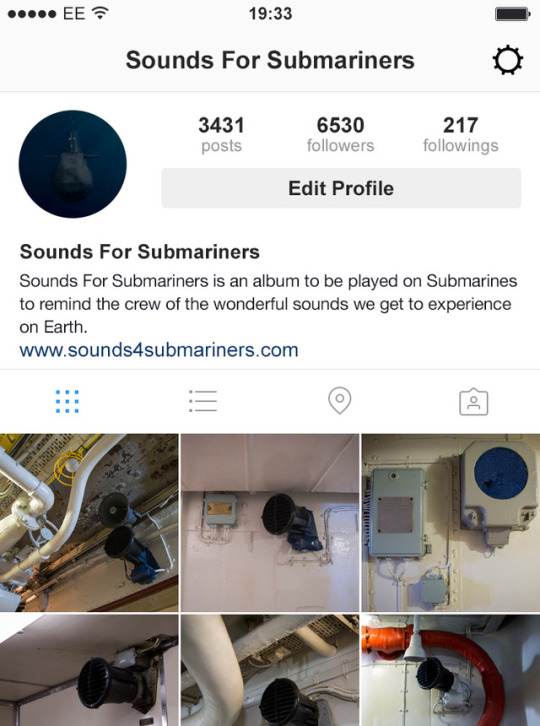
Here is the IG page setup, using Photoshop. I have used the same images and text as the Facebook page to keep the whole social media pages similar. I have used 6 images in this mock up just so that it looks more realistic.
0 notes