
Last Seen Blogs

miuimusic
MIUI MUSIC


class1akids
class1Akids

ecosseforklifts-blog
Ecosse Forklifts

mellarks
Untitled
Text
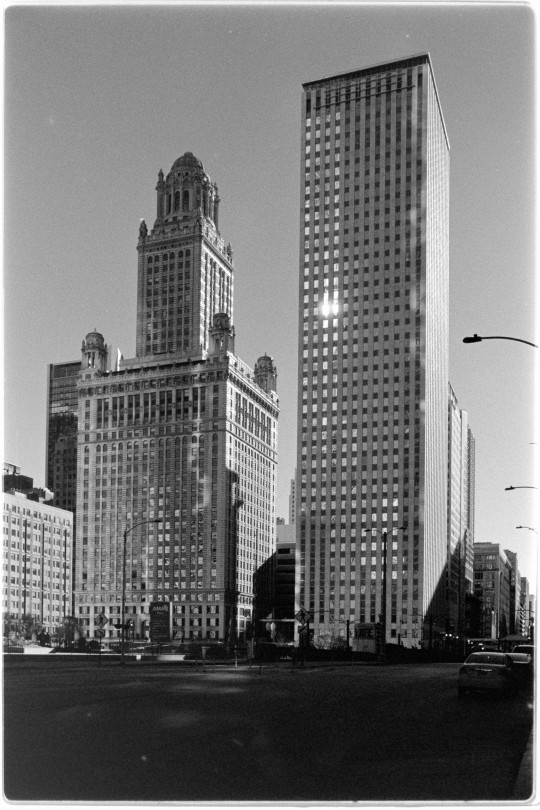
shift lens in Chicago
3 notes
·
View notes
Text
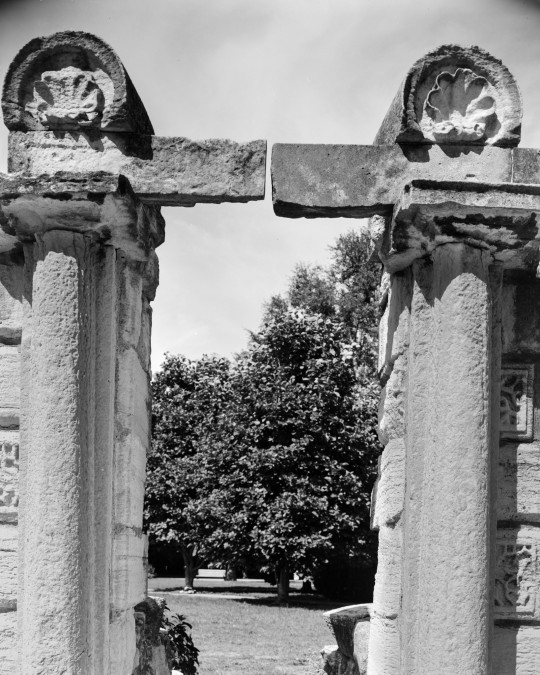
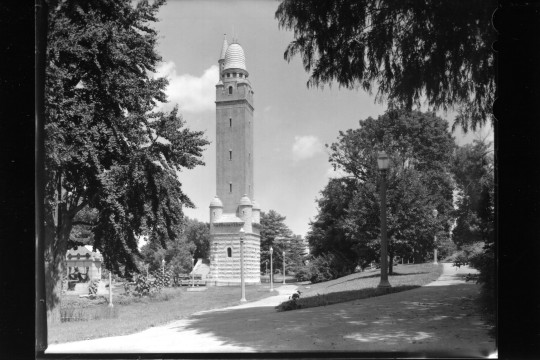
ruins in the park
ilford fp4+ / perceptol
1 note
·
View note
Text
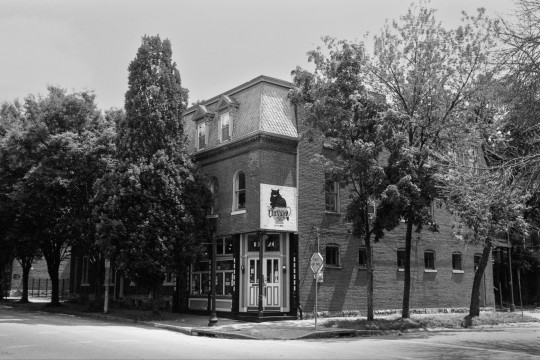
corner shop & cat cafe

5 notes
·
View notes
Text
Making direct positive prints without a darkroom: pt. 1
Direct positive paper can be loaded directly into a large format camera or a pinhole camera to create positive image prints without an intermediate negative image. They are easily developed in a darkroom, just like any other photo paper, and contrast can be controlled by preflashing (exposing the paper to light) a certain amount before developing. This post will present a method to develop and preflash direct positive paper without a darkroom.
The specific paper being used is Harman Direct Positive Paper, which I purchased from B&H. The official data sheet rates the paper between ISO 1 and 3. I will be rating it at ISO 3 for these tests, and shooting in my Crown Graphic.
Exposure tests
First, I want to nail the proper exposure. My first time with this paper, I shot it outdoors, and one sheet was completely white (overexposed) with no image, and the other had an image which was severely overexposed. There may have been some user error (not closing the shutter for the first one...) but the second I thought I had rated correctly. I decided to do these exposure tests indoors in a more controlled setting.
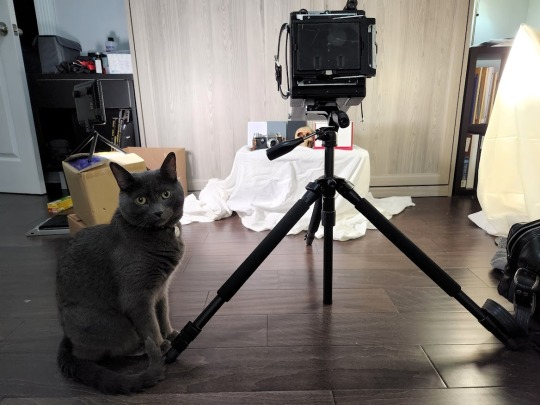
(Henry is helping. Thanks Henry.)
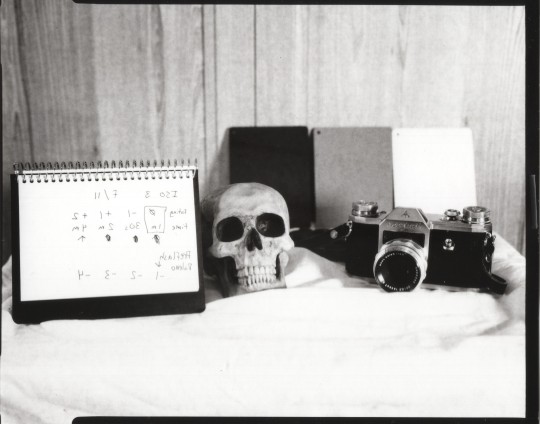
I arranged some objects, exposure notes, and a gray, white, and black card under some lights. I took a spot reading off the gray card with my Sekonic for ISO 3, and this gave me an exposure time of 1 minute at f/11. I took four shots of this scene: -1, 0, +1, and +2, changing the shutter speed for each (so, 30 seconds, 1 min, 2 min, and 4 min). I overexposed for two stops because the paper is also rated at ISO 1, so there might be more wiggle room in that direction. Here are the four resulting prints:

Print 1, at -1 stop, is very underexposed, and print 3, at +1 stop, is very overexposed. However, print 2, while having the best exposure, is still extremely high contrast, which is characteristic of the paper. It fails to reproduce a range of gray tones without preflashing--notice the gray card is nearly as dark as the black card in print 2. Though, print 2, and therefore ISO 3, will be our starting point for the preflashing tests. (Also notice that print 4 has a chemical stain--I’ll get to this when discussing processing.)
In-camera preflashing
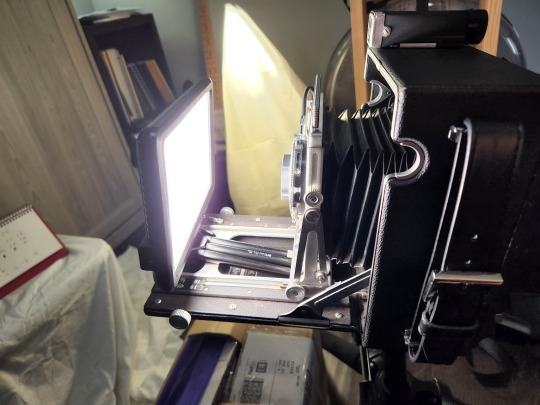
The data sheet links above gives one method for preflashing with a darkroom enlarger. Preflashing will soften the image and allow more gray tones to appear. However, as this method does not make use of a darkroom, I did in-camera preflashing. (Thanks to @ceegeedee for the suggestion!) There are a variety of methods out there already; for this one I will expose the print at my Raleno LED lightpad that I use for film scanning. I have it on a tiny point & shoot tripod, so I was able to position it on the camera rails like so:
However, as it is difficult to make a test strip, I will do four additional prints with differing degrees of preflashing. I read elsewhere that rating around -2 stops is good for preflashing, so my method here is as follows:
Take a picture of the scene at the proper exposure rating (here still ISO 3)
Take a spot reading of the light pad as configured above. Here, it metered for 1/60s at f/4.
Preflash (double expose the sheet) at a rating lower than this.
The four prints I shot next had the following exposure settings for the preflash stage. These are roughly -1, -2, -3, and -4, but not quite (as my lens is max f/4.7 and has the older shutter speed scale). The exposure settings for the four prints below are:
1/100s @ f/4.7 (roughly -1)
1/200s @ f/4.7
1/400s @ f/4.7
1/400s @ f/5.6 (roughly -4)
And here are the results:

Compare print 1 above with print 2 from the exposure tests. The gray card is now obviously a gray card, and there is much more shadow detail visible. (There was one change in the scene: I removed the clock, because it was casting a big shadow on the model camera and also because my cats knocked things over while I was processing.) Of these four, I think print 1 looks best, with maybe also print 2 looking decent (but still fairly high contrast). I didn’t do a preflash rated at 0, because I read it would be too bright, but now I am curious. Even this preflash rated at -1 from the light source makes a huge difference, and that’s what I’ll be trying in the field next time.
Processing
With preflashing able to be accomplished in-camera, the last step is processing. I used the same supplies to develop sheet film to develop these paper prints. I have a Stearman Press kit, which holds 4 sheets in flat holders. You may have luck with the sheet holders that fit into the round tanks, but there might be some potential issues. For one, the fiber paper gets very wavy and curly. This is what it looked like when I opened the tank after processing:
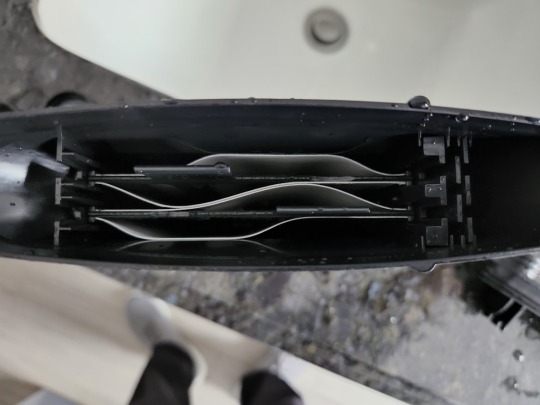
Normally, the sheets should be flat and not touching. Here they are not flat and touching. Oops. This is likely why the one print above had a chemical stain. However, the other 7 I processed this way turned out fine. I used Ilford Multigrade developer, and the one caveat is that you have to develop paper blind: you can’t look at the image as it appears as you would in a darkroom. I developed for 2 minutes with constant, gentle agitation. I think the development time worked and I didn’t notice any problems that I would attribute to this. The rest, stopping, fixing, washing, etc, work the same as in a darkroom; you’re just still using the tank. This method obviously requires both a changing bag and the equipment to develop sheet film, but that is still a lot less involved than using a full darkroom.
Potential issues
The exposure tests were done indoors with very long shutter speeds. There is the potential issue of how this paper handles reciprocity, and how the same changes in exposure settings will translate to much brighter scenes such as in sunlight. Also, if shooting outdoors, you do not necessarily need a light pad to preflash; any bright surface should do. It just needs to be consistently bright across the whole frame, so carrying a small diffuser of some sort might work just as well. Because you only get one chance at the image, the controlled methods here might not exactly translate to in the field, and you might end up with a ruined image. I hope to do similar tests of outdoor scenes soon.
14 notes
·
View notes
Text
4x5 contact print on Ilford postcard stock
3 notes
·
View notes
