fairyjunnies
until forever.
97 | she/her | multifandom and loves editing, black editor and sometimes gif maker. This blog will be inactive due to my shaky hands, be patience please.
56 posts
Don't wanna be here? Send us removal request.
Last Seen Blogs

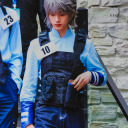
Photo


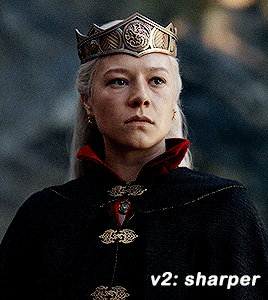
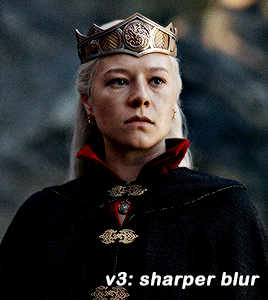
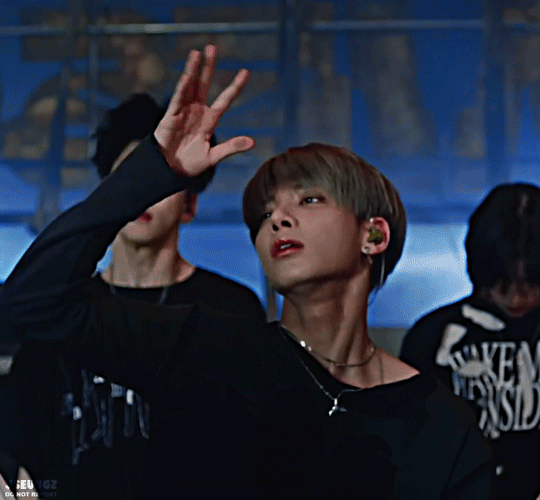
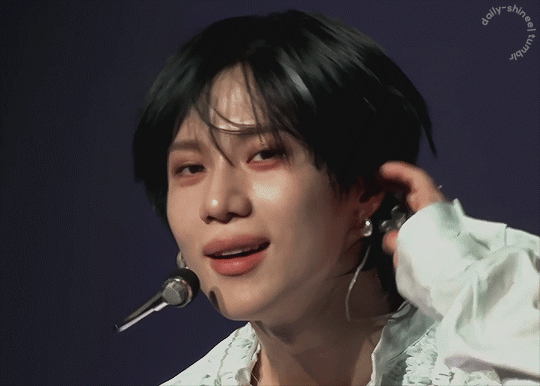
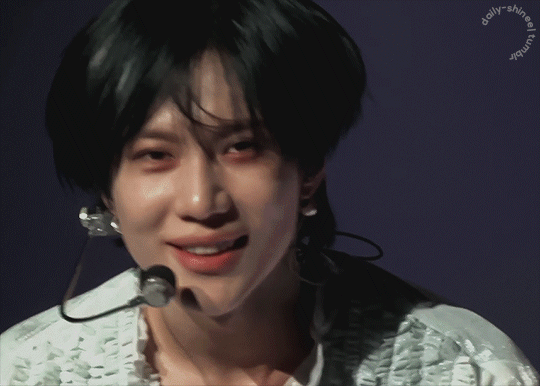
GIF SHARPENING ACTION 2.0 by @daenerys-stormborn
This is an updated version of my “all in one” gif action I made 5 years ago. It very similar but I added a new sharpening that I now use, v3: sharper blur.
Please read this for a more detailed breakdown of how these actions work.
v1: normal - smart sharpen (amount 500%, .3px)
v2: sharper - first smart sharpen (amount 500%, .3px) -> second smart sharpen (amount 10%, 10px)
v3: sharper blur - first smart sharpen (amount 500%, .3px) -> second smart sharpen (amount 20%, 10px) -> gaussian blur (radius 1px; opacity 52%) -> third smart sharpen (amount 500%, 0.2px) -> fourth smart object (amount 5%, 5 pixels) -> second gaussian blur (radius 1, opacity 10%)
**v2 looks better in 540 gifs than smaller gifs, its a bit over sharpened here for my taste**
Actions also included:
Load Files Fast - for people using PS CS6 or older, uses “Load Multiple DICOM Files” for faster screencap loading.
Brighten - duplicates the smart object then changes blending mode to screen and converts it back into one single smart object to brighten dark scenes.
Convert to Frame Timeline - converts smart object back into frames, sets frame delay, and changes canvas sizes to -2px (width & height) to take away transparent border around gifs (you can always delete this part if it doesn’t apply, please read detailed breakdown for more info).
Convert to Video Timeline - converts frames in frame timeline into a smart object in video timeline.
DL: action
These actions were inspired by hoechlin’s sharpening and trentcrimms’ sharpening.
697 notes
·
View notes
Text


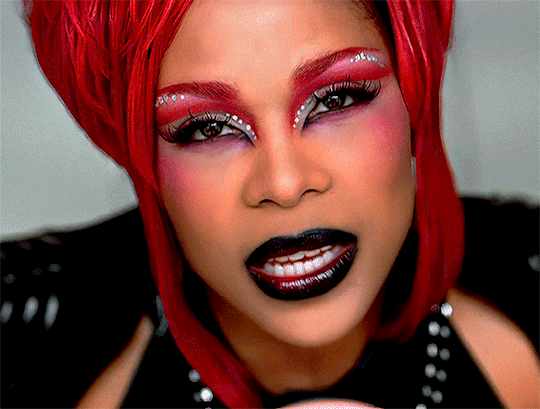
Left Eye for No Scrubs
#left eye#lisa lopes#tlc#dailywoc#black women#dailywomen#daily celebs#it took forever to gif this part why ehhrui
708 notes
·
View notes
Text

T-Boz for No Scrubs
440 notes
·
View notes
Text
22 notes
·
View notes
Text

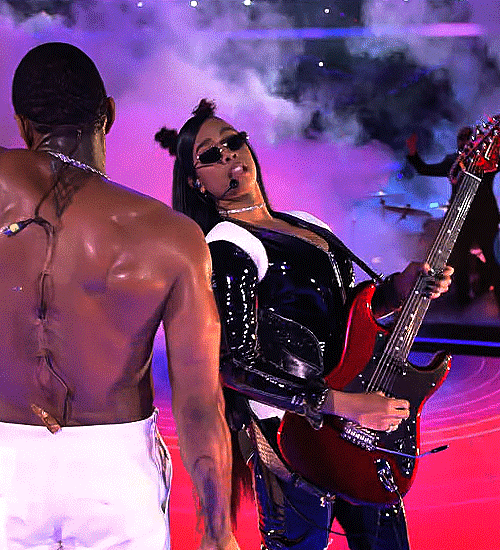
#usher#usher raymond#alicia keys#super bowl lviii#super bowl#tw: flashing lights#okay but me and whoooo!
35 notes
·
View notes
Text
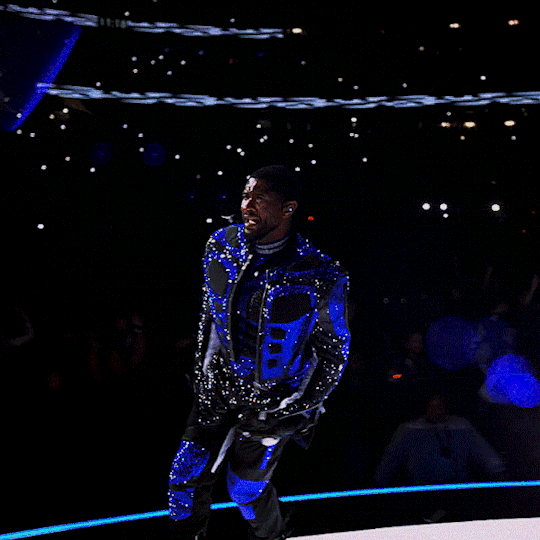
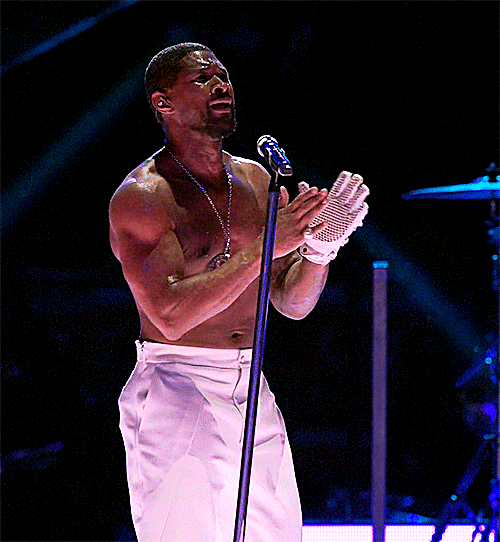
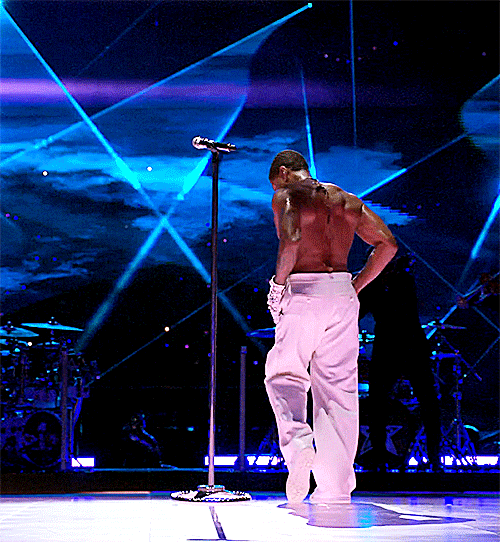
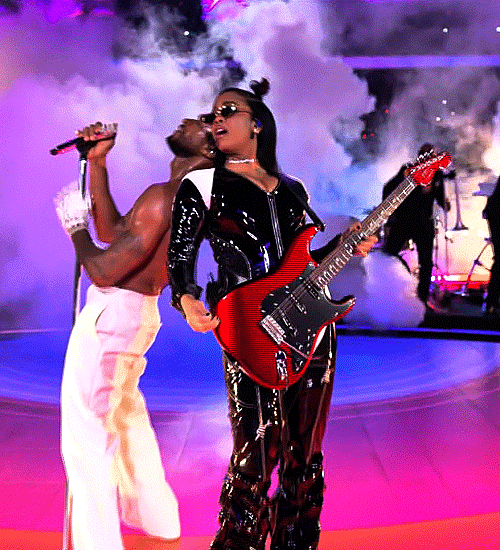
(240211) Usher performing at the Superbowl Halftime Show
44 notes
·
View notes
Text
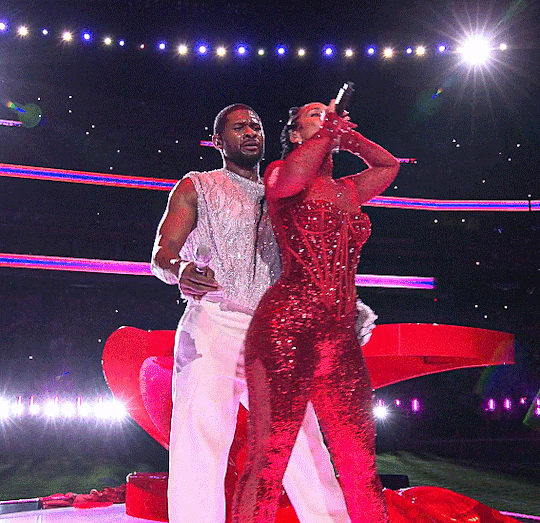
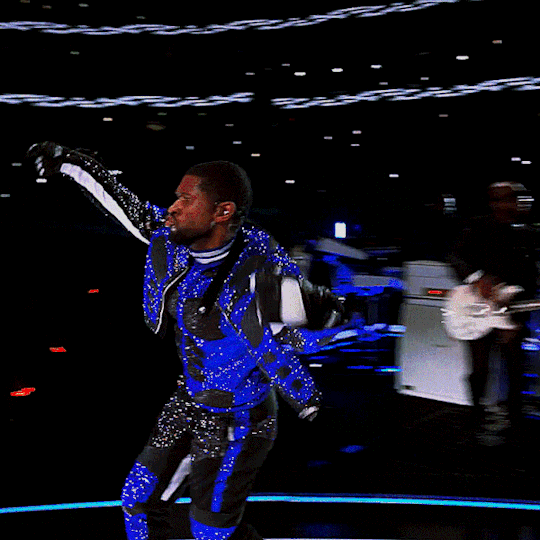
(240211) Usher And Alicia Keys at Superbowl Halftime Show
43 notes
·
View notes
Text
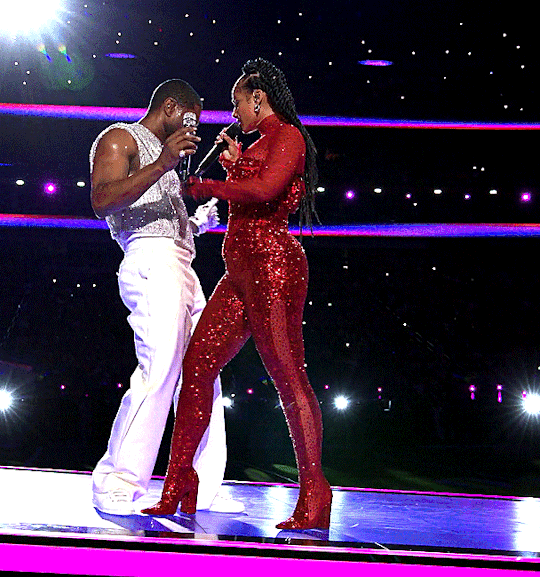
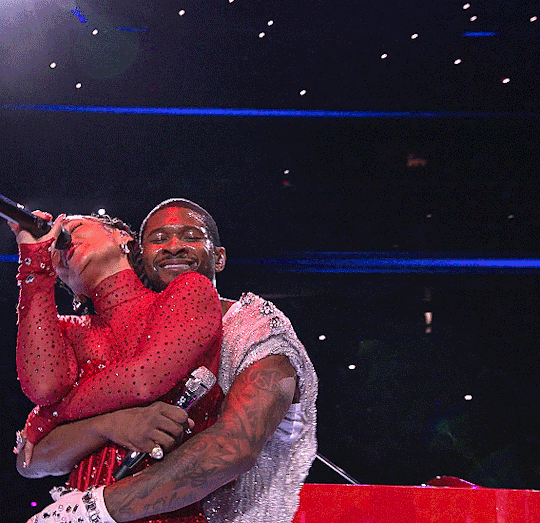
(240211) Usher and H.E.R. at Superbowl Halftime Show
25 notes
·
View notes
Text

CHERRIE SHARPEN ACTION by @loviestudio
This action was made in Photoshop CC, and it will work better on it!
CONTENT
1 Photoshop action file (ATN) with the sharpen effect.
TERMS
Before/after preview here!
Like and/or reblog to help a creator.
Don’t repost, re-upload or put it on packs and/or google drive. Don’t claim my resources as your own.
Don’t use my resources as a base or copy them.
Credits are not mandatory, although I’d love to see your edits!
My resources are free for personal/non-commercial use only. For commercial use, you must pay for the download. If you paid for the download, you are authorized to use it commercially. Reach out to me for more info or if you have questions about my resources license.
Follow me for more resources! ♡
This is a free resource, but you can buy it with points on DeviantArt to help out a creator or download it for free on Ko-Fi. Thank you!
56 notes
·
View notes


Text
I am still here
104 notes
·
View notes
Text
Lit Hub has published a list of 40 Books to Understand Palestine put together by "several dozen Palestinian and Palestinian-American authors, as well as a number of other writers whose work and advocacy has focused on Palestine". Please consider reading and supporting Palestinian literature <3
3K notes
·
View notes
Text


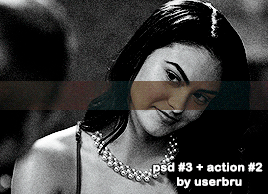

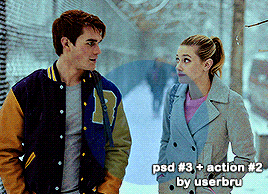
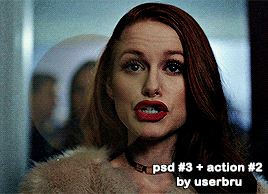

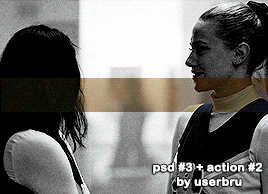

USERBRU'S PSD #3 + SHARPENING ACTION FOR GIFS #2
psd download | action download
psd file contains optional b&w group
you might need to adjust selective colors, brightness, color balance. layers to be adjusted are highlighted.
this coloring can also work for any other show/movie/video with minor adjustments.
action will do everything for you, all you have to do is crop & click play :)
how to install and use actions
buy me a coffee? | i accept commissions!
172 notes
·
View notes

Text
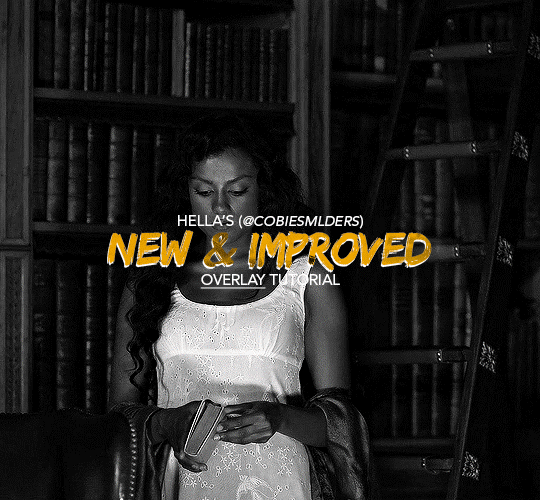
Hello!! A couple years ago I posted this tutorial for making gifs with a moving overlay effect. In the two and a half years since I made that tutorial, I've learned some new tricks for this gif effect but most importantly I've learned how to explain things better.
For that reason, I've created this new and improved tutorial for my overlay gif effect. The basics are the same but it's simpler, I go into more detail, give better explanations, and have more comprehensive instructions.
The easiest way to do this effect with this method is to use smart objects and work in timeline. For this tutorial, I’m assuming you know the basics of giffing like cropping, resizing, colouring, etc. If you need help with this I’d suggest you look at some other tutorials and guides!!
First, we’re going to start off with three things.
1. A completed gif converted into a smart object that is going to be the base gif. I'm going to call this "gif1". You’ll want this gif to be at least 3 seconds because it needs to last as long as the overlay plus a little bit of extra time in the beginning.
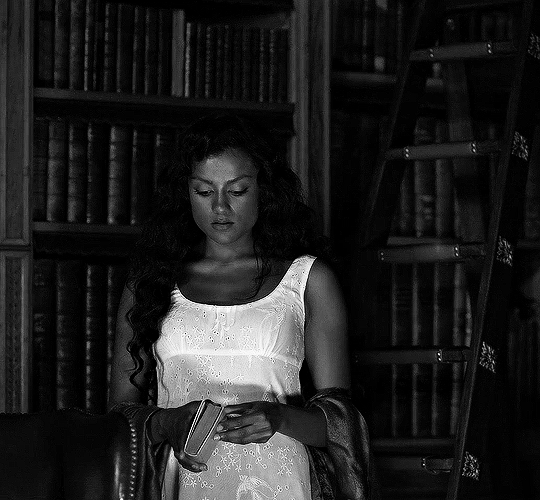
This is the base gif I’ll be using in the example (except I trimmed it so that I could meet the size limit).
2. A second completed gif converted into a smart object that is going to go over the base gif. We’re going to call this "gif2". This gif should be at least 2 seconds but I’ve made it work with shorter. Gif2 needs to be the same dimensions or bigger than gif1.
This is the gif I'll be using in the example (except I trimmed it so that I could meet the size limit).

3. An overlay in video form. These can be found on tumblr and youtube by search for overlay or transition packs. For this example, I'll be using an ink drop overlay I found on youtube.
Step 1: Turning the overlay video into an overlay gif
Most overlays aren’t going to instantly fit the gif effect you’re trying to achieve right away. This is the overlay I got from youtube and as you can see it’s too slow and needs a crop/resize to be usable.

To fix it, I sped the frame rate up, cropped the overlay, and resized the overlay so it fits over my base gif. I also sharpened the overlay (500% amount, 0.3px radius) so that the edges were smooth. This is the new overlay gif and the one I’ll be using for the gif effect.

A tip: I also like to add a brightness/contrast layer to get rid of the grey on the overlay gif. Because we’re working with blending modes to achieve this effect, any parts of the overlay that are grey will be a blended mix of gif1 and gif2. If you think this will look good for your gif effect then don't worry about it!
Another tip: try to get the entire overlay movement to fit into a 2-3 second window. Anything longer than that will likely be cut off when you have to trim your gif to meet the upload size limit and it would suck to only have half of the overlay.
Step 2: Creating the gif effect
Drag a copy of gif2 and a copy of the overlay gif onto the gif1 canvas. I like to use Ctrl+Shift+V so that the layers are pasted in the same position as they were on the previous canvas. MAKE SURE that both overlay layers are in the same position on the canvas. If one of the overlay layers is higher/lower/etc. than the other then the effect won't work properly.
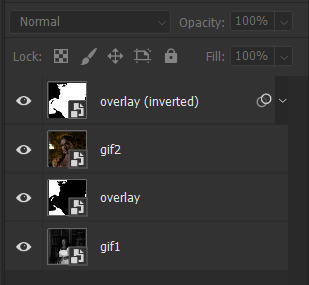
Then, make a second copy of the overlay and invert it (Ctrl+i). These are the layers you should have:

Before you go any further, trim gif2 and both overlay layers so they are all the same length.
Now, we need to rearrange the layers and set blending modes. The top layer should be whichever overlay goes from black to white. This is because when we change the blending modes, the white part of this layer will disappear and look like its being replaced by gif2. In this case, that is the overlay (inverted) layer. Then we want gif2, the other overlay layer, and then gif1.
A tip: this process can be done the other way where the top layer is the overlay that goes from white > black however, you are much more likely to have an error where there is a grey/black line around the overlay effect in your final gif. In order to avoid that, I always use the black > white layer on top.
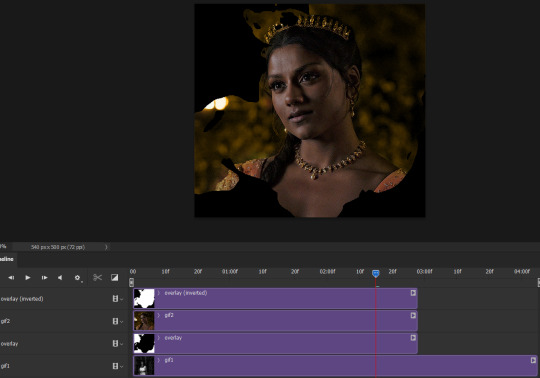
Next, set the top overlay layer to darken. You should only see the black part from the overlay and gif2 should fill in the white part. Here’s how that looks in my example.
Next, select the top overlay layer and gif2 and convert both layers into one smart object. Your layers tab should look like this now.

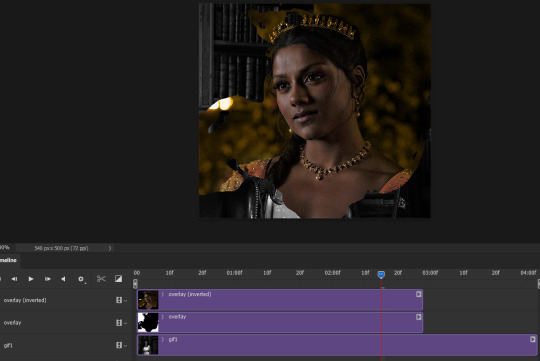
Now, set the new layer’s blending mode to lighten and the overlay layer’s blending mode to darken. Once you do this, you should be able to see gif1 as well as the overlay gif.
Step 3: Timeline and exporting
At the moment, gif1 is still significantly longer than the overlay gifs. Since this gif is just over 10 mb (which is pretty small for this effect) I’m going to trim about 1/4 of a second off the end of gif1 and then drag the overlay layers so they all end at the same time.

Now you’re free to export the gif! This is the finished effect for the example gif!

A tip: sometimes, when I convert to from timeline to frames, the gif becomes a little longer and slower. It has to do with different frame rates across the videos and photoshop but I'm not smart enough to understand it. If that happens, just set all the frames with the overlay layers to 0.04 speed instead of 0.05.
And we're finished! I hope that was helpful and made sense. If you have any questions feel free to drop them in my inbox or send me a message!! <3
1K notes
·
View notes
Text
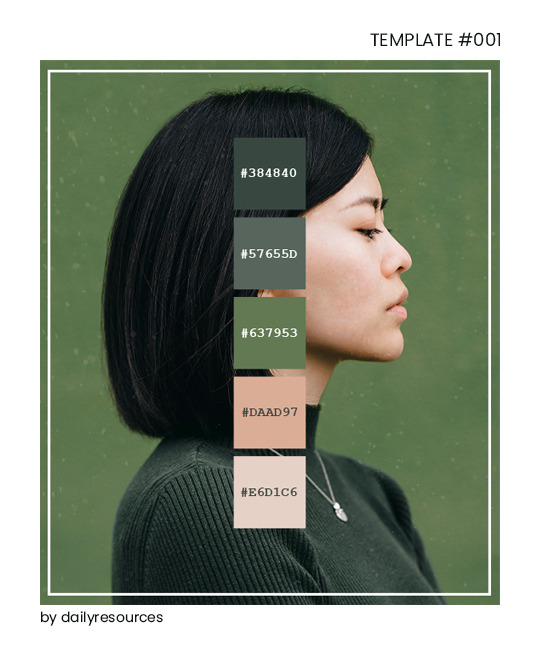
Template #001 by dailyresources
Please do not repost / redistribute or claim as your own.
Please, like or reblog if you download.
You may edit as much as you like, it is fully customizable.
This is a free template, for personal and non-commercial use only.
Credit is very much appreciated but not necessary.
Any issues, don’t hesitate to contact me!
Enjoy ❤
Download Link: [mediafire]
128 notes
·
View notes