
wonwooridul
to you
lee ☾ gifs ✷ gfx ☼ edits ☼ kbands tracking #wonranglee
21717 posts
Don't wanna be here? Send us removal request.
Last Seen Blogs


Note
Hello! I'm interested in learning how to make gifs but idrk what you need or how to get started... I think I need photoshop? + I don't have a desktop computer, is it ok to just use a laptop? Sorry, I'm super clueless, idk where to begin 😭 I hope you have an awesome day!!
Before we started with this unexpectedly long ass guide,
WELCOME TO THE WORLD OF GIF MAKING 👏🎉🎊 TAKE THIS CROWN 👑 I HOPE YOUR DAY IS SUPER AWESOME TOO
Disclaimer: this is the process of how I usually make gifsets, very general instruction. Every gif maker has their own preferred method, esp coloring [!!!], and tools. You just keep doing trial & error and mix & matching various methods from different gifmakers until you find your own preference.
For more detailed tutorial from beginner to advance gif making tricks, you can always rely on @usergif and @studiocarat. I also add some links for more detailed tutorial in each step.
Beginning with, your question. "Is it ok to just use a laptop?" surprise, im typing this on my old ass laptop, struggling from the weight of premiere pro, illustrator, photoshop, figma, and gigabytes of videos and project files. the bios function is screwed and it wont last for 15min without the adapter being plugged in. so, yes. you still can absolutely slay without PC 👍
p.s. the last paragraph down there is pretty important
Step 1: Downloading video
The most popular tool for downloading HD videos from Youtube is 4kdownloader.
Pros: it's free, easy to download, user-friendly interface, and provides until 1080p quality
Cons: 4k videos aren't supported with the free subscription
Alternatively, I use yt-dlp because I
Pros: all resolutions and formats are supported, multiple platforms like Twitter are supported
Cons: it's a command-line downloader aka you need syntax to operate it, not user-friendly for average users
For music shows, I download the stage from kpop24hrs.com. This is a different case since you have to register to get an access to their directory. They provide .ts files which is different from usual Youtube format.
Further reading on .ts files and resources for other tools: [x]
Step 2: Pre-giffing Resizing & Denoising
Before I process my gifs in ps (or other software/website), I use VapourSynth to resize the gif and denoise them to create "smoother" gif base. Here's Lee's (((extremely))) comprehensive guide on VS installation and its setting fuckarounds + basic giffing.
This is my basic script for vs. You can attempt different values for sizing, denoising, and sharpening on the left red rectangle.
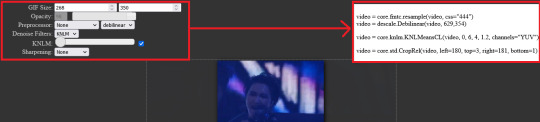
For the gif size, I usually fix the width at 540px for larger, more dramatic gifs. For 2-row gifset, I usually use 268px or 350px. The denoising value is standard and I don't sharpen from vs. Just from ps.
You can also trim the gif length (usually represented with frames) on vs. I always try to limit the # of frames to 20-40. Maximum at 70, very rarely 100. Cus the greater the number of the frames, the louder my laptop's scream and cry 👍
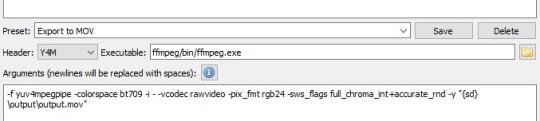
I export the script to MOV. Keep the setting like this and start the encoding process. Don't forget to change the file name in the "output" folder because VS will save the new mov file with the same name and it will overwrite the previous export.
Step 3: Making your gifs
You can choose your gif making software depending on your laptop's condition (RAM, overall health, age, OS, etc.). The software I use is Photoshop CC 2021. It's free btw because adobe is absolutely not a capitalist 😄👍 However, the entire adobe pack is a huge load and so does Ps. Alternatively, you can use Photopea. Here's a tutorial for making gifs on Photopea [x]
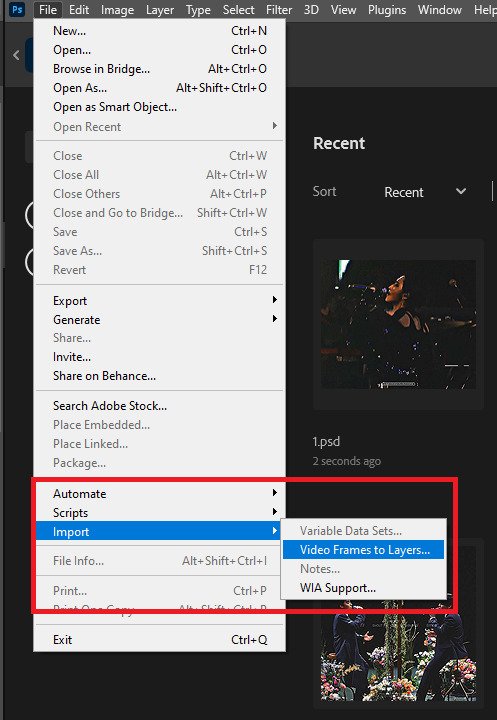
3.1 Importing Video Frames
First, you have import the mov file to Ps by navigating to File -> Import -> Video Frames to Layers
Then, you set the length of the gif. But since we've trimmed it on vs (if you decide to use vs), you can just continue.

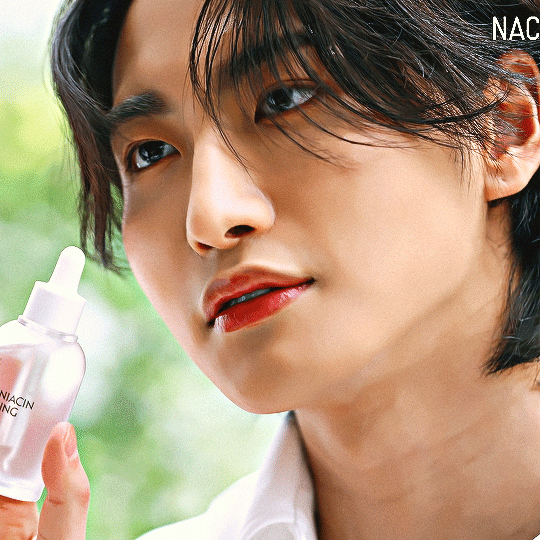
You'll end up with this layout after successfully importing the video frames. This hwa gif is 540x540px.
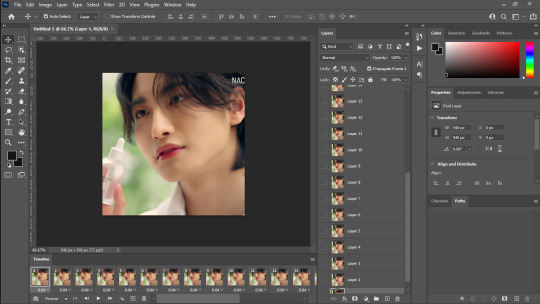
3.2 Creating Timeline
Actually I made a .atn (action) file for making timeline to save my time. However, I'll let you learn the step-by-step first.
First, click the burger button and click Select All Frames

Then, click the frame delay (as shown) and click Other...
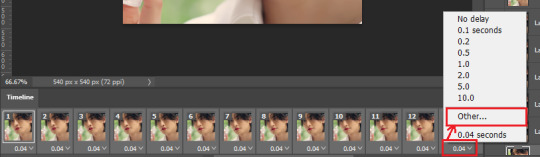
Set the delay to whatever you amount you wish. My go-to setting is 0.05 that's similar to "normal" irl speed.

While still selecting all the frames, click the burger button again and choose Reverse Frames. Your video timeline is by default reversed (end -> start) when you import it, so you have to re-reversed. After that, check if your gif has been correctly reordered.

Now, some gif makers do the coloring before turning the gif to video timeline. However, I do the opposite akjdalsd, just because. So, we'll turn the frame to video timeline by clicking the Convert to video timeline button

3.3 Converting for Smart Filters
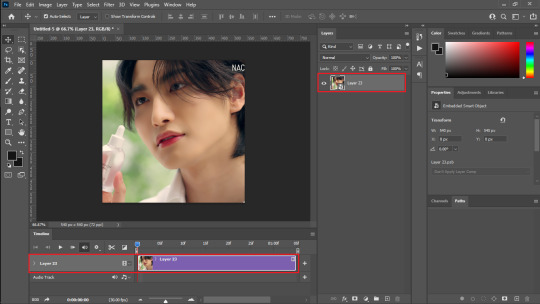
Because we're going to touch up the gif, we'll convert it for Smart Filters. After changing to Video Timeline, you'll see your layout as shown below. You want to select all the video layers by pressing Ctrl + Alt + A

Navigate to Filter and choose Convert to Smart Filters

And bam! Now those layers are compiled and you can do the coloring for the entire set of layers.
Here's the link to the timeline .atn files (+ the tutorial too!) by spinebuster.
3.4 Sharpening
Now, the main part. This is the part where you can, freestyle. Also, some cases where different size affects the sharpening result. I suggest you refer to usergif's tutorial.
Personally, I like slight noises (the little critters) on my gif to enhance the sharper and crispier illusion. The sharpening steps are flexible, meaning every gif maker can have their own preference. So, just play around those settings and you'll be fine!
Some sharpening tutorials that I adapt from:
⁕ booskwan (theo's) + coloring!
⁕ userdramas
⁕ wonwooriduls
Sharpening action (.atn files) you can use:
⁕ brainwasheds (zaynab's)
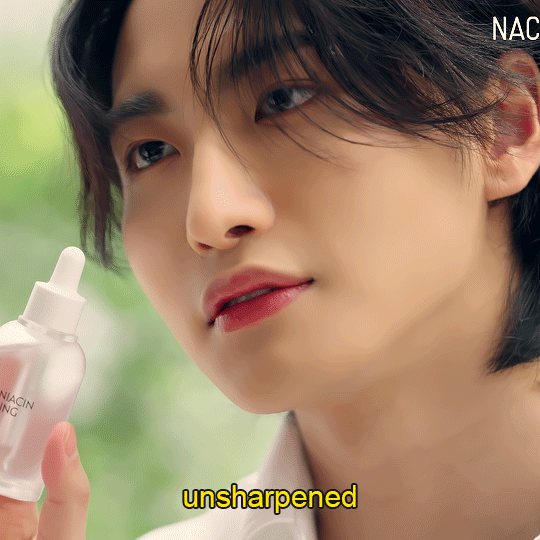
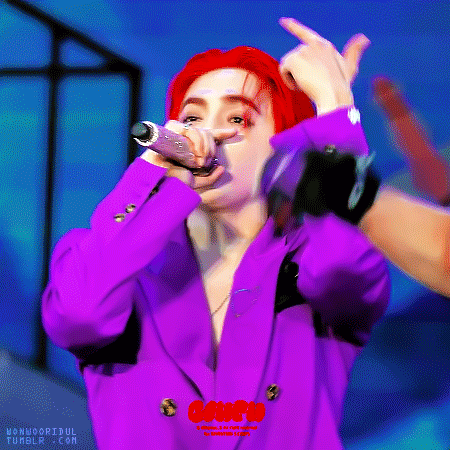
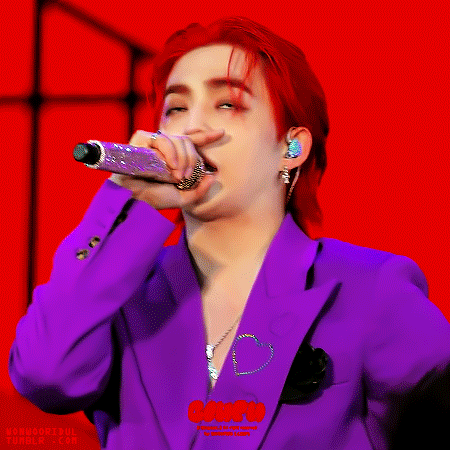
These are examples of unsharpened and sharpened gifs:

3.5 Coloring
The next big step is coloring. I don't have a go-to coloring steps but usually my main goals are 1) returning the human skin color, 2) making the lips red/vibrant. Coloring will also depend on the type of clip that you gif e.g variety show vs music stage vs movies/series. Usually, i found them requiring different methods. Music stage usually requires more blue correction (from the stage lights).
Some basic adjustments that you can use are: curve, level, exposure, selective color, hue/saturation, color balance, channel mixer, photo filter, color lookups, and gradients (especially for skin color).
I'll provide you some tutorials from different absolutely amazing users' coloring techniques. One way to find out your coloring style is to try to spot/list these gif makers' "unique" method from their outputs and put them into application until you find yours.
⁕ bejeweleds (very comprehensive and complete guide)
⁕ wonwooriduls (simple coloring guide)
⁕ snug-gyu
⁕ booskwan
⁕ jeonghan-yoons
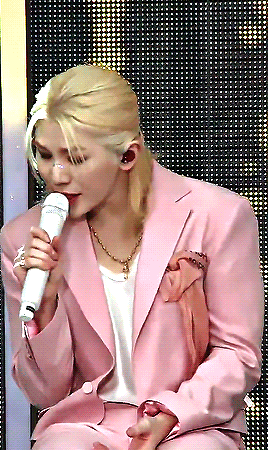
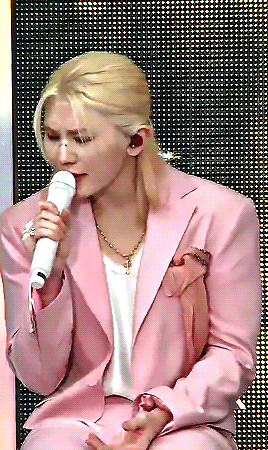
This is an example of my own coloring. i usually give an even warmer skin tone but as i was giffing, i was trying new method to compare. Always learn, always improve 👍 (see the lip color and you will understand what I mean by "making it red")

3.6 Exporting
Last step, is exporting. This part can be quite tricky too but I don't recommend thinking too much about it asjdjf. To export your gif, you can go to File -> Export -> Save for Web (Legacy) or simply press Ctrl + Shift + Alt + S altogether. This is my setting for export:
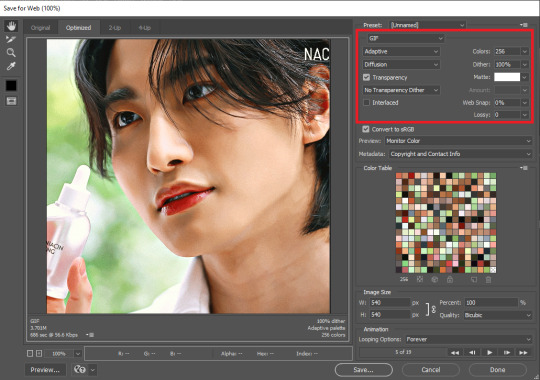
You can play around with the dither setting, changing from diffusion to pattern to noise. It's basically the way the many colors on your gif are gonna be "weaved" together. Having too many colors in a gif can result in "jaggy", lq looking gif so be mindful with the dithering choice.
Unfortunately, I didn't find a separate tutorial focusing on gif exporting. Afaik, the more gradient of color in your gif, you better use "diffusion" for a smoother blending. "Pattern" dithering is better on, for instance, anime that has less gradient.
And while we're at it, I must tell you that making gifs is a time consuming hobby. Look at these much learning and constant improvement that you might "crave for" amidst your endeavor. Sometimes, just doing it for the sake of our little recreation might not work as a boost. Sometimes, we still need reblogs and people's feedbacks on the tags as our little "snickers" to keep going on but they're also pretty expensive nowadays.
So, have fun, keep this as a little recreation. If this process begins to feel exhausting, I suggest you to pause it and take a rest. You can continue again at any other time :)
41 notes
·
View notes


Note
Hello, i've read your gif tutorial using vps following the tutor yet keep getting error like this
Failed to initialize script.
Failed to evaluate the script:
Python exception: name 'video' is not defined
Traceback (most recent call last):
File "src\cython\vapoursynth.pyx", line 1927, in
vapoursynth.vpy_evaluateScript
File "src\cython\vapoursynth.pyx", line 1928, in
vapoursynth.vpy_evaluateScript
File "C:/Users/caitl/Pictures/bbh.vpy",
At the start my script just showed
Import vapoursynth as vs
Only
I saw many tutor it showed
import vapoursynth as vs
import havsfunc as haf
import mvsfunc as mvs
import descale as descale
import muvsfunc as muvs
import resamplehq as rhq
import CSMOD as cs
import Dither as dither
Can you help explain what's wrong and how to fix it, i would highly appreciate. Thank you!💙
hello!! id certainly love to help <3 VS can be a pain in the ass when starting ! So glad that you referred to my tutorial 😘
do you mind sending me a picture of the vs script that opens after you drop the video 😅 i’m not so good with coding but with picture i can compare mine and yours and let you know what’s wrong !!
0 notes

Text


There's a saying that goes, 'If you want to go fast, go alone. If you want to go far, go together.' As long as I am with my members, nothing scares me.
HAPPY BIRTHDAY KIM MINGYU
06. April 1997
893 notes
·
View notes
Text

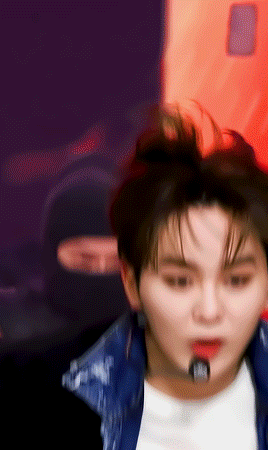
people died.
#seventeen#kpopccc#svt#svtcreations#*gifs#malegroupsnet#coups#scoups#s.coups#choi seungcheol#seungcheol#300
346 notes
·
View notes


Text


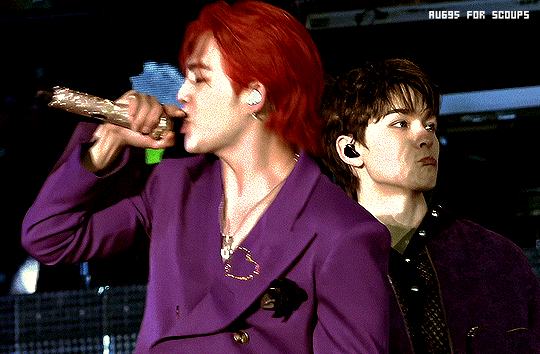
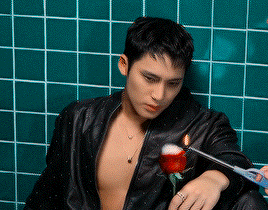
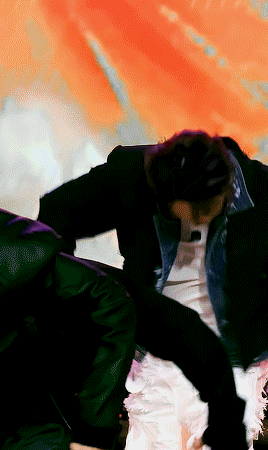
S.COUPS
Monster @ Follow to Incheon (240340)
© AUG95
939 notes
·
View notes
Text


favourite seungkwans — [3/?]
a company dinner for everywon
255 notes
·
View notes
Text
@seonghwacore then we jop guys
does anybody know what happens if im jumping and popping at the same time
15K notes
·
View notes


Text
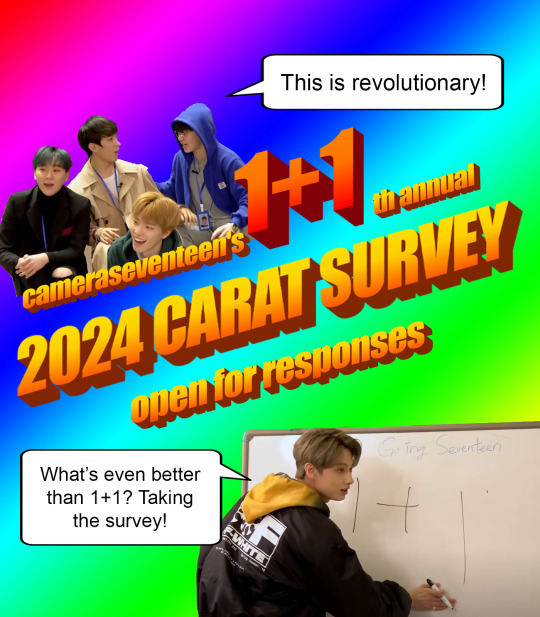
1+1 = The 11th Annual Carat Survey is now open!
Another year means another opportunity to slander Boom Boom ;) I hope everyone will be pleased that I heard your protests and finally separated the Japanese title tracks!
Responses will be collected for about a month, and as always, results will be posted here and on my Twitter. Check out past infographics here!
I’m looking forward to seeing the results! Please feel free to spread the link to the survey to other platforms to reach as many Carats as possible ^^
CLICK TO TAKE THE 2024 CARAT SURVEY!
276 notes
·
View notes
Text
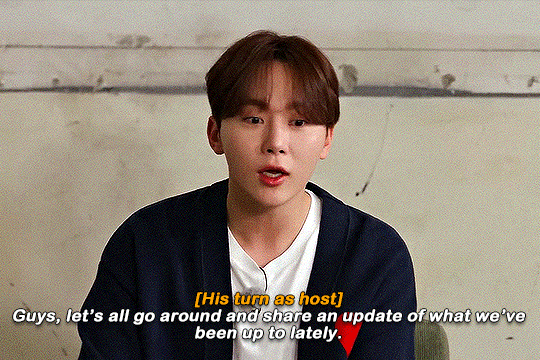

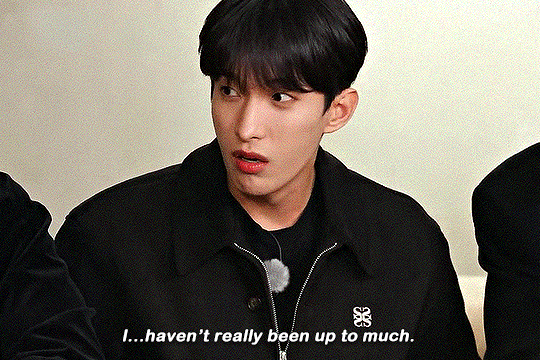

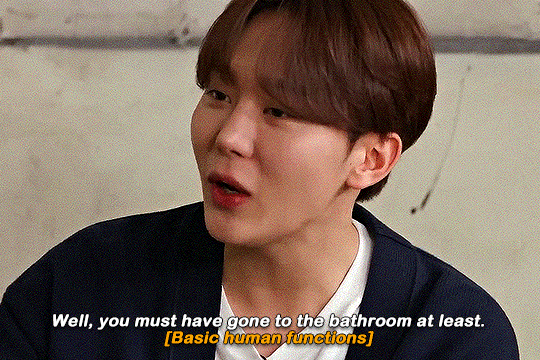


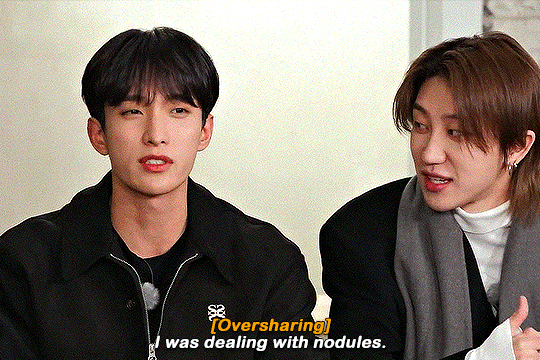


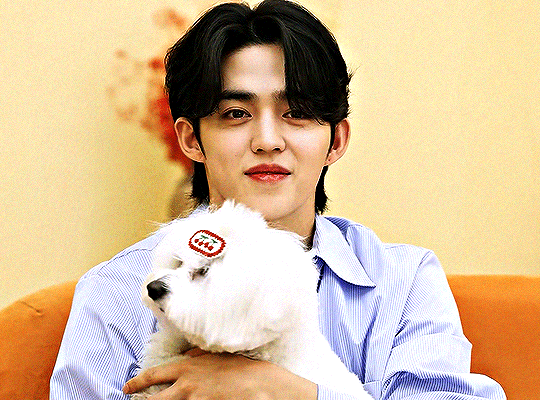
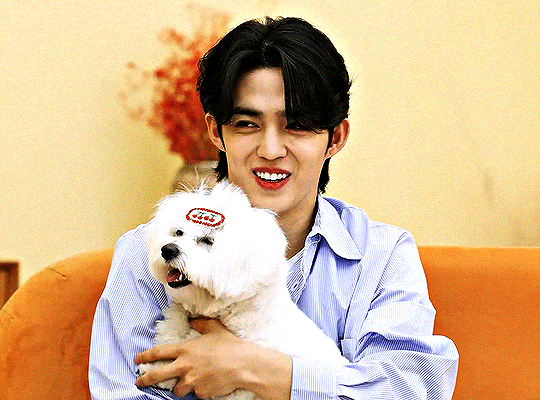
GOING SEVENTEEN SPECIAL
기타 등등 : 바니바니 바니바니 근황근황 / ETC : Bunny Bunny Update Update (2024)
315 notes
·
View notes