#they are 90x90
Text


37 notes
·
View notes
Text
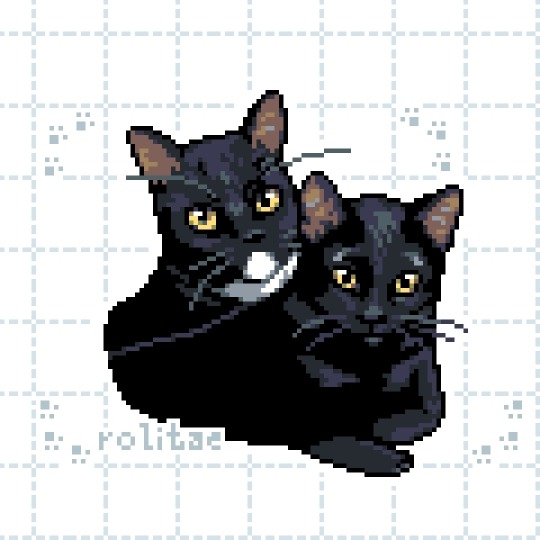
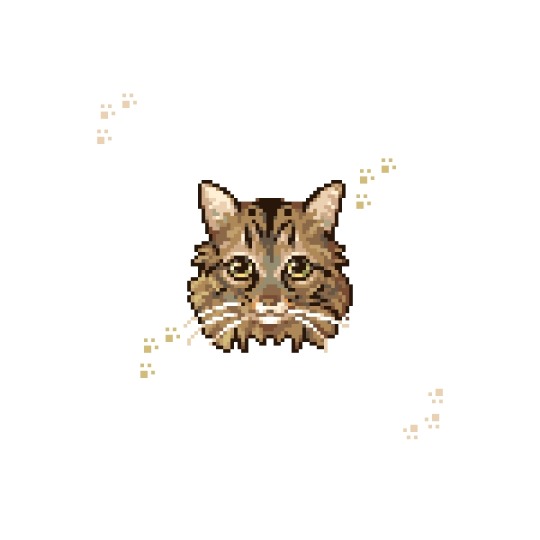
🐈more cats!
54 notes
·
View notes
Text
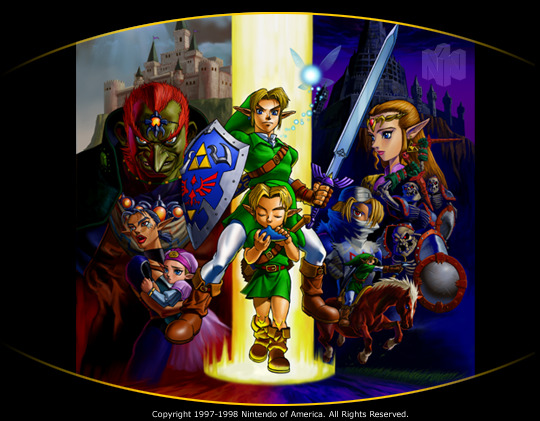


Wallpapers and wallpaper tiles offered in the Treasure Chest section of zelda64.com from around July 12th, 1999 to December 4th, 2000 (link). These are two wallpapers in a 540x421 resolution, a wallpaper tile in a 90x90 resolution, and another wallpaper tile in a 77x77 resolution.
#zelda franchise#zelda ocarina of time#link#young link#zelda#ganandorf#impa#sheik#epona#wallpapers#wallpaper tiles#540x421#90x90#77x77
3 notes
·
View notes
Text
can i offer yall a friend

16 notes
·
View notes
Text
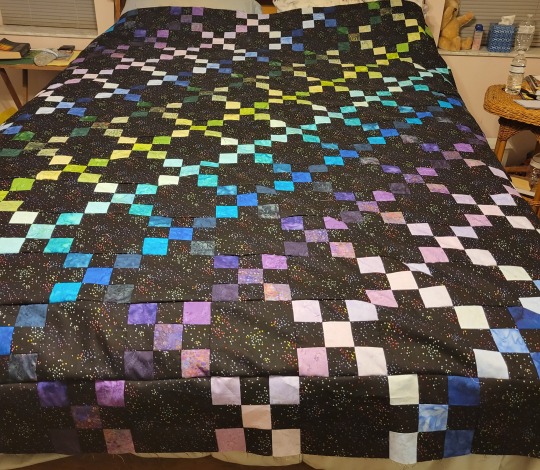
#San sews#Quilting#Sewing#Irish chain quilt#Black quilt#Gradient quilt#Quilt#Quilt top#Still deciding if this one wants/needs borders#Right now it's 90x90 inches and that feels short on the length#But the fabric I thought to use for a border doesn't really work#Project: dark Irish chain
19 notes
·
View notes
Text
— 🎧 !! 𝑐𝑜𝑟𝑏𝑖𝑛 𝑏𝑙𝑒𝑢 𝑔𝑖𝑓 𝑖𝑐𝑜𝑛𝑠 (90x90)


0 notes
Text
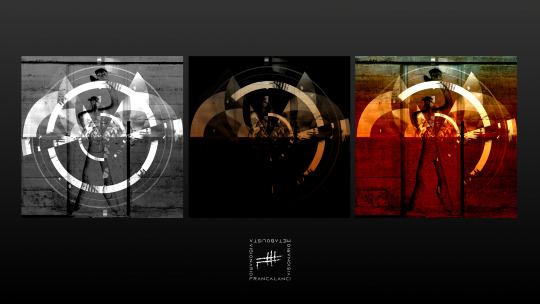
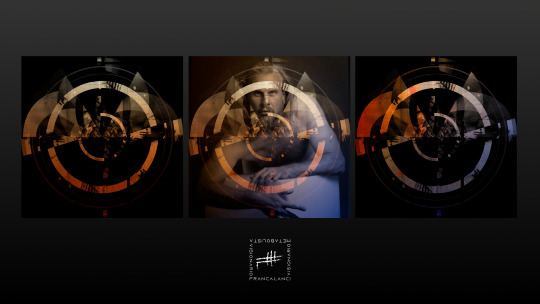
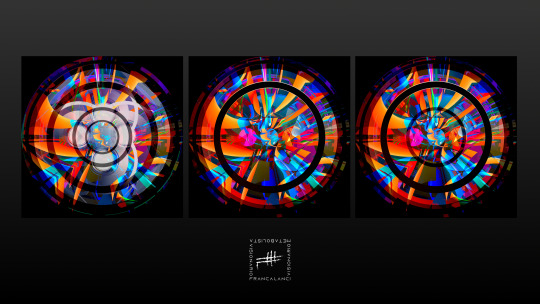
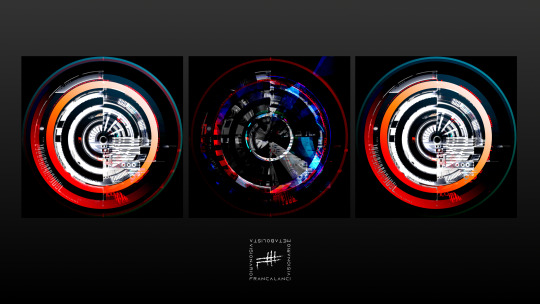
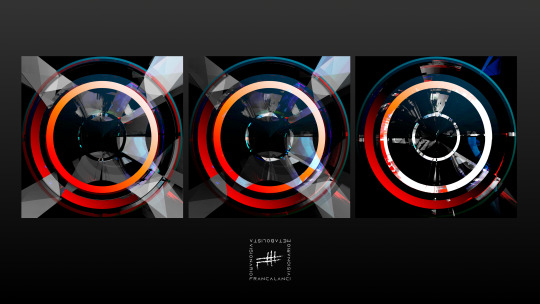
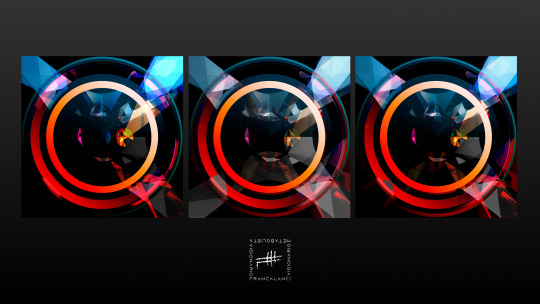
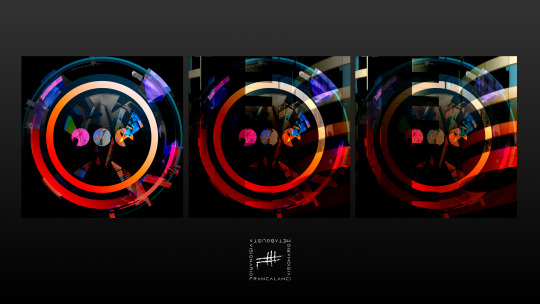
FRANCALANCI
Le immagini presentano trittici di VISIONI METABOLISTE.
Ogni singola immagine nella realtà è realizzata in stampa cromogenica su Fujiflex Cristal Archive in formato 120x120, 90x90, 30x30 cm ed in stampa Fine Art su Carta di gelso Awagami.
www.massimofrancalanci.it
#FRANCALANCI#Le immagini presentano trittici di VISIONI METABOLISTE.#Ogni singola immagine nella realtà è realizzata in stampa cromogenica su Fujiflex Cristal Archive in formato 120x120#90x90#30x30 cm ed in stampa Fine Art su Carta di gelso Awagami.#www.massimofrancalanci.it#f r a n c a l a n c i#metabolista#disegno#visionaria#scultura#design#arte#francalanci#artecontemporanea#https://www.massimofrancalanci.it
0 notes
Text
Ô8lᑫ·ÔԿÔᣮ·Կ2ԿÔ (WA) Souvenir Wedding Payung Harga Payung Souvenir Murah
Payung souvenir banjarnegarasouvenir payung bandung. Harga souvenir payung jogja souvenir pernikahan payung murah surabayapayung souvenir mojokerto. Payung souvenir xxl harga payung murah untuk souvenir payung souvenir 90x90 payung souvenir cirebon harga pembuatan payung souvenir souvenir pernikahan payung jakartapayung souvenir palembang. Souvenir payung lipat harga souvenir payung di sidoarjo harga souvenir payung di surabayapayung souvenir in english. Jual souvenir payung sablon souvenir payung harga souvenir payung di semarang souvenir payung anak murah.
0 notes
Text


#You KNEW I was gonna redo these icons#I'm gonna head to sleep and then start working on iconing Revali-#These will be resized as well to 90x90 so they're not bulging out
1 note
·
View note
Text
The Anniversary Quilt
Part 1: planning
My parents' 50th anniversary is in mid March and I promised them a quilt. Well, I promised myom. My dad just shrugged and went along with her.
The design
I gave them the choice of double wedding ring (circles on the left) or some sort of lone star (right).

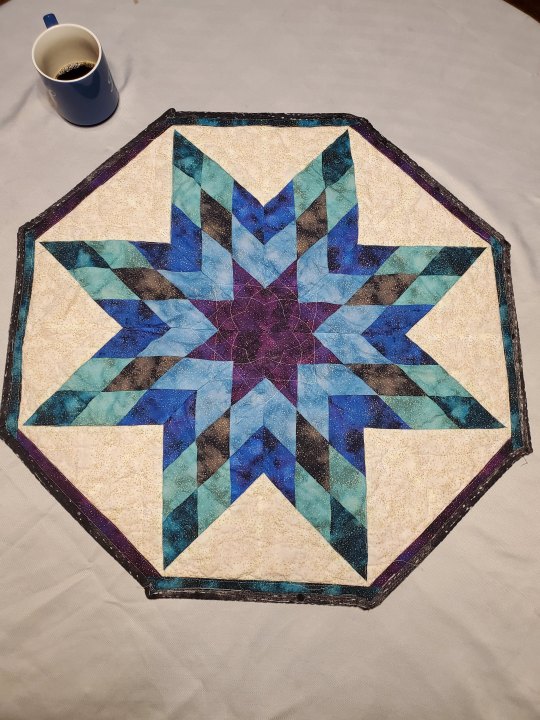
I made these a couple years ago as proofs of concept.
Anyway, she chose lone star. That's actually the easier of the two since it's all straight lines.
Now, there's a ton of variations. I eventually narrowed it down to this one...ish. I bought the pattern on Etsy just to see what math and measurements they used.

This one finishes to 90x90. I need 108 but I'd love 120. They use 5 rows of 2 inch diamonds and 10 inch squares. I wanted to increase that to 3 rows of 4 inch diamonds and 12 inch squares. And before I use up the final fabric I actually made a mockup (shocking for me and quilting)
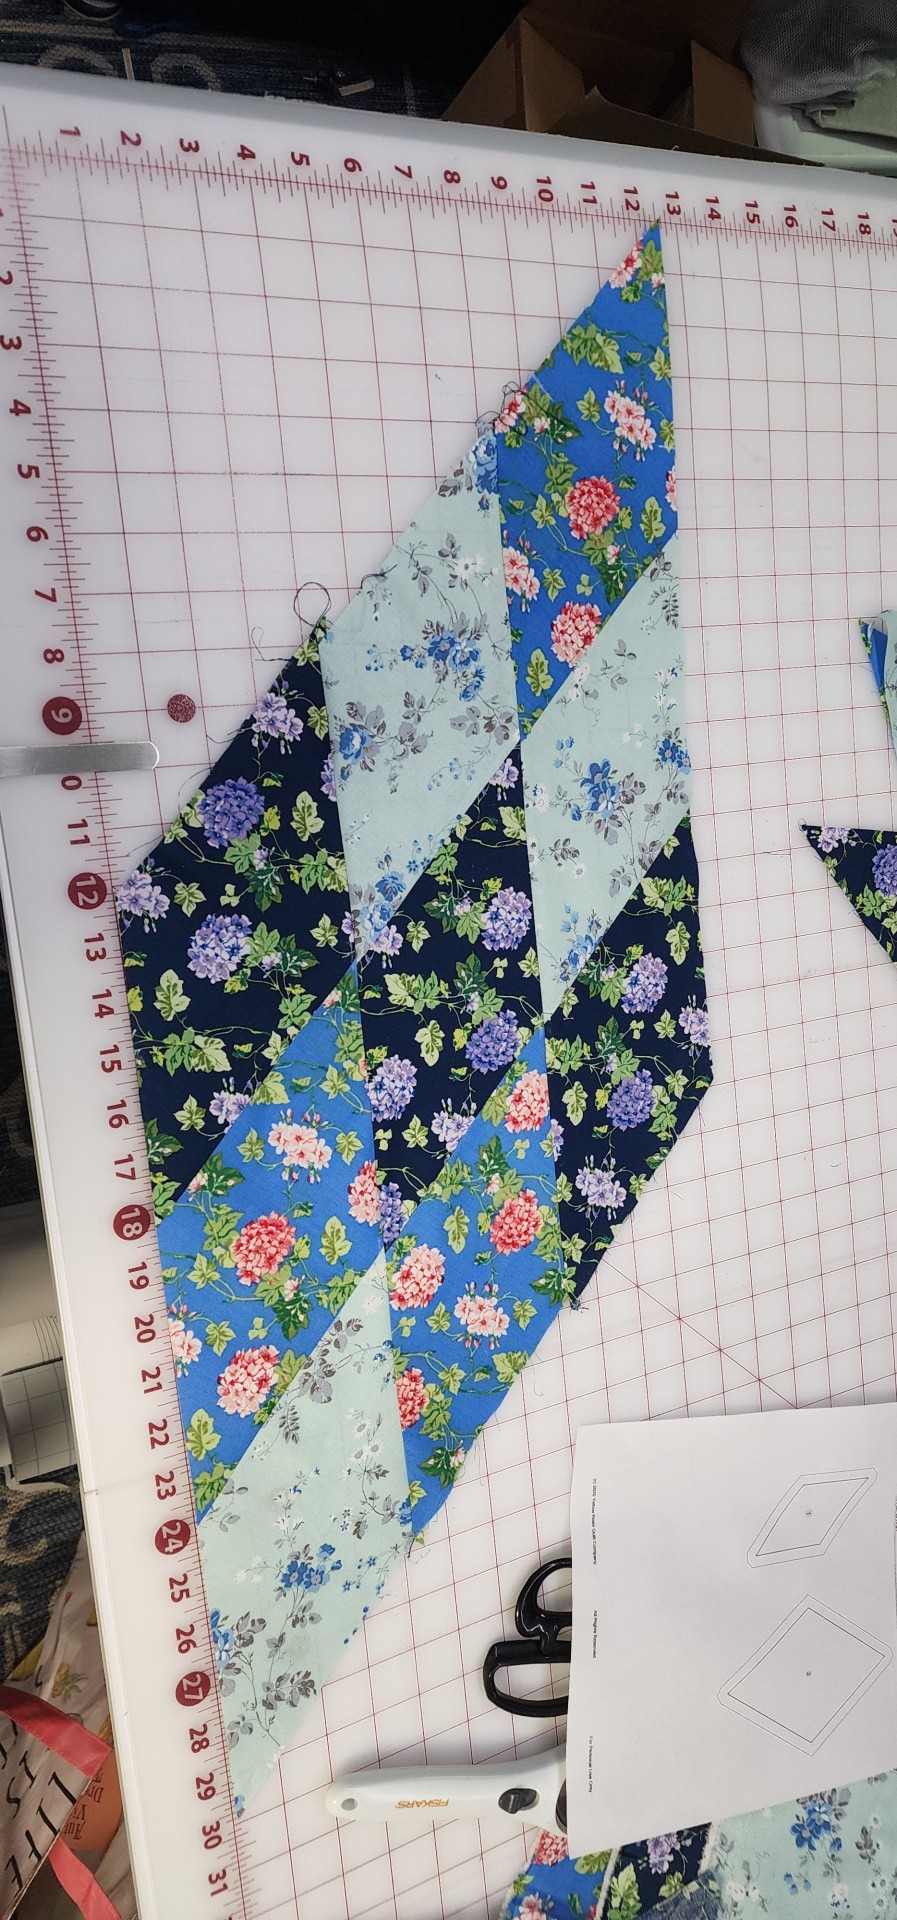
Good thing I did! Apparently the 2 inches was the side measurement not the height so my diamond turned out to be 18 inches instead of 12.

Okay let's see what we did wrong...
I went back to the pattern and it turns out the 2 inches was on the edge, not the height of the diamond, the height's more like 1 1/4.

Okay. Let's measure and recalculate.

Oh wait, this actually works for the size I need! Woohoo!
Although...it's cutting it close with the fabric I have.

Get it? Cutting it close? ...fabric? Oh that was funny
Anywho
Now to decide on how to arrange the fabrics

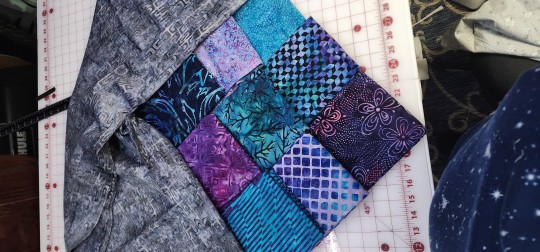
The bottom one is the leading contender at the moment. Of course, adding additional prints is always an option (and an attractive one).
Next time: cutting and strip assembly.
308 notes
·
View notes
Text


#pixel scene avatar#pixel background avatar#dollz#sayclub#cyworld#archives#webcore#gifcities#flashing#eyestrain#90x90
82 notes
·
View notes
Text


# theme 0112 ㅤ *ㅤ all american bitch.
— ㅤㅤfeatures.
personal / single muse theme.
different font sizes and options.
visible source link.
best viewed on chrome.
lights on.
— ㅤㅤdimensions.
sidebar ( solid ): 290x320.
side png: 290x320.
icons: 40x40, each.
navigation: 280x170.
muses: 50x50, each.
oc profile: 100x110.
outfit: 200x315.
small accessories: 90x90, each.
shoes: 190x120.
— ㅤㅤterms of use.
please don’t remove the credit. this is not a base code. do not take parts of the code without my permission. do not buy / use if i have you blocked. do not repost. do not use as inspiration.
#rp theme#indie theme#tumblr theme#rph#rpc#coding cabin#theme hunter#paid theme#contained theme#premium theme#* ( patreon ) themes.#queue: not here / will be back soon!
213 notes
·
View notes
Text
Make A Quick and Cheap Circle Cloak
PART 1: JUST THE CLOAK
Step 1. Invite some friends to their first ever event. Make sure it's a cold weather event so that you have to make them cloaks. Then have your Scadian friends ask if you can make them one, as well, because they can't seem to find theirs or found that it wasn't warm enough last year. You have now agreed to make four cloaks.
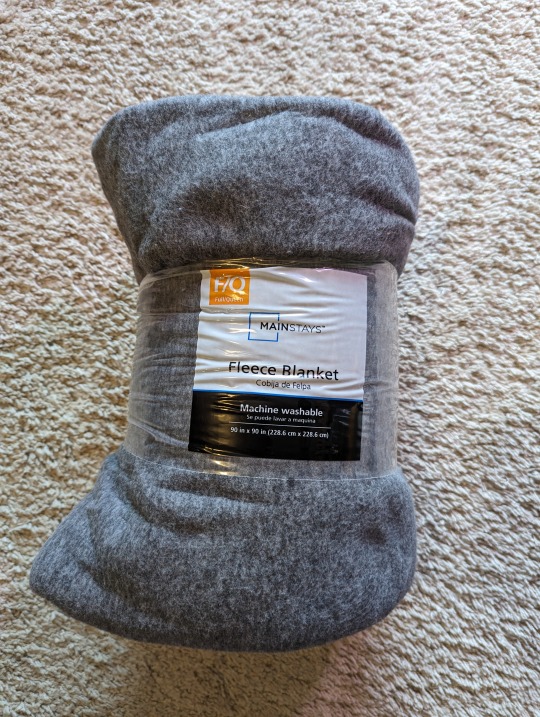
Step 2. Go to Walmart. Get one (or four) of the $10 fleece blankets in Full/Queen size. If you want a shorter cloak (about waist length) Twin works. But these are all tall mfer's, so I went with the bigger blanket. These blanket don't fray, so there's no need to hem. The edges WILL roll, though, so if you want them to stay flat you'll need to blanket stitch or serge the edges. Or just leave it be, because this is a quick and cheap cloak.
Please note: these ARE polyester so be careful around open flames.
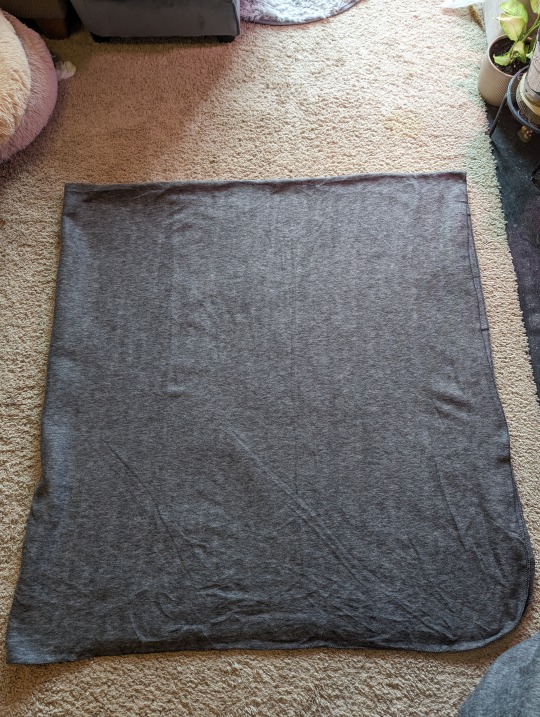
Step 3. Move everything out of the way in your living room, because you don't have any other space big enough to spread this thing out to mark it for cutting. You will probably upset the dogs, but they'll get over it because they're old and still have the couch to sleep on.
Step 4. Fold your blanket in quarters. This means you fold it in half one way, then in half the other way. The material is a bit stretchy, but do your best to make sure that you have your edges matching. Do better than me.
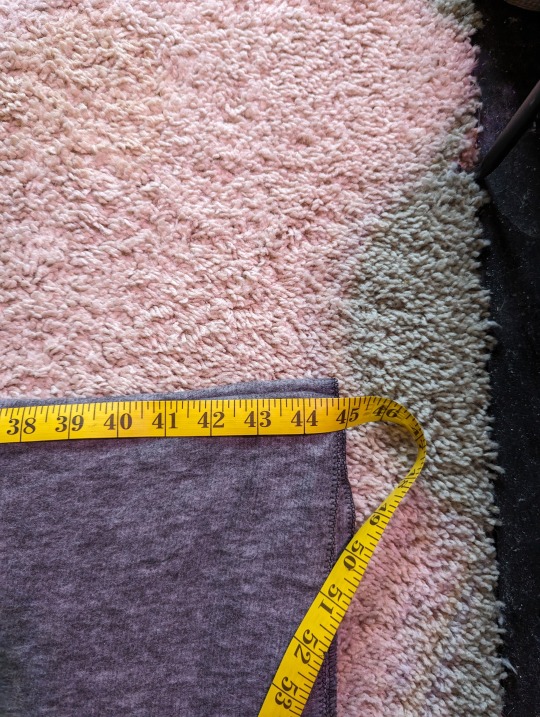
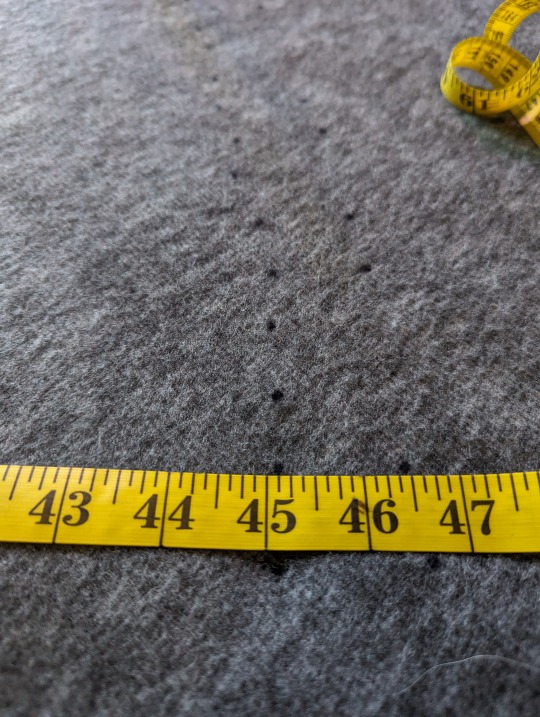
Step 5. Find your scissors and grab either a measuring tape or a long enough piece of string, and a sharpie. Tailors chalk won't mark on this stuff so I usually just use a sharpie instead.
Step 6. Measure the shortest length of the blanket. We already know that it says it is 90x90, but that is a lie. It's actually 90x94 or something like that. Anyway. Measure the shortest length to determine the widest you can make your circle. In this case, we're at 45.
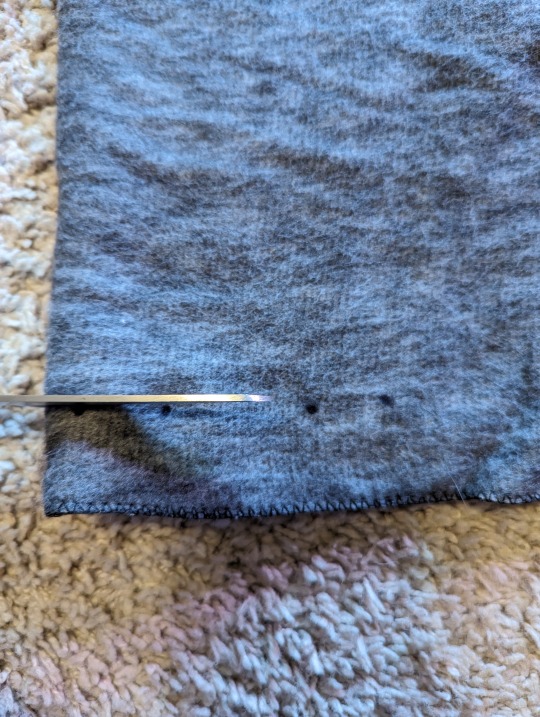
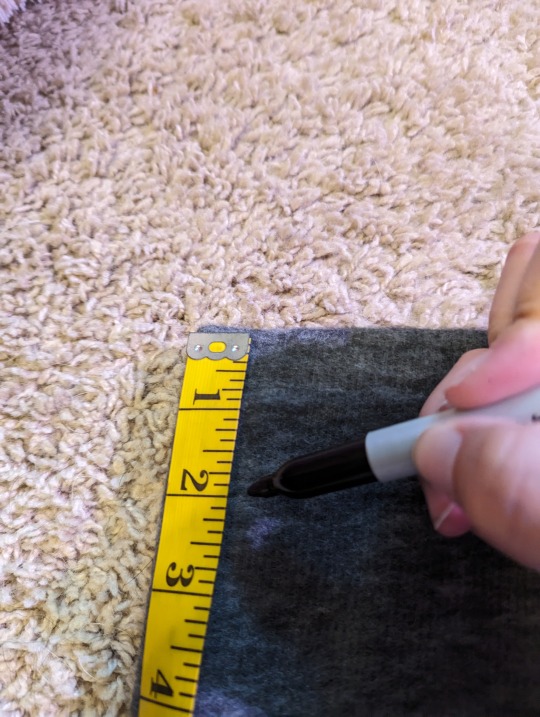
Step 7. Use your tape measure or string like a compass, and mark your cloak. You do this by anchoring one end of the tape measure at the corner of the fold, stretching it out, and marking the fabric at the appropriate length every inch or so. This will create the curve of the circle.
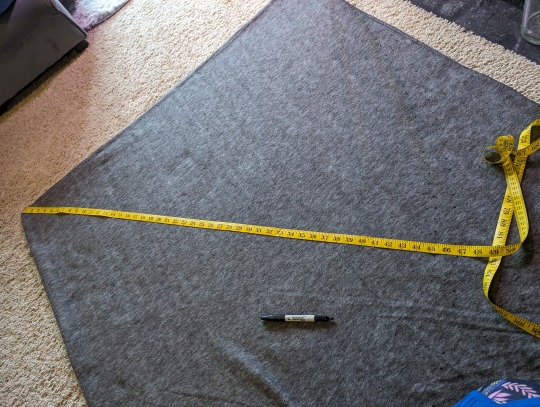
Ignore the fact that I marked this twice. My anchor had come loose and so I had accidentally marked it wrong for a little bit. Anyway. Do this from one edge all the way to the other. Will this be a perfect circle? No. Will anyone be able to tell? Also no.
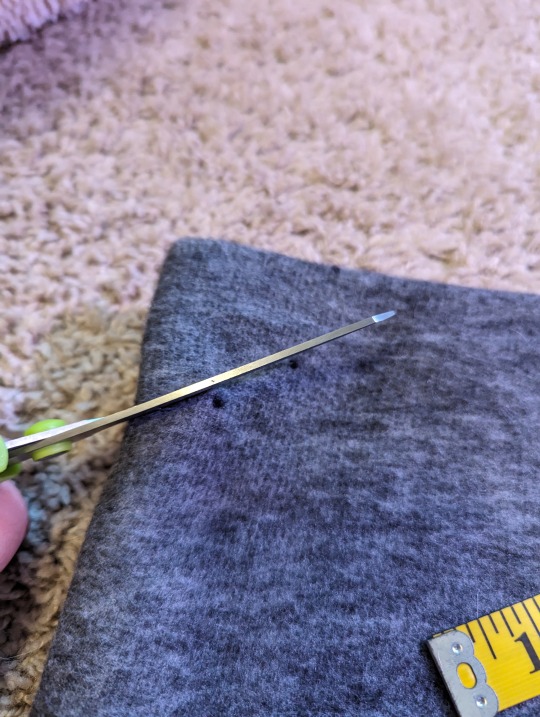
Step 8. Connect the dots, or find your scissors and just start cutting.
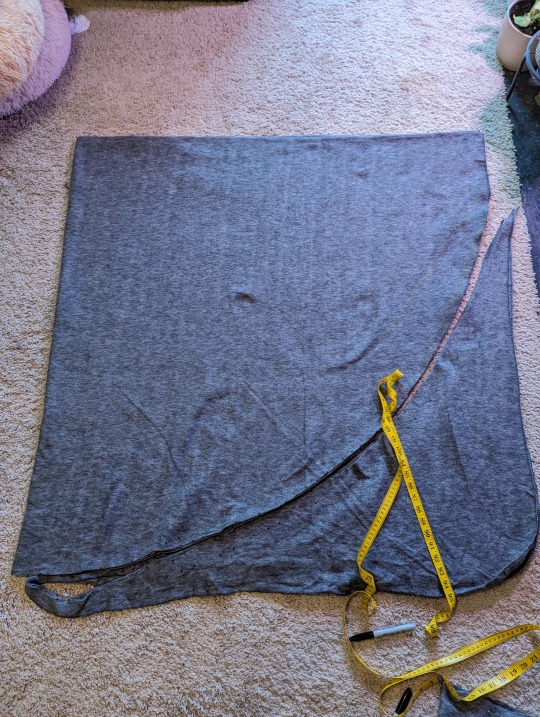
Step 9. Congratulations you have a circle. Now you need a place for your head to go. You do this by measuring two inches from the corner fold, and marking it the same way you did for the body of the cloak. Yes, two inches. Don't worry - your neck WILL fit. This fabric has a lot of stretch to it, and since all of the weight will be pulling from this point it will expand to fit you comfortably. Find your scissors and cut along the dots.
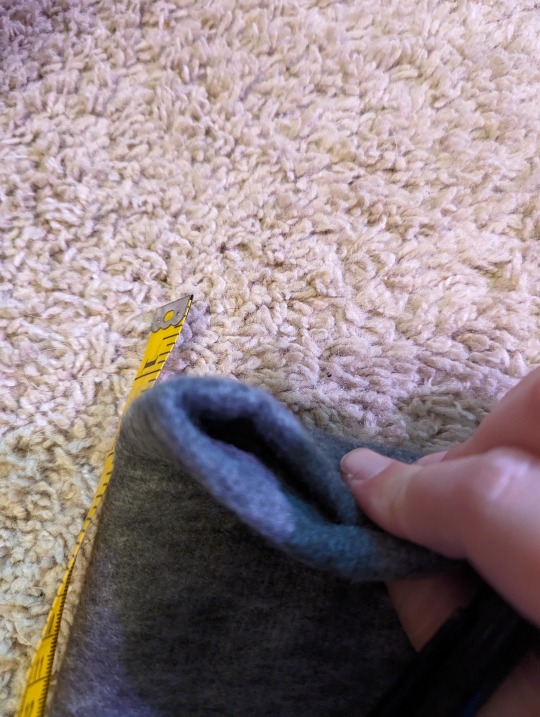
Step 10. Now you have a circle with a hole in the middle of it. Well done. Find your scissors and cut it open, by following the fold from the cut in the neck to the edge of the cloak. This will give you a straight(ish) opening. Try it on and see that I was right about the neck, and you are now cozy and warm.

Step 11. Wait for your housemate to come home so that they can hand-stitch the frog (clasp) closure onto it for you, because you hate hand sewing and she does embroidery as a hobby. Congrats, you have a circle cloak.
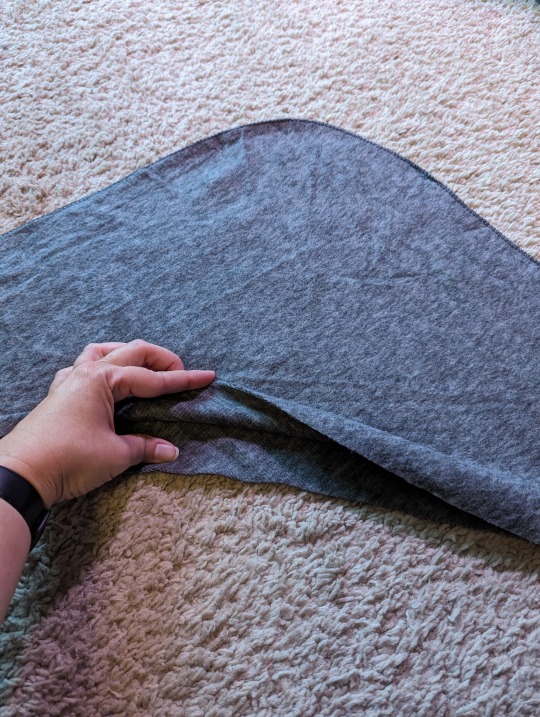
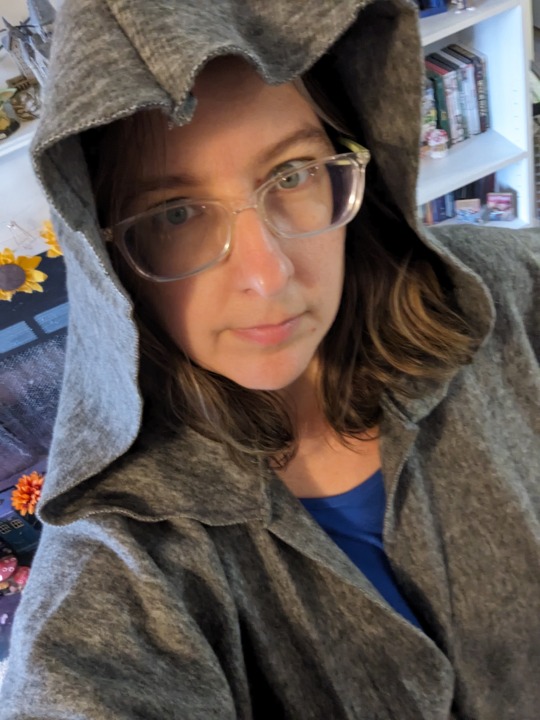
PART 2: BUT I WANT A HOOD!
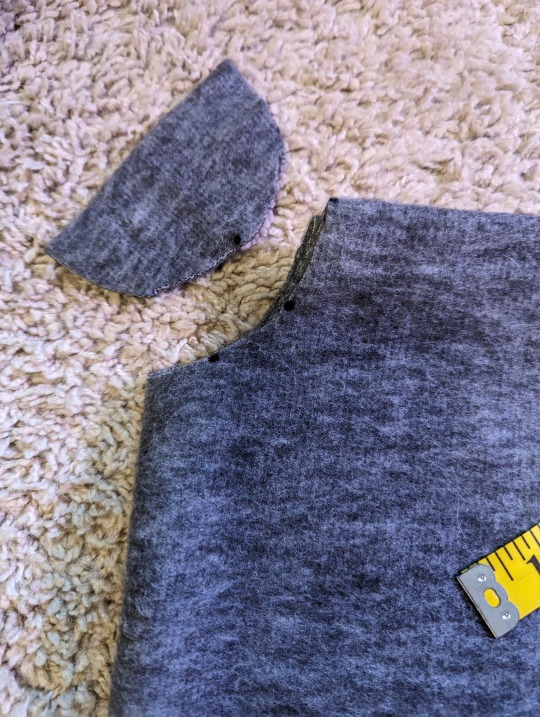
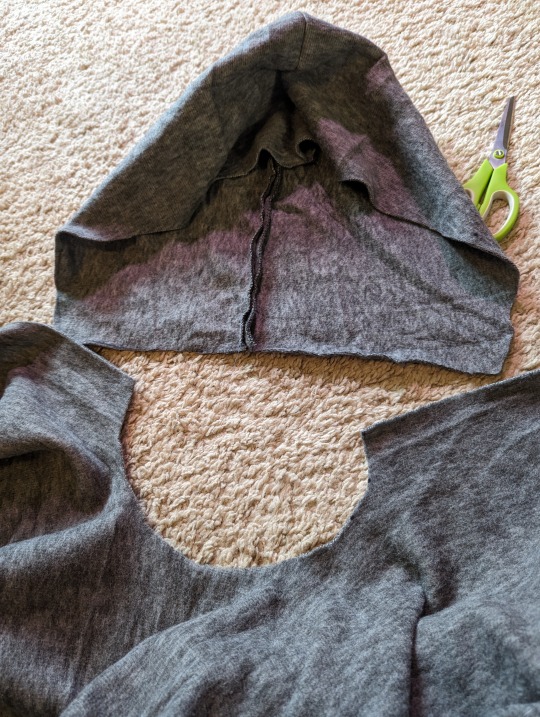
Step 1. Grab that piece you cut off when you made the circle on your blanket. We're gonna turn that into a hood. You only need two matching pieces, but the good news is that you have four. So if you mess up, you still have material to work with.

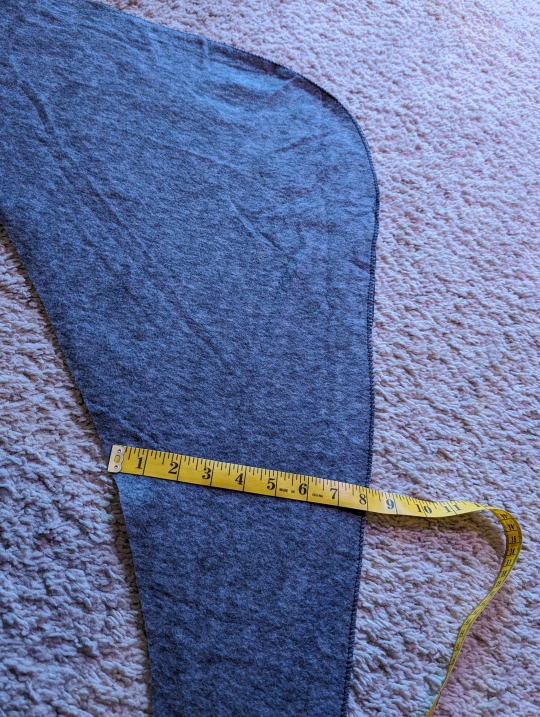
Step 2. Mark a straight line of 8 inches. This will be the bottom of the hood to connect to the neck of the cloak. Find your scissors and cut it.
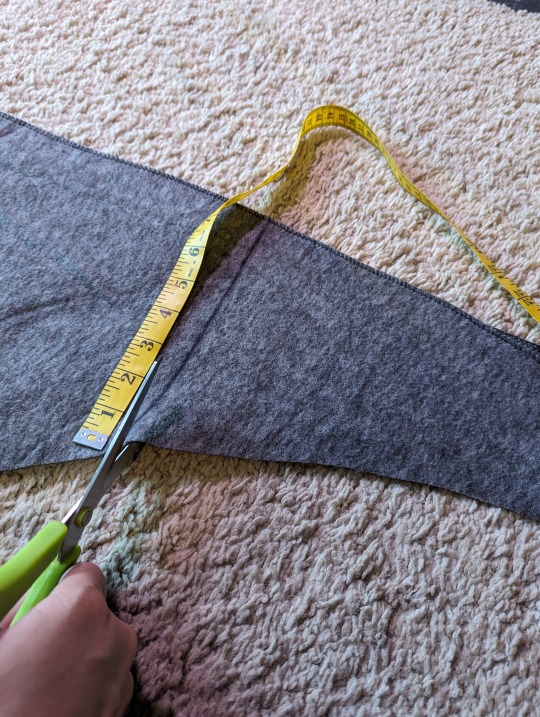
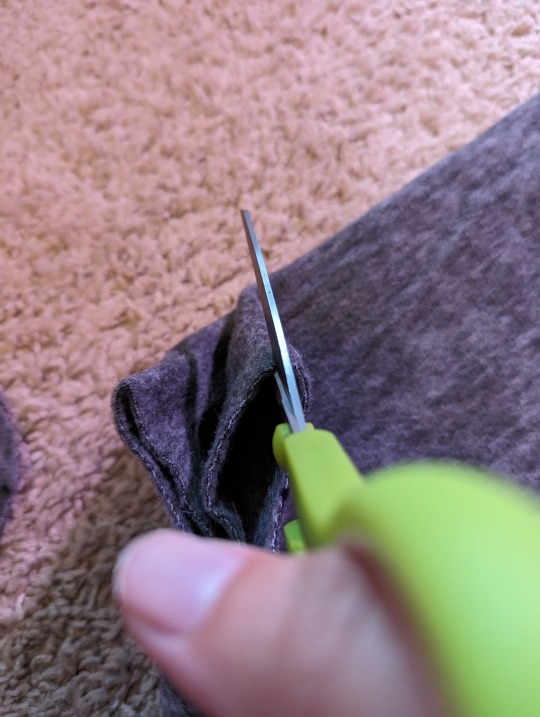
Step 3. Find your scissors and cut off the other tail end, making it as deep as you would like your hood to be. Or leave the tail and have a liripipe hood, you do you.
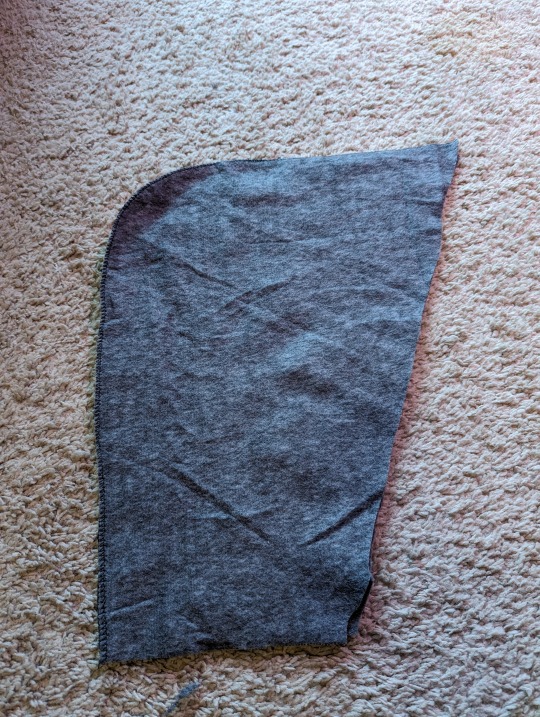
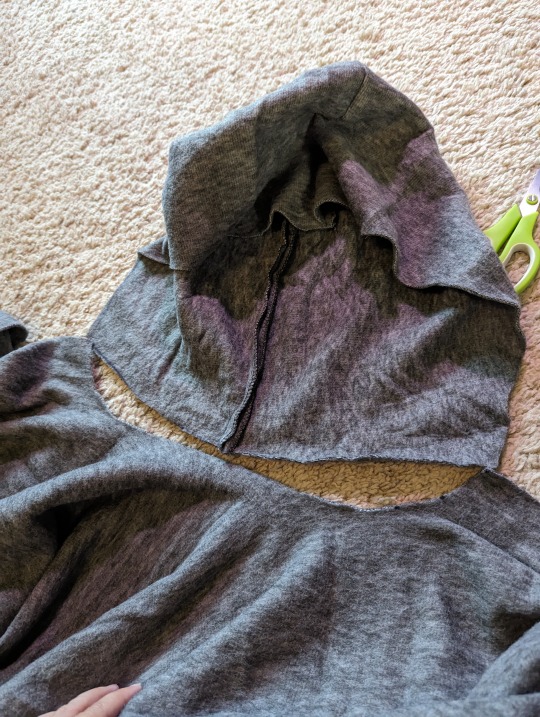
Step 4. Sew up the back and top of the hood. Leave the bottom and face open.

Step 5. Try it on to see if you need to use your back up pieces to make a new hood or not.

That'll do, pig.
Step 6. Pin your hood to the neck of the cloak, and discover that I was right when I said that 2 inches was enough for your neckline.
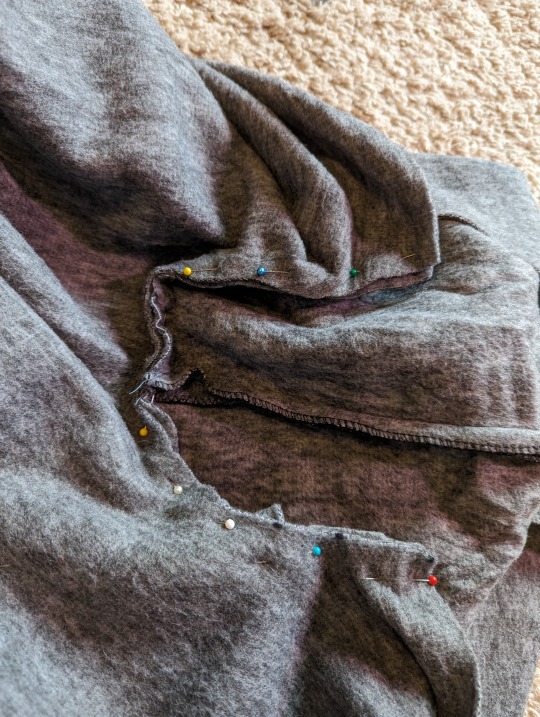
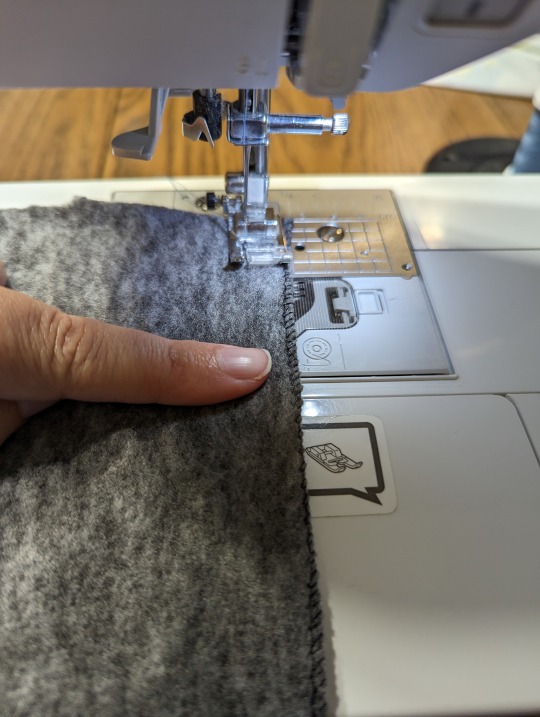
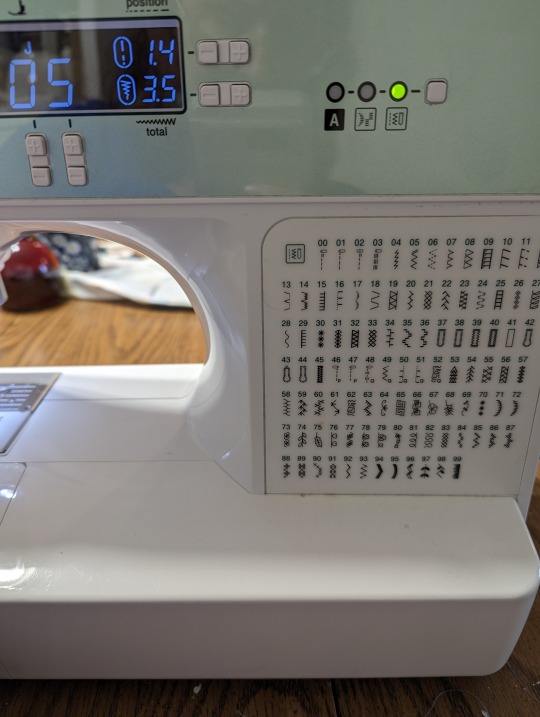
Step 7. Attach them together. You can do a straight stitch, but I prefer to do a zig-zig, only because there IS a lot of pull on that particular area of the cloak and I like the idea of reinforcement.

Step 8. Try it on. Be warm. Enjoy.
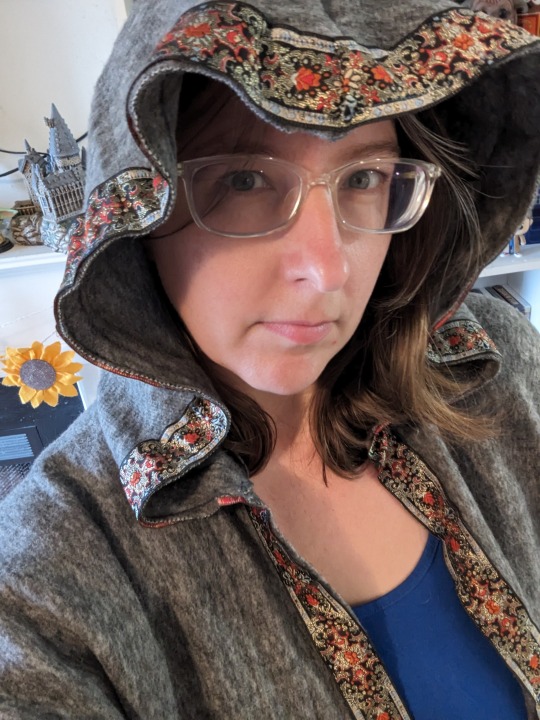
PART 3: GETTING BOUGIE WITH IT
Step 1. Realize that you have made four cloaks out of the same colored blankets because Walmart didn't have any other colors available, and while this isn't necessarily a problem, all four cloaks will be in the same camp and you don't want them to get mixed up or confused for each other.
Step 2. Go find some trim that you have had for years and haven't used up because there's so much of it, or run to the thrift store and see what you can find for cheap. Attach it to the front edge of the cloaks and stitch it down.
Note: you will want to attach trim BEFORE you put your frog on.
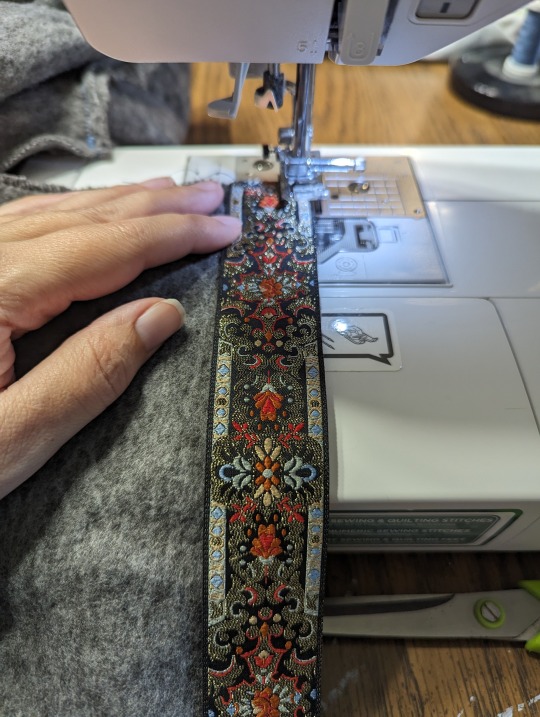
Step 3. Silently curse yourself for using wide trim that means you will have to stitch down both sides of it, rather than narrow trim that would only require a zig-zag stitch once down the center.
Step 4. Enjoy.
#mysca#society for creative anachronism#sca#garb#cloak#circle cloak#tutorial#cloak tutorial#cheap cloak#blanket cloak#circle cloak tutorial#garb tutorial#sca on a budget
220 notes
·
View notes
Text

MOUNTAIN QUARTZ — a set of 10 basic icon borders by lightlysources
both just the borders that can be used with your own blockquote templates, and simple free space 540px width templates to use as is. sizes as well as instructions on how to change the border colour under the readmore. please reblog/like if you download.
i used this tutorial by stephysource (thank you; i was looking for a tutorial to make simple icon borders for AGES) to make these, if you would rather make your own.
squares: 106x106px (icon size 100x100), 96x96px (icon size 90x90), 86x86px (icon size 80x80), 76x76px (icon size 70x70)
rectangles: 116x96px (icon size 110x90), 106x86px (icon size 100x80), 96x76px (icon size 90x70), and the same sizes but horizontal/vertical dimensions flipped for the last three.
how to change border colour:
select the rectangle layer

click on the layer properties (depending on your photoshop layout this section miiiight be invisible/somewhere else?)

select "stroke", then the colour wheel, to pick a new colour.
#icon borders#icon border#rp icon border#icon template#rp icon template#icon border template#rp resources#rph#rpc#by lightly
75 notes
·
View notes
Text


*⁀➷ . . . Calne Ca ໒꒱
꒰ა 90x90 reply icons ; anon
68 notes
·
View notes
Text
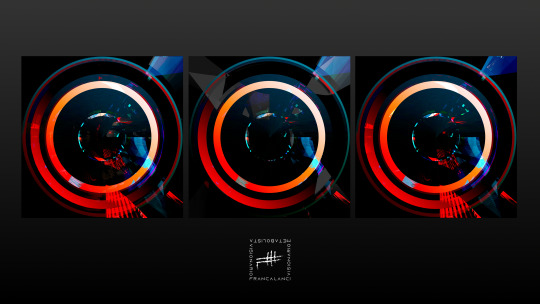
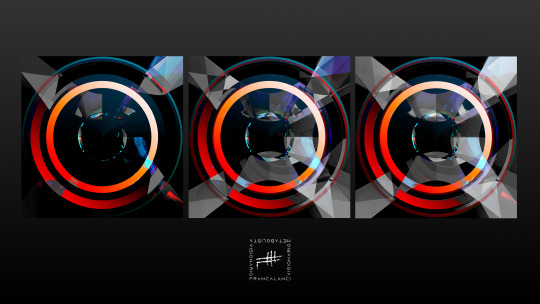
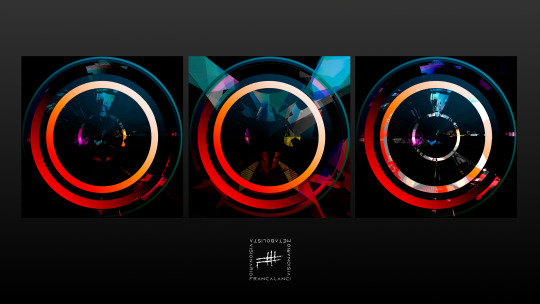
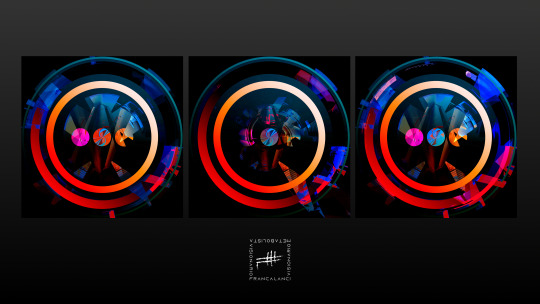
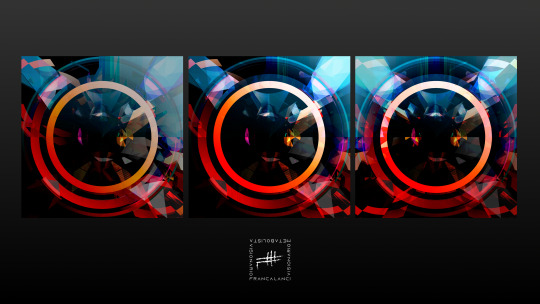
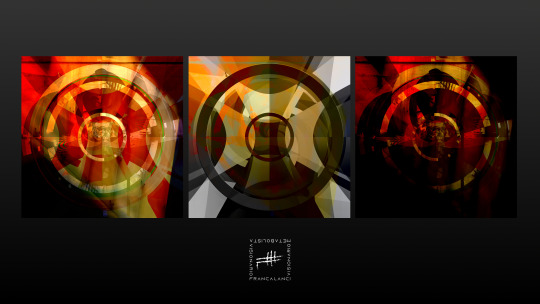
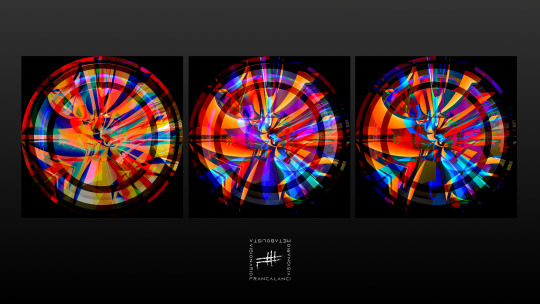
FRANCALANCI
Le immagini presentano trittici di VISIONI METABOLISTE.
Ogni singola immagine nella realtà è realizzata in stampa cromogenica su Fujiflex Cristal Archive in formato 120x120, 90x90, 30x30 cm ed in stampa Fine Art su Carta di gelso Awagami.
www.massimofrancalanci.it
#FRANCALANCI#Le immagini presentano trittici di VISIONI METABOLISTE.#Ogni singola immagine nella realtà è realizzata in stampa cromogenica su Fujiflex Cristal Archive in formato 120x120#90x90#30x30 cm ed in stampa Fine Art su Carta di gelso Awagami.#www.massimofrancalanci.it#francalanci#arte#metabolista#disegno#design#https://www.massimofrancalanci.it#scultura#artecontemporanea#visionaria#f r a n c a l a n c i
1 note
·
View note
Last Seen Blogs

cherylmmbookblog
CherylMM's Book Reviews
modelstwt
r u n a w a y

ohmystarrynight
Art’s Art :)

voujix
Voujix

s-p-o-o-n-s
Spoons