#once again tumblr has decimated the quality of my gifs
Text


I just KNOW she's got a thing for his hair!
#enola x tewkesbury#enola holmes#enola holmes 2#viscount tewksbury#viscount tewkesbury marquess of basilwether#holmesbury#millie bobby brown#louis partridge#once again tumblr has decimated the quality of my gifs
2K notes
·
View notes
Text
How to make a gif + sharpening
Gifs are part of the Tumblr experience and you may want to learn how to do them.
If that is the case, here is a tutorial, showing all the tricks I learned in the past years.
Contents
Software needed
Videos
The process.
Software needed
Windows or Mac OS
Gom Player [download]
Photoshop (I use Photoshop CC 2018, but you can really use any version as long as it has the timeline option).
Talking about Photoshop. You should buy it - but for educational purposes, I can tell you that if you google, you can find many many tutorials on how to install it.
Here is the link to one & [another one]
Overall, I suggest you to google for tumblr tutorials - there are plenty.
Videos
To make HQ gifs you may want to get the scene you want to gif in the highest quality possible.
On Youtube there are a lot of 4K and 1080p videos (especially music videos)
If you are looking for a film or a TV show I am sure you know there are some websites that provide you with 1080p quality files (look for Bluray Rips, they have the best quality).
The process
Now for the fun part. Before starting I want to give you a little cheat sheet on Tumblr’s post dimensions (useful if you want to have really HQ gifs) [here].
Here is the gif I’m gonna make with you today:
It has no filter: just some sharpening.
STEP ONE: SCREENCAPPING
Run Gom Player and open the video you want to get the screencaps from.
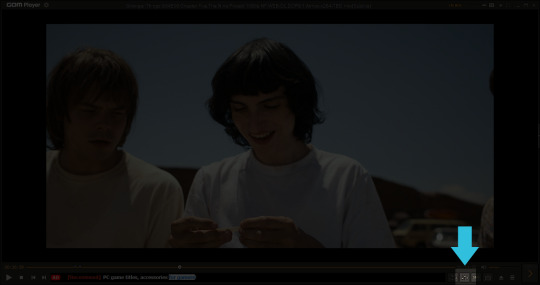
See that little button there? You have to press it. It is called Control Panel.
Once you pressed on it, a pop-up window should load + make sure to click on the Video bar, and the Advanced Capture option:

These are my options:

Now, play the video and press the Burst Capture: once you’re done, press that same button again to stop the process.
Now, the designated folder where you saved the screencaps should have all of the saved frames.
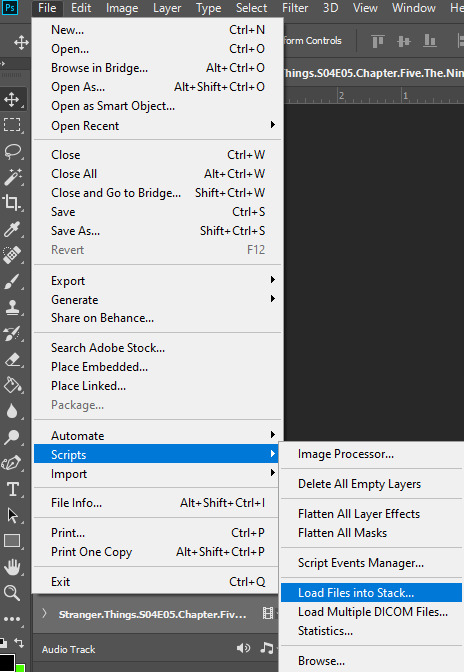
STEP TWO: PHOTOSHOP
On Photoshop go to File > Scripts > Load Files into Stack
This window will pop up:
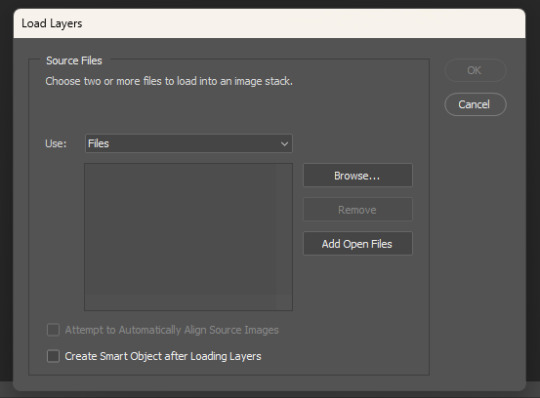
Click on Browse… and select your screencap folder, and select now all the frames of the scene you want to gif, you’ll get something like this:
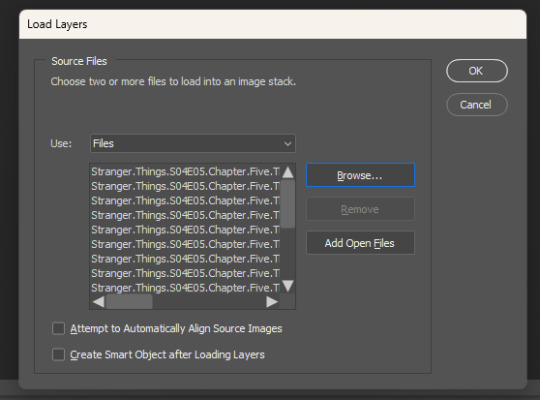
Now press OK and let Photoshop do its job.
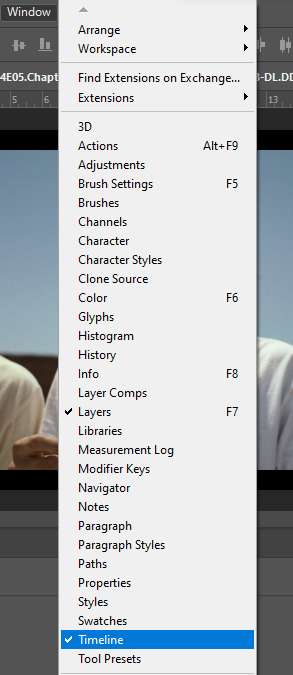
Before starting, make sure the timeline is on (it’s on if it has a tiny check next to it - see the picture below):
Now, your timeline should be visible at the bottom of your screen. Please select the Create Frame Animation option:


Once you’re done, click on the burger menu on top left (see image above):
Click on Make frames from layers
Click again on that menu
Now on Reverse frames
For the last time click on the menu
Select all frames.
Now all of your frames should be selected. Right click on one of those frames where you read “0 sec.”:

Select Other… and write 0.05 (or 0,05 - it's the same tho, for example, my version of Photoshop supports as decimal symbol the comma instead of the full stop!) and confirm.
STEP THREE: CROPPING
Ok, now cropping is really delicate. First, select the crop tool and on the top bar use the Ratio option, like this:
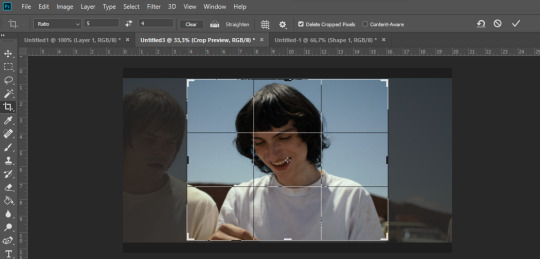
Now, really pick whatever ratio you want (mine is 5:4), and using the handles cut out the black portions of the scene - nothing more. Then confirm.
Go to Image > Image size and write the width based on the cheat sheet I linked above (if the little chain symbol is selected, the height will automatically adjust!) -> These are my options:
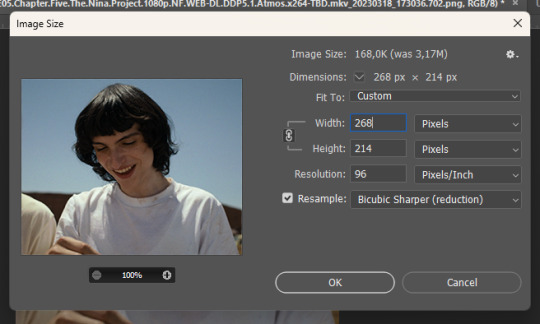
Note: if your resolution is different than 96, don’t change it - leave the number you have.
Confirm.
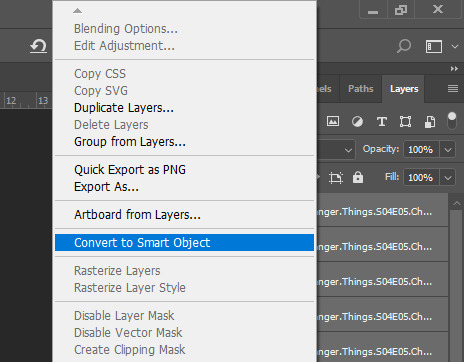
STEP FOUR: CREATING THE SMART OBJECT AND SHARPENING
Now, on the timeline, select the first frame, and on the bottom left there is this symbol you may want to click:

Select all the layers, right click and select Convert to Smart Object
Select the newly made smart object and go on the Filter > Sharpen menu and pick Smart Sharpen: these are my options
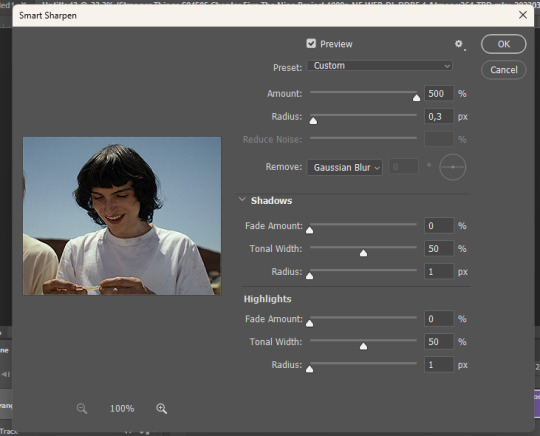

Press OK and then redo it (the smart object has to be sharpened twice).
STEP FIVE: SAVING
File > Export > Save for web

Make sure the looping setting is on Forever - click on save and you’re done!
[list of other tutorials here]
9 notes
·
View notes
Last Seen Blogs

pokemas-says
Pokémon Masters Says


fab-flow-blog
Fabian Küpper - Handpan music

kashkhari
A'K
ambitionectomy
Ambitionectomy