#diy redscale
Text


#novocaine#thirty flirty and thriving#35film#35mm film#35mm photography#fotografia analogica#fotografía original#fotografando#fotografheryerde#fotografia#fotografo#artists on tumblr#double exposure#photographers on tumblr#diy redscale#redscaled#home made redscale#35mm#film photography#analog
5 notes
·
View notes
Text
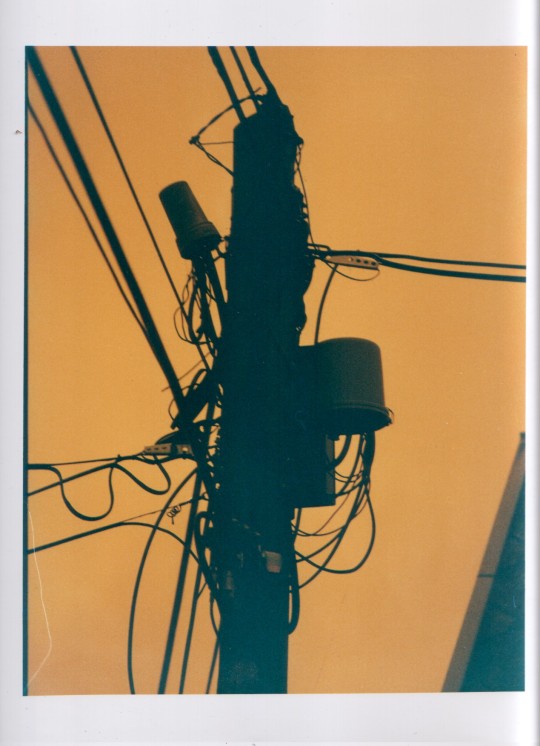
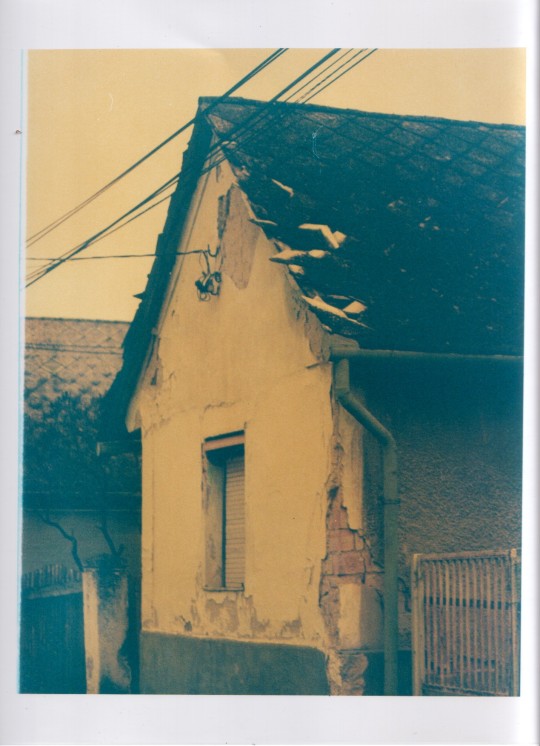
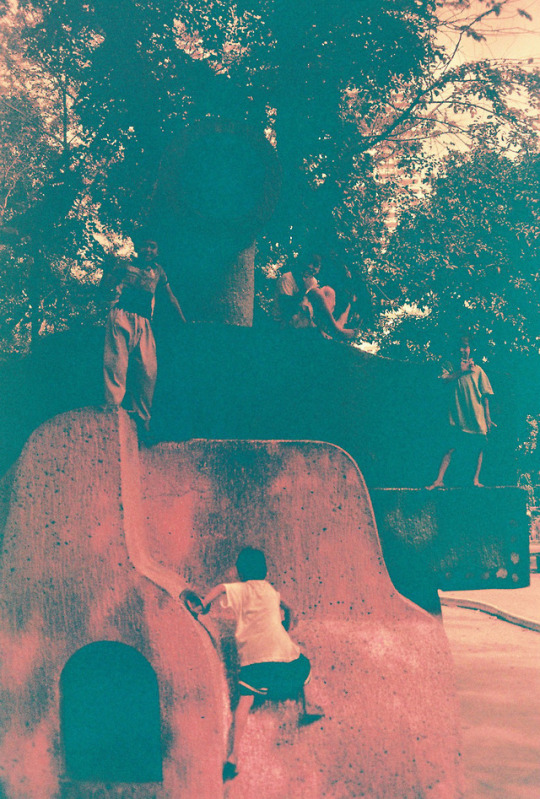
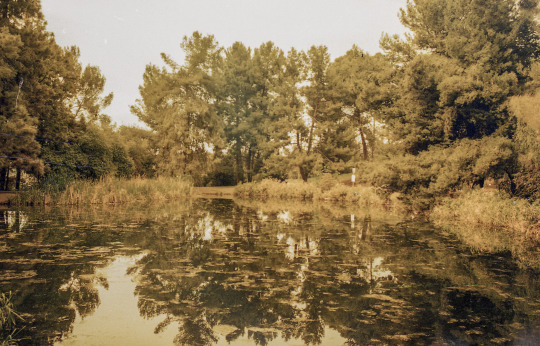
diy 35mm redscale film, photos taken in hungary 2012, handmade color prints
0 notes
Photo

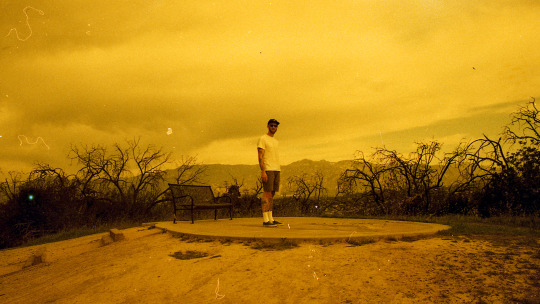
08|2018 [by the sea]
38 notes
·
View notes
Photo
January 2018
#35mm#filmisnotdead#redscaled#film photography#lomography#analog photography#minolta x370#diy red-scaled fuji c200#2018#02#005
1 note
·
View note
Photo
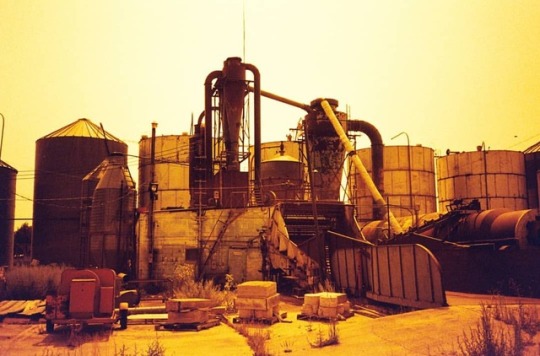
I need to shoot more redscale.
#analog#urbex#film#landscape#rust#surreal#35mm#silo#machinery#experimental#redscale#diy#doom#distopia#industrial#decay
2 notes
·
View notes
Video
Untitled by Ferdinand Bardamu
#aesthetic#lo-fi#square#desolation#desolate#urban#blocks#conversation#red#orange#yellow#redscale#diy#19something#germany#blocuri#nostalgia#nostalgy#impossible colors#digital redscale#lomo digital#faux redscale#iphone 5s
1 note
·
View note
Photo

"Red Skies" - Experience the surrealism of shooting film on the non-emulsion glossy side, which first exposes the red-sensitive layer. This can be easily achieved by flipping the film over, splicing it onto a "donor" canister, winding it back inside (in a darkroom), cutting a new leader, loading into the camera and shooting two stops over to penetrate through the non-emulsion side. There are many articles on this; Google "DIY redscale". . 🎞️: DIY redscale w/ Fuji 200 (rated ISO 50) 📷: Nikon FG w/ Nikkor 45mm f/2.8 P ⚗️: @englewoodcamera 📅: June 7, 2019 (at The Very Large Array) https://www.instagram.com/p/BzB5QvNHIF7/?igshid=1nwqt70ibr191
1 note
·
View note
Text
Konstructor + Redscale = Experimental!
Konstructor + Redscale = Experimental!
If you’re going to try out a new film or a new camera, you usually do one or the other. This reduces your chance of failure, and gives you the opportunity to assess the film or camera properly (without too many new variables). However, on this occasion I decided to throw myself in at the deep end. A new film (Lomography Redscale) and a new camera, the Lomography Konstructor! The Konstructor is a…
View On WordPress
1 note
·
View note


Text


redscale research
#diy redscale#redscape#redscale#escala de vermelho#filme invertido#inverted film#inverted fate#film grain#film#35mm film#35mm photography#film photography#35mm#analog
2 notes
·
View notes

Photo


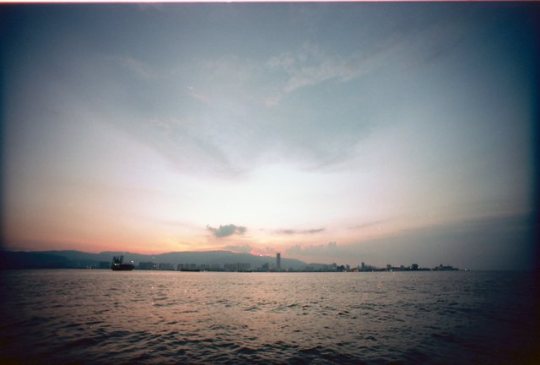
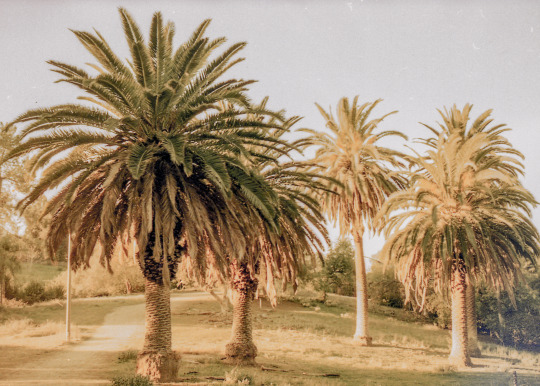
1. Penang Ferry Services.
2. Shots taken during my usual trip back home every weekend from college.
0 notes
Photo
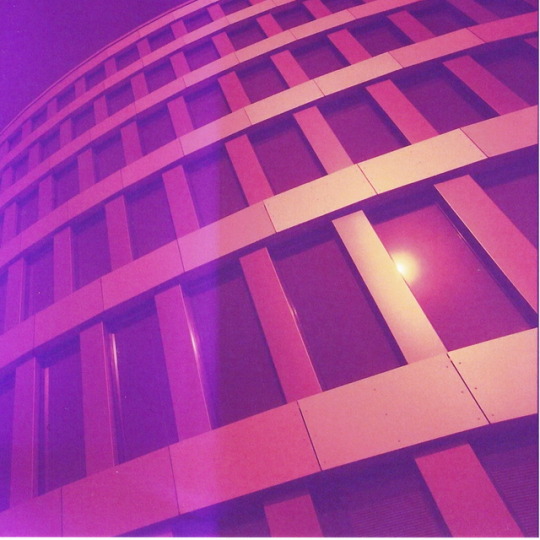
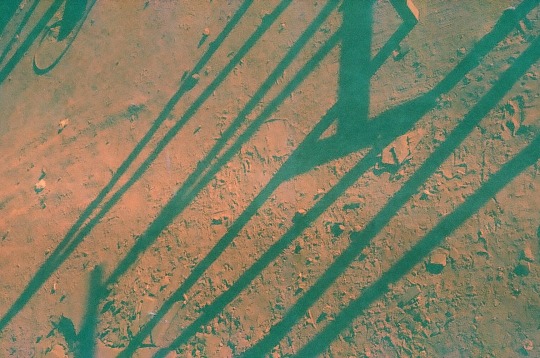
Struktur
#diy redscale#stadthafen#aida cruises#rostock#canon a1#istillshootfilm#underdeveloped#analogue photography#film photography#original photo
4 notes
·
View notes
Photo
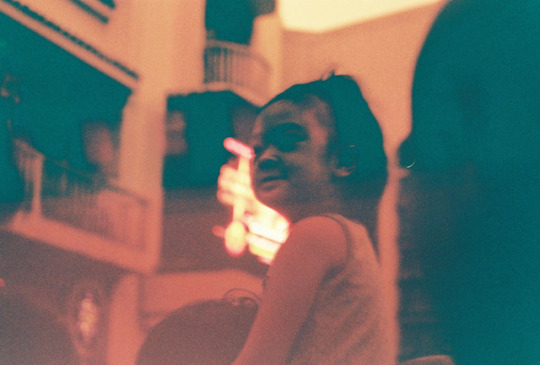
January 2018
kid
#35mm#filmisnotdead#redscaled#film photography#lomography#analog photography#minolta x370#diy red-scaled fuji c200#2018#02#005
1 note
·
View note
Photo
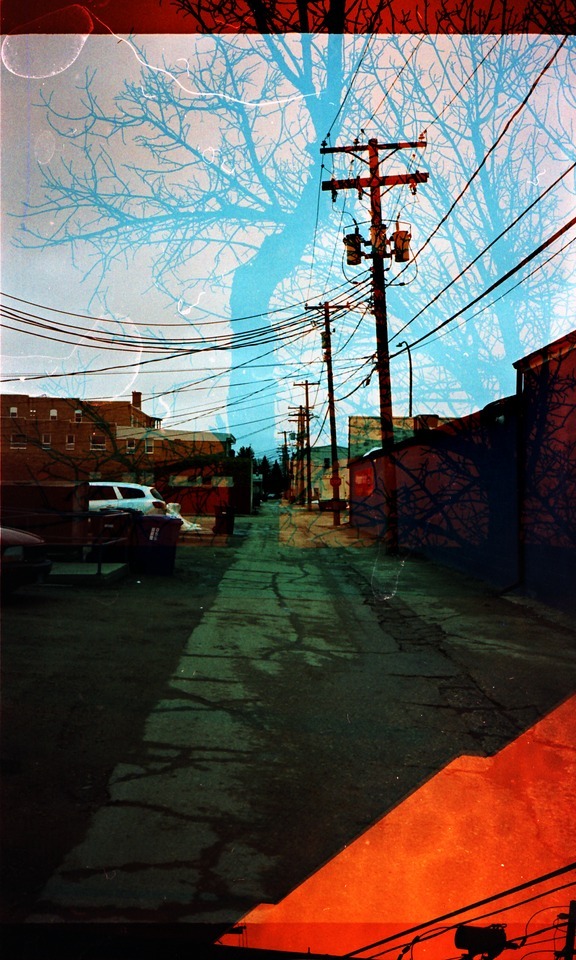
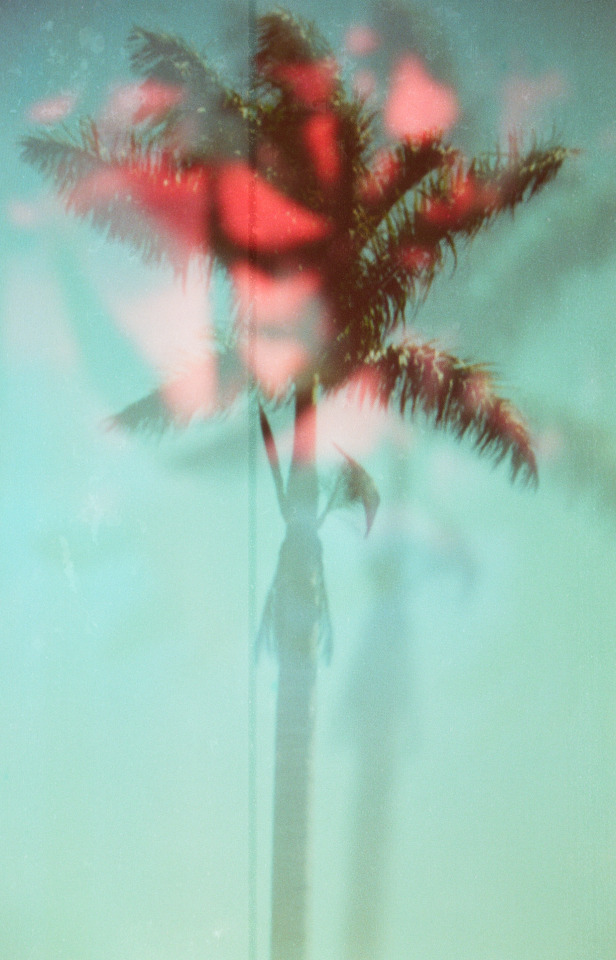
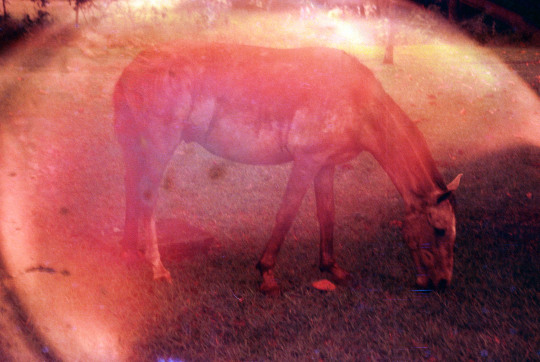
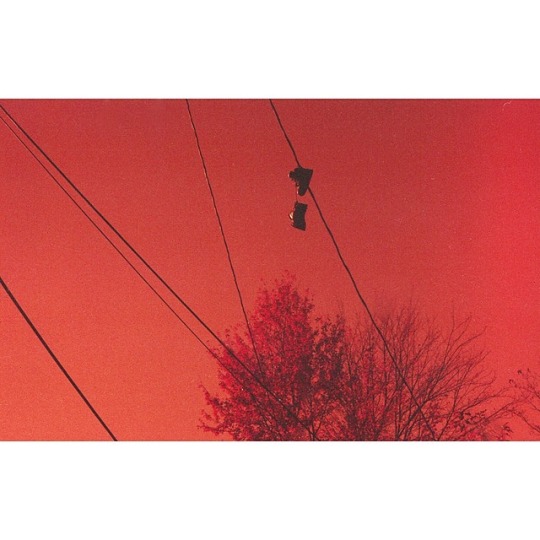
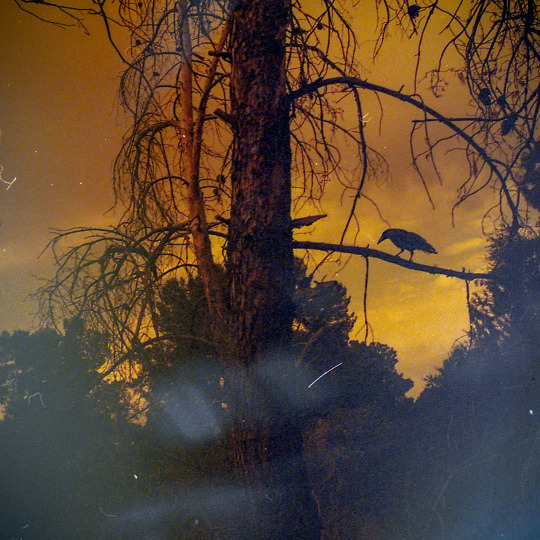
First experiment with a new technique; exposing both sides of the film. Take a roll of film, shoot it normally. Then rewind it, and load it backwards into a second film canister, the same as you do for redscale. Then, shoot it a second time. Here are some results!
(dauphin|mar|2k17)
#Expose Both Sides#EBS#Experimentation#Redscale#Silhouette#Back Alley#Backlit#Trees#Powerlines#Double Exposure#Olympus#XA2#Film#Expired#Colour#35mm#Original Photography#Analog#Photographers On Tumblr#DIY
9 notes
·
View notes
Last Seen Blogs