Last Seen Blogs
asongcanmeaneverything
sad4L
aphrodite-in-olympus
*Aphrodite*
5007fdlyndizon-blog
5007FD LYN DIZON
quillandquotation
Reader's Reverie
cult-of-the-eye
the cult of the eye
Text
Photoshop Skills
Before this class I had already used photoshop for the past two years because I took photography in yr 12 and 13 so I was already pretty well versed in it but I’d give my skills an 7/10
0 notes
Photo

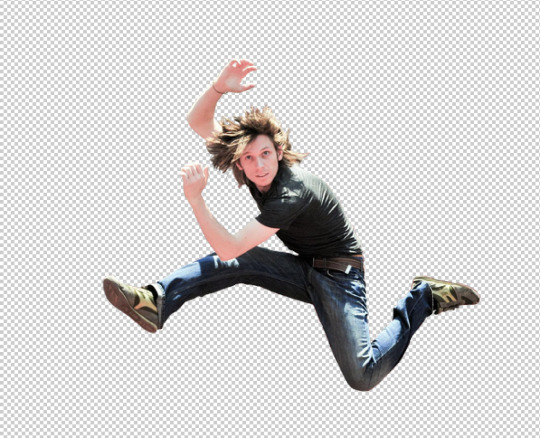
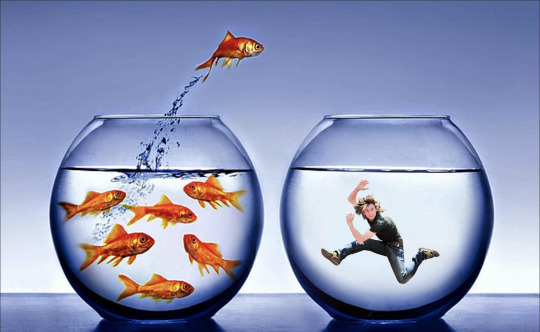
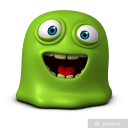
For week 6 we learnt how to cut things out with the selection tool, or just how to really cute things out perfectly. The first photo is the photo we were given, and then the second photo is after I cut it out, I like using the lasso tool to go along edges to cut it out (its what works best for me) and then the last one is where I feel like he looks like he belongs in a wee fish bowl trying to swim, or maybe the water has frozen and he is stuck like that.
0 notes
Photo
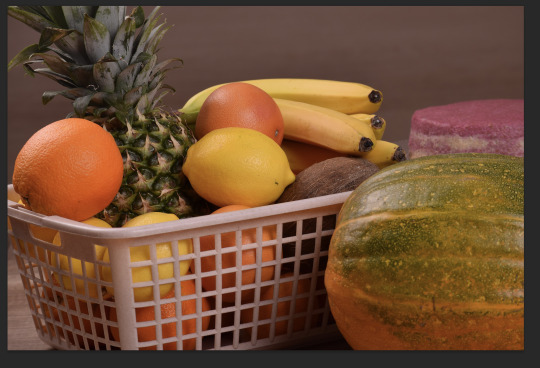


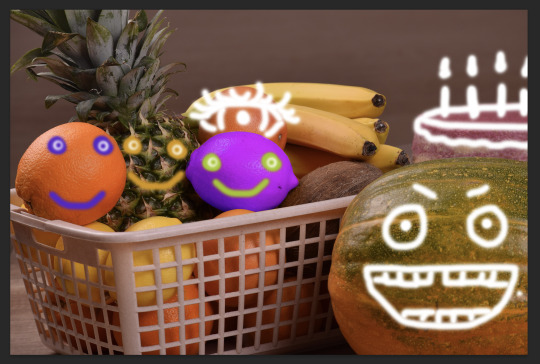

For this exercise we were learning out to change the colour of just one thing in an image. We chose the lemon, so first we had to slowly cut out the lemon and put it on its own layer and then used the hue and saturation trick that we used before to change its colour! Now we have a purple lemon and then we also added faces to the fruit and changed the colours of the faces by doing the same trick but only letting it change the layer below it. and then for even more fun I added even more colours!
0 notes
Photo
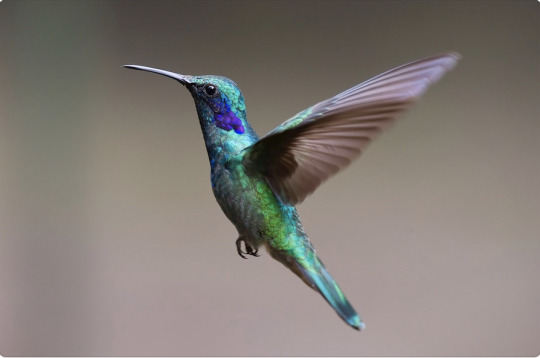


Here we worked in photoshop to cut out a humming bird and try to make it look realistic. First we did a rough outline of cutting out the bird then replacing the background with simple green colour so we can see where we need to chop out some more. We then went around the bird really up close with the paintbrush and colour selector to select a colour from the bird and then paint on the little white out long to get rid of this, it was a really slow process but made it look so much better. We then selected the wings and added a blur filter to them to make it look like they were moving! Then for the finishing touch we put them onto a background with a flower to make it look like they were eating the pink stuff and I added in two birds for fun!
0 notes
Photo
Before
After
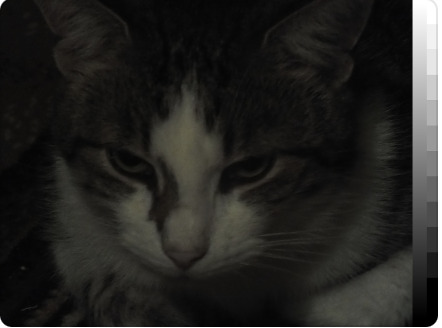
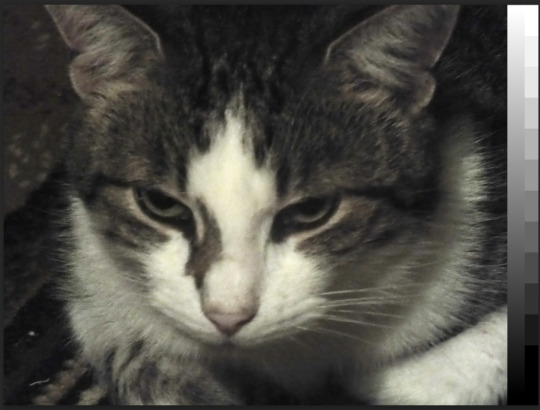
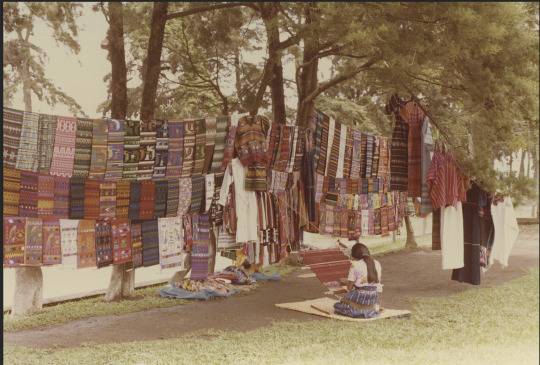
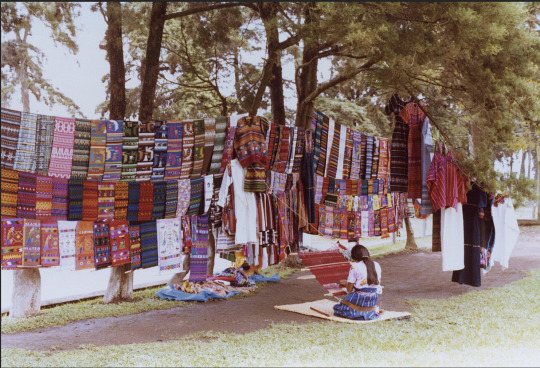
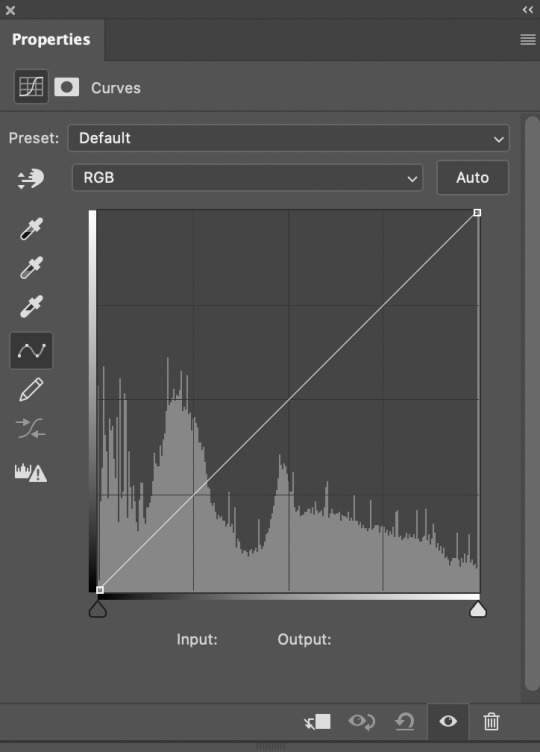
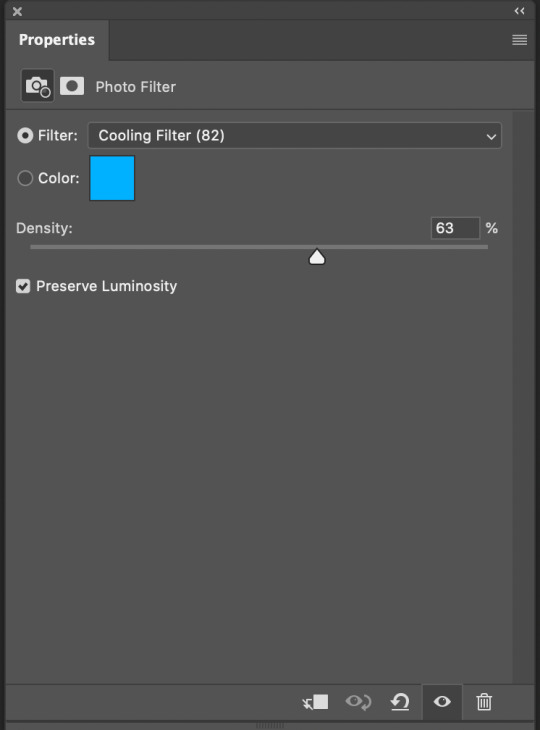
First we got the first photo and try and make the colour of the image better (colour correction), so in photoshop we learnt how to use curves, hue and saturation and photo filter. this image was very light so we contrasted it in curves by bring the point thing down towards the x axis.
Before
After
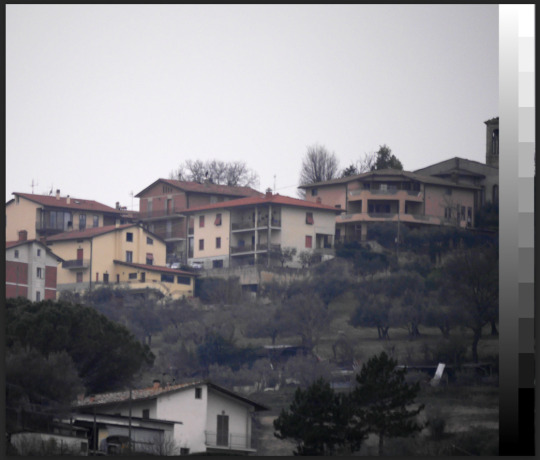
For this one instead of having to make it darker, we had to make it lighter so instead of bringing the point thing in curves down we brought it higher up the y axis to brighten the image.

Before
After
We had to also brighten this one so we did the same thing we did for the cat! bring the point thing up on curves. But we also did a little bit of colour correcting with the hue and saturation and just kind of played around with that until it looked right.

Before

After
This one was a bit different because we looked more at colour correcting to bring it from a green scheme to more natural colours. So then we changed the hue and then used the colour balance tool to even it out to make it less green.
Before
After
For this one we played with the colours as well and adjusted the colours to be more brighter and contrast-y. With this we made the photo go from film photo to more modern film photo.

Heres some of the tools we learnt along with colour balance.
0 notes
Photo


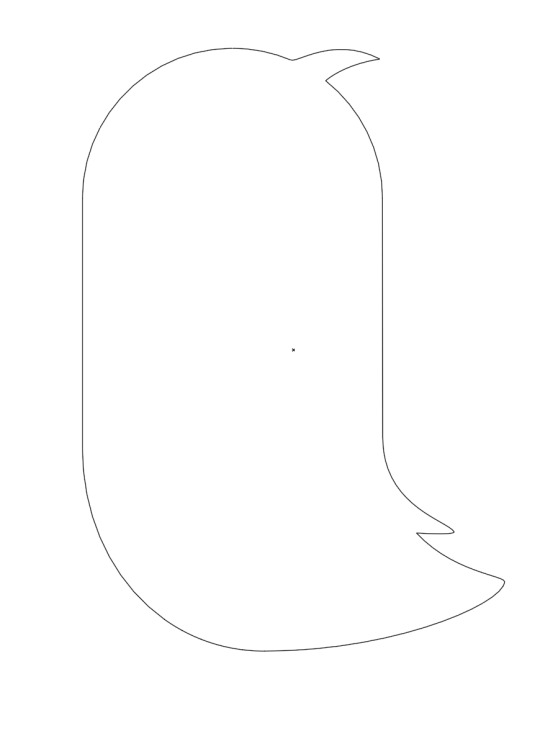
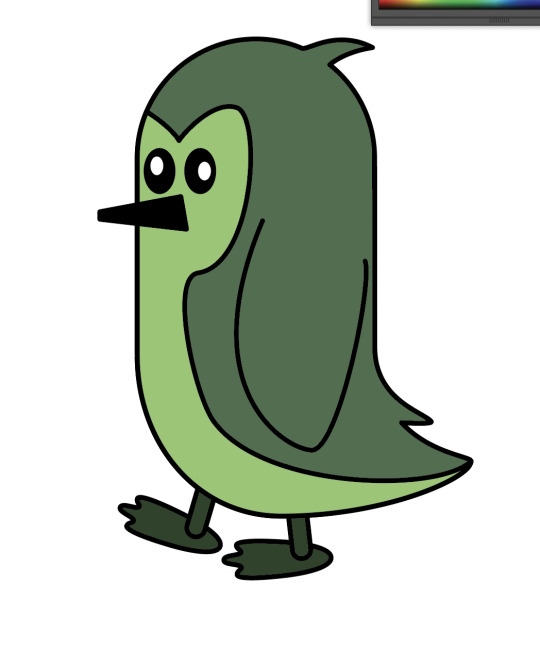
1) First we started with a circle which we then spilt into two and made it more into an oval shape, then with curves we made a little ‘flick’ which will be the penguins tail.
2) Next with curves again we added a little ‘swoosh’ at the top of the penguins head to make a little tuft. We did this by selecting the curve tool and the ‘+’ sign to add in points.
3) Then we added a wee bit of fluff above the tail by doing the same thing we did with the head fluff.
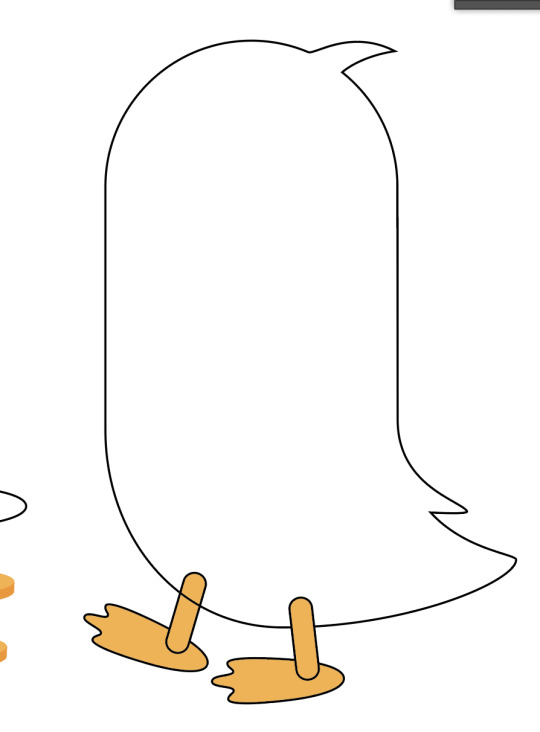
4) Then we made shapes with the pen tool to make feet for the penguin! Toby did show us how to make them 3d but it was a bit full on for me so I just stuck with the simpler options.
5) Then finally we added in details on the penguin such as a beak, eyes, a wing and a sweet little different colour bit of the face and chest. Then we coloured everything in and I chose to be as natural as possible and do a green penguin.
I really enjoyed this exercise and would rate my illustrator skills a 6.5/10
0 notes
Text
Adobe Shortcuts
Illustrator:
Z = Zoom
Space = Pan
Alt + Space = Zoom & Pan
P = Pen Tool
Command + Click = Drop Pen
V = Selection Tool
A = Direct Selection Tool
Shift + Command + S = save
Command X = Cut
Command J = Join Points
Photoshop:
B = Brush
E = Eraser
Option / Alt = Colour Dropper
[ ] = Brush / Eraser Size
Z = Zoom
Space = Pan
Command + W = Close Photoshop Tab
Shift + Command + S = Save
V = Move
M = Marquee
^^^^^^^J = New Layer When Selected
L = Lasso Tool
0 notes
Text
Log 1
Week 1 and 2 are both in this log because in week 2 we just carried on with drawing shapes on Illustrator after learning the basics. It was fun to learn because I have never used Illustrator because and to be honest I think it’s starting to become my favourite adobe ‘app’ I just love how you can literally make or draw anything on there.
Skills rating:
Illustrator: 5/10 (My skill is going up and I think I’m getting the hang of it!)
Photoshop: 7/10 (I used it in high school)
Indesign: 1.5/10 (don’t understand it at all)
0 notes
Photo


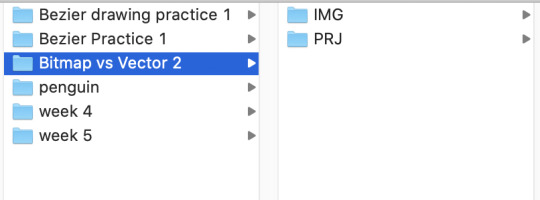


In week one we also learnt how to set up a ‘data’ folder so that we are able to keep everything organised. Its pretty self explanatory but in the data folder I added a folder with my name (Poppy Dove!!!) and then added a design fundamentals folder where I then added folders based on the different practices we did i.e bezier drawing practive 1. I’m not entirely sure what some of the folders mean like ‘PJR’ and ‘OUT’ so I might have to label them as something that I understand!
0 notes
Text
pair project, Tevya drew me an apple and i recreated it After⏬


Before⏫
In week 2 we got an assignment where we had to draw a rough drawing to someone to recreate in adobe illustrator. Tevya was my partner and she drew me an apple to recreate. I did this by:
Creating apple outline then into a shape with the pen tool
Making sure I added curves to make the apple ‘shapely’
Adding leaf and stalk of the apple
Adding colour to the different shapes
Adding a wee detail that is the wee shiny part.
I think my skills are fine at the moment but nothing special and I still need to practice so I would rate my adobe illustrator skills a 5/10 on a good day
0 notes
Text
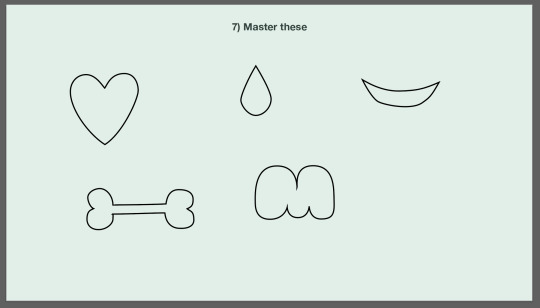
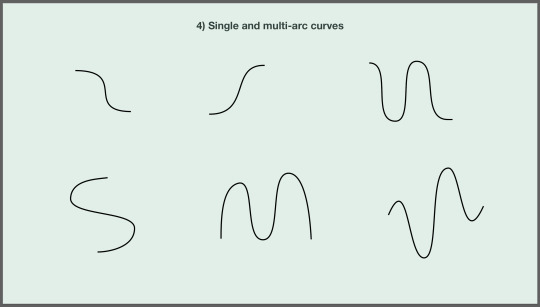
Some shapes we had to try and master, a bit harder but i tried my best!
0 notes
Text
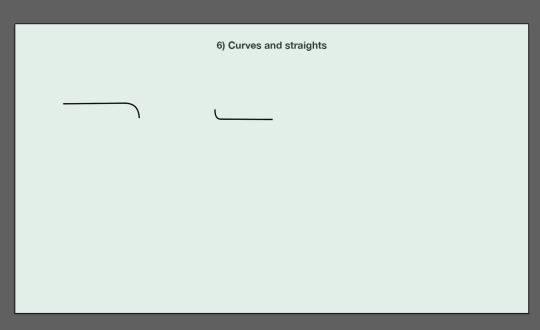
curves and straights practice, didn’t have enough time in class to copy what was on the board but i understand how to do it!
0 notes
Text
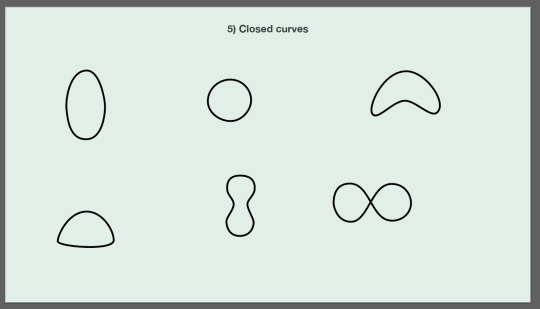
My reflection on how confident I am feeling with the skills that we learnt in class on how to make basic shapes is 8/10 as I do know them pretty well but just need to keep working on them to make sure I don’t forget!
0 notes
Text
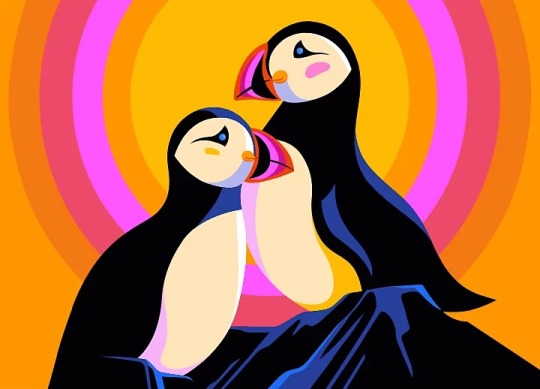

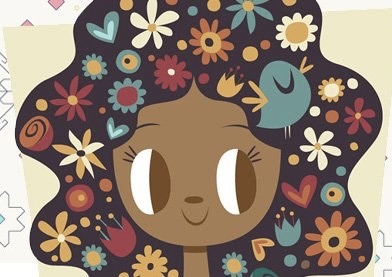
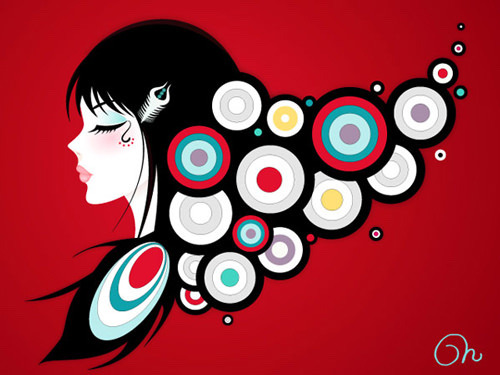

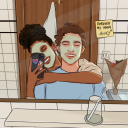
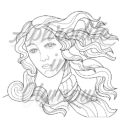
Here’s some examples of illustrator work that I like and would love to learn how to make work similar to this!!
0 notes
Text
My intentions for what I would like to learn from this class would definitely be how to draw full on pictures on illustrator because that really interests me! I think it would also be cool to actually learn how to use indesign and not just be confused 😊
1 note
·
View note