
itsgothgirlthyme
itsgothgirlthyme
g/t lover, hopeless romantic, fan-fic writer || she/her || pfp: senomimi
2697 posts
Don't wanna be here? Send us removal request.
Last Seen Blogs
soyyeos
Yeo !

olavavn
Vay tiền nhanh Olava.vn

kaija-rayne-author
Kaija Rayne

ouroboros8ontology
Digital Grimoire of a Jewitch
riotsam
Riot Sam
Text
Ok I finished it now
You can craft growth and shrinkng potions in a brewing stand leather+thick potions and rabbit hide+mundane potions respectively

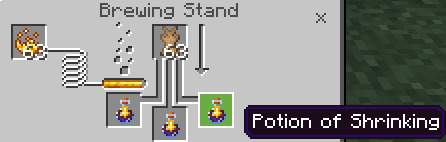
Drinking a size potion makes you bigger/smaller (obviously), the effects are technically permanent but can be reversed by drinking the opposite size potion. Beware that if you drink a shrinking potion at the smallest possible size then you will instantly die, the same applies to growth potions at maximum size.
Being tiny makes you weaker and smaller (duh) (0.1 scale), you have a single heart which is made even worse by the fact that you are now a tasty little snack to various predators that would otherwise leave you alone such as cats and foxes. On the upsides, you can survive off smaller quantities of food and can survive a fall from up to 20 blocks without getting injured, and can also ride on the shoulders of normal sized players.
Being giant makes you 2x scale and (duh) makes you faster and stronger (5 melee damage and 50 hearts. You also need to eat more and are more susceptible to fall damage, a even a small height can easily deal severe amounts of damage or even kill you. Normal sized players can also sit on your shoulder (tinies can too, but they end up clipping inside your arm instead).
Another important thing to remember is that you are huge and terrifying, many mobs will flee in your presence and villages might percieve you as a threat (iron golems can kill giants btw).
Edit: You need to have experimental mode enabled on your world or crafting recipes won't work.
574 notes
·
View notes
Text
Another silly thing, I need to warm up my goofy aah brain
54 notes
·
View notes
Note
could you do some miscellaneous black/gray dividers? any theme really, plain is fine tho!!
hi! Sure! 🖤🩶 I did a mix of some of my fave styles, in shades of grey and black. Hope you like them and thanks for sending this in!


[Free] Masterlist Headers & Dividers!
Please consider liking or reblogging if you use 💕
373 notes
·
View notes
Text
my divider tutorial
hey everyone! I’ve been seeing a lot of people asking about how to make text dividers + banners on my feed, thought I would just do a quick tutorial on how I make my stuff!
link to banner tutorial here.
For context - I don’t have photoshop, and I pretty much had zero experience in anything graphic/web design when I first started making these for my blog. I’ll be using free programs that are all accessible through a web browser, so there is no need for you to download any kind of software to do this!
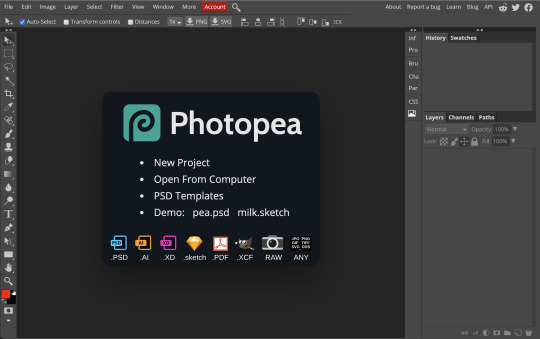
Dividers: Photopea
photopea is free to use and it has a browser mode so you don’t need to download it to be able to use/edit photos! The only downside is that it won’t save projects after you close your tab. So you’ll need to make sure to download png/jpgs of anything you make in photopea onto your computer (which you’d need to do anyways to insert the banners into a tumblr post) before closing the tab.
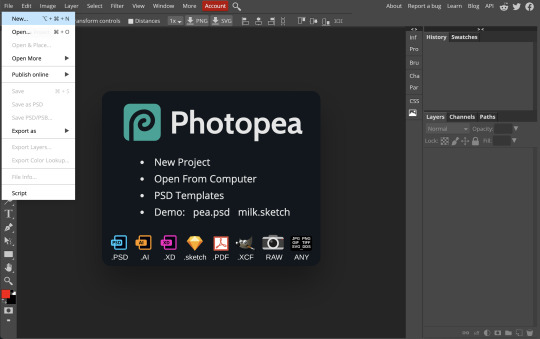
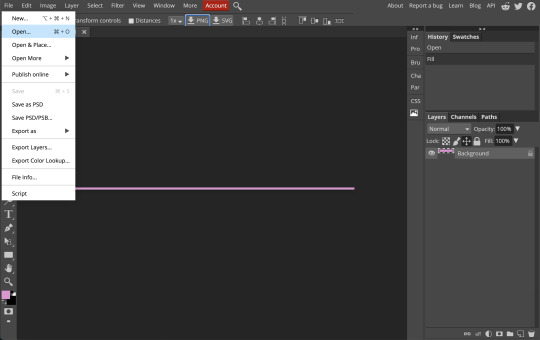
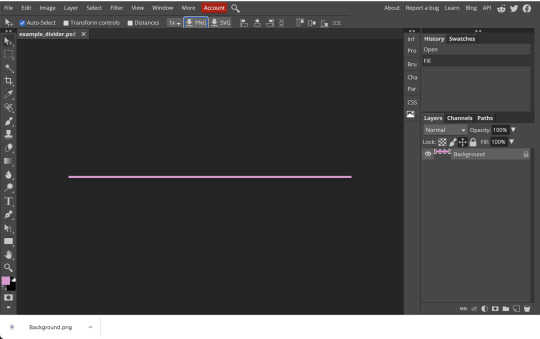
1) go to photopea (photopea.com)
2) click File > New
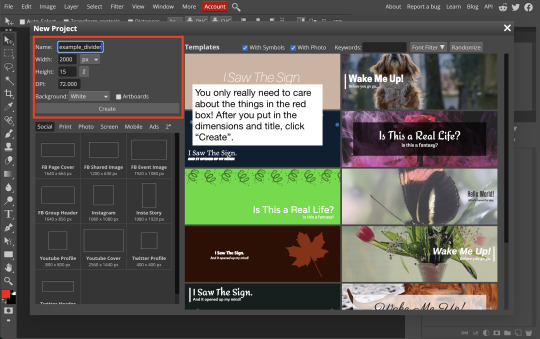
3) Create a new project - for my dividers I usually use 520 px (horizontal) by 5 px (vertical). I also usually title my dividers, so if I need to reuse them (for a series/multiple creations) I can find them in my downloads/writing folder.
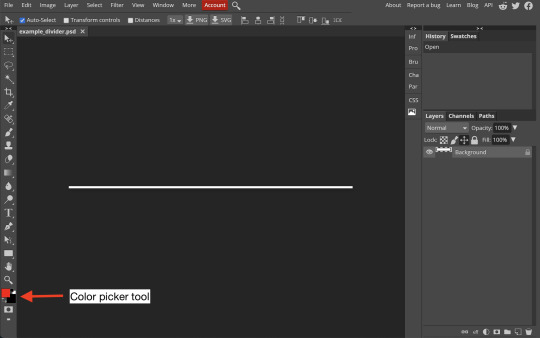
4) Pick you color
You should now see a white bar in your workspace. Click on the color picker tool. It’s the icon with two overlapping squares near the bottom of the tool bar on the left side of your screen
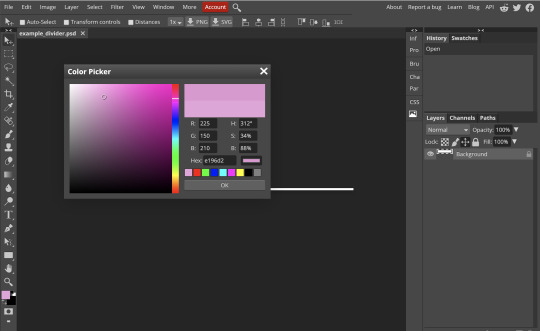
I usually just try to choose a color that matches the banner/aesthetic of my banner for the series/writing piece. Click “OK” when you’re happy with the color.
If you want to directly sample a color from a banner, you can use the sample/inkdrop tool in photopea. You can do this by opening your banner image in photopea (I’m using one of my banners as an example).
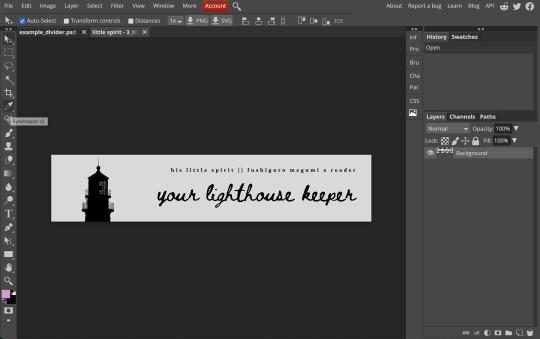
you can click on any part of your banner using the inkdrop tool (it automatically records it in the color picker tool) to sample that color, then switch back to your divider tab.
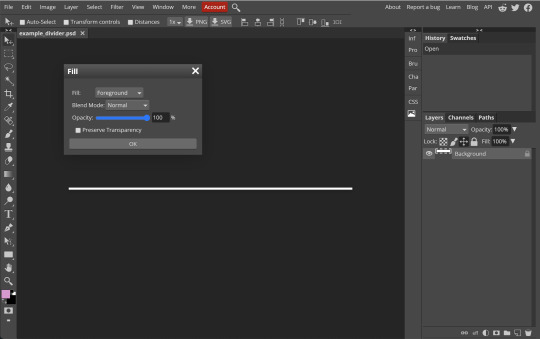
6) Fill your divider - go to the Edit Menu (upper left corner) > Fill
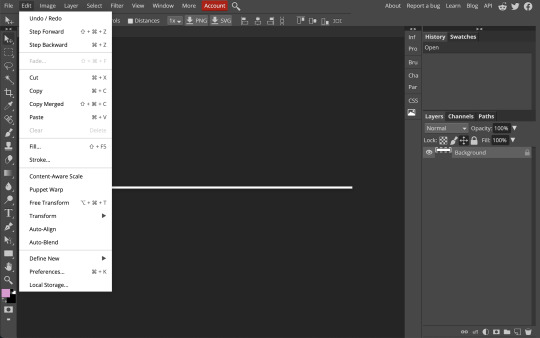
Then fill your divider (I usually use 100% opacity and don’t really mess with the settings)
7) IMPORTANT: DOWNLOAD YOUR DIVIDER AS AN IMAGE (JPG recommended)
This is really important! Since photopea’s free version DOES NOT SAVE projects, make sure to download anything you’ve finished before closing the tab. I recommend downloading in JPG format, as tumblr now resizes png images/messes up the look on desktop for PNGs.
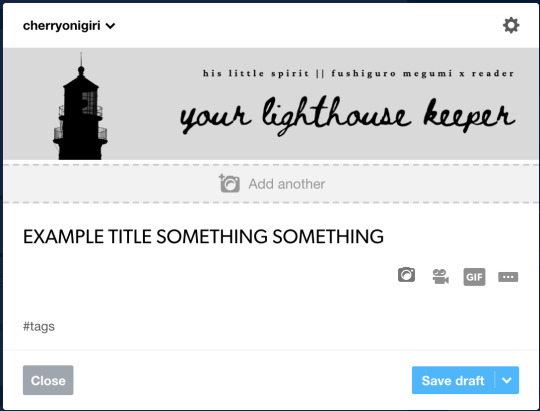
8) Add the banner to you post!
I usually use the photo post option when using banners (Banner goes in the photo album part of the post, and the caption is my writing)
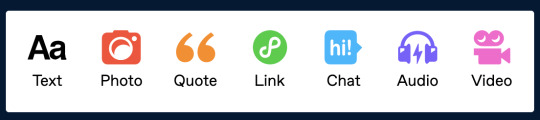
You can add the banner by clicking the camera button in the draft editor (press enter to create an empty line and you should be able to see it)
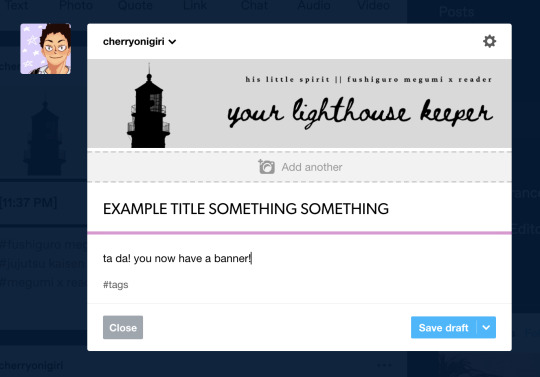
And then you’ll have the pretty line/text divider!
Hope this helps if anyone needs it - if you need help with banners, I made a quick tutorial about using Canva + where to find images to use for banners!
456 notes
·
View notes
Text
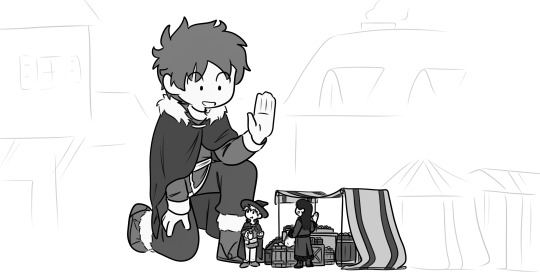
Fruit seller, I am going into battle and require your strongest fruits
312 notes
·
View notes
Text
You know what there should be more giants that are clumsy
It's so funny when
Your Giants walking
And then boom giant thud
They fell on their face or they tripped on something you know what I'm saying
165 notes
·
View notes
Text


it’s just a little chili pepper… just a little bit 🌶️
305 notes
·
View notes
Text
Day 26 of befriending the borrowers in my house. I have only more questions and no more answers.

102 notes
·
View notes
Text
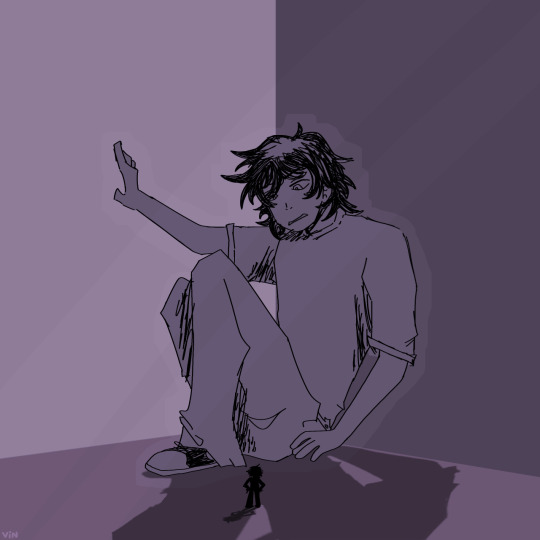
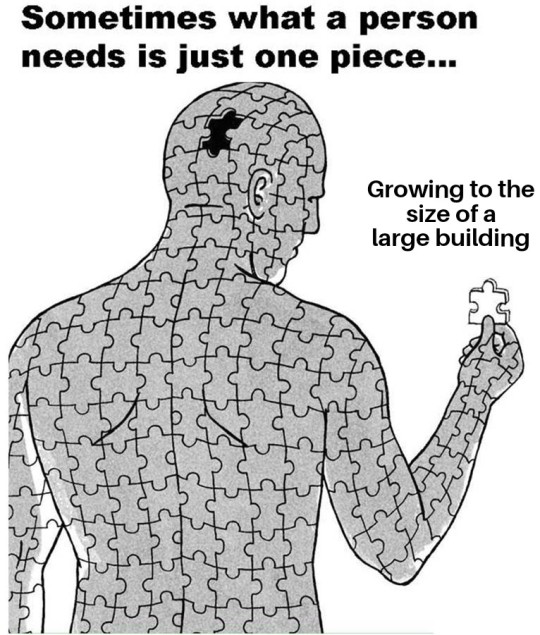
okay but what if it was the giant being scared of the tiny? its always the tiny afraid of the giant but wheres the opposite 🤔
and no i havent named this oc yet 😿
also hi lmfao im new 2 tumblr
289 notes
·
View notes
Text
Sometimes it be like that 🤷♀️
96 notes
·
View notes

Text
i love insectoid fairies...
Anyways guys meet Dean
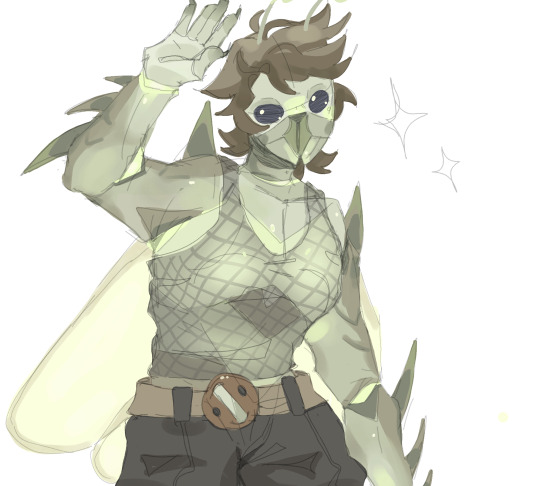
They may have possibly known a certain rat-wearing OC of mine....
(Ask me about them.pls)
39 notes
·
View notes
Text
G/T Hear me out #17
Australian borrowers
They'd just be built different
294 notes
·
View notes
Text

some pepper + basil doodles. I’m always nervous to share my art because I have a lot of room to improve :’) but I wanted to post these!
109 notes
·
View notes
Text


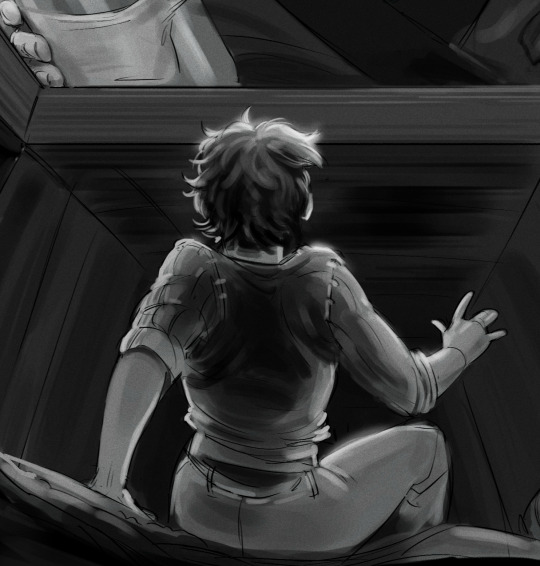
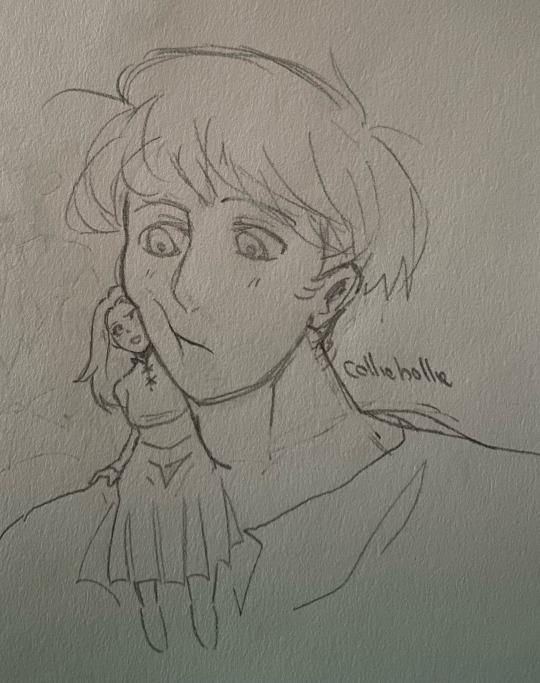
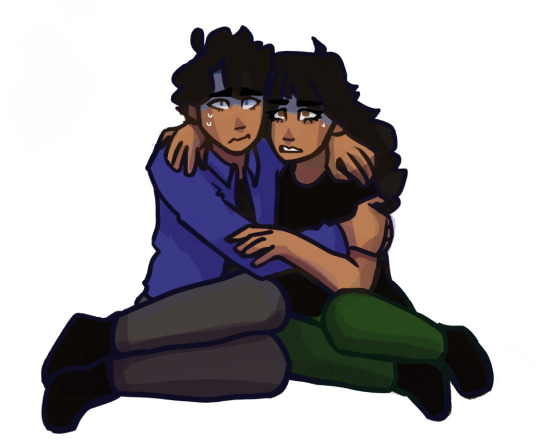
…no. Doctor Avery wouldn’t do that, would he?
[ The Art of Love and War - Chapter 7: Unmarked.]
@fireflywritesgt has captured me with their story and universe and characters and there's no stopping this madness.

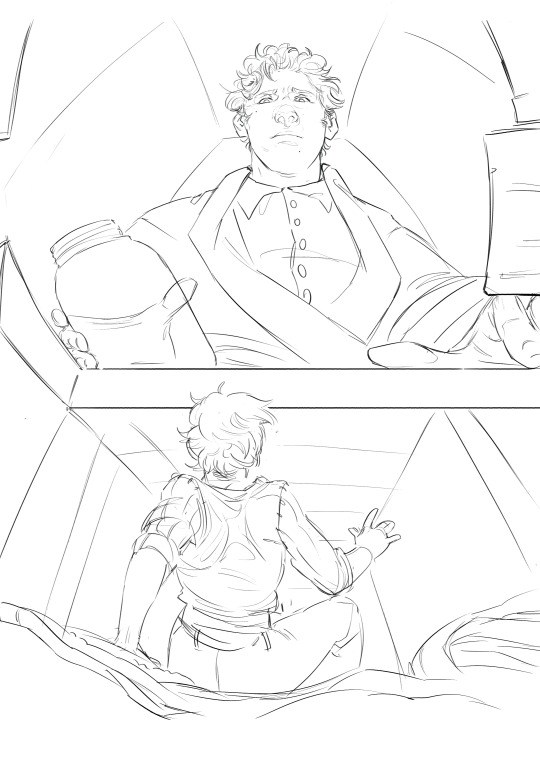
First draft + final lineart. I'm not extremely happy with the final result, especially since they don't look like Harry and Joe at all. But here we go :')
440 notes
·
View notes