issyphoto
Isobel Paull
BA Photography University of Westminster
154 posts
Don't wanna be here? Send us removal request.
Last Seen Blogs

dokidobe
yellow.dr.monv

avengemedead
Glory be the Castle that REFUSES to burn.

xdepre
xDepre

lamdeptainhaathenatrading
Làm đẹp tại nhà

queen-of-the-gingers
Xandra
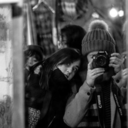
Video
This is to show how ambrotypes are negative on lighter backgrounds but positive on darker
0 notes
Text
Exhibition Hang
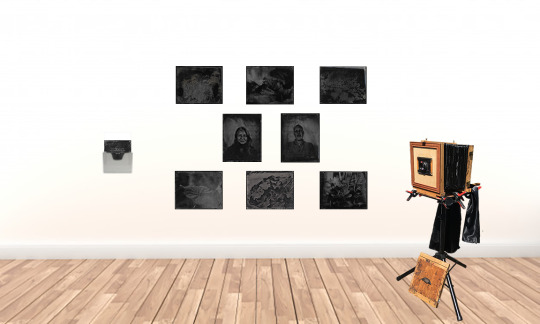
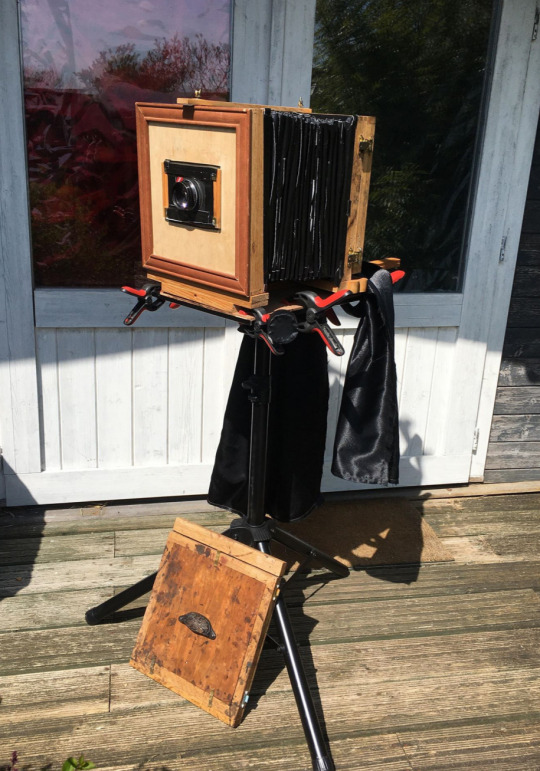
This is a rough example of the layout in which my project is intended to be hung during the exhibition. My camera will be included alongside the plates as it’s obviously the most important aspect of the project, I also want to have it presented to allow those viewing the project, to really be able to see how it works and really connect with it, so they can look through the viewfinder, focus the lens and have a more tangable experience interacting with my project.
I’ve decided on this layout of the plates for a few reasons. I’ve intended to place the two portraits of my parents at the average eye level, as they are key influences throughout this project, I feel their presence is the most important amongst the rest of the plates. I’ve also arranged the environment based plates surrounding the portraits to infer that they revolve around the two influencers.
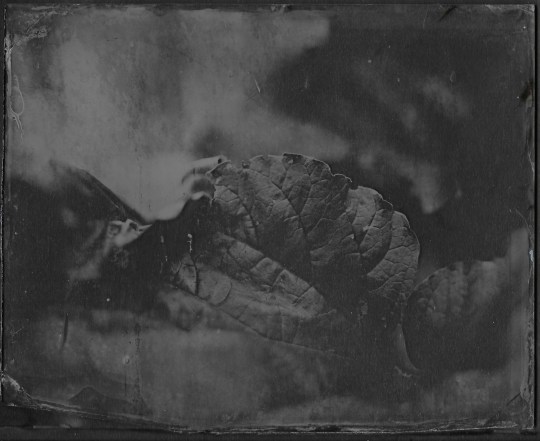
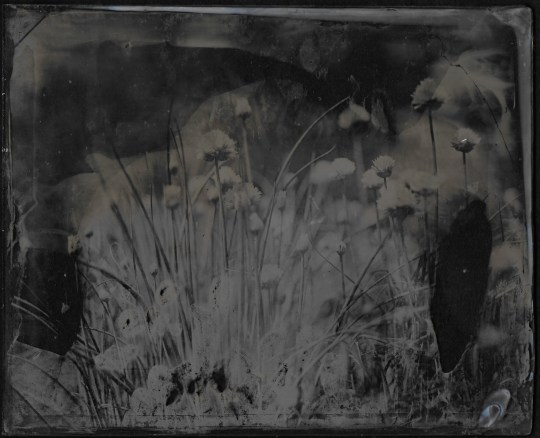
I’ve intentally shot 3 more minialist plates, with only one large leaf for example, as well as 3 more busy compositioned plates, such as the one showing several smaller flowers or a cluster of small leaves overed in textured raindrops, I’ve then spaced these out around to give a visual sense of balance, the top left and right alongside the bottom centre are the busier plates and the opposing plates are the minimal ones.
I’ve also included a space on the left where a collection of my printed zines will be presented to encourage and allow anyone interested in my project to take and keep.
0 notes
Text
How To Produce an Ambrotype
1. Thoroughly clean plates with glass cleaner
2. Line the edge of the plate (around ¼ inch in) with albumen (egg white) and let dry - this will help collodion adhere to the plate
3. Pour the collodion in a large pool in the center of the plate and tilt to flow to each corner, then pour off any excess into spare bottle
4. When the collodion is tacky/jelly, place in a silver bath and leave for 5 minutes. The plate should come out a milky white colour
5. In red light, remove the plate from the bath, drain any excess onto the kitchen roll and place into the plate holder, collodion side facing away from you. Wipe off excess silver from the back of the plate
6. Expose the plate - with Poe Boy collodion the exposure times are roughly 6-10 in shaded areas or 2-6 in bright sunlight
7. In red light, remove plate from holder and pour over developer, ensure it covers the whole plate with a pool settled on the top. When an image appears, flush thoroughly with water
8. Agitate plate in fixer until white areas turn clear
9. Thoroughly flush with water then place on a drying rack
10. Wax plates using a microcrystalline wax or specifically Renaissance Wax. Rub a large pea-sized amount on the plate using kitchen roll, until you feel the wax begin to stiffen. Then, using a clean and soft piece of fabric, rub the wax into the plate until it feels smooth and dry
0 notes
Text
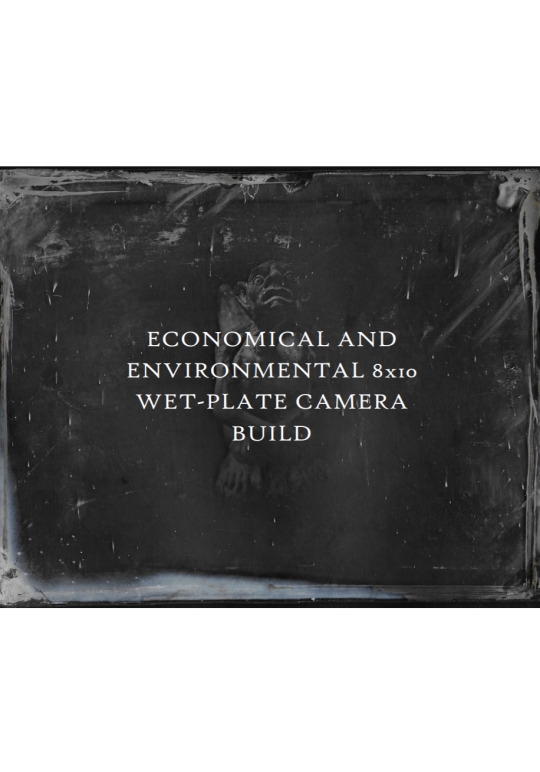
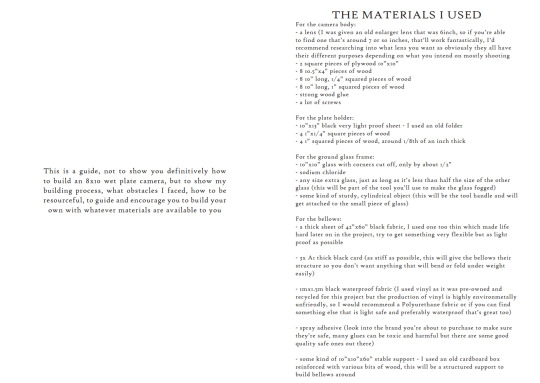
How To Build a Wet-Plate Camera
For the exhibition I intended to get this booklet printed to be given to people interested in my project. This is just a half blog half instructive booklet on how I built this camera, the intention is not to show how to make a camera step by step but how I personally did it, my thought process and my problem solving, to try to encourage the reader to try themselves with whatever they happen to have. This would be just professionaly printed reasonably affordably onto a semi-gloss card with a proper sown binding to just hand out to anyone to keep the meaning of my project in mind even after the exhibition when they get home, empty their bag and find it.


0 notes
Text
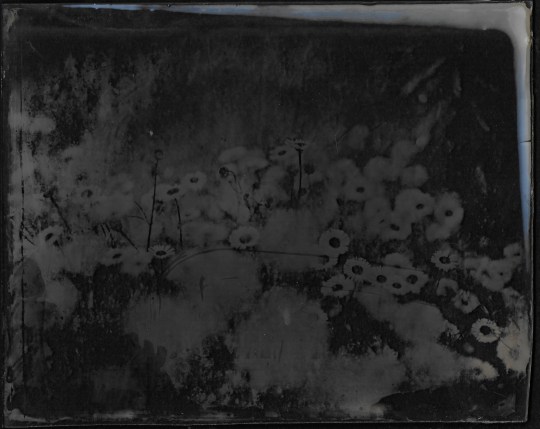
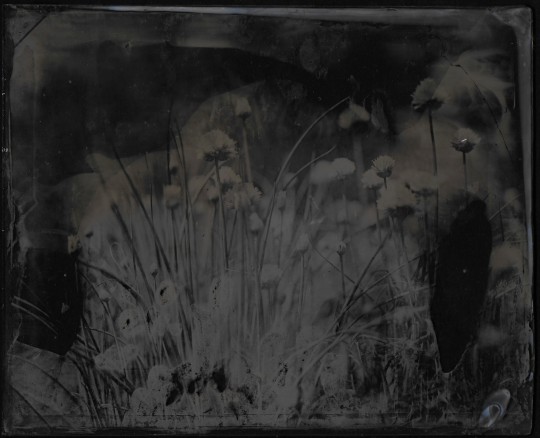
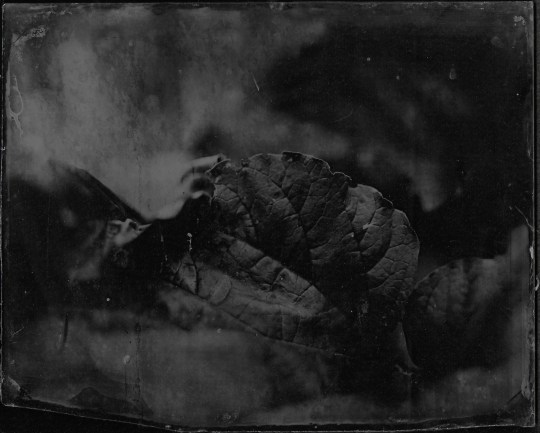
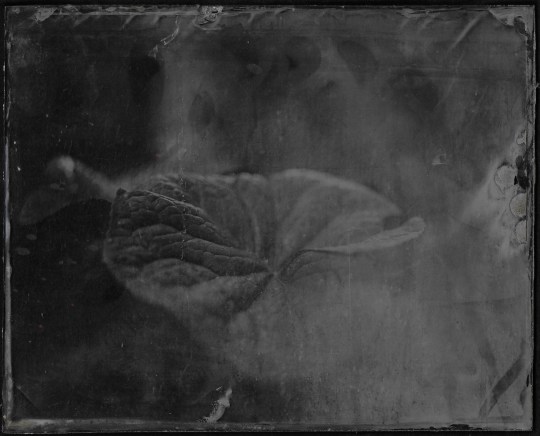
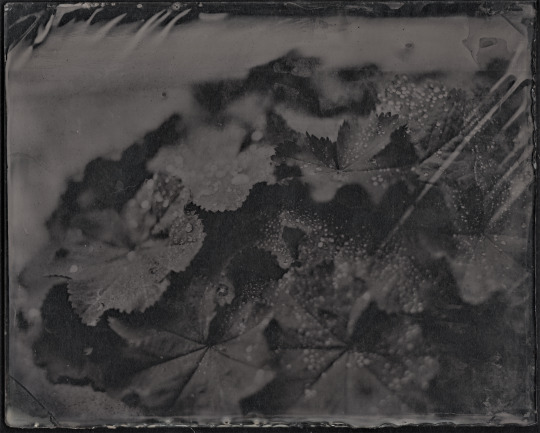
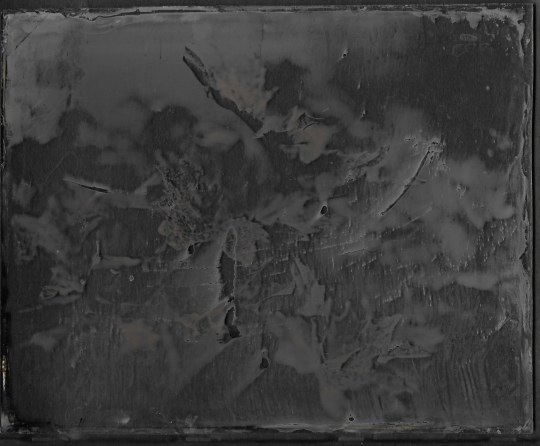
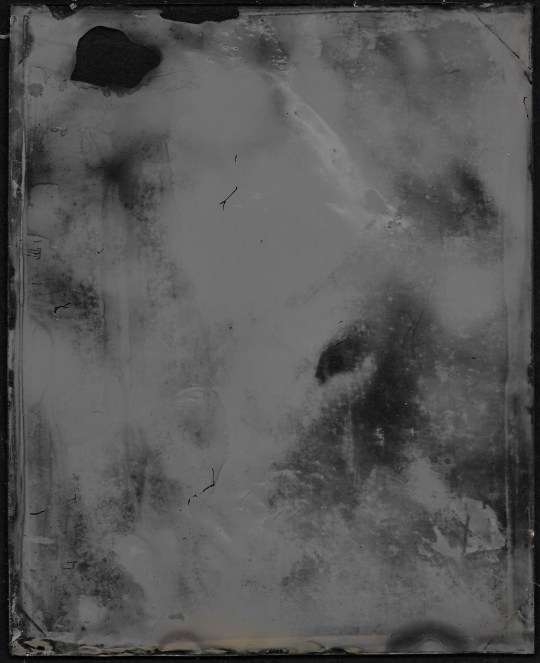
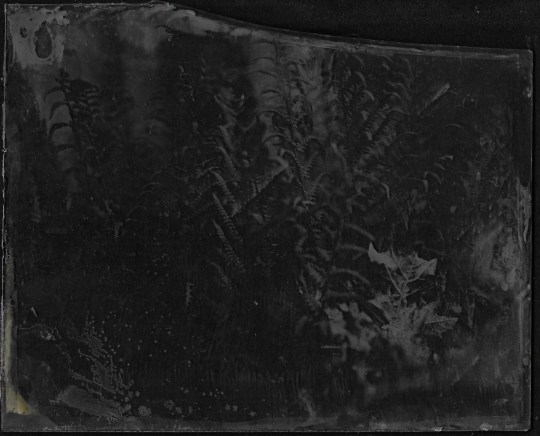
Shoot 7,8,9 Outside
These are a collection of some plates from several shoots and I’m really pleased with how they’ve been coming out, particularly those with large leaves where you can just make out the veins and marks, the shallow focus of my lens also creates this slightly more minimal composition, which I think will contrast really well against the more busy plates of flowers and fern leaves. I’m incredibly happy with how this project has developed and how these plates have been coming out, I love that they’re still not perfect, they still have weird marks and foggy patches but you can still see an image. I think I’ve already chosen some likely final plates from the past few shoots, as I said I want to do an even mix of busy and simple plates and I think I want to do a couple reshoots but I’m feeling very confident and happy with this whole process. I think it is still very clear that my own diy version of this process isn’t completely flawless, I still get light leaks, often I’m having to refocus second before I have to shoot so the plate starts to dry out or as there’s salt in the fixer, I end up with dried salt crystals over my plates, and there are some problems or marks that I really can’t even explain, but I still really love all these faults and I wouldn’t even want to change them if I could.


0 notes
Text
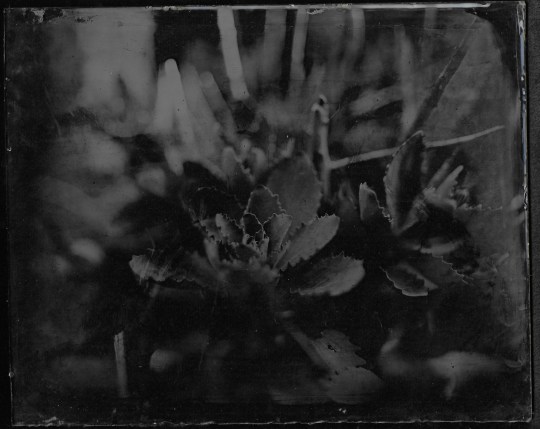
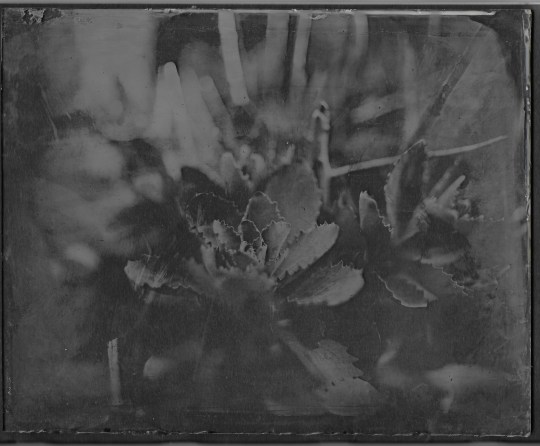
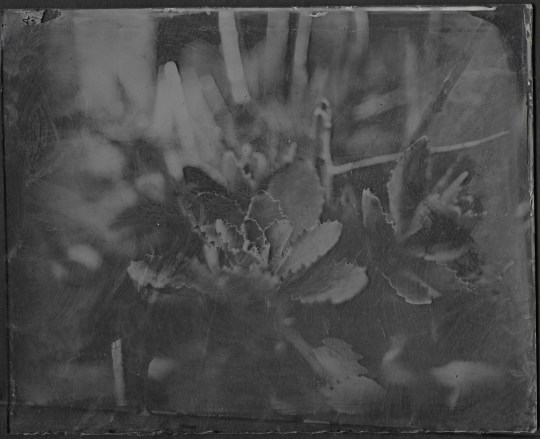
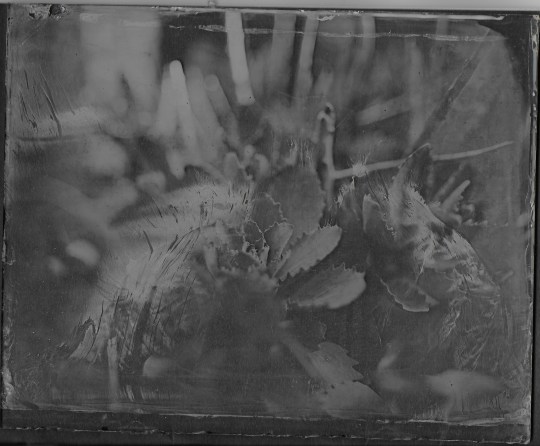
Shoot 6: Outside
When - finally - the collodion and silver nitrate arrived, I decided to focus on shooting outside, these were the first images I took from this. I really particularly liked how the succulent-looking plant turned out, as the lens I have has an incredibly shallow depth of field, I liked shooting something with layers, I think focusing on the inner leaves on this plant has given the whole image a lot of depth but I also really liked the texture of the leaves, the way the light catches the leaves highlights the little spikes around the edges which I really love. The plate with the ivy I think looked okay, it’s definitely a little overexposed and the plate got damaged whilst it was drying (as most of the plates I’ve shot have) but I’m not really that interested in the image anyway so it’s not a big loss. I also had a slight issue with waxing one of the plates but as a first attempt I really liked how these turned out.

0 notes
Text
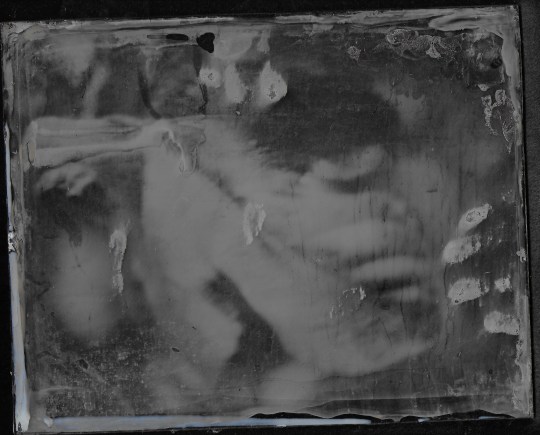
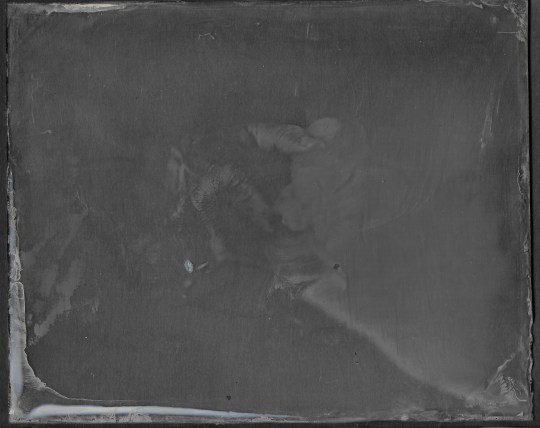
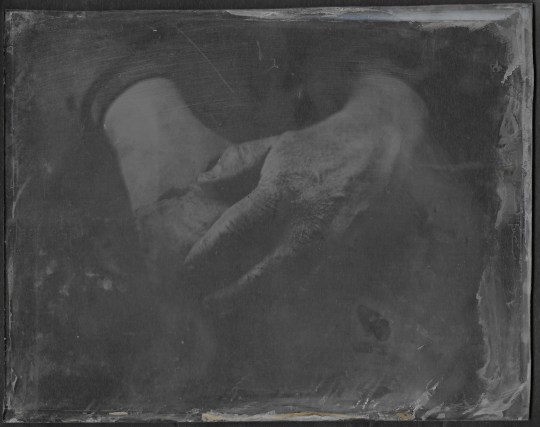
Shoot 5: Hands
It was at this point that I realised I have only a few drops of collodion left and the promise of any more was about a month away and I had only really had countless portraits to present as my final project. I had already decided that I had wanted to shoot several ‘nature’ based images, leaves and plants, but I decided with the 2 plates I had left to use to do something in the studio so I had more of a guarantee that an image would come out. Though I think because I was using the dregs of my chemicals, this didn’t quite work. I chose to experiment with shooting the hands of my parents to extend the visual concept of focusing on those who raised me to understand the importance of being environmentally friendly, but I don’t think I’ll end up using these in the final selection.
0 notes
Text
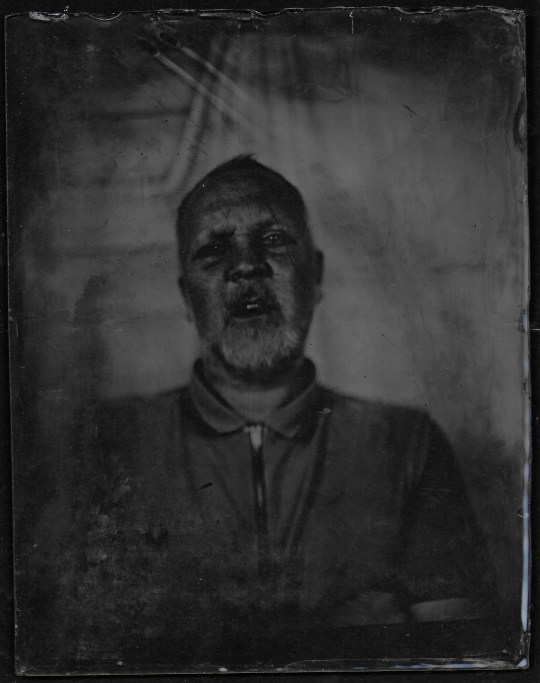
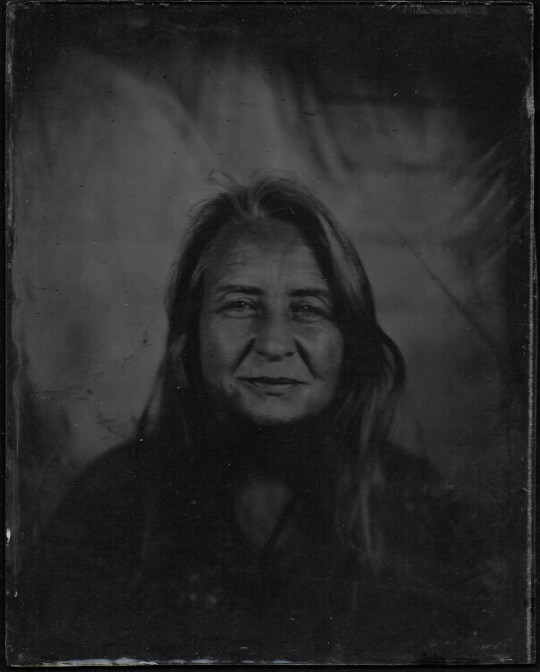
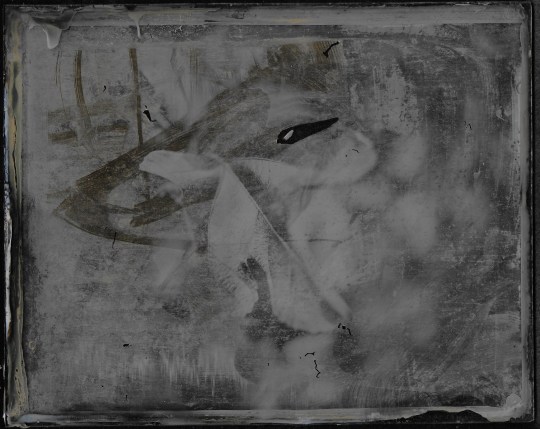
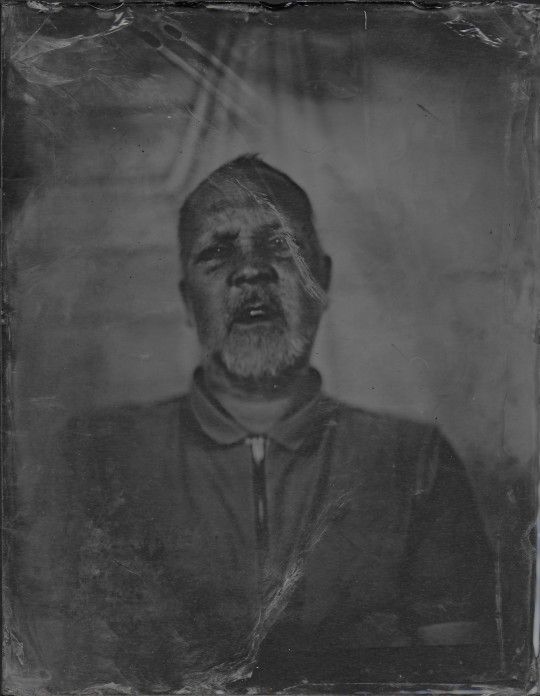
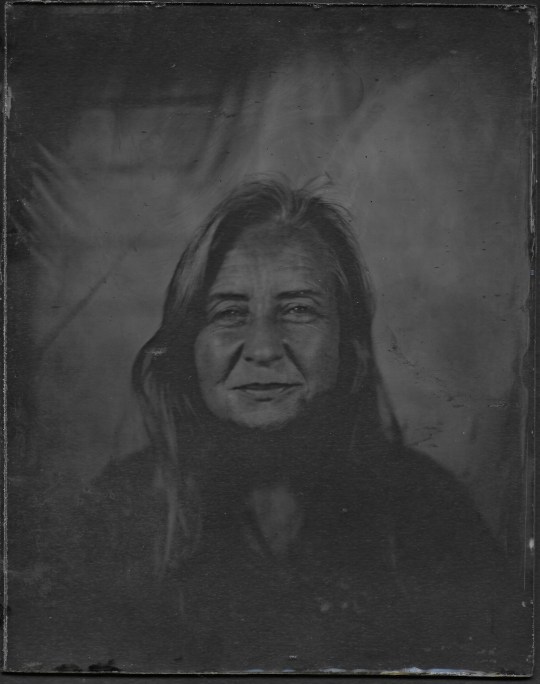
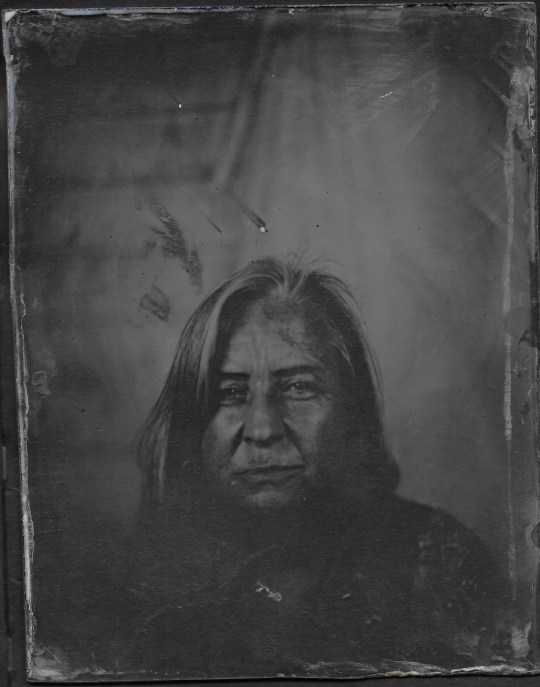
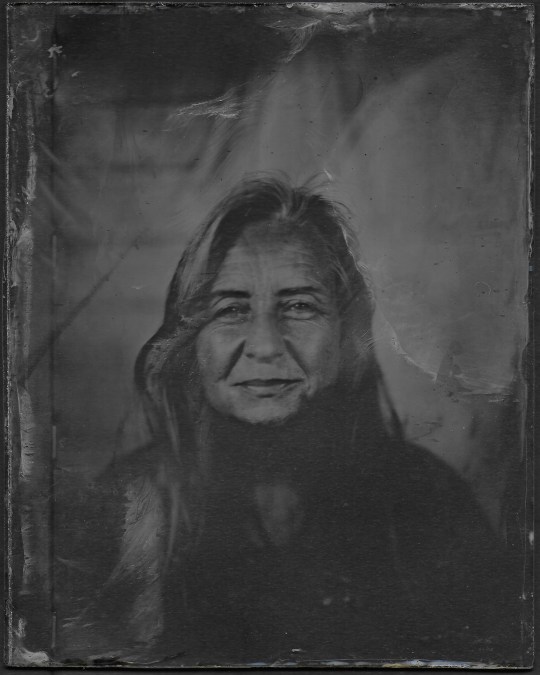
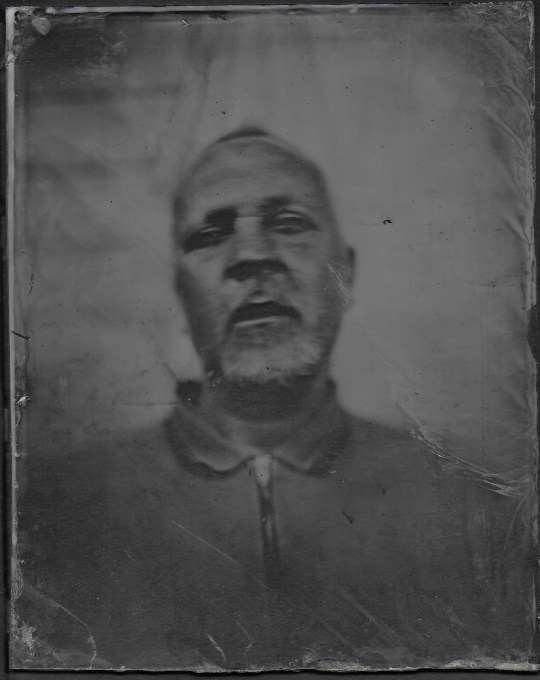
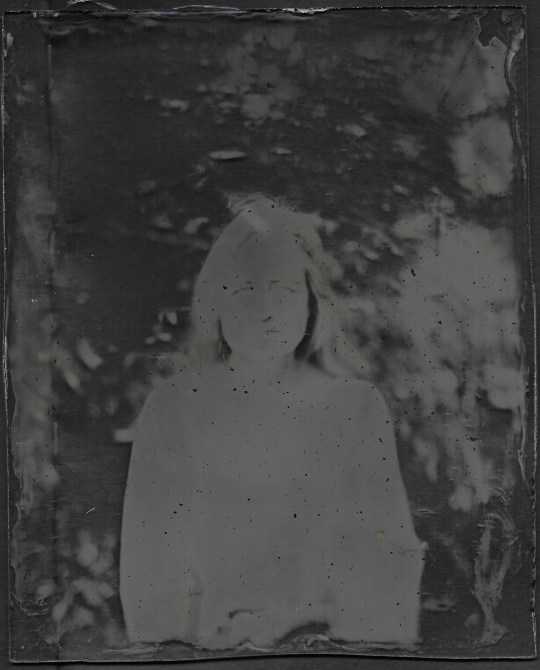
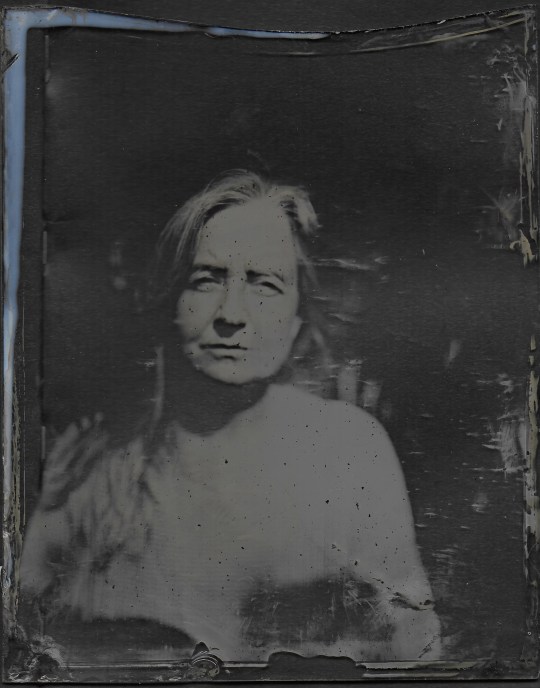
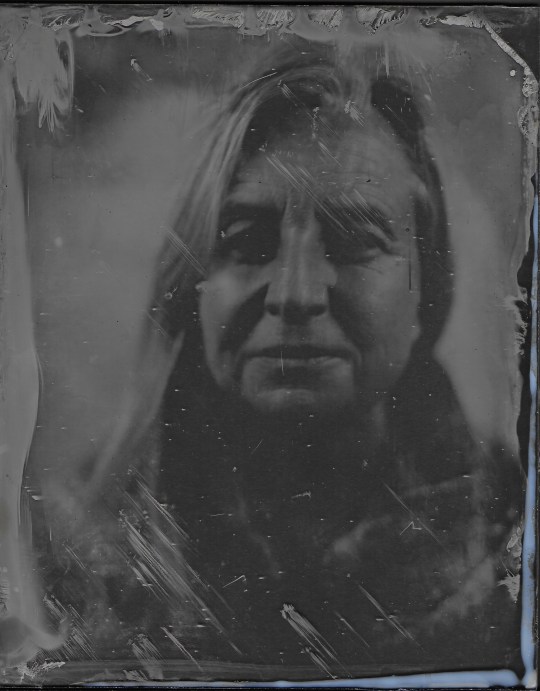
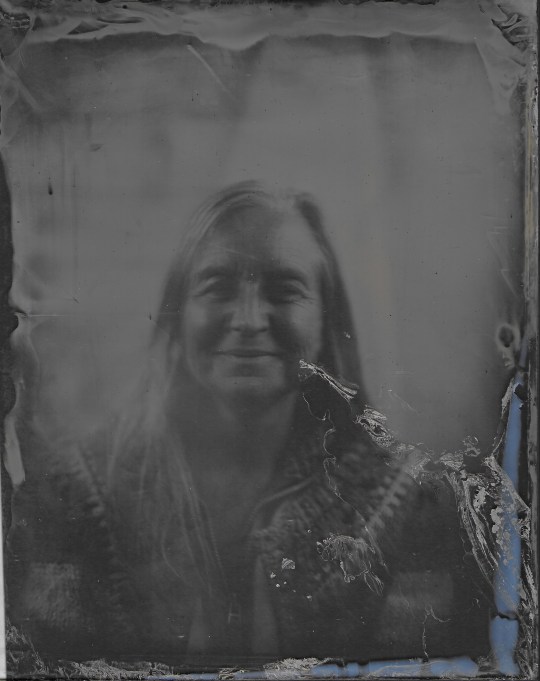
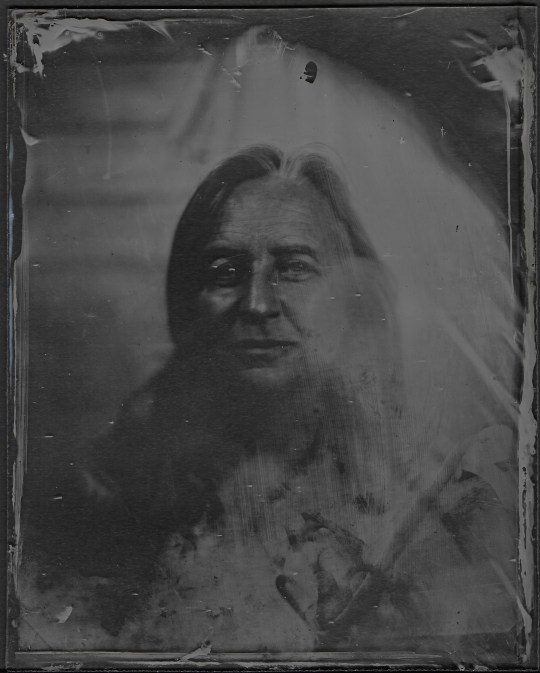
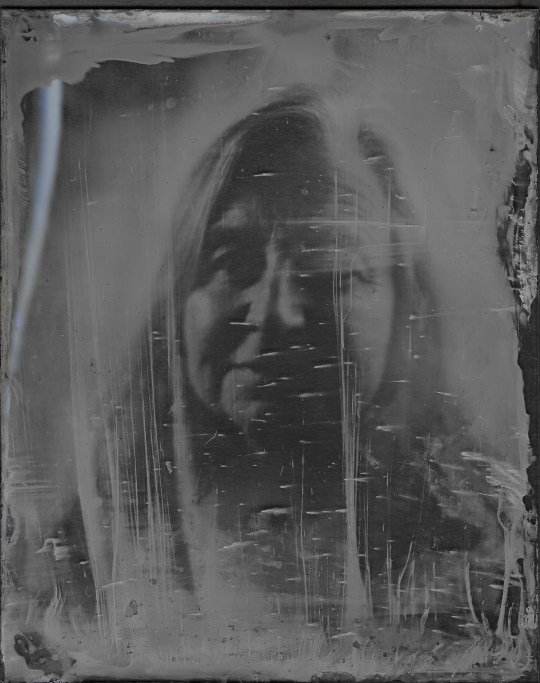
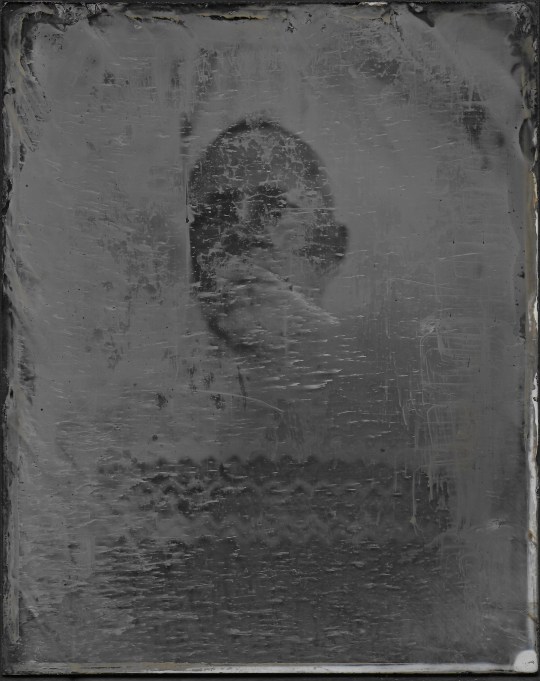
Shoot 4: Final Portraits
I decided I much preferred the portraits to be shot in the studio area I had built, I liked how I had much more control over the contrast of the image and I preferred having a plain background as I felt it gave the plate the ability to show off the unique marks much more clearly. These were the images that I strongly feel happy with and are in consideration to be amongst the final collection, I really like the highlights that are shown in my Mum’s hair and how the lines and marks on her face are really nicely contrasting on her face, I really liked how much interference the albumen marks have on the ends of all the frames here and how the collodion made some beautiful waves and lines across the plates.
0 notes
Text
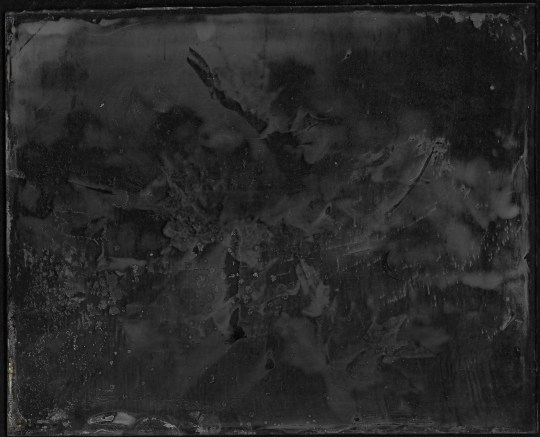
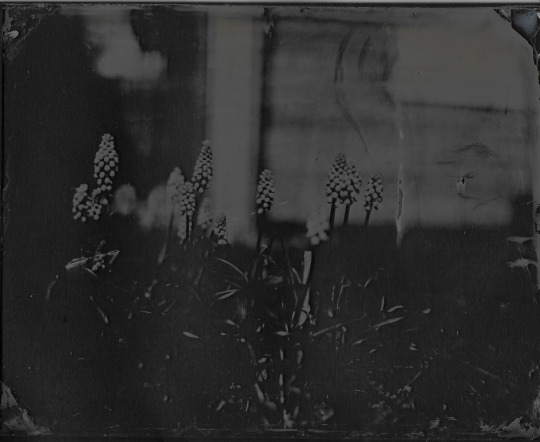
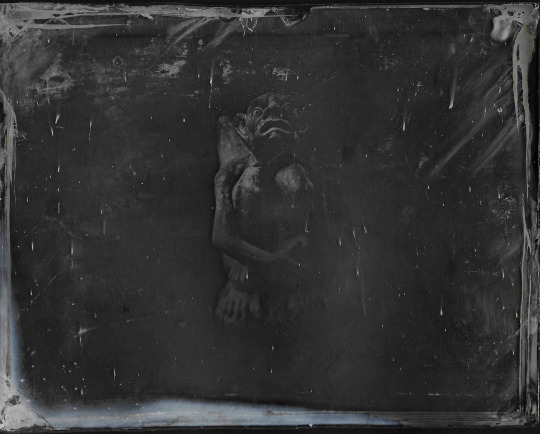
Shoot 3: Outside, Not Portraits
I decided to look away from portraits and shoot essentially what I had available to me in my garden. Due to both the coronavirus outbreak and the limitations of wet-plate photography, this was all I had access to. I swiftly realised the difference between shooting portraits with a model that I can ask to keep still, and shooting leaves or flowers which will move around with the wind out of your control. This problem however I did seem to like, the first image here I had tried so hard to keep still, I had attached a stick from the plant stem to the tripod and waited for a calm wind, but still there’s blur and movement in the plate, which again I seem to like. I also really enjoy the image of the gargoyle, it is slightly underexposed but I do like the engulfing black around him and only the highlights on his face and knees really show well. This was mainly my first attempt at understanding how different it would be to shoot outside, regardless of the content that I am shooting, so I do feel I want to stick to shooting the plants, flowers and trees that are within my shooting distance, as I feel with a project focused on the environment, an image of a gargoyle seems irrelevant.

0 notes
Text
I Made Fixer
Due to reasons explained in the post earlier, I found myself having to make my own fixer, which was really easy to put together and took less time than the developer. It only had 2 ingredients which were distilled water and Sodium Thiosulfate or Ammonium Thiosulfate and then you just mix them together. Making this fixer was a vast improvement on the previous one, I’m not sure if I purchased the wrong fixer or what happened as I purchased a rapid fixer from wet plate supplies which really didn’t do much to my plates but this fixer, the results are almost immediate, after developing there are often cloudy white areas of the image or the image isn’t quite clear and a few seconds in the fixer you can literally watch the image transform and become a clean clear glass plate with just the highlighted areas showing so you can see the complete image when a black background is placed behind it.
0 notes
Text
I Made Developer/Coronavirus Chemical Complications
Due to the current coronavirus outbreak, it seems there is a serious stocking issue, globally, with a load of different photographic chemicals, wet plate collodion chemicals are difficult to come by as it is. The only provider in the UK is Wet Plate Supplies who are experiencing a lack of ether, which is used to make the collodion as well as being out of developer and fixer, the shortage is so severe that they have had to shut their store entirely. Everyone else who provides chemicals are all in other countries which firstly, getting quite toxic chemicals shipped across seas is difficult as it is, even more so in the current situation, but even if I was able to get these chemicals shipped, still, no one has them stocked.
I then found myself in a bit of a situation as I had just one plate worth of developer left, my fixer turned out to be the wrong one and I was on the last few dregs of my collodion. I then came across a recipe for a developer that requires some household ingredients (for my family anyway, I’m not sure whether these are normal things to have stocked up), it required methylated spirits (which I had used to make a plate cleaner earlier and had some leftover), distilled vinegar, deionized water and Ferrous Sulphate or Sulphate of Iron (which essentially is fertiliser). The method to make the developer from here was actually really simple, it essentially was to dissolve the sulphate into the deionized water and then mix everything together, I did then have to filter which took 2 whole days of committed filtering, which was 1 liter filtered twice.
I used this developer for the first time on my 4th shoot, which I will be posting soon, and the developer worked absolutely perfectly, the developing times are quite a bit quicker than developer I’ve used in the past, which can be a good or a bad thing but I preferred it, with this project that exact moment when you pour the developer over and wait for any signs of an image to emerge, it’s quite a nerve wracking time considering how many times nothing had come out, so I appreciated the quicker developments.
0 notes
Text
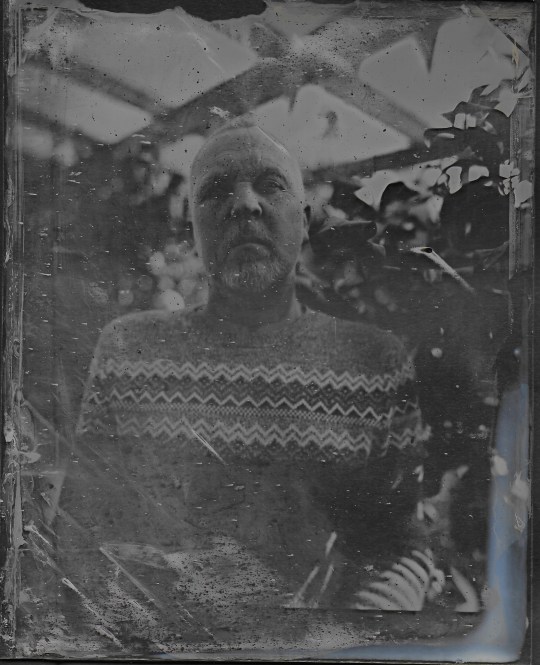
Shoot 2: Outside Portraits
These below were my first attempts at shooting outside - the brightest image at the top was the first attempt with an exposure of only 3 seconds, followed by the one below that with just an exposure of 1 second. This was a bright day so the sun was quite intense and as I’m acting as the shutter I can’t go much lower than a second and have it accurate, so I moved under the shade, still outside and used a 3 second exposure here, which came out really well. The only problems with these are the white scratch marks going across the plates, these would usually be welcome as I really like how the chemicals interact with the plate and I like the unique marks, but for these I’m thinking that they’re covering too much of the image. Much later after this shoot I discovered that the source of these marks was due to the collodion, which is obviously a liquid but around the cap of the bottle, where bits of the collodion can dry, it forms solid pieces which run onto the plate - some small enough to not be noticeable, but as the excess collodion is poured off the plate, it also pools around these raised bits so the white marks are just thicker pieces of collodion that are too thick to develop properly.

0 notes
Text
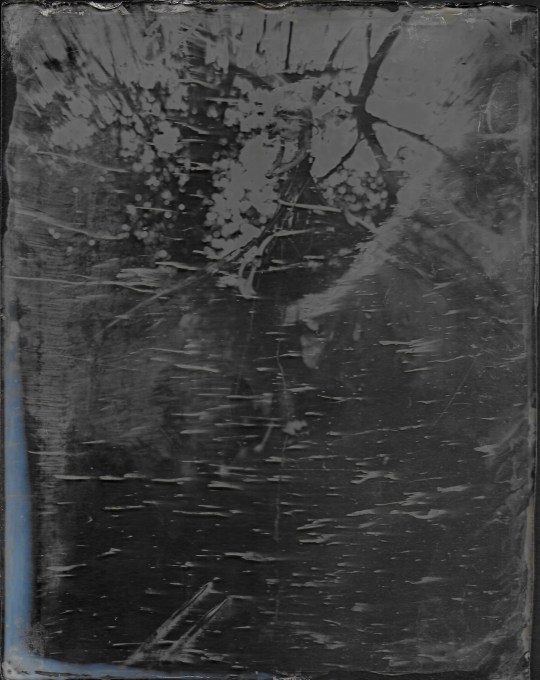
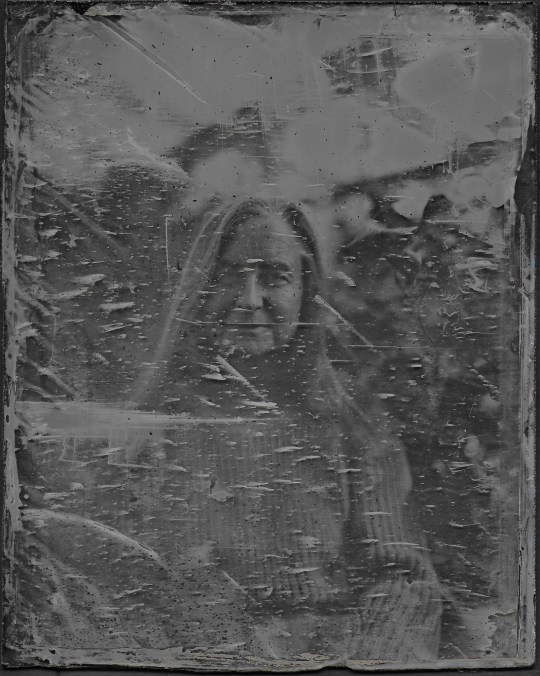
Shoot 1: Studio Portraits
The plates here were the first set of plates that I had done alone in my own home, I think the path of improvement is definitely clear here, the first came out blurred so I took care to not touch the camera whilst exposing. On a few plates there’s a slightly blue/white tinge to the edge, I then figured out that this was caused by not leaving the plate long enough in the fixer. A few plates also had these weird scratch marks which I could only imagine the cause would be from the dark slide being lifted a scraping across the plate, or perhaps excess chemicals being left on the dark slide which were being wiped across the plate, so for the next plates I made sure to sufficiently drain the plate when it came out of the silver nitrate bath and then wipe the back, un collodion-ed side of the plate clean so there was no chance of dripping, this seemed to work. I found that I really liked these slightly under-exposed plates better, then this one plate of my dad, I have absolutely no idea what happened and I couldn’t figure out what could have possibly caused this, I didn’t do anything differently here, I’m not sure if maybe the plate started drying faster as this was one of the later plates during the day so the room was warmer, I’m not sure, it also seems to have these specks that are smudged slightly across the plate, looking back on this after a short time after this shoot, I think that something I know now but didn't then. Near the end of the collodion bottle, it develops these small crystal-like pieces, I assume it’s dried collodion that had gotten stuck to the lid and fallen into the collodion, so as I placed the plate landscape into the silver nitrate bath, I think the flow of the chemicals pouring off the plate as it was pulled out would have gotten caught on these solid pieces of collodion.
0 notes
Text
Glass Cutting/Recycling
The glass I’ve been using has been completely recycled from old greenhouse glass that had been sitting getting dusty in the greenhouse at my home. Most of this glass was chipped or cracked but salvageable. I’ve only cut glass once before, for the ground glass on the camera, so I’m not perfect at it so some plates I’ve been using have all had chipped and unclean edges which I think I prefer over having clean and pristine glass.
0 notes
Text
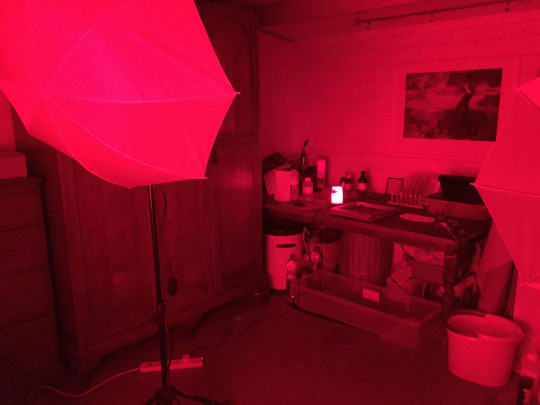
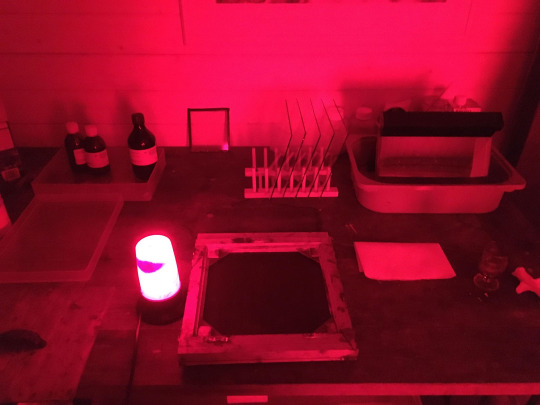
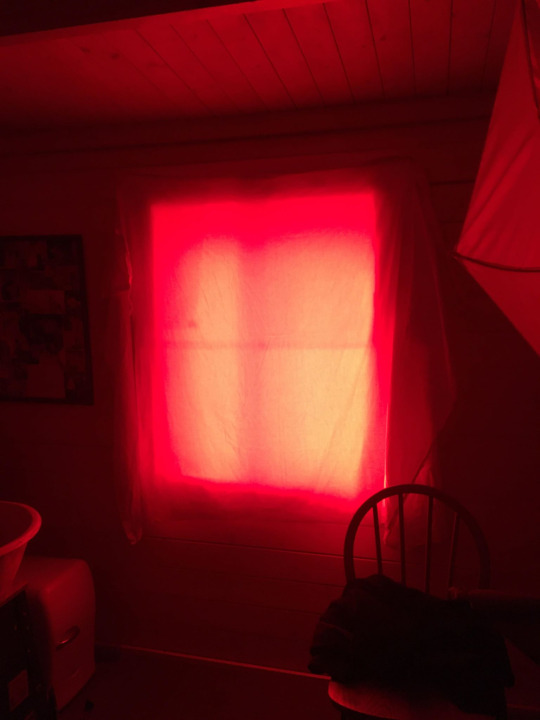
Studio/Darkroom Tour
The original darkroom that I had built last semester was just a little too cramped and during the class, I had discovered that the chemicals often give off certain toxic gases which I really shouldn’t have been shut in a sealed cupboard inhaling, so conveniently for me, my parents have a wooden cabin in the back of their garden which had not been in use for some time, so I took the opportunity to steal the space while I could. I sealed the windows with red plastic/gels, as the collodion becomes sensitive to UV light, it is unable to pick up red light, so I took the opportunity to keep as much light coming into the room as possible, which makes the room surprisingly bright. The room is also big enough for a table to assemble and develop the plates as well as an area for lights and a seat which became a makeshift studio space, which is incredibly helpful to be able to wet the plate, load it up in complete darkness and expose the plate and then immediately develop, as wet plate, of course, has to be wet throughout the whole process so time is quite tight from the moment you pour collodion over the glass.
0 notes
Text
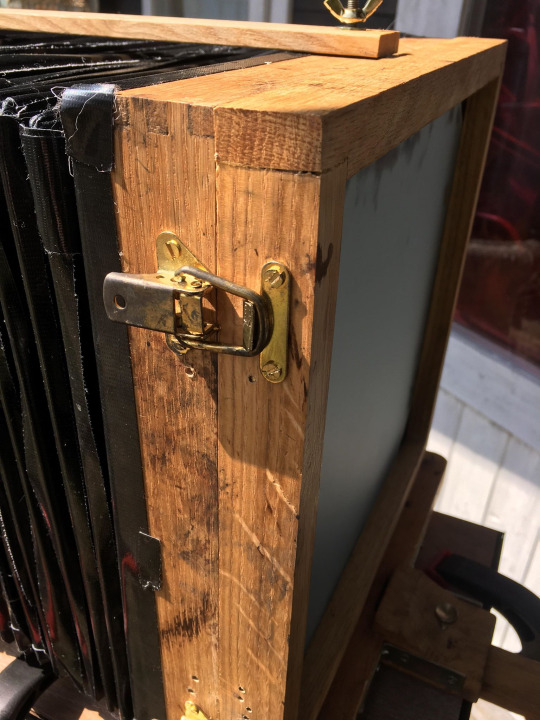
Camera Build Updates
Following the class with Almudena, I decided to tweak a few details on my camera. Firstly, the bellows were leaking light at the folds, so using some heavy-duty, thick black tape, I covered the more delicate areas which worked perfectly to ensure the whole camera is light-tight. I then addressed a problem I’ve been trying to solve with the tripod, so far I had been using an old tripod I had owned that was built to be used for normal-sized cameras, so the entire camera measuring at around 20x12 inches was sitting on a stand that was a slightly broken 2” mount, so if someone nearby breathed, it would sway and be quite unstable. To solve this, I had been given an old slightly broken projector stand, to which I used a piece of plywood that sits flush in the stand that is permanently fixed on the monorail of the camera and held down by clamps (this is possibly a temporary fix but it works really well).
The back of the camera holding the ground glass door where the plate holder slots into was also a slight issue as the weight of the ground glass door was making the camera unbalanced, and when you load the plate holder in the back the camera gets moved around a lot in the process and the plate holder isn’t that securely fixed into the camera, it’s more a case of it’s just jammed in the gap. So to combat this issue, I removed the ground glass door altogether and added hooks and latches onto the camera and both the ground glass and the plate holder, so when it’s time to load the camera, I can remove the ground glass completely and put the plate holder in its place and the latches allow the plate holder to be tightly and securely attached in the camera to prevent light leaks and camera shake. These slight adjustments have changed the camera completely, it’s incredibly easier to work with, it’s much more secure and trustworthy.

0 notes