
hauntlita
♡𓈒 ㅤ∿⏳ ❛ TIMEKEEPER ❜
🩷𓈒ㅤノ edits by vashwoodyuri ♡𓈒 ❛ TIRED OF RUNNING ? WANT TO BECOME DOUGH AGAIN ? ❜ ♡𓈒 blog for reblogging npts ) id packs && more !
75 posts
Last active 2 hours ago
Don't wanna be here? Send us removal request.
Last Seen Blogs
jamsgallery
jams

dragonflylady77
we stan billy hargrove in this house

irezasblog
Untitled
richardhildingsson
Richard Hildingsson
Note
can you do a rentry for renri midou from villain by fujita thanks
who is that . btw this is a blog for reblogging resources / nm
0 notes
Text


♡。 ⏳ icon ノ 🩷 dividers 。♡

➳ 。 hi ! here's a masterlist of some of my favorite psd colorings i plan to use && already use ! hopefully this post will be useful to someone ! ♡
♡ elegant soothsayer by kiochisato
♡ sweet bubbles by kiochisato
♡ true heart by kiochisato
♡ blanket (( riamu yumemi )) by circuswhisprs
♡ psd dump by aogumis
♡ trick-or-treat (( huohuo )) by circuswhisprs
♡ empire (( furina )) by circuswhisprs
♡ plushie by essthereal
♡ cotton candy by essthereal
♡ valentine’s day by akiemuletter
♡ torabolt by normalsolutions
♡ stage director by normalsolutions
♡ mantichora by normalsolutions
♡ magnificent interlude by diaflan (( ← leads to ko-fi , it’s free tho !! ))
♡ dizzy worldz by diaflan (( ← same here !! ))
♡ night fever by rosendoru
♡ pink covers the pain by rosendoru
♡ chocolate mint by rosendoru
♡ unyielding flame by lumieron
♡ vivid bad squad pack by canarysage
♡ more more jump pack by canarysage
♡ latibule reverie by canarysage
♡ melted creamsicle by canarysage
♡ petrichor perfume by canarysage
♡ chocolate hearts by canarysage
♡ childish overload by diaflan
♡ psd by user (( ← base ))
ノ let me know if you'd like to have your psd((s)) removed from this list , thank you !

88 notes
·
View notes
Note
hii ... I'm not sure if you've answered something like this already or if you're comfy with it, i wanted to ask how did you do the outline around the animation like on the 1st banner and 1st & 3rd icon on this post ? — https://www.tumblr.com/essthereal/740814612374700032/prune-juice-cookie-discord-layouts-made-by?source=share

it's no problem at all nonnie~ here's how u do it on photoshop ( under the cut !! )
alrightyy ur first step is to open your gif !! it should automatically have ur frames in the timeline shown below
ur gonna select all the timeline frames -> hit the drop down -> convert to video timeline
then select all the layers -> right click -> convert to smart object ( you could also do select all layers -> filter -> convert for smart filters , they're the same )
add your stroke ! if you want more than one outline like in the example , convert your layer to smart object again and repeat the process
a video below for your convenience . hope this helped :3 !!
138 notes
·
View notes
Note
Heyyy. . :3
Idk if you are fine with questions but I'd like to ask where you get these gifs from.. And how u color them..

Your post with these banners
haiii!!!!!!!! these r the overlays below :3 i get most of these from pinterest,, i recommend searching up keywords like "gif overlays for editing" but im pretty sure u can find these also on tenor
and the coloring tutorial is under the cut !!!!!!!! (it is again, long)
how do i color my overlays?
... is what ill be teaching u today! follow my steps
step zero : make the color first !!!
this will be used to color the overlays, your free to make it look like anything, throw in some gradients or some dots!!!


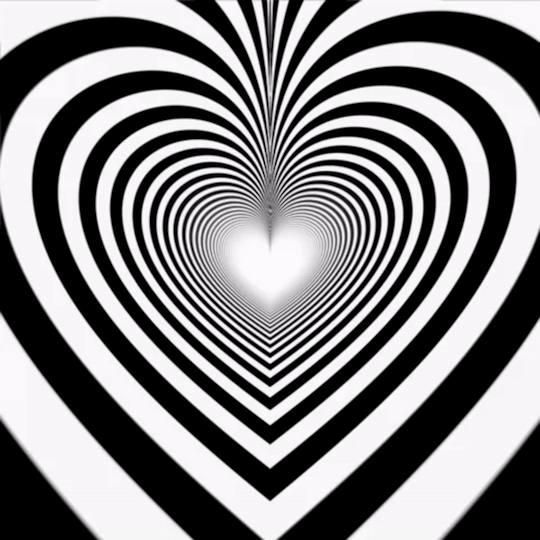
first, ill show you how to color the heart tunnel! ill be doing this on capcut, but this can probably work on most programs! follow my steps!
step one : add the images
make sure to first add the background and then add the overlay!!!


step two : color it
to do this first click on the overlay, scroll till you find "blend" and then click "dodge"

then save! this will be the end result, tada!

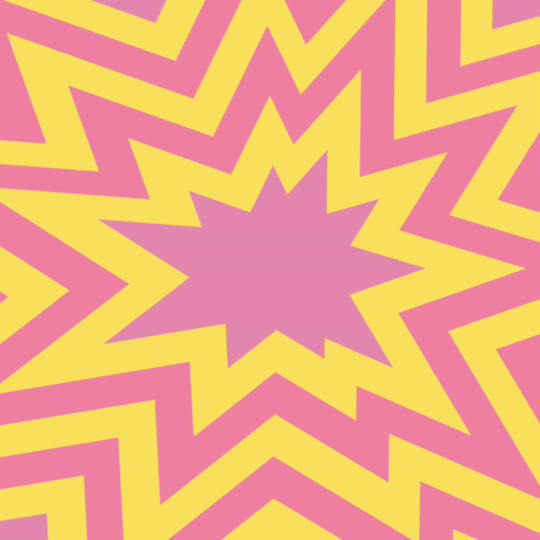
wasnt that hard, was it? now lets do the other overlay! ill be doing this again on capcut but this can work on most programs!
lets keep going!
step one : add the images
this time, add the overlay first and then the color! scroll til you find "overlay" -> "add overlay"
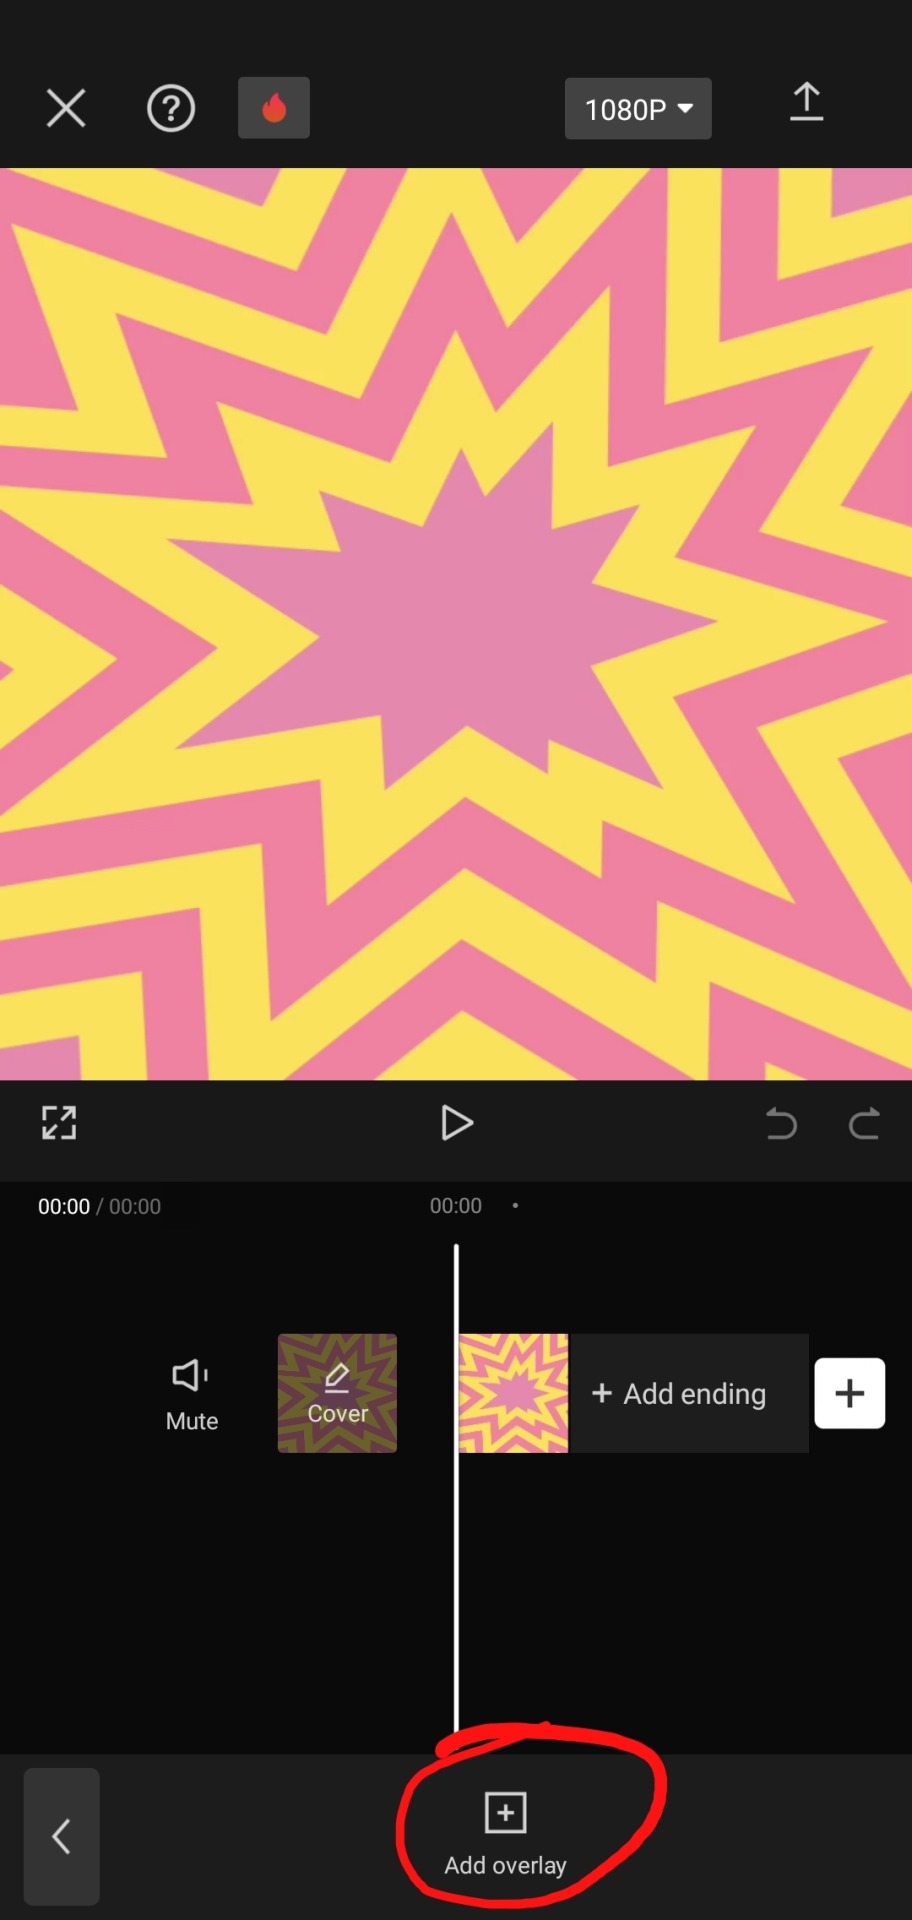
step two : color it
scroll til you find "blend" -> "filter"


and now save! and you are finished!

tada! now this is the end result!
additional steps: if u need to make it a gif, convert it on ezgif
hope this tutorial is easy to understand and helpful!
105 notes
·
View notes
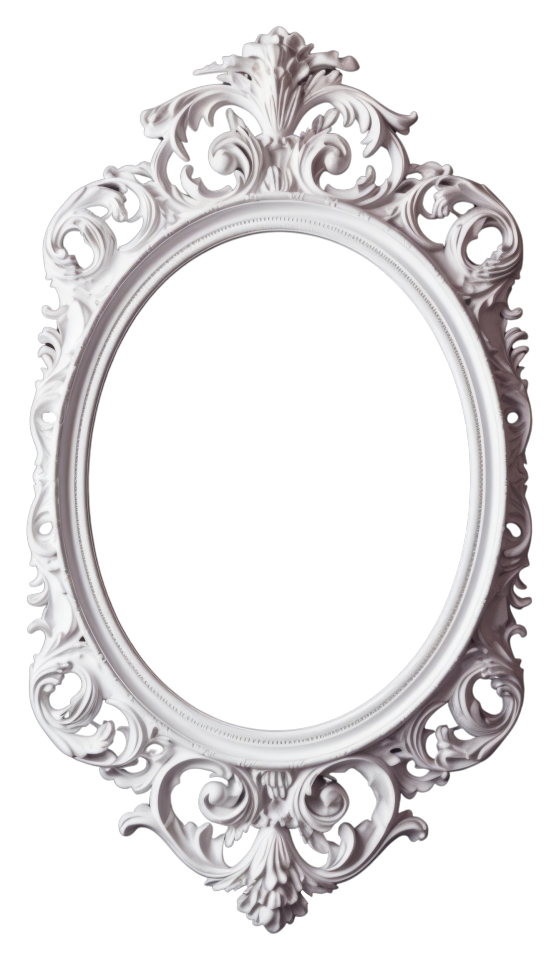
Text

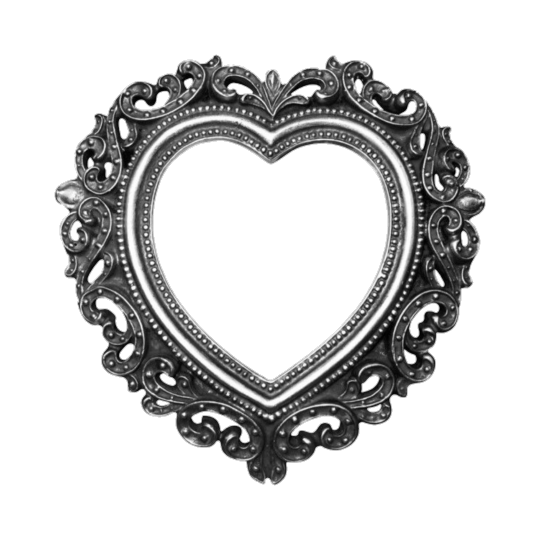
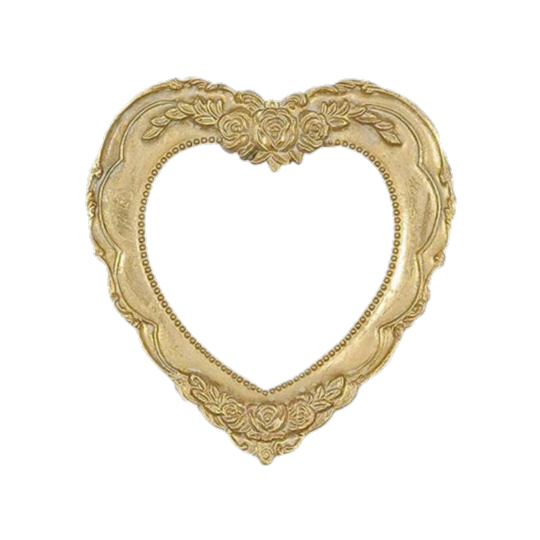
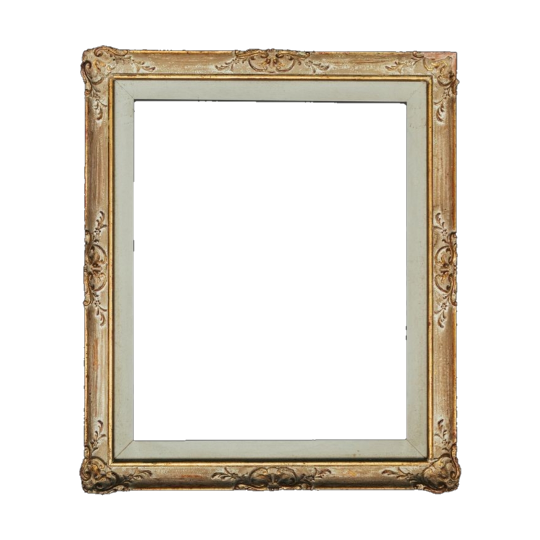
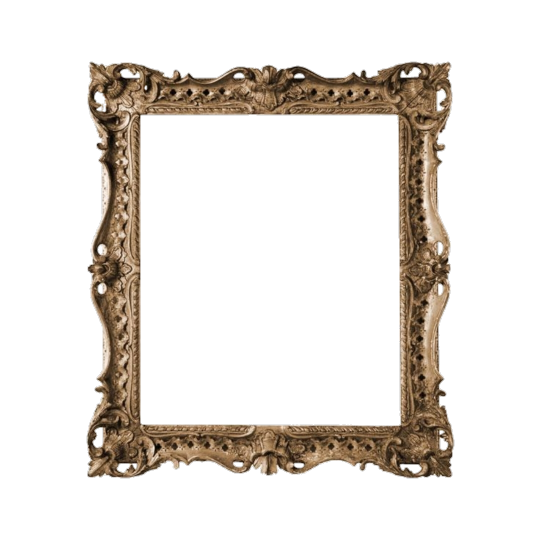
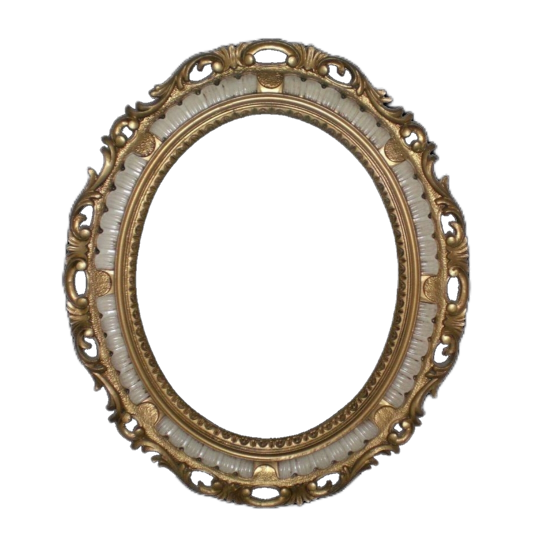
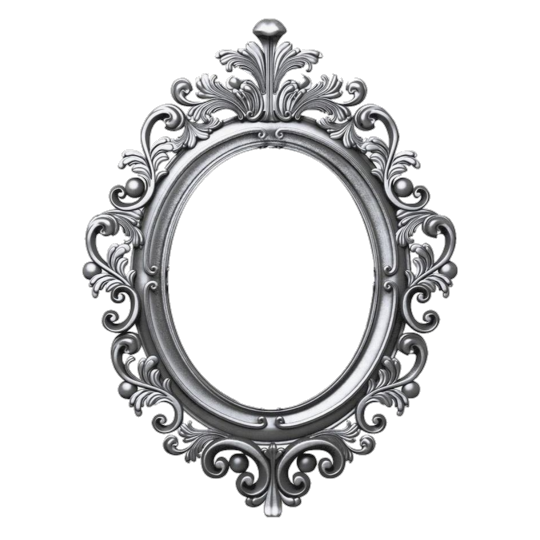
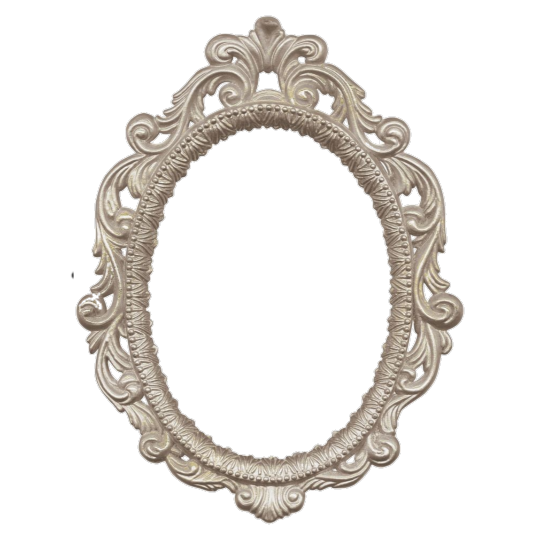
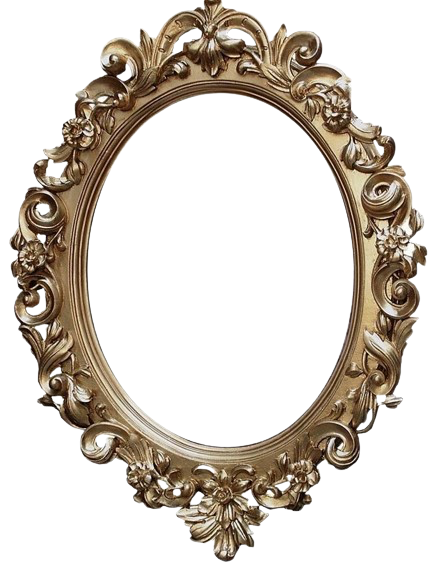
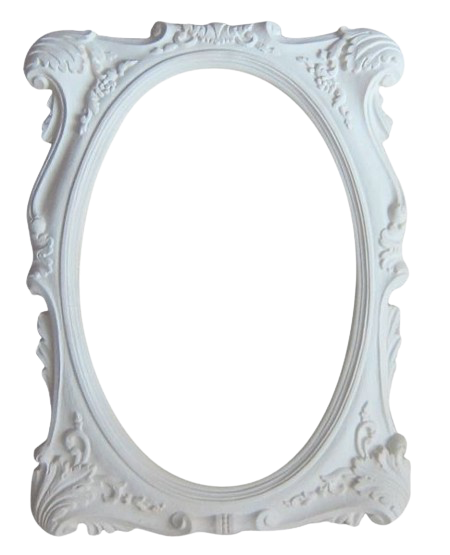
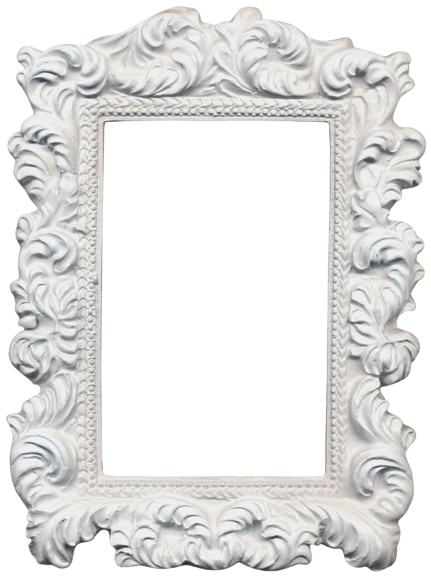
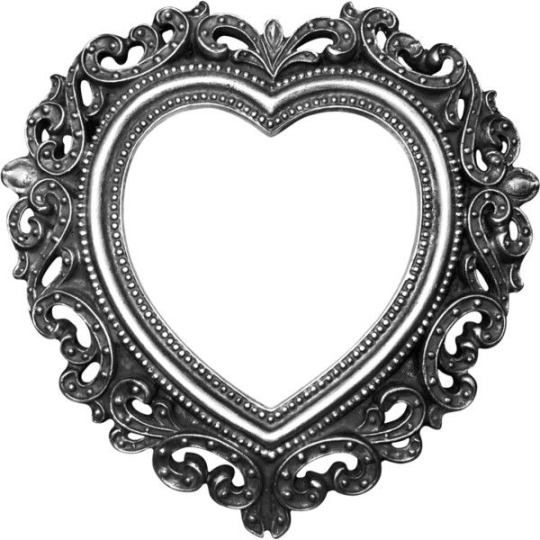
❝ Frames ❞
; Just thought I'd gather some of my favorite frames in a post.. in case someone else might need them :3 reblogs appreciated but otherwise f2u !!


389 notes
·
View notes
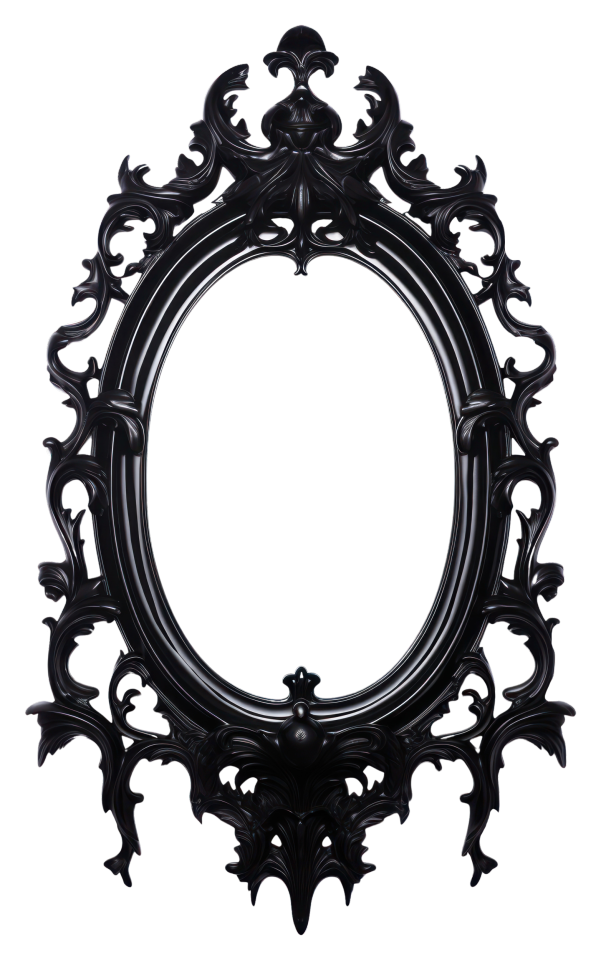
Text


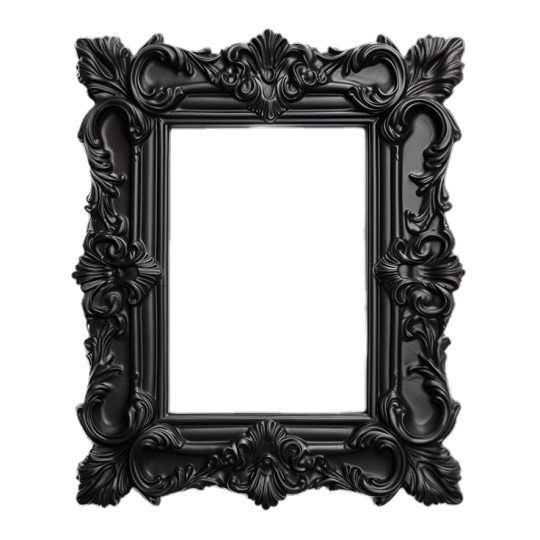
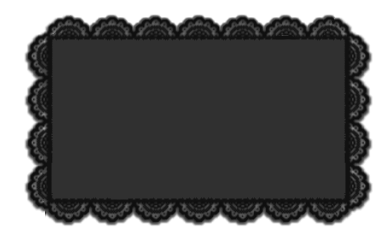
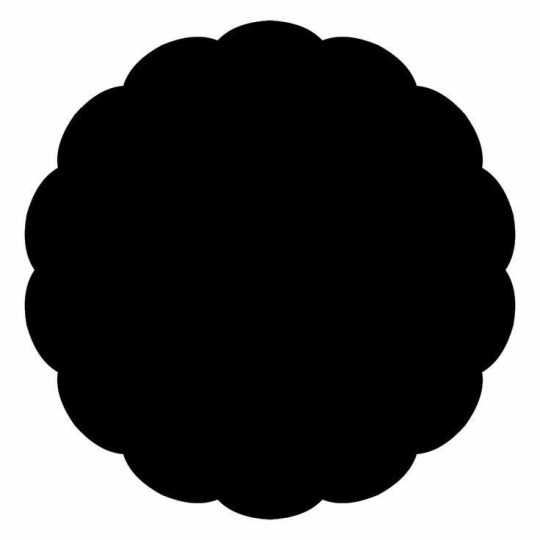
black frame for your pastebins ^__^
— f2u, credit extremely appreciated
frame with no border + layers under the cut


502 notes
·
View notes
Text


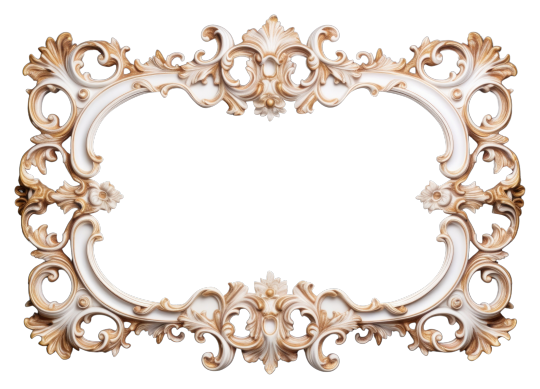
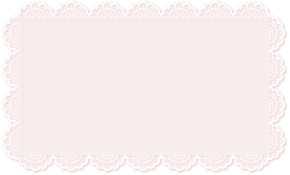
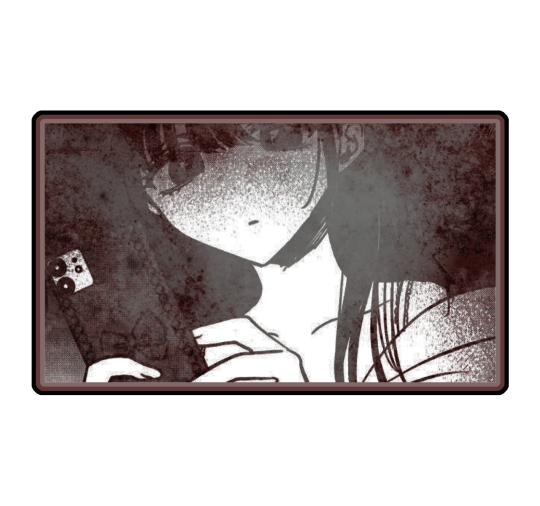
♰ Frames for Rentry graphics *ೃ༄ ࿐
2K notes
·
View notes
Text


𝜗𝜚 . FRAME PNGS FOR RENTRY GRAPHICS!!
2K notes
·
View notes
Text


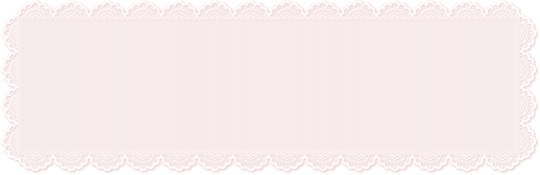
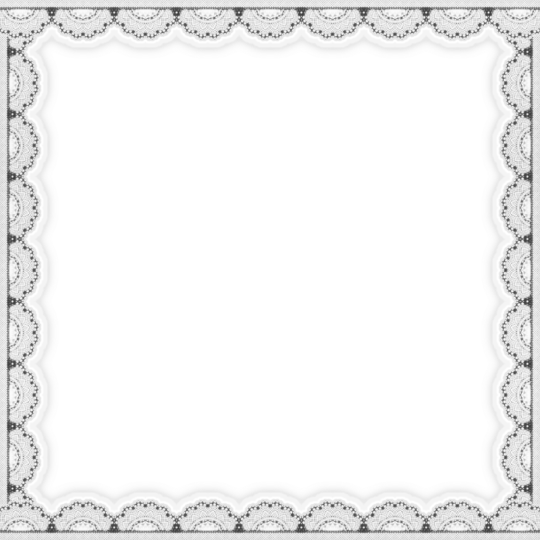
Laces for rentry
2K notes
·
View notes
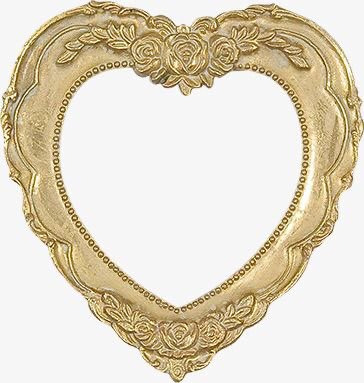
Text


𐙚 . RENTRY FRAMES!! : FREE TO USE
1K notes
·
View notes
Text
frames i use ! :3


1K notes
·
View notes
Note
haiii i love ur style and i was wondering if u are open to maybe sharing the masks you use for some layouts,,, i completely understand if not!! but id love to be able to recolor and use diff images than the ones u used for my alters / friends
hi hi ! for the headers i use dividers , all by mira ( @/angeldollys ) && essie ( @/essthereal ) you can find them all here && I ALSO use a blur i got from kio. -> below (kio also make discord banner headers here) -- IF YOU WANT MY WHOLE RESOURCES SCATTERED EVERYWHERE.. go to my sideblog @mizukiplushie where i rb lit everything that has 2 do w editing.

also laces such as


(lace above by kurolita on pint)
(more here) & (here)
now , for icons & masks i use these sites 1 . 2
-> adding my most used ( or favorites ) below !

(more laces here)


essie also has one similar to the red 1 above here uu can find it on ess1e's page .
I HAVE EVEN MORE. BUT I CAN ONLY PUT 30 IMGS.. ill work on a resource rentry to put all of these in by categories, just give me some time alright? hopefully this helps for now.
652 notes
·
View notes
Text


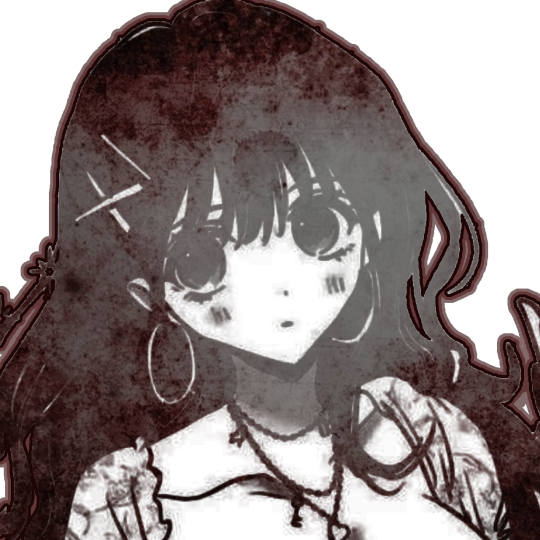


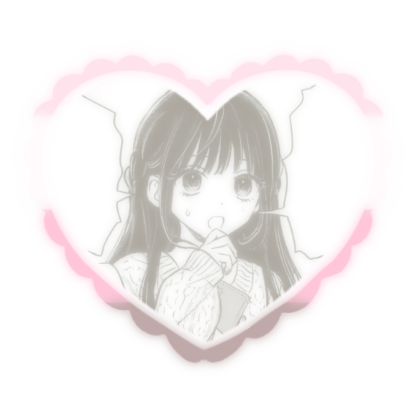
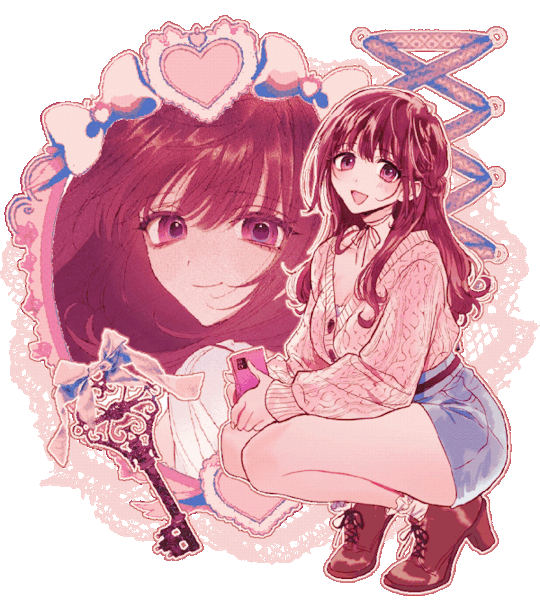
🩸 ⸺ ⸺ Kokoa Lyts ࿐ྂ。
Reblog & Credit if chu you use
No kin/id/me tag unless @surrenity ou @bleedingirl
171 notes
·
View notes
Text

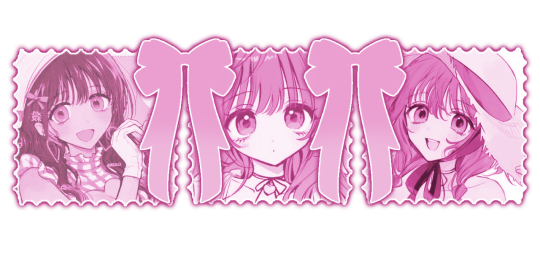


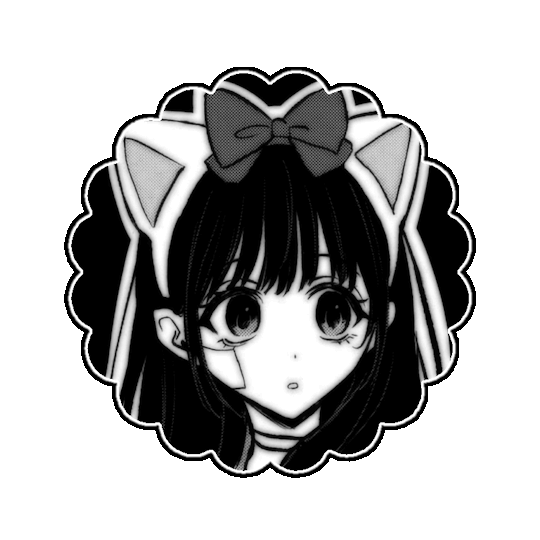
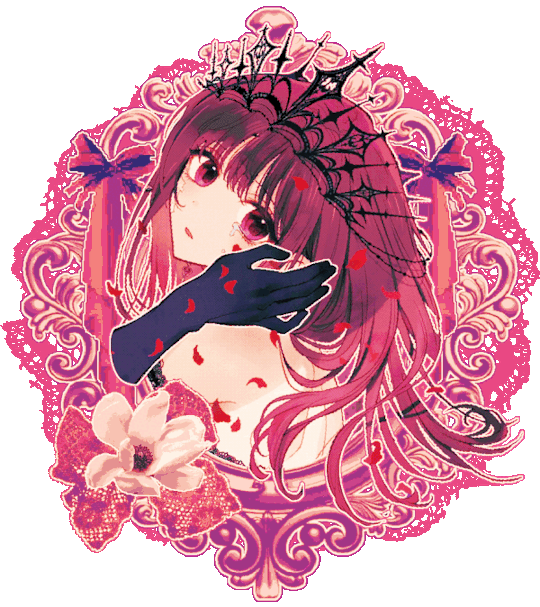
♡ … Kokoa Yoshizaki 𓂃 graphics !
Self indulgent … F2U , creds appreciated . Other // Scraped graphics below the cut !


183 notes
·
View notes
Text
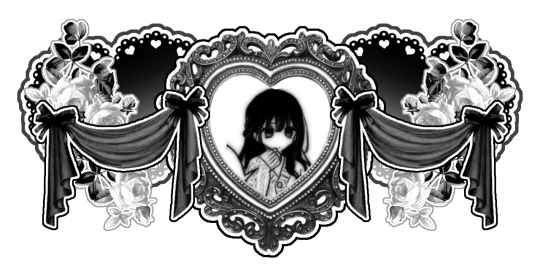
a gift 04 the host . . kokoa yoshizaki rentry graphics ! no kin / id / me ( for kokoa ) && no f / o ( for ryuuto ) tags seraphina will find you ^^ frame cr ; @ johnkayano


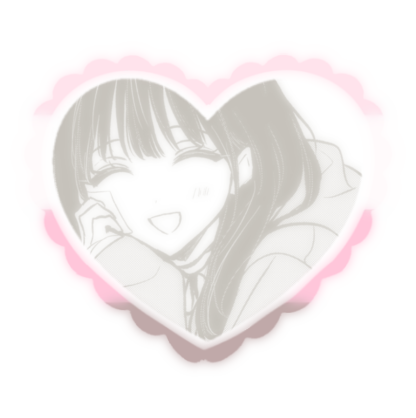


186 notes
·
View notes
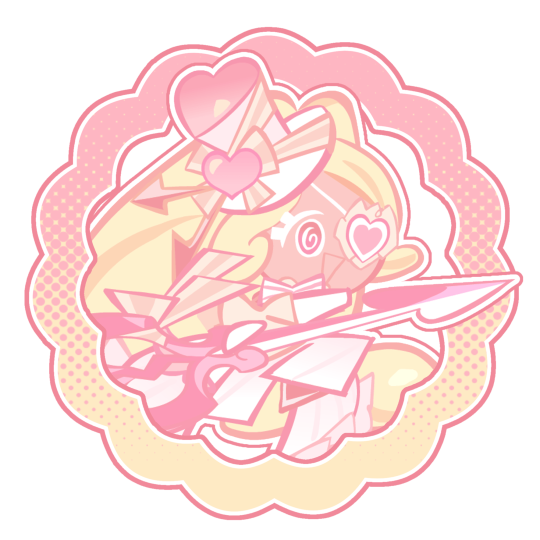
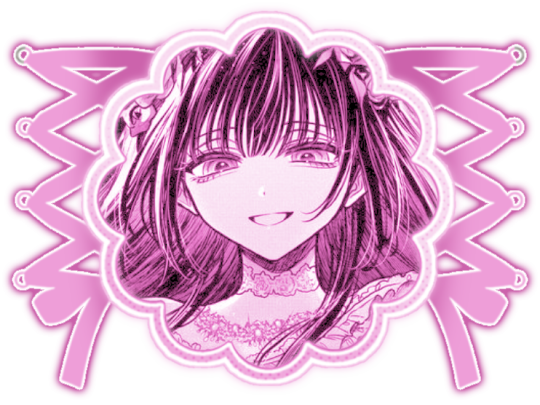
Text

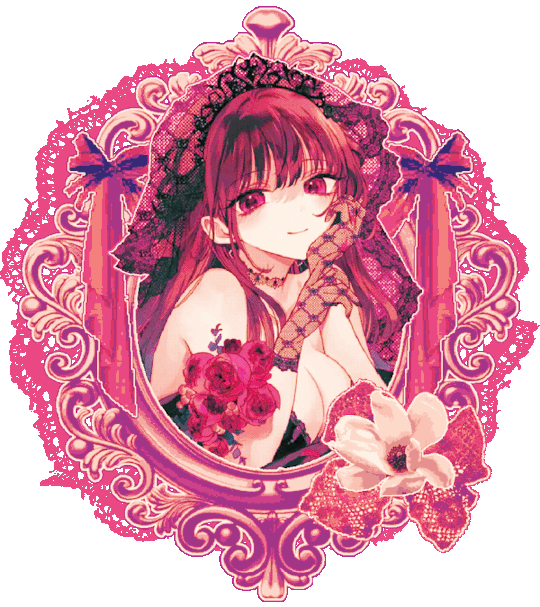
Kokoa Yoshizaki. ⋯ Rentry Graphics.
⋯ ✦ ⨟ F2U — like / rb + cred if using.
⋯ ✧ ⨟ Intended as a Valentines Gift — Kin / ID / F/O tags mostly okay.
⋯ ✦ ⨟ All Graphics have a width of 600px. Resizing is always okay
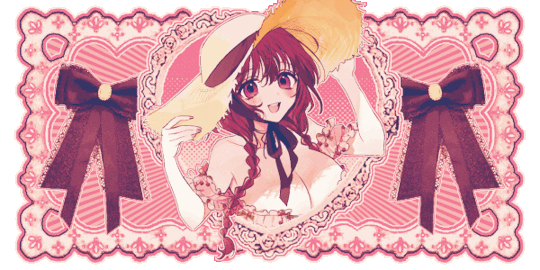


238 notes
·
View notes
Text


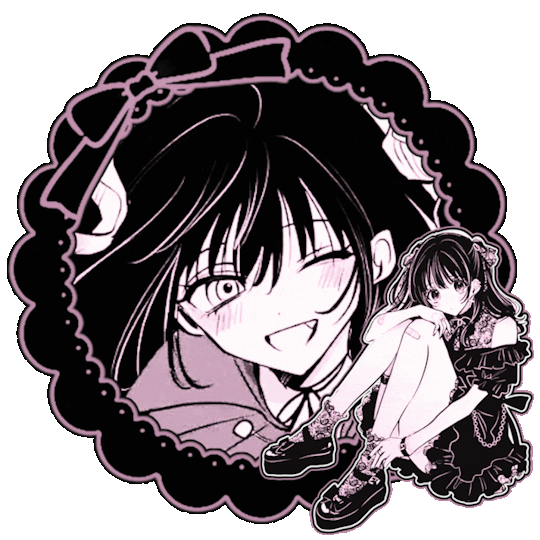


Kokoa Yoshizaki Rentry Graphics ♡
— Requested by @surrenity ! Thank you so much for requesting ! ♡
...Please credit if used !
— No Kin / Me / ID Tags Unless Requester ! ♡
341 notes
·
View notes