
Last Seen Blogs

thekatekohler
Untitled

kvmoc
Mốc

heckin-bepis-blog
Untitled

mickjnapier
Mick Napier

iambetweenromanticandsexyfreak
66% romantic 33.3% shut up and call me daddy
Photo

yo where the whistles fandom at i’m about to bust a cap on all y'all doodlebean/whistles shippers it’s pendlecoat/gumblin blackrom oTP
413 notes
·
View notes
Photo
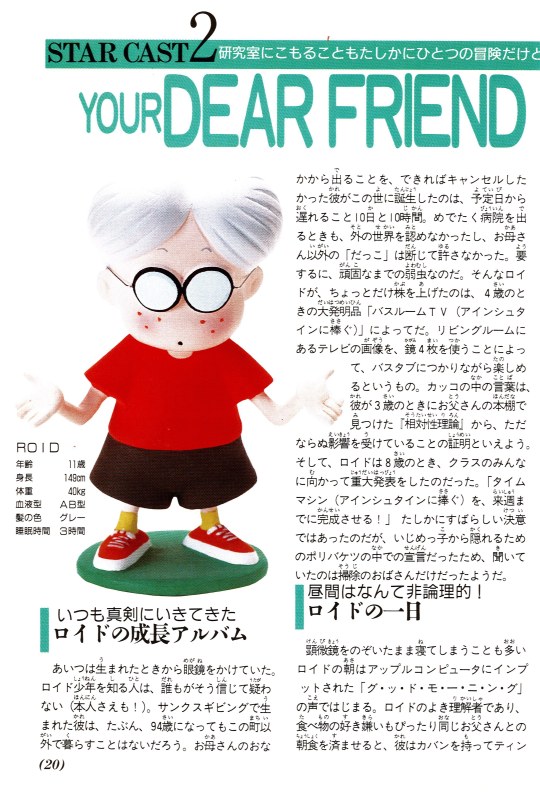

Lloyd Profile from the Mother Encyclopedia
I love the Superman Action Figure in his Favorite Things section.
163 notes
·
View notes


Text
480 notes
·
View notes
Text
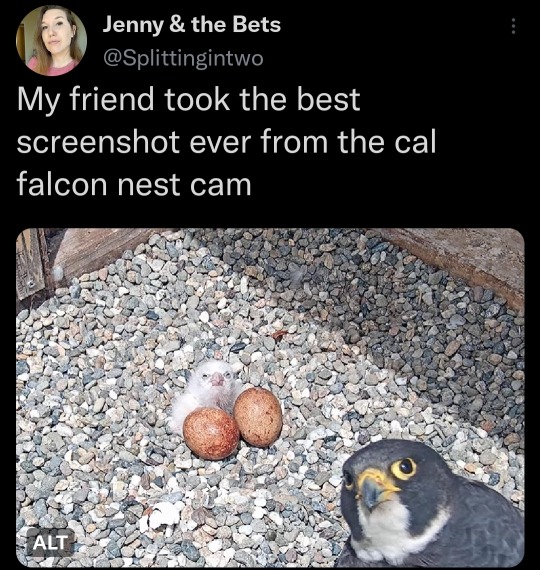
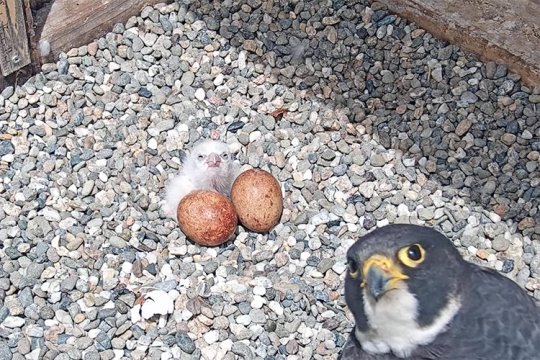
Definitely one of the Top Images of all time I gotta say
160K notes
·
View notes
Text
Andrew Hussie: Inking tutorial
The ones who only know Hussie by his outrageously popular MS Paint Adventures may not know he is truly talented in the realm of inking badass shit. A fellow forumer of mine has preserved his old Inking Tutorial online, You should familiarize yourself with it, because even if you don’t like the style, the principals are the fundamentals of inking.
This is merely half of the tutorial, check it out on http://smokinghippo.com/TSOtutes/inking_tutorial.html
Inking Tutorial
So you’ve drawn something cool, and now you’d like to ink it. Inking is easy. It’s pretty much just tracing the lines of your drawing with a pen, right? Sure. Whatever you say!
You start with your pencil sketch. In this case, done with a non-photo blue pencil. After inking, the scanner can be set up to ignore blue lines, leaving only your ink.
Then you trace it with your pen. Man, that was easy!
Now don’t get me wrong. The above drawing is fairly clean and accurate. Maybe it’s suitable for…something. Like a coloring book. But make no mistake. This is a bad job of inking.
So what is it missing? Neatness aside, and all things being equal, what’s the difference between a bad ink job and a good one? Simple. Varying line thickness. I only used one line thickness to ink that whole thing.
So you’re saying, “Ohhh. Ok. Give me just one minute.” You reemerge from your desk with something like this:
Yeah, nice try. That sucks almost as much as the first one. You knew you had to get at least one more line thickness in there, but it’s clear you were confused over the criteria by which you decide to thicken some lines over others. While giving the drawing a heavy, fat-ass perimeter approaches some vaguely cogent methodology, it’s just not going to cut it.
Above is a good example of a good diversity of line thickness, applied with a sense rhyme and reason. Thick lines make certain aspects of the drawing more emphatic when needed, while thinner lines understate other aspects. The lines have energy. They play with each other. This is the difference between good inking and bad. This is my natural inking style (honestly, it was a lot easier for me to ink that than the first example). Speaking of style, this brings me to a good point. A simple definition of inking style:
A personal inking style is dictated entirely by the methods used to vary your line thickness, and the criteria by which you vary it.
Ok, sure, there are some other factors, like how one feathers and shades and such. But in my opinion, all these factors are pretty strongly overshadowed by that basic definition.
So you’re now saying, “Ok, fine, it’s really important. But how should I do it, and when? I mean, I tried that fat perimeter thing already. I’m out of ideas."
This is a pretty complicated question to answer. There are tons of reasons to change up your line thickness, many of them serving utility in the drawing, and many just boiling down to personal taste and preference (just as I said, it and personal style are essentially one and the same). I’ll discuss it in further depth later, but just to give you a taste of one idea, falling under the “utility†category, see the drawing below. You’ll note how the lines in the arms get thicker gradually, the closer they extend towards you. Here, line thickness is helping to show distance. Near objects have heavy lines, far objects are finer.
Let’s talk briefly about the tools of the trade. Or at least the tools of this tutorial. Micron pens:
I generally keep on hand 02, 01, and 005 (from thickest to finest). It’s nice to have an array, but don’t get suckered in to thinking you need it. I did virtually all inking in this tutorial with an 02, to illustrate a point. You can make very fine marks with even a very fat marker if your touch is light enough.
Note, you can also ink with a brush, or a brush-tipped marker. This is an inking with a pen tutorial, not an inking with a brush tutorial. Inking with a pen and a brush are totally different animals. With a pen, the mark is confined to a single point. Thus complete control over the mark is much easier, because all you have to do is control one point in space with your fingers. A brush tip by nature is bigger and floppier, and mastery takes considerably more grace, I think. The results of brush inking tend to be more organic and free-flowing, and can be totally mind-blowing if done well, but those skills exceed the scope of this tutorial.
You’ll also need an eraser, if you choose to pencil with graphite, ink over it, then erase it later. This is how I do 95% of my work. Here’s what I use. Probably the best eraser I’ve ever used for erasing pencil.
Thickening your lines
Before we get into why you would thicken, let’s talk about how. Seems trivial, drawing thick lines, but maybe there’s more to it than you think. You might suggest, “Hell, if I need to draw a really thick line, I’ll bust out my really thick marker.†That’s a silly line of reasoning, and I advise you to dispense with it. Remember, I’m only using an 02 for this whole thing. Switching to a really thick marker would rob you of some finesse, which I suggest you will need, even when you are doing thick lines.
Method 1: Draw boundaries, then fill
Drawing one thick line is actually the same thing and drawing two very thin lines.
Color in between. That’s the easy part. Note, you can now switch to a thicker marker if you desire for the fill, rather than wasting the ink of your finer markers. You’ll note I’m not following that advice here (though I often do).
Method 2: Thicken as you fill
This is the method I use far more often. I make lots of little sweeping strokes quickly until the thickness and contour feels right. To me, this practice injects a little of the life and energy from rough sketching into a process that is otherwise quite technical and exacting.
Tapering
Varying line thickness doesn’t just mean making some lines thicker than others. You can of course vary the thickness within the same line. This is in fact an excellent thing to do for most of your lines (given you apply some method to your madness, which is something that takes practice). A tapered line is almost universally more attractive and energetic than an ordinary line. I can’t tell you how to draw these. It just takes practice, and a light touch. But I will say if you adhere to method 2 above, it makes it a much easier, fluid move to go from drawing an ordinary line to a tapered one.
5K notes
·
View notes
Video
“My cat Blackberry has done this before but my friends told me it was really impressive and I should share..”
(Source)
127K notes
·
View notes


Text
108K notes
·
View notes
Text
“rose is sick and twisted in the head and MESSED UP and she would cheat on her wife because she’s a nihilist”
rose (teenage girl) when she thinks about the silly vampire girl she likes who has the same interests as her:

731 notes
·
View notes
Photo
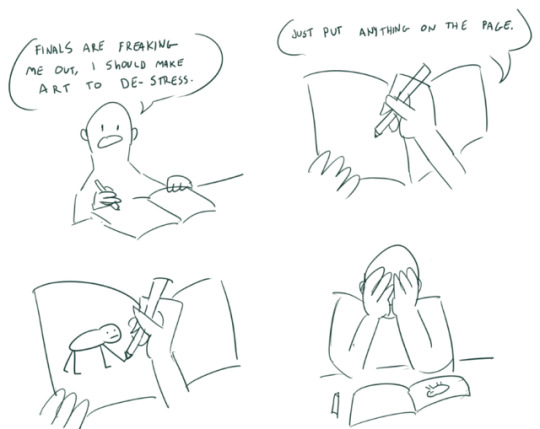
Here’s a true story about studying for finals.
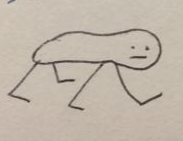
The culprit:
122K notes
·
View notes