
gh0stbirb
𝕹𝔢𝔳 𝔱𝔥𝔢 𝕲𝔥0𝔰𝔱𝔟𝔦𝔯𝔟
║Minors DNI║They/Them ★
Shapeshifting Eldritch Horror
PngTuber|
#TwitchAffiliate ★ Gamer | Cosplayer | Witch | Trying their best!
61 posts
Don't wanna be here? Send us removal request.
Last Seen Blogs
libinih28
Everything, Everything

jsabaddict
JSABAddict

paijogur
asian

grillrepiarparts
GrillRepairParts
taivaspoika
entirely ambiguous


Text
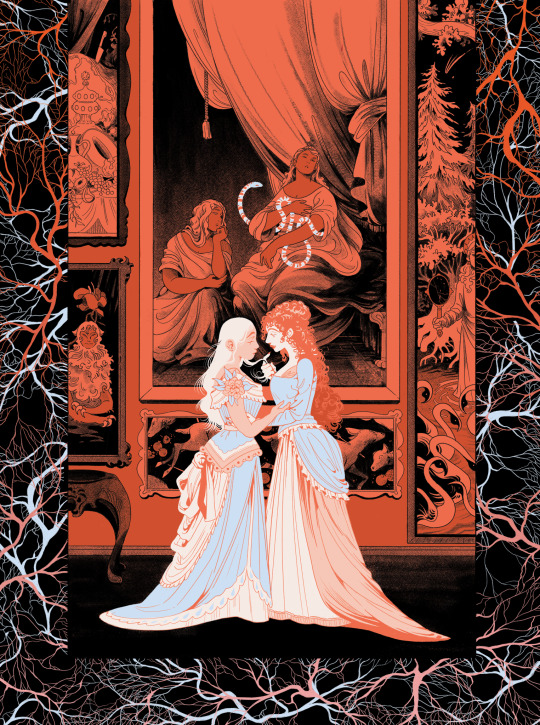
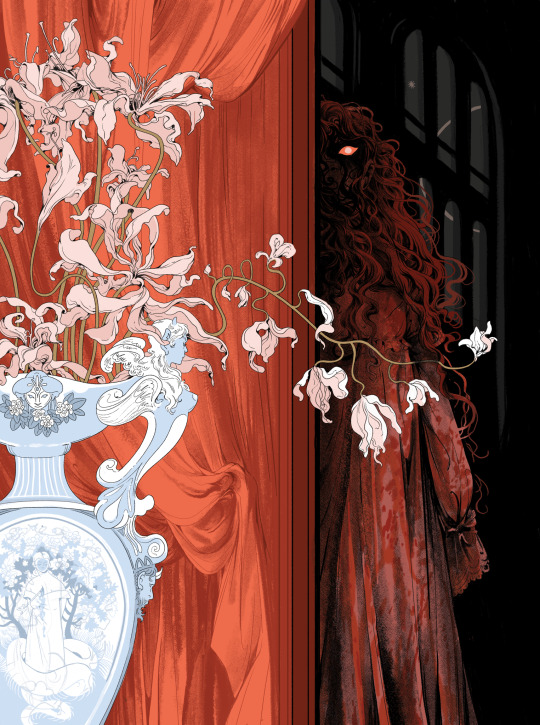
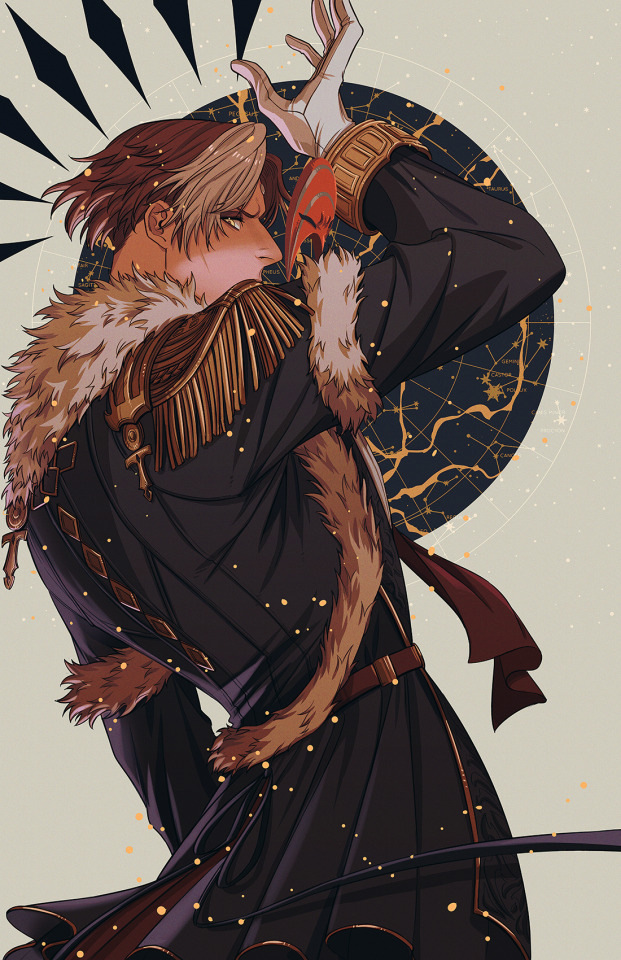
two of my favorite illustrations from this year, both from Carmilla
34K notes
·
View notes


Photo

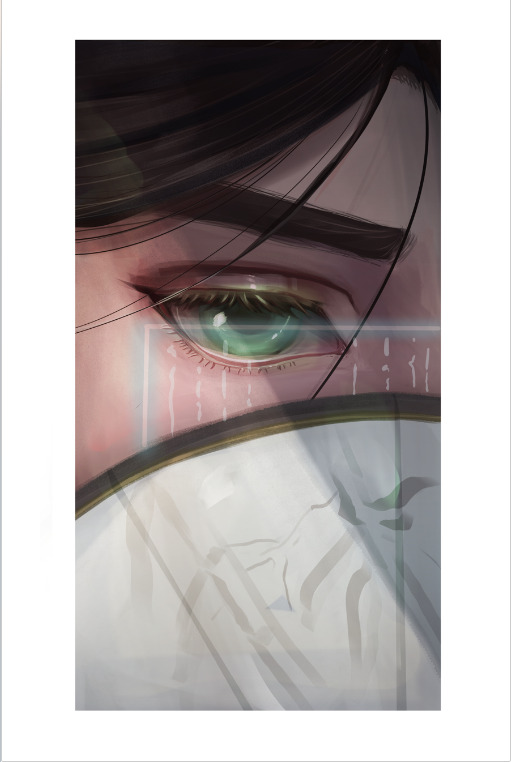
“When he died, all things soft and beautiful and bright would be buried with him.” - tsoa
2K notes
·
View notes


Text
How-to: Orbit Camera
Today we'll escape the boundaries of the game and use a mix of recording and editing tools to create a neat orbiting camera video!
For this recipe, you'll need:
1 x PC (these instructions were tested on Windows 10)
1 x FFXIV Client
1 x screen recording tool (Geforce Experience, Radeon Adrenaline, etc.)
1 x Avidemux (https://avidemux.sourceforge.net/)
GShade to taste
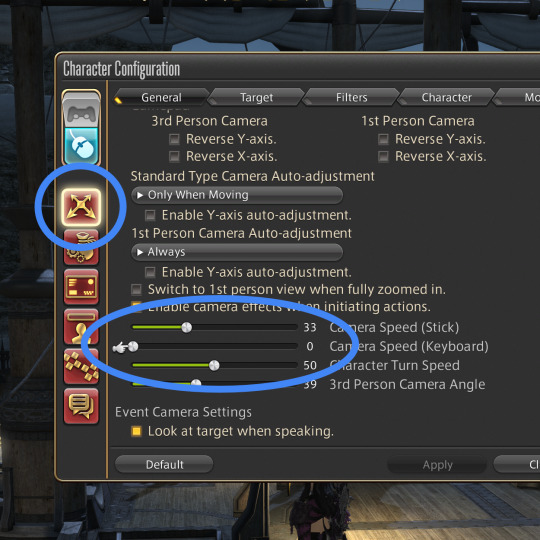
1 - Setup
Let's open the Character Configuration under Settings. in the General tab, locate the Camera Speed (Keyboard) slider, and set it to zero. This will give us that smooth, slow camera movement.
At this point, you need the screen recording tool ready. I have GeForce Experience, so I'm using the Instant Replay function to save the last 5 minutes of gameplay; YMMV.
2 - Capture
Let's enter GPose. Position the camera so your character takes most of the screen while leaving some padding around, turn off the UI (Scroll Lock or LB+Back), and move your cursor to a corner.
Start recording, and use the Left/Right arrow keys to orbit the camera around your character. If your character is frozen (Target Motion toggled off) a couple of full circles are enough. At this point, you can stop the recording.
3 - Editing
Launch Avidemux and open the raw video. Now we're going to adjust some values.
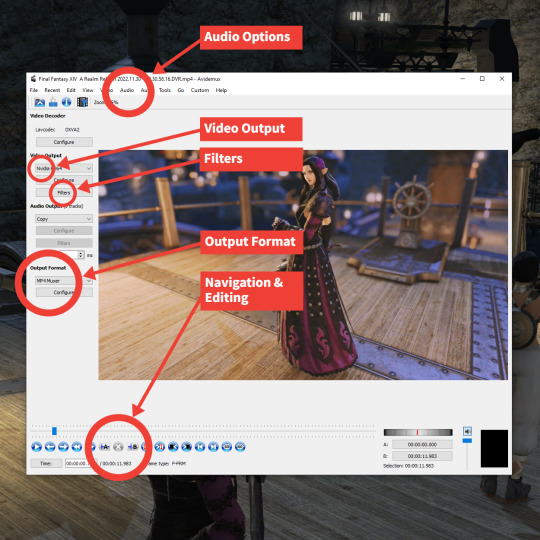
First, let's disable the audio. On the top menu, select Audio > Select Track, then uncheck all the Enabled checkboxes. This will mute the video.
Filters are how we'll modify the original video. By default, the Video Output is set to Copy; in order to enable filters, we need to select a custom encoder. Let's pick one that's pretty common and compatible across most services; in my case, I selected NVidia H264.
Now the Filters button should be enabled. Click it; the Video Filter Manager interface should open.
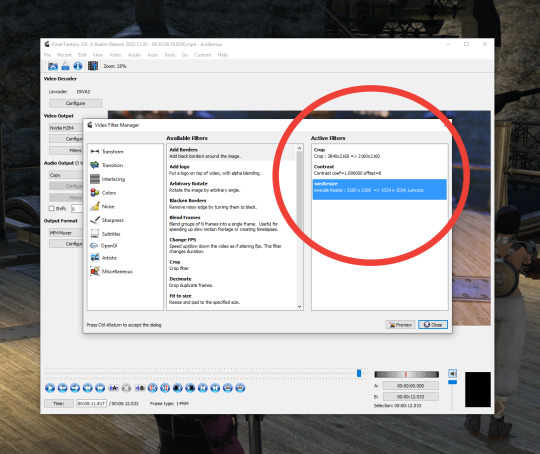
These are the filters I'm using for this video:
Crop (to eliminate the unwanted background, bring attention to the character and set the target 1:1 aspect ratio)
Contrast (to prep it for devices with better luminance range, like phones)
swsResize (to create a smaller video file)
4 - Trimming
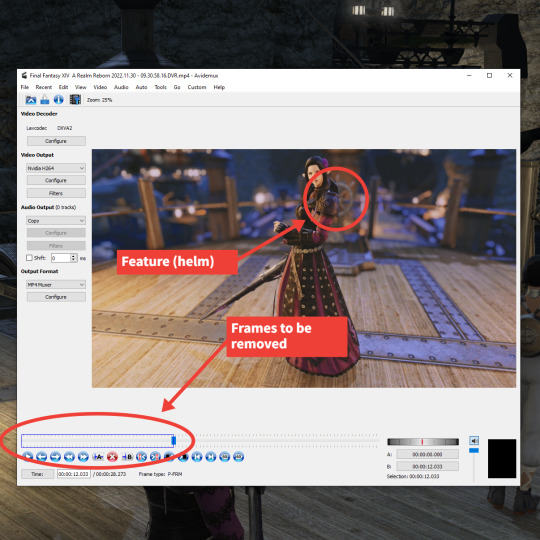
Now, the tricky part: In order to create a seamless, cycling orbit movement, the first frame of your video must match nicely with the last.
The way I do this is by browsing the video (Click the slider at the bottom, then use the Left/Right arrow keys) for a frame with a clear feature (say, a light source coming behind the character), clicking Set End Marker (Control + PGDOWN), then Delete Selection (DEL). This will eliminate all frames up to that point.
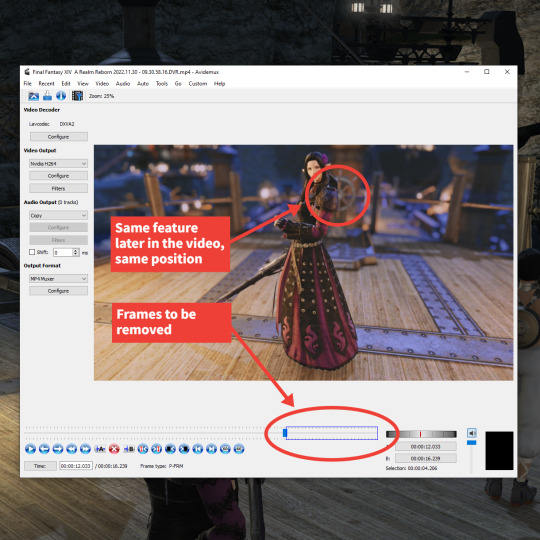
Now, I locate the exact same frame later in the animation once the character is spun around once, click Set Starter Marker (Control + PGUP), then Delete Selection (DEL). If done correctly, now you have a full cycle!
Finally, the output format: Select MP4 Muxer, again a compatible format that'll work nicely with services like Twitter and Tumblr.
And… that's it, really! Now click Save Video and give the new file a name.

And so, a new orbit camera video is born. Enjoy!
594 notes
·
View notes
Photo

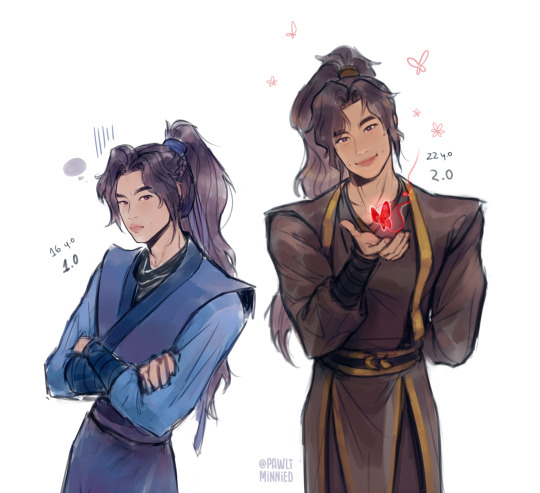
I keep reading fics where they become friends during their year in Cloud Recesses <3
5K notes
·
View notes
Text


In the end, LQR couldn’t resist LWJ's demands. His nephew is too adorable!🥺💙
6K notes
·
View notes
Text
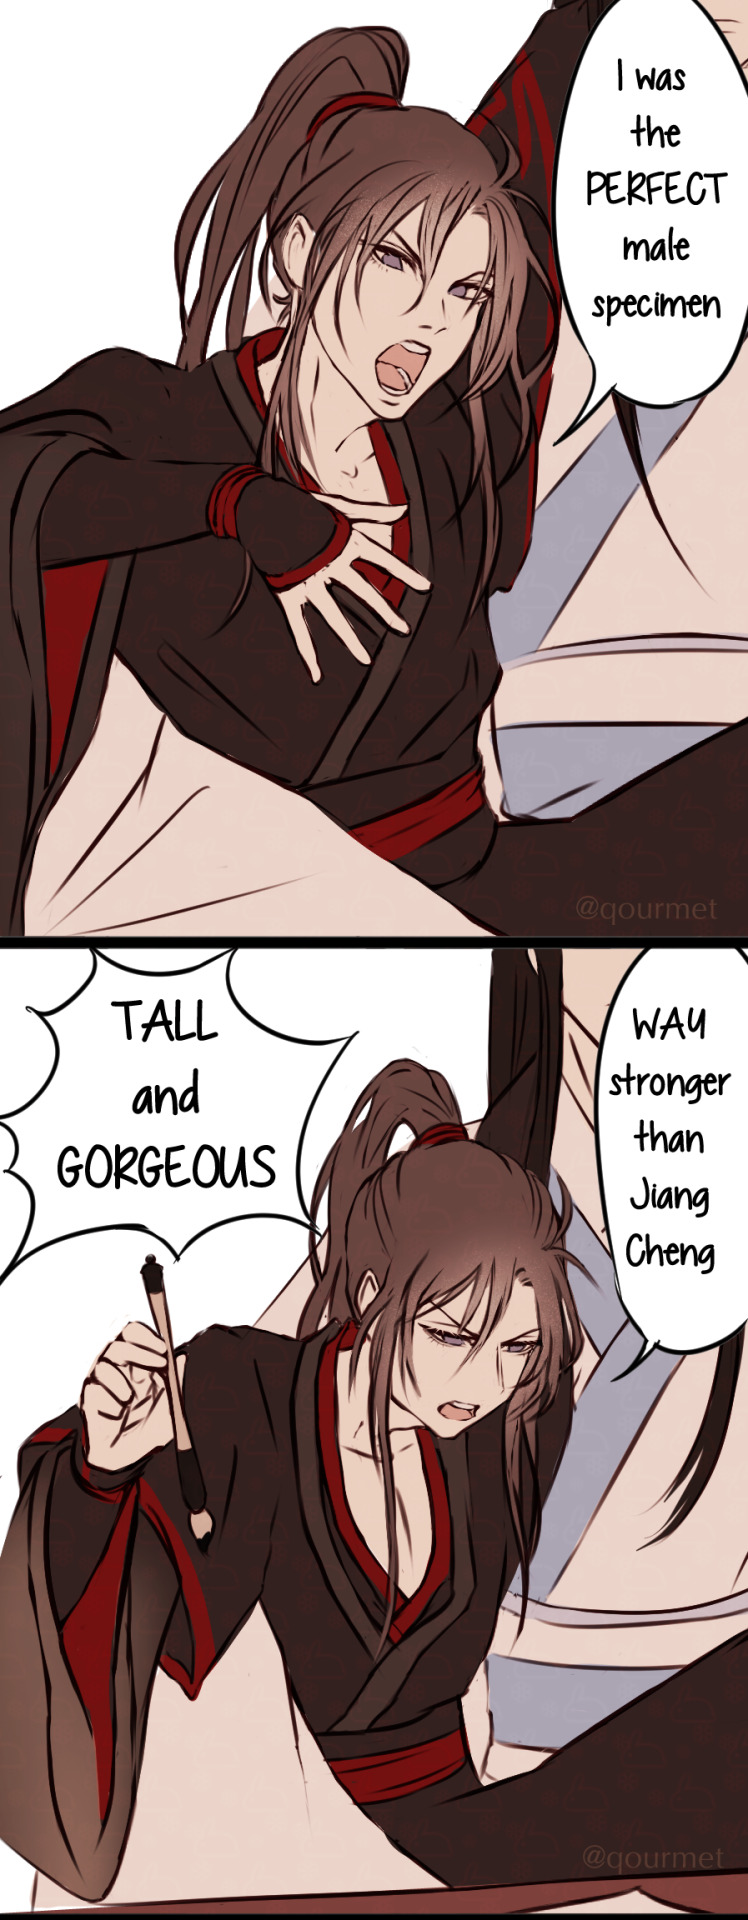
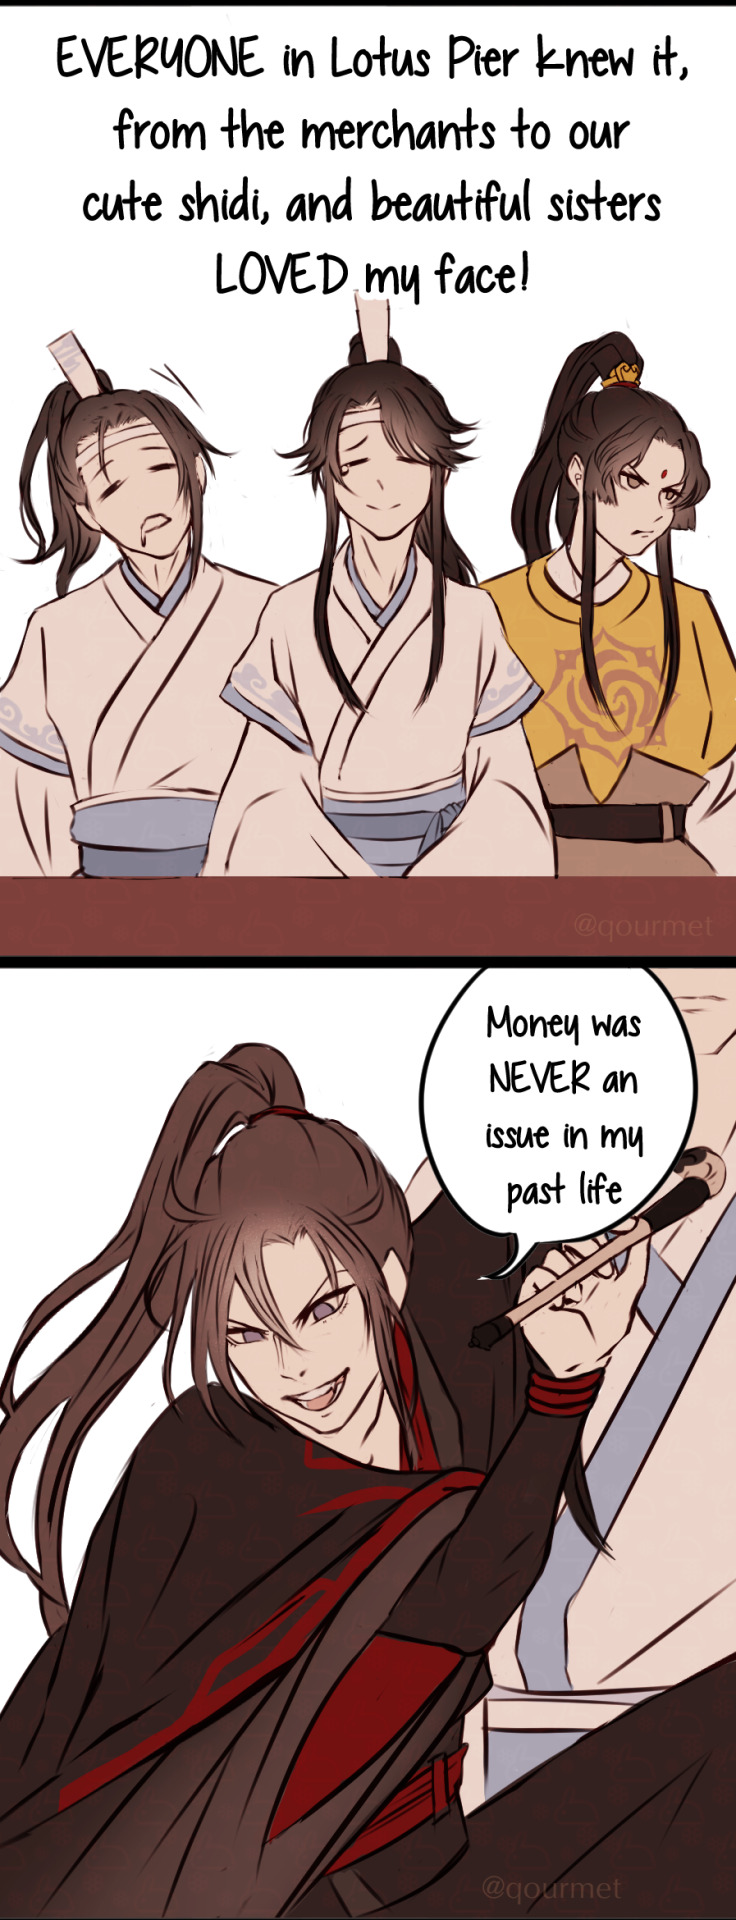
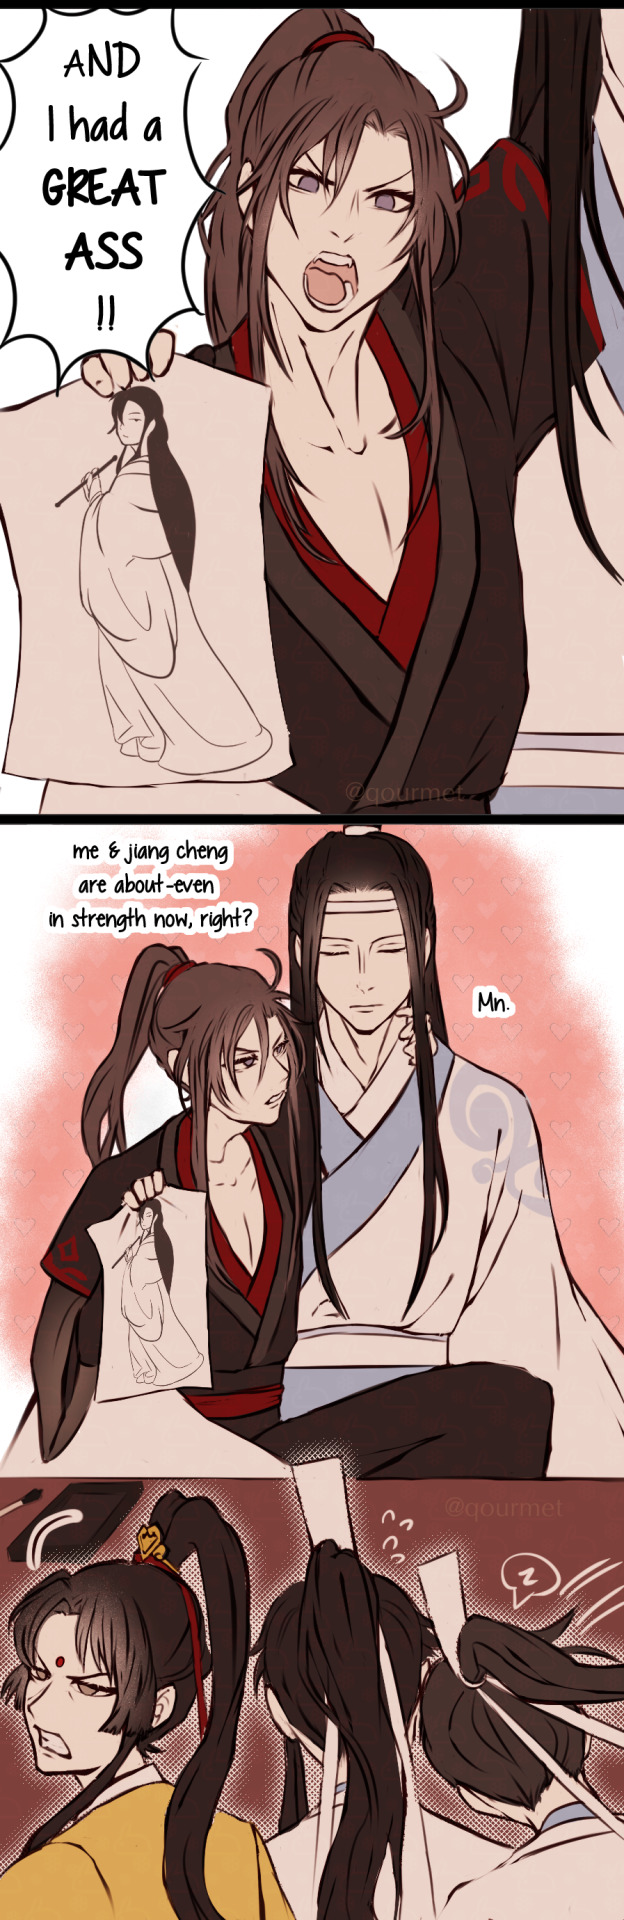
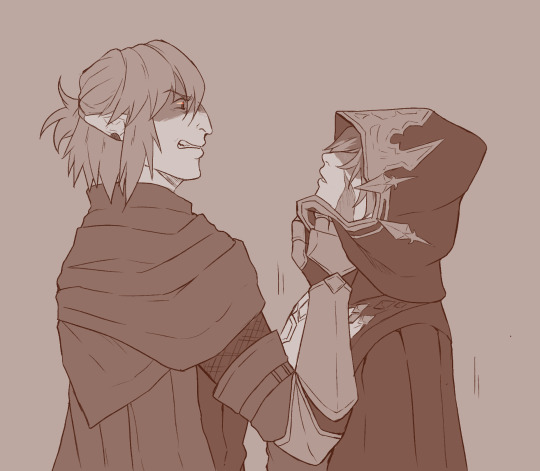
night-hunting with the insufferable couple
@lansplaining honorable mention for reminding me that he Wasnt a Hobo Once Upon a Time
6K notes
·
View notes
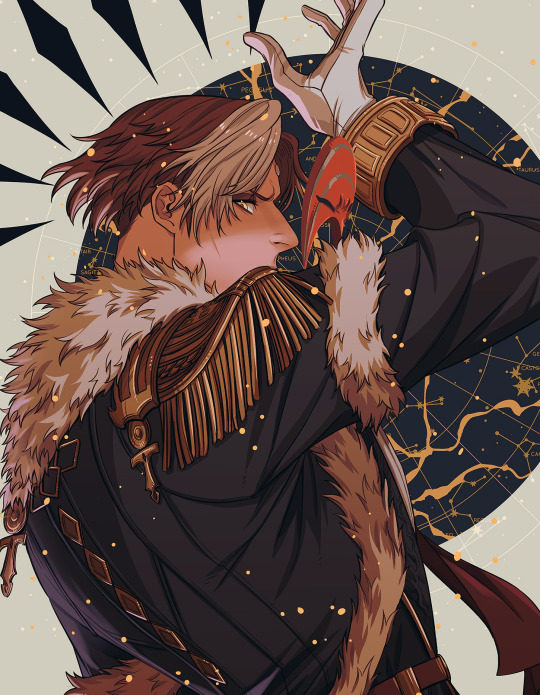


Photo
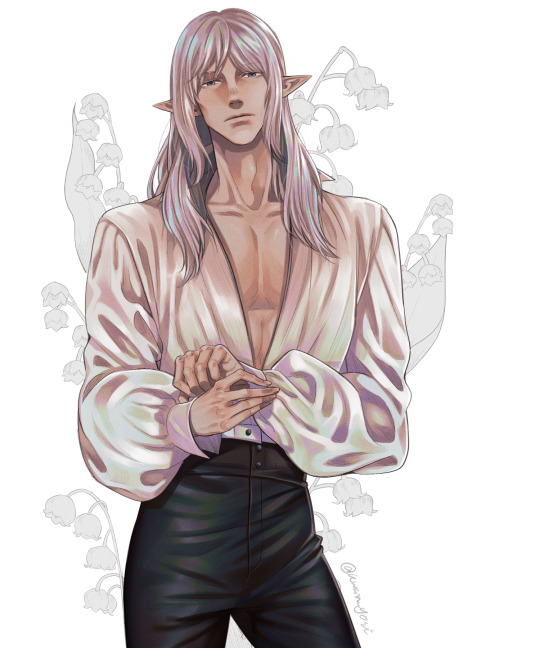
I want to see him in this outfit. Hope that someday they’ll make a shirt like this.
1K notes
·
View notes