
Last Seen Blogs

honeylemontrashcat
honey lemon's trash

saleforce
Untitled

m0rganbusinesssales
Untitled

siracusy
Little guy, Big hair, Big thoughts, Big heart

abigator6913
abigator’s galaxy
Photo
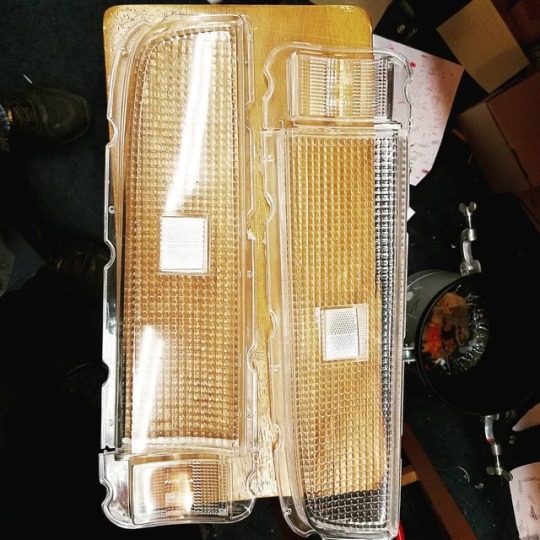
We finally have the JDM style flatlight lenses again! This is the first set from the new molds. :D
0 notes
Photo

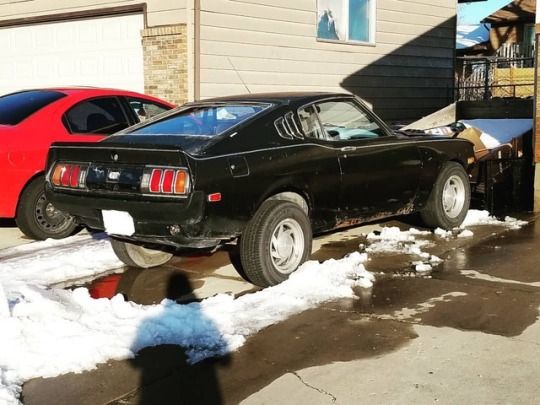
My 72 Celica #ra21 is getting closer to being back together!
1 note
·
View note
Photo

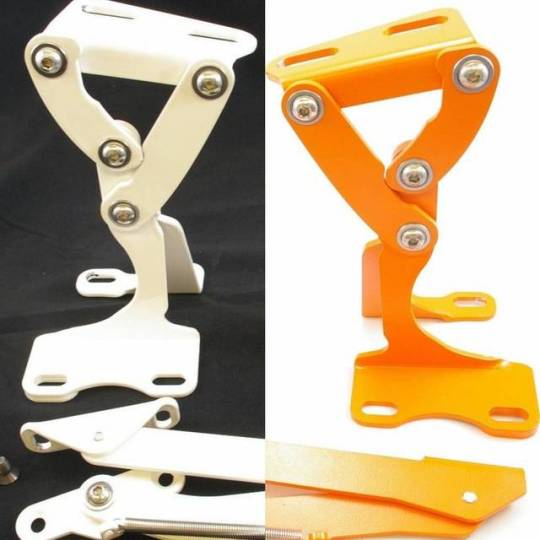
We powdercoated a set of hinges yellow, and the color matches dad's 77 #ra24celica perfectly!
0 notes
Photo
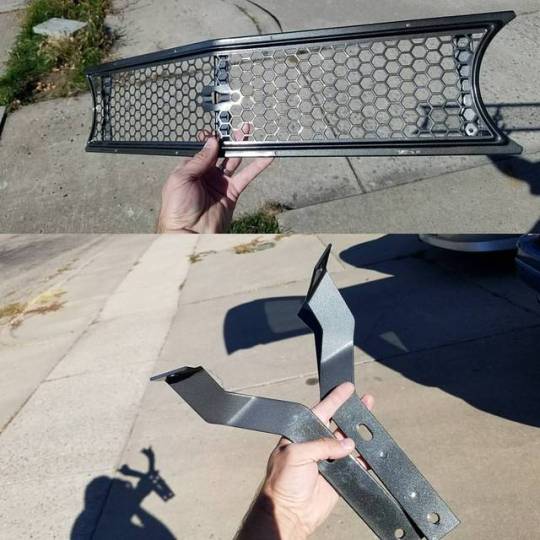
Powdercoated my grill for an #RA28 and smiley bumper brackets for a 72 #TA22. Both are "gloss stealth charcoal" and look absolutely amazing!!!
0 notes
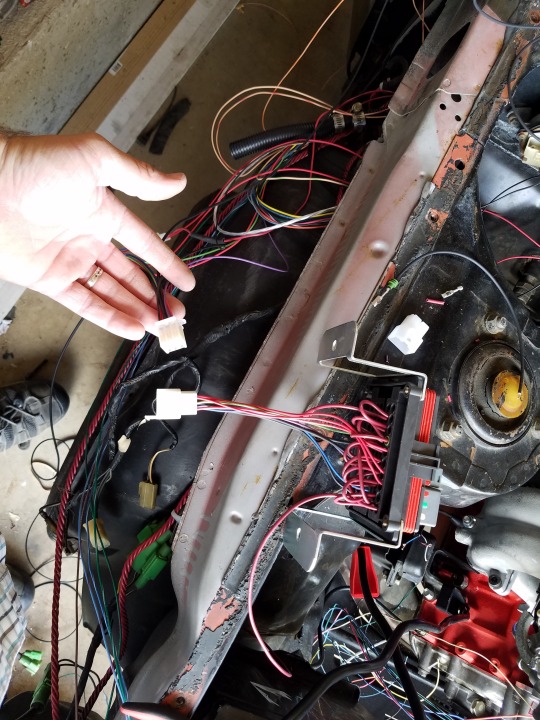
Photo

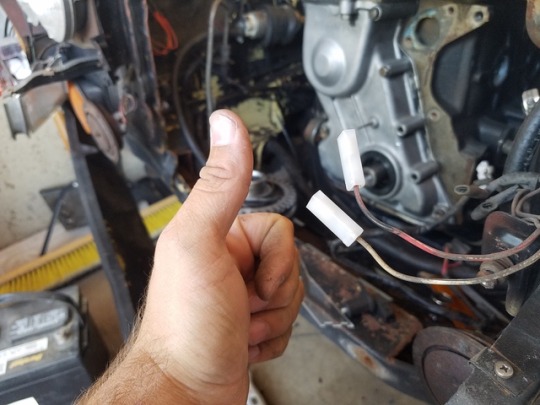
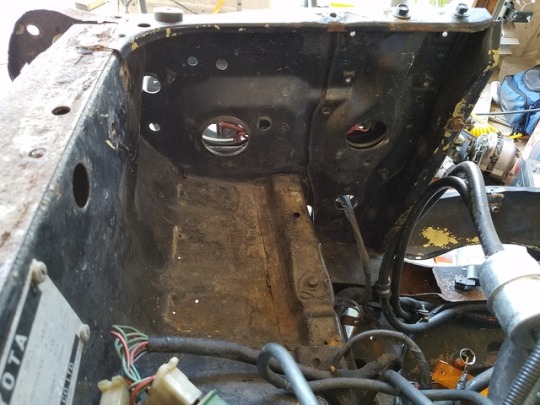
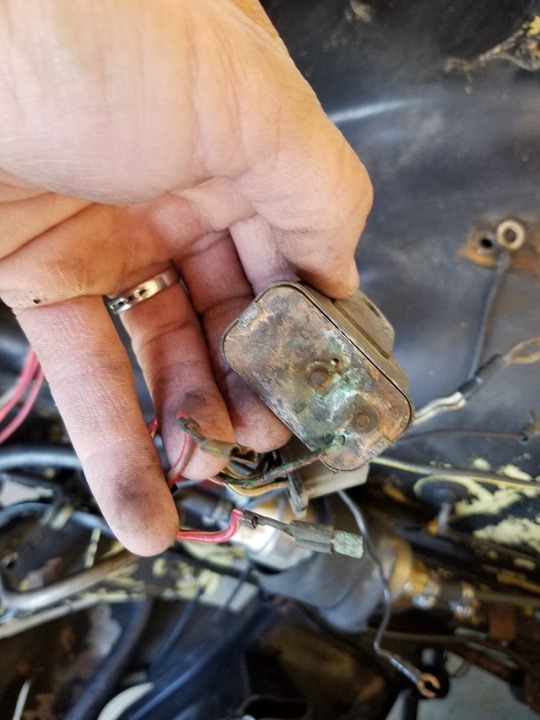
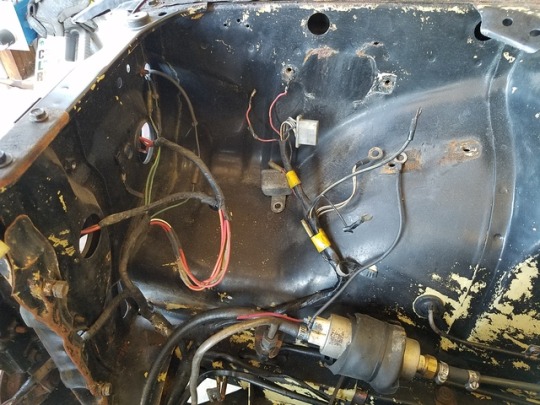
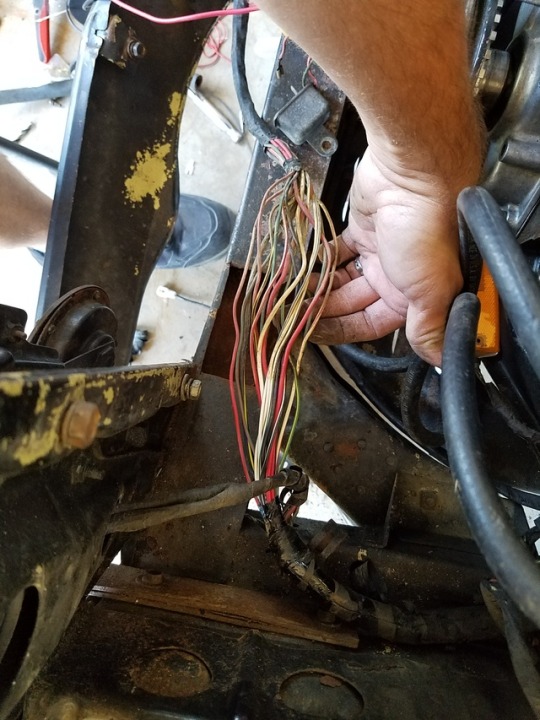

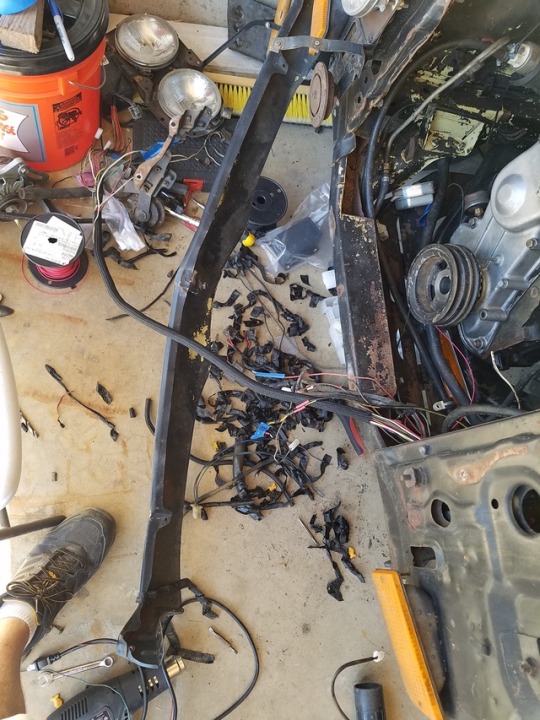
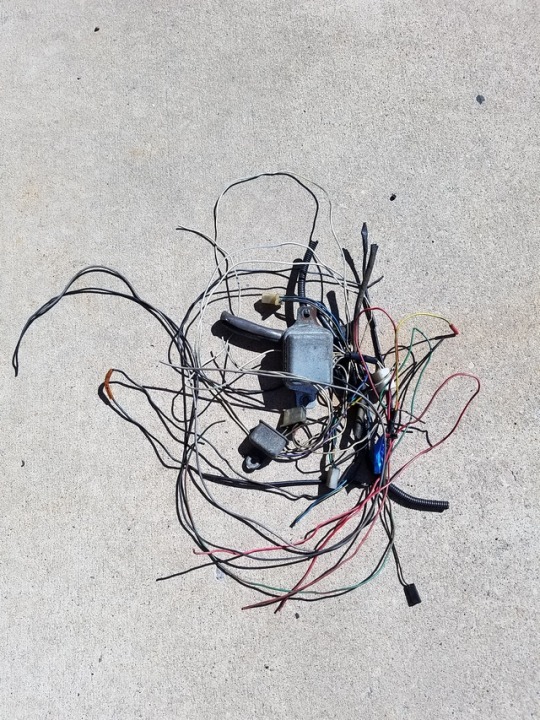
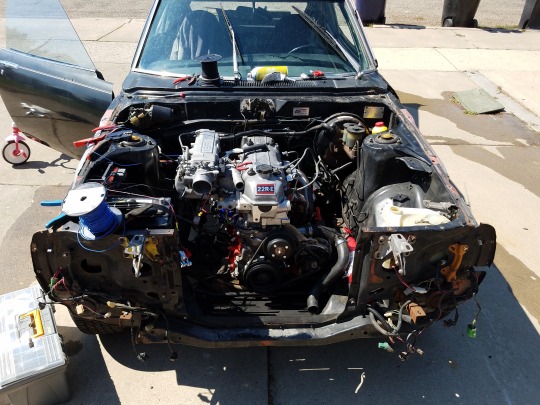
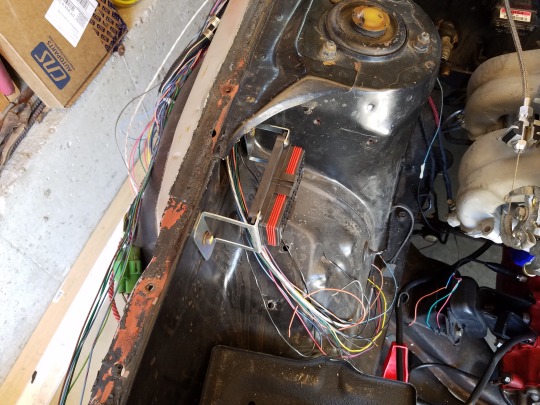
I found even more garbage in the harness I didn't like. I couldn't leave the harness in that garbage state and sell the car so I decided to tear it apart. I'm putting in a 1-wire GM alternator, so I don't need the voltage regulator. So I pulled all those wires out. The horn relay was held together with electrical tape, so I pulled those wires apart, and I'll put the horn relay in the EFI/engine fuse/relay box. I'm going to hide the wires as best I can while I've got it all apart. The engine bay should look pretty tidy afterwards. I ordered some non adhesive harness tape, and I'll retape everything I tear apart.
0 notes
Photo
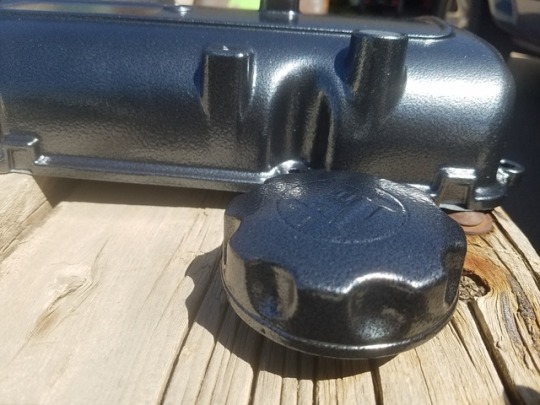
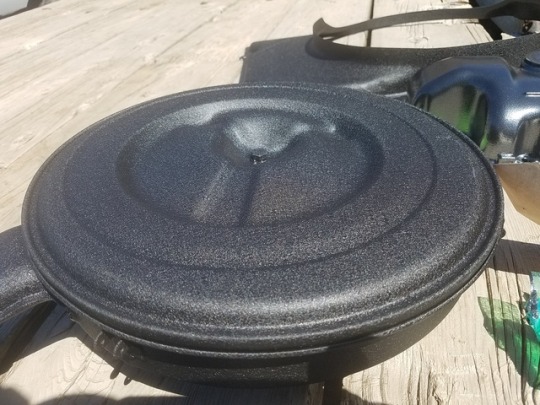
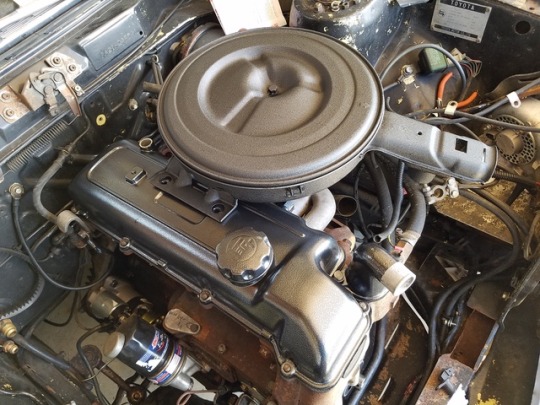
I took the air cleaner assembly, valve cover, water neck, oil cap, and fan shroud to be powdercoated. It was supposed to be silver vein on the valve cover, but there's almost no silver in it. These are all from my 72.
0 notes
Photo
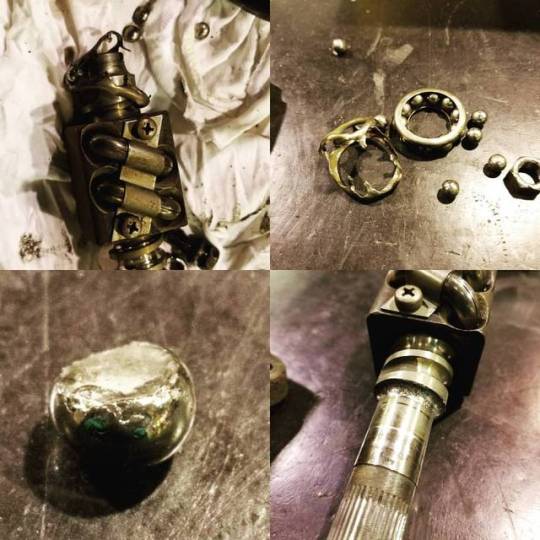
I found out why my steering was so vague and chunky! I'm converting it to power steering now! :D
0 notes
Photo
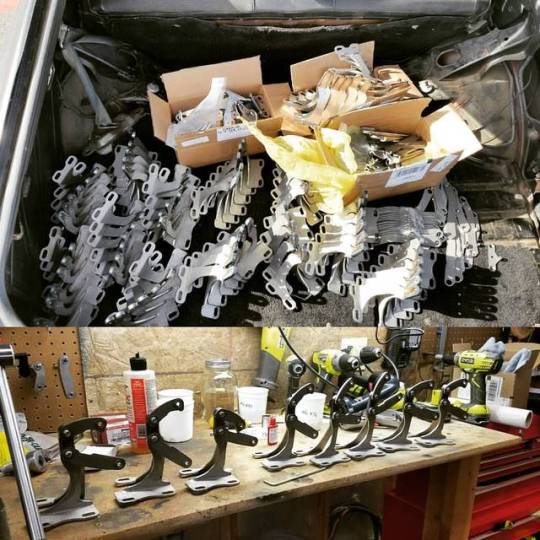
Welded up 35 sets of #ra28 #ra23 hood hinges! Assembled and shipped 10 raw sets and sent the rest for powdercoat!
1 note
·
View note
Photo
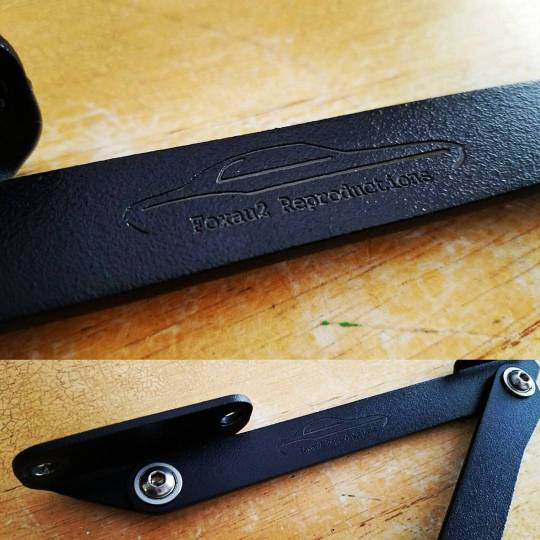
I used my laser engraver to engrave my company logo into my powdercoated hood prop! #ra23 #ra28
0 notes
Photo
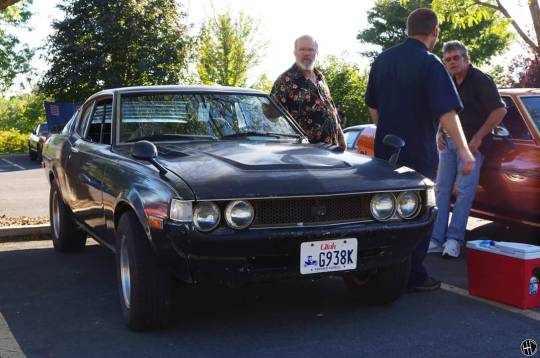


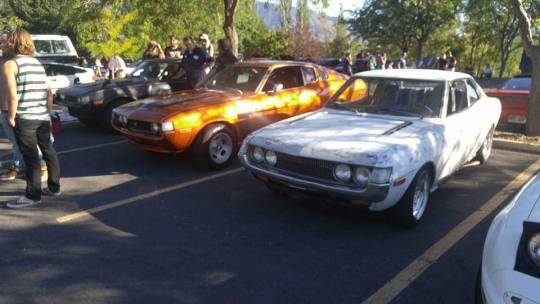
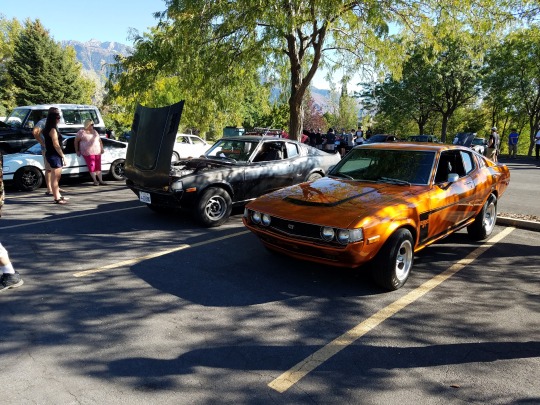
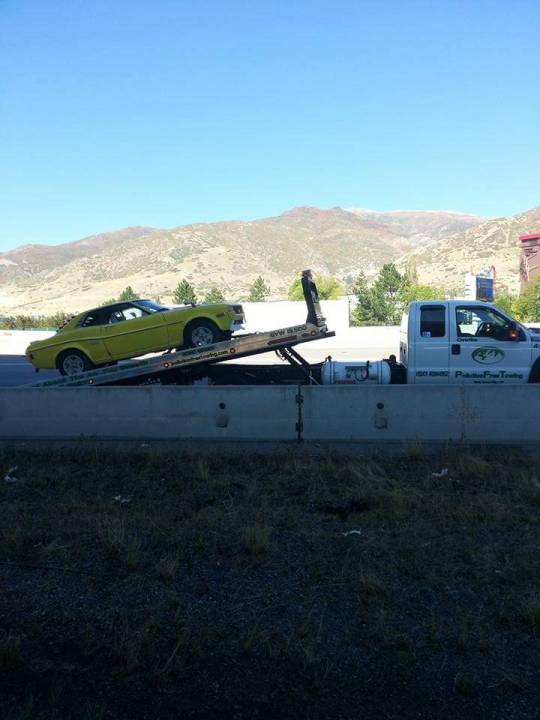
My car made it to the show! Yay! I didn't take many pictures though. :( I had converted dad's 77 Celica to distributorless several months ago using my 22R trigger wheel kit, but kept it carbureted. It ran and drove amazing after the conversion! On all my kits I bolt the trigger wheel to the crank pulley. On dad's, I welded it. Well, my welds broke on the way to the show. Of all the times and places it could have happened! There was nothing we could do on the side of the road so we called a tow truck. Mom went home with dad's car, and dad went to the show with me. We were supposed to have several other Celicas at the show as well, but some of them didn't make it. :( But there were still three of them there!
1 note
·
View note
Video
Here's a video of it running to show you how loud it is. I won't be able to drive it much until I change it, because I work nights and getting home at 3 AM being that loud would wake up my kids. :(
1 note
·
View note
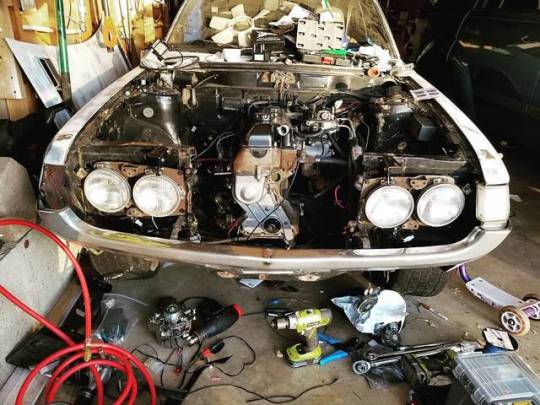
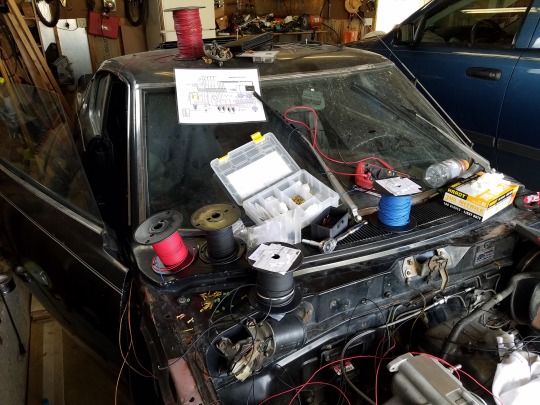
Photo


It's starting to look like a car again! I started putting everything back together today. Radiator is in, fenders are on, grill and filler panels are on, and the hood is back on. I can't find my passenger side headlight bezel though. I couldn't get any of the marker lights to function up front, and it turns out I had unbolted a ground wire last year. I got the O2 sensor installed and wired in. I did both the heater and free air calibration on the LC-1, but I'm not completely sure if it's reading correctly. I can't find my USB/serial adapter to get in and check the programming on it. (The Megasquirt is connected over Bluetooth so I don't need that adapter for the MS.) I drove it for the first time today after changing the clutch master cylinder. All I did was go into the road and turn around, but still it moved under its own power!
1 note
·
View note
Photo
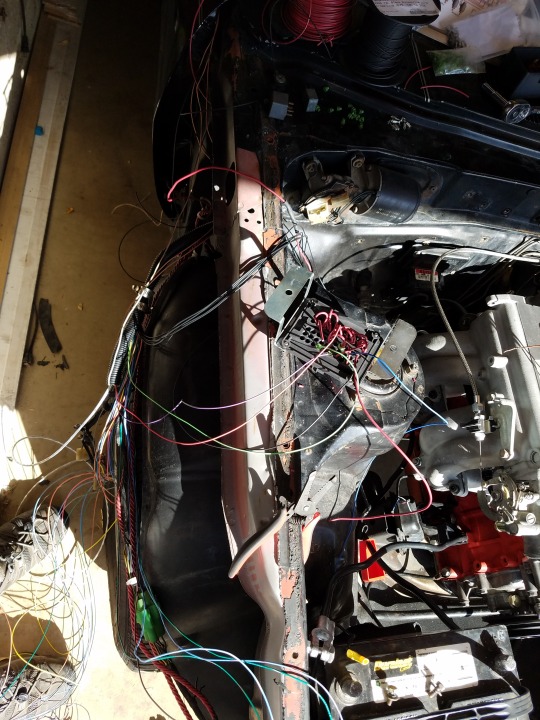
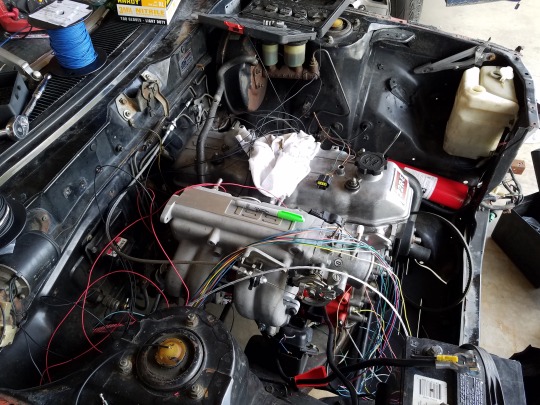
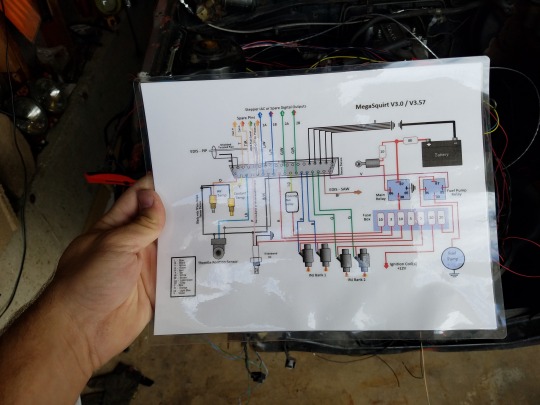
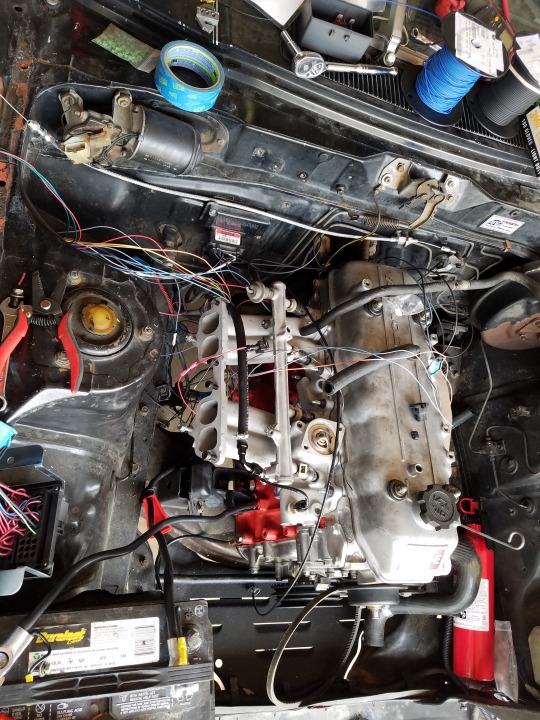
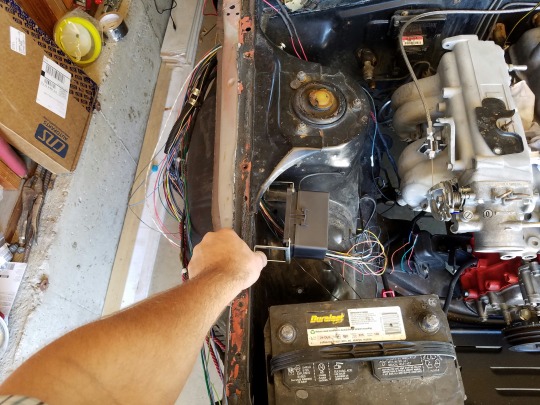
I’m 99% done with the EFI wiring! I wasn’t able to order in all the connectors I needed in time before the show, so some connections are scabbed together with old connectors. You should always do your best to use new connectors as much as possible. If you can’t get new connectors, at least get new pins and a decent set of crimpers!
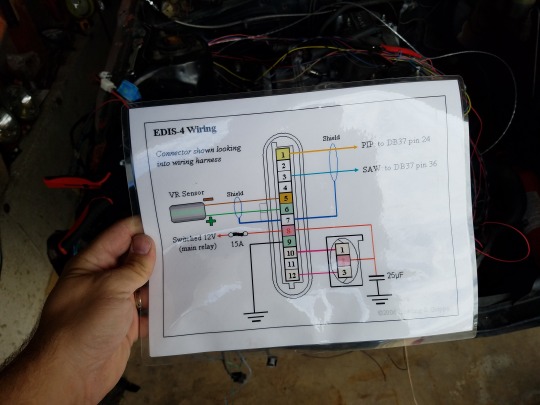
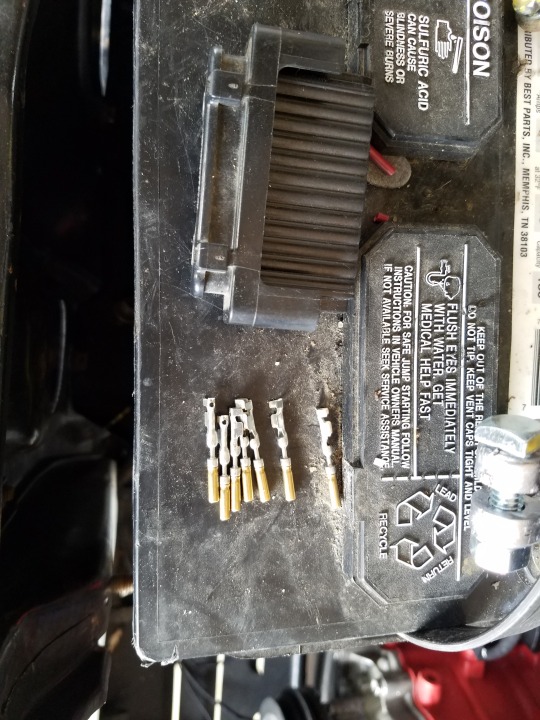
The pins that are on the battery are for the EDIS module. That connector isn’t available new, but at least I can crimp new pins.
The fusebox/relay panel is mounted just behind the battery. All the wires run up through the frame tube thing right there, and come out roughly at the same spot where the round bulkhead connector is. All the wires from the fusebox run through two connectors so I can remove the entire harness if needed.
I don’t yet have an electric fan, but I wired in all the provisions I will need (ie a fuse and relay). The fan will be triggered from the FIDLE output in the Megasquirt.
The oil pressure sensor works great, and I have a nice 27 PSI while cranking. (Don’t know how much while running, I didn’t look.)
I still need to wire the capacitive fuel level sender into the Megasquirt. I’ve already modified the Megasquirt, I just need to actually hook up the wires. Calibrating it should be relatively easy. I’m going to empty the tank, then put in 1.5 gallons. That will be my “EMPTY” level. Then I’ll fill it up, and set that as my “FULL” level. The sender has two adjustment pots on it to adjust the two levels, or I’ll just adjust it in TunerStudio.
I wanted to put in a fuel pressure sensor as well, but MS2 only has two spare ADC’s, and they’re being used for oil pressure and fuel level. I’d like to upgrade to MS3, but that won’t be in the cards for a while.
2 notes
·
View notes
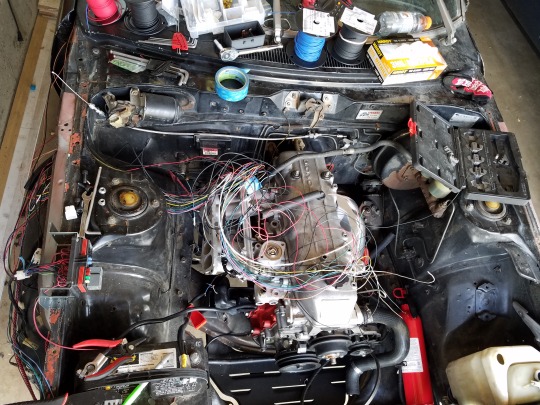
Photo

The fuel plumbing is now mostly done. Only one small piece left, and that’s to go from the FPR back to the return line. Need to figure a way to go from ¼" line on the regulator, to the 3/8" aluminum line. Not too tough.
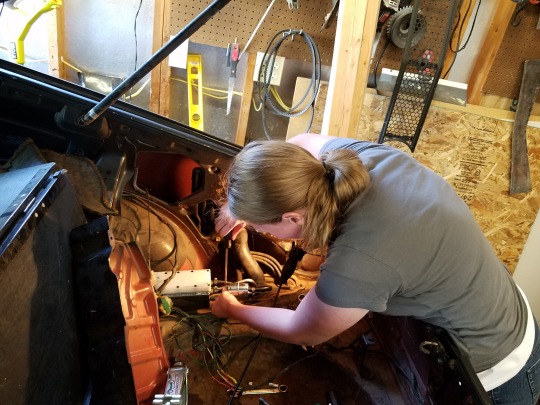
My wife helped me install the fuel filters. We have one filter between the factory low pressure pump and the surge tank, and one filter on the high pressure line right before the fuel rail.
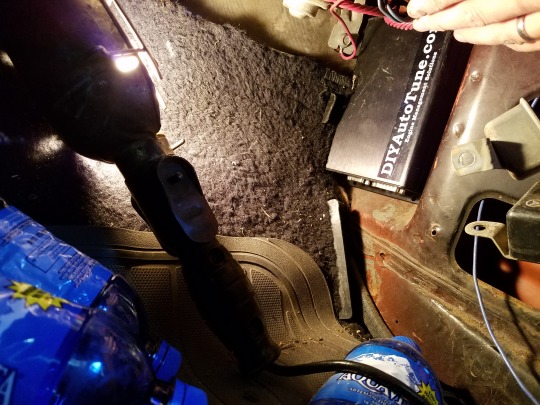
The Megasquirt will sit right behind the kick panel at the passengers feet, and the fuse/relay box will sit right behind the battery under the hood. I need to make the Megasquirt fit a little better behind the panel, but it works just fine for now to just get it running.
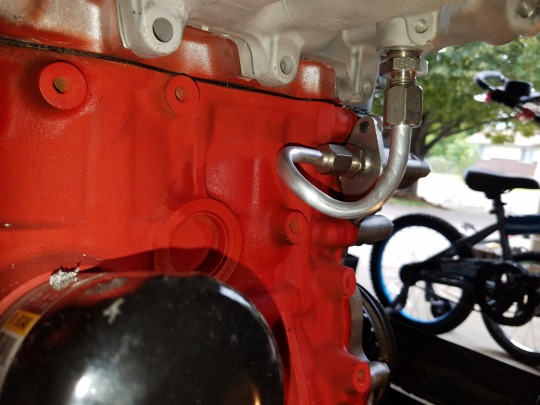
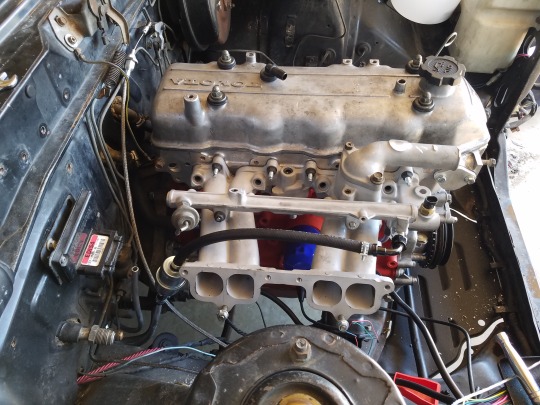
I ran a thermostat bypass hose from the underside of the lower intake to the back side of the water pump. This ensures that water will circulate through the block and head allowing it to warm up evenly. This also ensures I have an accurate reading of the actual coolant temperature, which is very important for EFI.
0 notes