flyingmycolours
Flying My Colours
Custom Care Bears and Plushies Commissions and all around Care Bear Love!
210 posts
Don't wanna be here? Send us removal request.
Last Seen Blogs
whisperofthemoonn
Andrew Blog

young-revo
young revolution (R.T.B.S)

phamduanposts-blog
Sans titre

allmonstersxarehuman
Make A Wish

skebletechnologies
Skeble Technologies
Text

Care Bear Cousin - Twilight Unicorn
I'll probably end up drawing the rest of the girls too
46 notes
·
View notes
Text
I haven't been feeling well today. My husband went out and got me a little "get better soon" prezzy <3
6 notes
·
View notes
Text

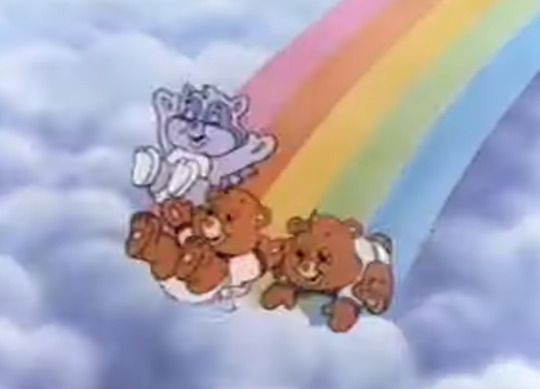

when the sequel is even better than the original...
#The Care Bear Movie II: A New Generation#my favourite Care Bears movie#I don't really see it as a sequel#just the second Care Bear movie they happened to make#loved this movie since I was a little girl#and I was so happy to share it with my son#Love Care Bears!
25 notes
·
View notes
Text


🌈 Illustrations from Care Bears and the Talent Contest 🌈
137 notes
·
View notes
Text
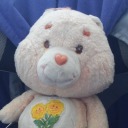
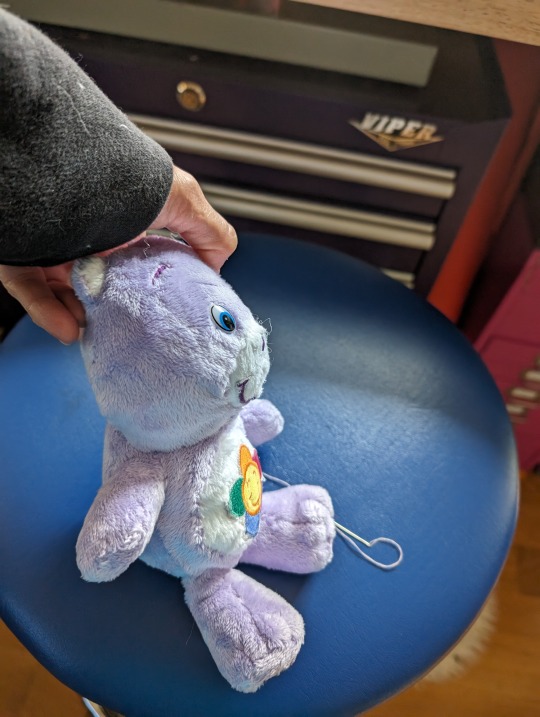
A cheerful lavender bear
Bearsy's person's original email included a brief bio of the cheerful lavender bear:
When I was 4 years old my mom bought me this bear that I have loved for the past 18 years. It has travelled to 3 different countries w/ me and I’ve slept with it every night of my life. Bearsy has seen better days. I’ve already sewn up the cheek seams, back of the neck, and back of the head. I’m now noticing more tears on the neck as well as some on her belly. She also has had all the paint on her eyes scratched off my 4 year old me. After years of being hugged her stuffing has deflated a lot. She has some bald patches and what remains of her fur I nuzzle my face on.
Here are the diagnosis photos she sent:


As you can see, Bearsy's applique and smile are very important parts of her, but her fur had worn to almost all backing, and her person was hoping to restore the original texture. So we agreed to recover Bearsy, transplanting the appliques onto the new fabric.
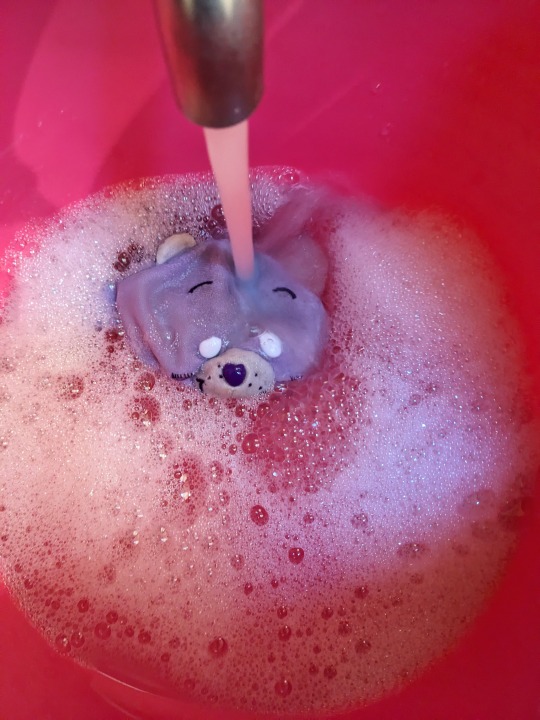
Her person also wanted her to enjoy a spa, and have her vision restored while she was here. It took a couple of months for Bearsy to work up the courage to fly all the way across the country to California, but she did, and she quite enjoyed her bubble bath on arrival:
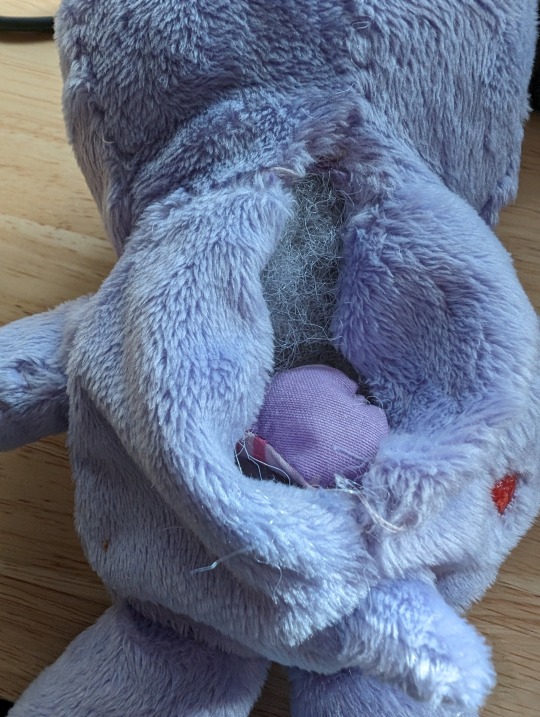
While she was drying, I ordered special lavender fur for her, and we agreed on her new eyes. Soon, she was soft and fuzzy again with her new fur and ready to be restuffed and of course she got a heart with her original stuffing:


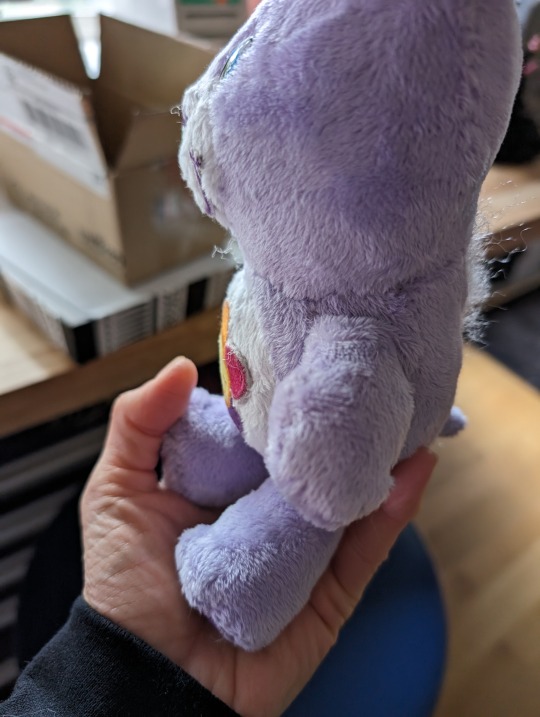
And here she is all better, with her transplanted smile and belly applique, all new fur, and 20/20 vision.


She flew home to Pennsylvania and her person wrote:
Bearsy is home!! Thank you so so much for taking care of her. I can't wait to have many more years of adventures and snuggles with her. Thank you for breathing life back into her.
#teddy bear repair#stuffed animal repair#Care Bear repair#Harmony Bear#so nice to see a Care Bear getting loving care#love this blog
1K notes
·
View notes
Text
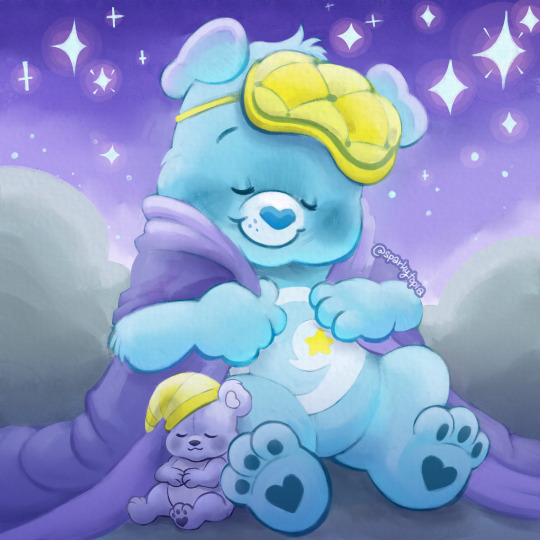
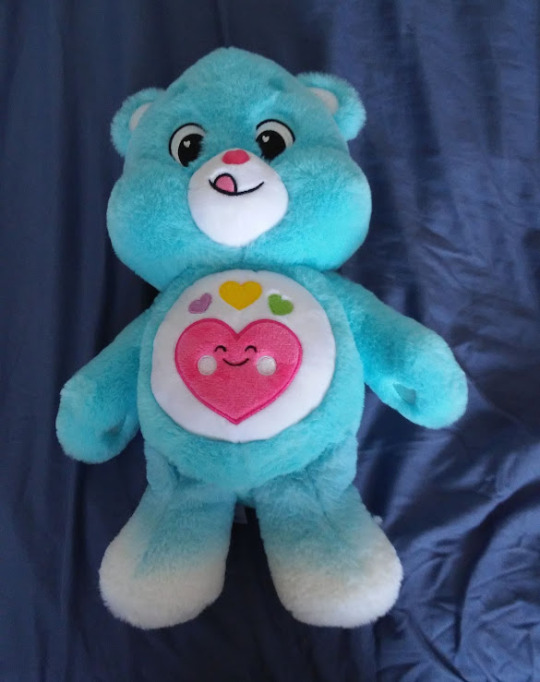
bedtime bear knows the importance of a good night's sleep
771 notes
·
View notes
Text


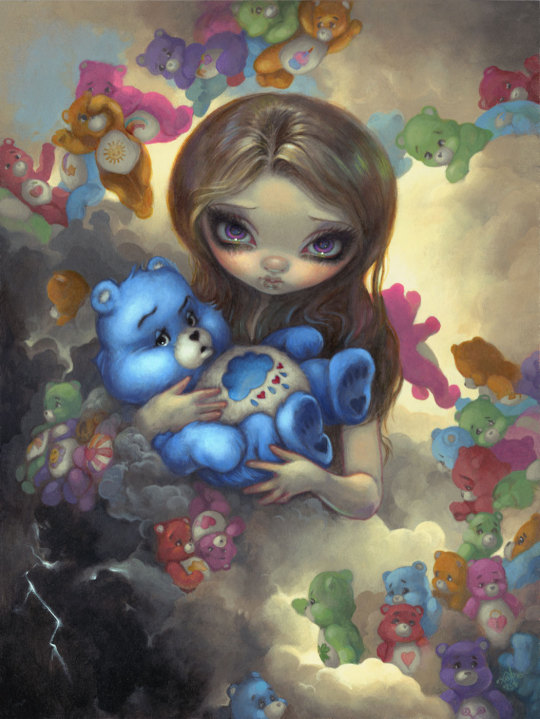
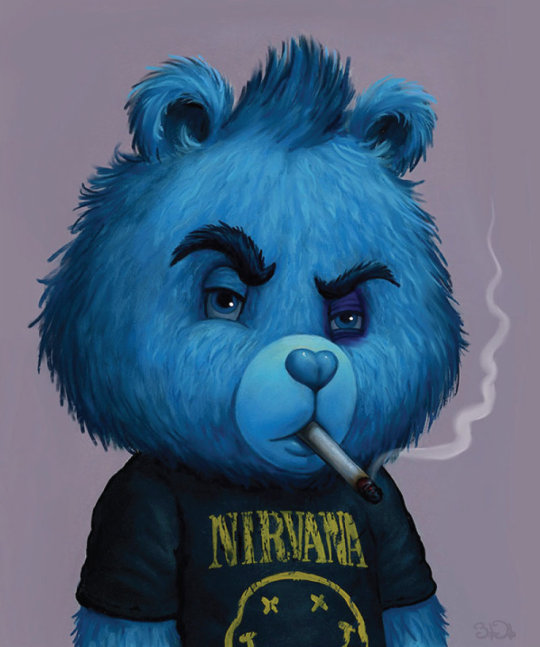
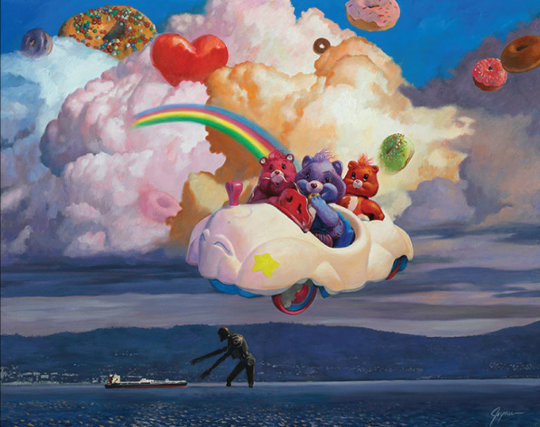

Corey Helford Gallery, in partnership with Cloudco Entertainment, presents 'Care Bears Forever', a group art exhibition featuring new and original, one-of-a-kind artwork, inspired by the beloved, classic Care Bears™ characters, from over 75 international contemporary artists.
Selected art by Elena Kucharik, Camilla d'Errico, Brandi Milne, Jasmine Becket-Griffith, Bob Dob, Eric Joyner and Miho Hirano.
Celebrating the forever-lasting influence of the Care Bears™, this colourful and joyous experience will also offer attendees a special glimpse into the brand’s history with the 'Care Bears™️ Forever Pop-up Shop' in Gallery 2 (featuring limited-edition merchandise) and 'Friends Forever: The Beary Besties Gallery' (featuring the original Care Bears™ illustrations that started it all by Elena Kucharik, as well as artwork from the original greeting card line) in Gallery 3.
The opening night is on Saturday February 24 from 7pm-11pm PT in the Main Gallery at Corey Helford Gallery, 571 S. Anderson St. Los Angeles, CA 90033 and on the Corey Helford Gallery website until March 30 2024.
65 notes
·
View notes
Note

Look at Cosmic Cheer Bear wearing her scooter helmet please!
What do you think if you can draw her and give her a space jetpack?
Awww, she is cute!
I don't draw Care Bears -- I make custom plushies. But there's a lot of talented artists in the fandom who I'm sure would be happy to take a commission from you!
2 notes
·
View notes
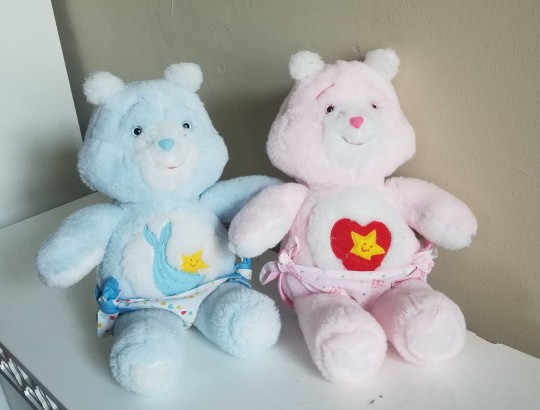
Text

Today's thrifting haul! :D
#Care Bears#Thrifting#Care-a-Lot Bear#Share Bear#I actually have both already - and Care-a-Lot was a present from Mom#so these two are going in the Customization Bin
10 notes
·
View notes
Photo
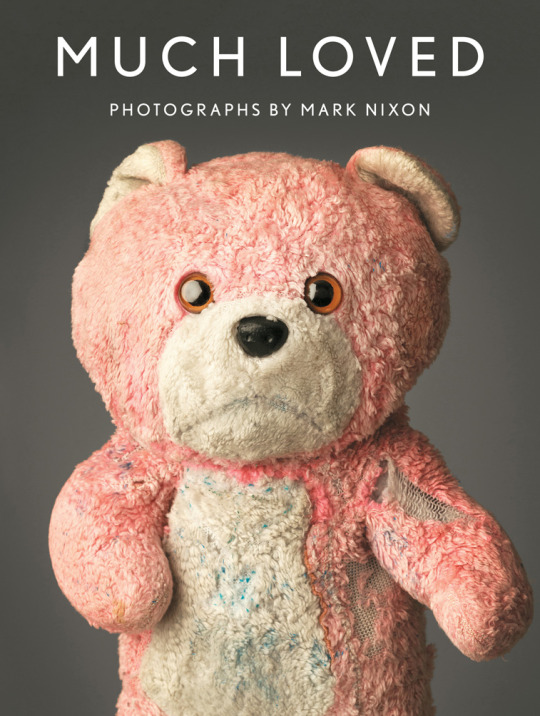
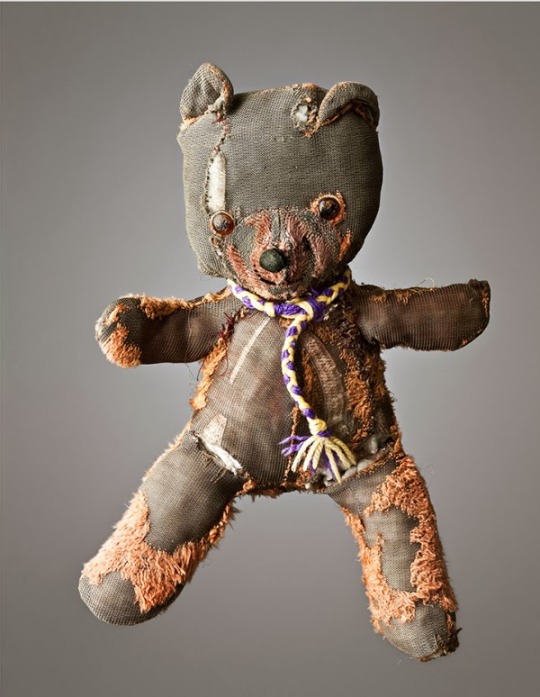
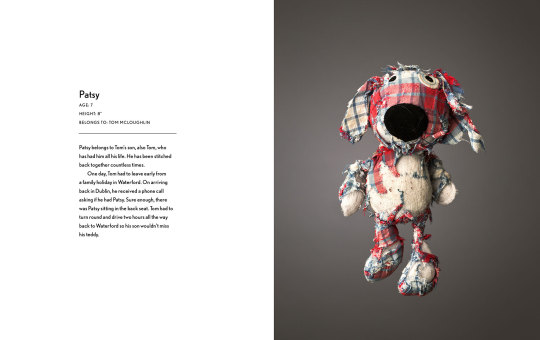


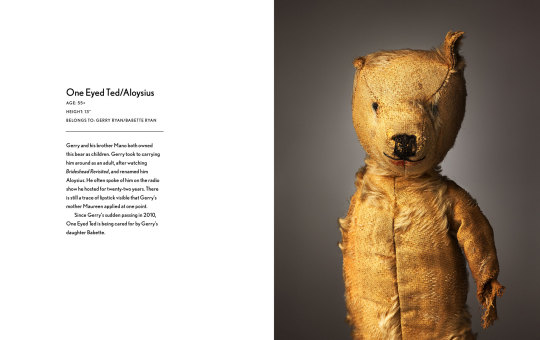
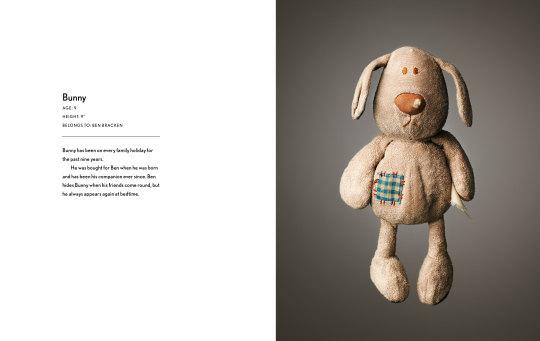


MUCH LOVED Photographer Marc Nixon made a series of portraits of teddy bears and other stuffed animals along with their age, size and history. Some were very much loved :-)
These photos come from a book, “Much Loved” l Imprint : Abrams Image l Via
67K notes
·
View notes
Text
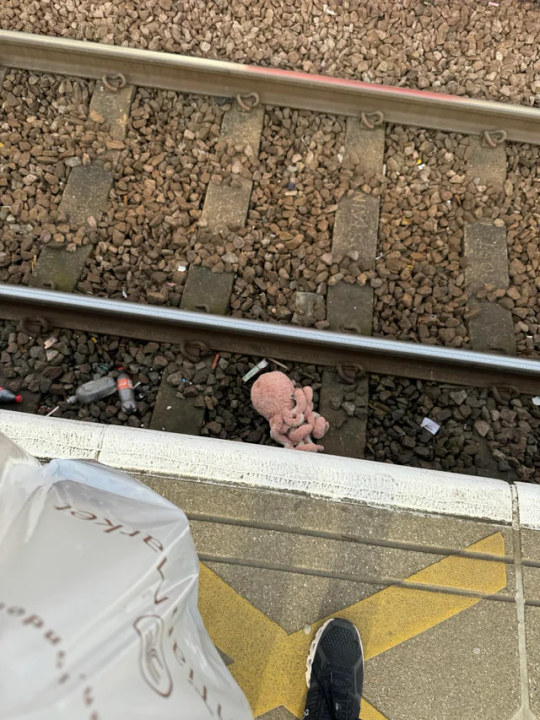
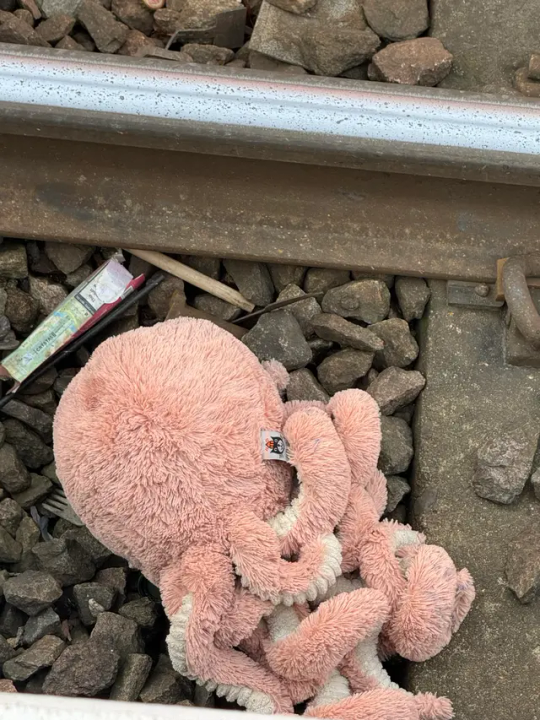


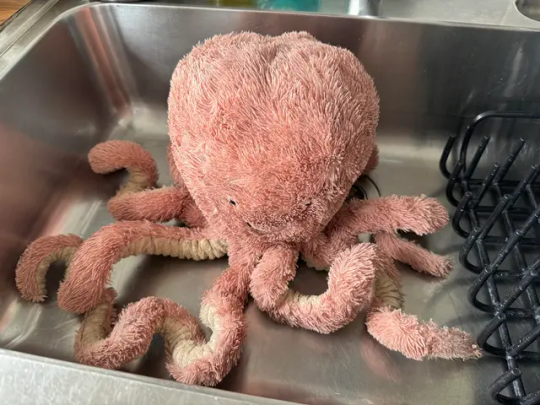

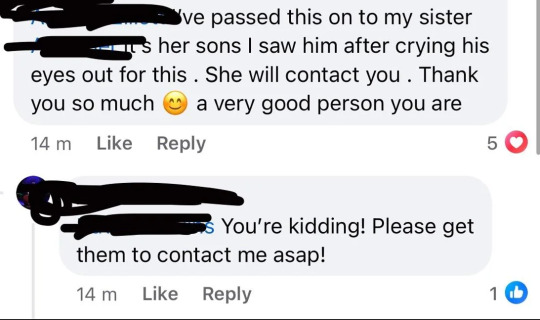
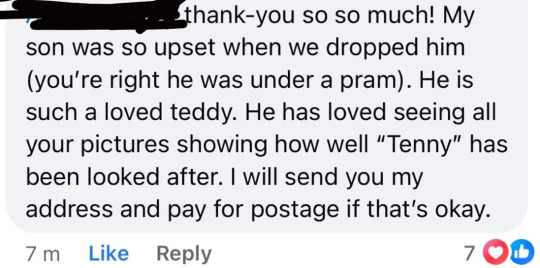
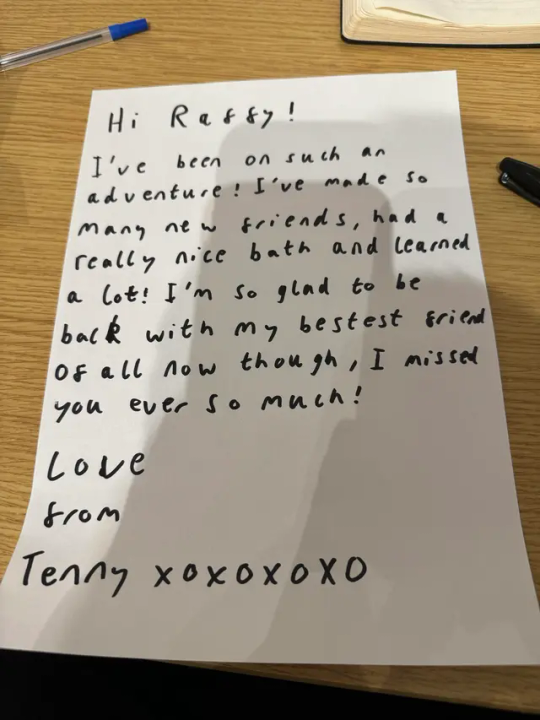

A few days ago I discovered this poor little guy laying on the train tracks at my local station, I took it upon myself to rescue him, clean him, and reunite him with his owner.
u/YuyaBestBoy
38K notes
·
View notes
Text
These are amazing homemade bears! I'd like to know where they got the patterns from. They look almost professional!
New homemade Care Bears join my collection, Baby Hugs and Baby Tugs :)
143 notes
·
View notes
Text

Couldn't really fix her tail, but I did give her back her pink and purple tuff for my movie-accurate Custom True Heart.

while i'm thinking about True Heart Bear,
give back my girl's multi colored tail & fluff !!

she deserves it. as a treat
#true heart bear#She deserves an official plush in her movie-accurate colours#maybe for the 40th anniversary of The Care Bears Movie II in 2026.#Care Bears
62 notes
·
View notes
Text

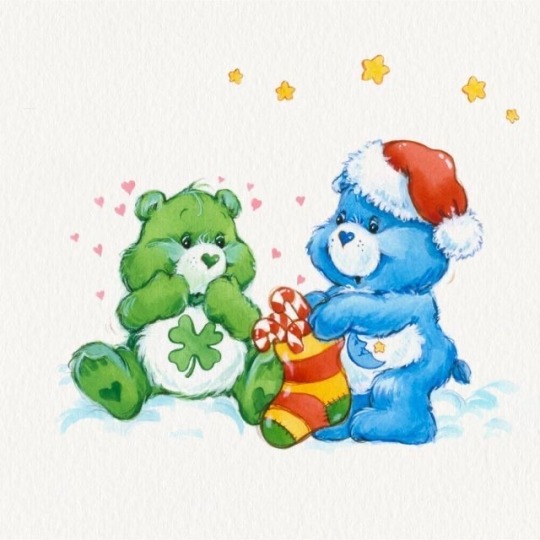

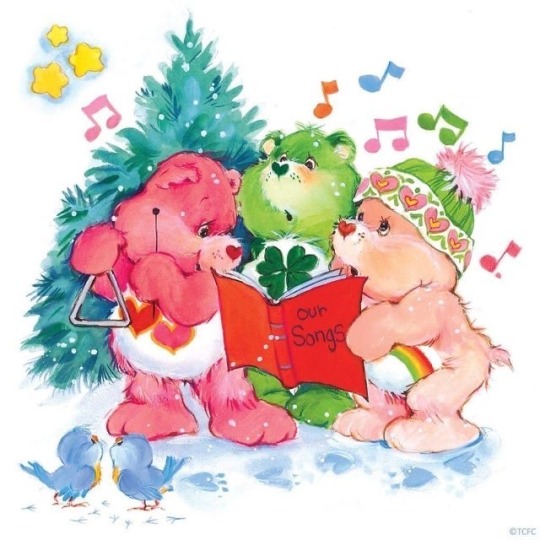


That time of year 🌈🧸🎄☃️🩵
#Merry Christmas from the Care Bears!#I one got a set of vintage cards with the top left pic#I have one left
157 notes
·
View notes
Text
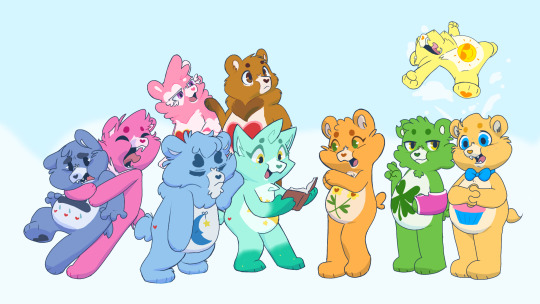
The original care bears redesigned
189 notes
·
View notes
Text
I started out using backstitch for the fill, like in this example:
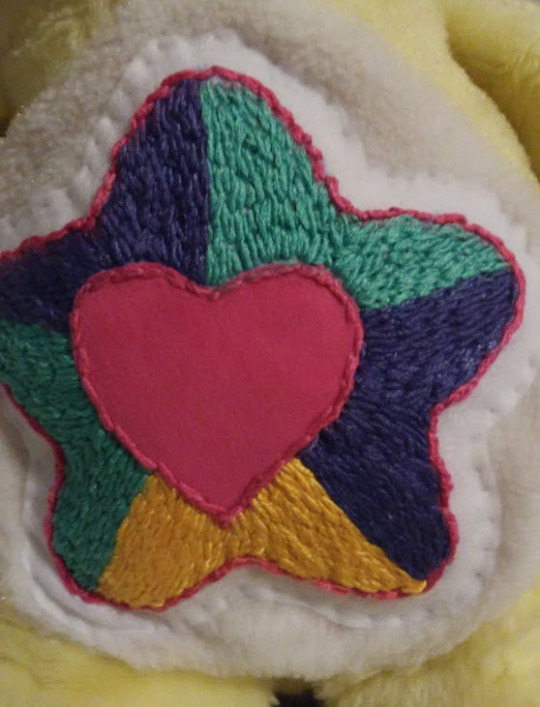
This was a tummy symbol for a Custom Care Bear that I made. Most of the star is filled using backstitch, as is the border, but the middle heart is unfilled velveteen.
As I grew more experienced with my embroidery, I started using satin stitch more often. It gives a smoother finish, IMO.
It also helps to "split" your embroidery thread to use fewer strands at once if you want it to look smoother.
This method can take much longer, but the results can be stunning. I still use backstitch for some details when necessary.
Different projects can use different stitching techniques. Sometimes you want the more "chunky" look for different textures, like using a backstitch for an elephant's skin in one of my customs.

and sometimes even fancier stitches are called for, like lazy daisy and whip stitch, as seen on my I Love Ukraine Bear, made to raise money for charity.

Basically, keep practicing! You'll soon figure out what works best for which project!
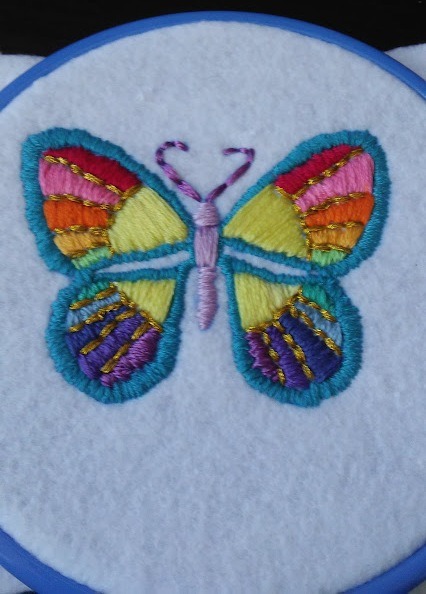
Had a few folks interested in how I made the patches I posted for Solarpunk Aesthetic Week, so I thought I'd give y'all my step-by-step process for making hand-embroidered patches!

First, choose your fabric and draw on your design. You can use basically any fabric for this - for this project I'm using some felt I've had lying around in my stash for ages.

Next, choose your embroidery floss. For my patches I split my embroidery floss into two threads with 3 strands each, as pictured. You can use as many strands in your thread as you prefer, but for the main body of my patches I prefer 3 strands.
Next you're going to start filling your design using a back stitch.

First, put in a single stitch where you want your row to start.

Poke your needle up through the fabric 1 stitch-length away from your first stitch.

Poke your needle back down the same hole your last stitch went into so they line up end-to-end.
Repeat until you have a row of your desired length (usually the length of that colour section from one end to the other). Once you have your first row, you're going to do your next row slightly offset from your first row so that your stitches lay together in a brick pattern like this:

Make sure your rows of stitches are tight together, or you'll get gaps where the fabric shows through.
Rinse and repeat with rows of back stitch to fill in your patch design.

When you're almost to the end of your thread, poke your needle through to the back of the fabric and pull the thread under the back part of the stitching to tuck in the end. Don't worry if it looks messy - no one's gonna see the back anyway.
This next step is fully optional, but I think it makes the patch design really pop. Once your patch is filled in, you can use black embroidery floss to outline your design (or whatever colour you want to outline with - it's your patch, do what you want). I use the full thread (6 strands, not split) of embroidery floss to make a thicker outline.

I use the same back stitch I used to fill the piece to make an outline that adds some separation and detail. You could use most any 'outlining' stitch for this, but I just use back stitch because it's just easier for me to do.
Once you're finished embroidering your patch, it's time to cut it out!

Make sure to leave a little border around the edge to use for sewing your patch on your jacket/bag/blanket/whatever, and be careful not to accidentally cut through the stitches on the back of the patch.
If you have a sturdy enough fabric that isn't going to fray, you can just leave it like this. If not, I recommend using a whip stitch/satin stitch to seal in the exposed edges (I find that splitting your embroidery floss into 3-strand threads works best for this).

And then you're done! At this point you can put on iron-on backing if you want, or just sew it on whatever you wanna put it on. Making patches this way does take a long time, but I feel that the results are worth it.
Thanks for reading this tutorial! I hope it was helpful. If anyone makes patches using this method, I'd love to see them! 😁
17K notes
·
View notes
Text
My little boy LOVES Sonic! Think I can pull this off as a custom?

fuck it, sonic heart hedgehog... 2!!!
294 notes
·
View notes