fleurarmor
Fleur Armor
https://fleurarmor.tumblr.com/AstiSpumanteFF14UserGuide
20 posts
Don't wanna be here? Send us removal request.
Last Seen Blogs

movelikewaddles
A Work in Progress

valentinabasso00
HELLO

bl1642864
Untitled

meowfotos
my world my eyes

ardentrob
Respect the Absurd
Text

I had an hour on lunchbreak, a copy of CS6 and a mouse and I gave it my best shot trying to help my lizard.
0 notes

Text
I saw the original image and the spirit of AO3 possessed me and opened up Photoshop.
#ff14 memes#ffxiv memes#G'raha tia memes#G'raha tia and burger content#I have limited time on this earth and I spent 20 minutes of it making this
6 notes
·
View notes
Text
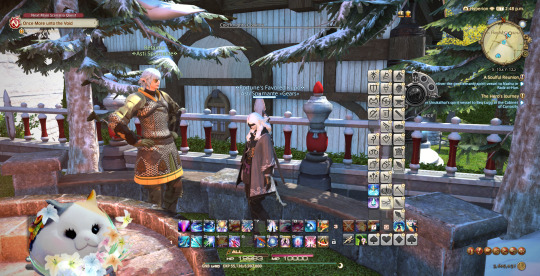
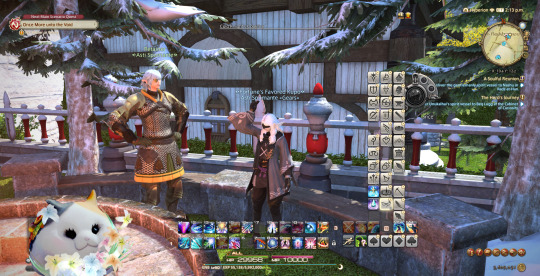
Menu Buttons for a Clean FFXIV HUD Using Macros
I like to have a fairly empty display most of the time so I use macros to make custom "collapsing menu" hotbars. This lets me pull up what I need, like to change classes or teleport or have a short list of emotes without needing to look at them all the time. I'll go through them from simplest to most complex.
Initial Setup
You'll need to set up your always visible hotbars first.
Click the System button.
Click HUD Layout.
Set up the hotbars you are going to always have visible. I use Hotbar 1 and Hotbar 2 for my primary job actions and Hotbar 3 for menu buttons, nonbattle actions, and some niche use actions.
Hide/Show Duty List

Click the System button.
Click User Macros.
Select an empty macro or one you would like to overwrite.
In the opened macro, click the macro icon.
Select an icon to represent this macro. I use card suits for my menu button macros to easily group them together.
Enter a descriptive name in the Name field, like Hide Duty List.
In the main body of the macro, enter the following, making sure each line is its own line:
/hud "Duty List"
/hud "Scenario Guide"
8. Finally, place the macro on one of your visible hotbars. When you click the macro button it will either hide or show both the Duty List and the Scenario Guide. This is nice for when you want to appreciate the scenery.
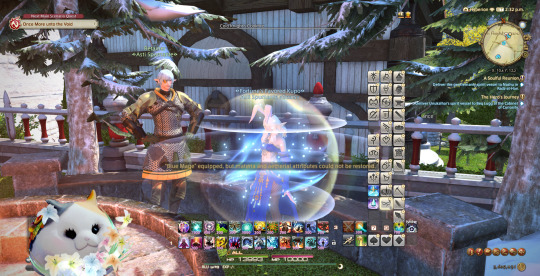
Situational Action Menu

I tried for many years to keep all my actions on two and a half bars to minimize how many bars I have but then I realized I can toggle those on and off! I personally like keeping my main two battle bars always up in case of accidental aggro, but you could have this toggle off all your job related bars, if you wanted. I toggle this on as soon as I enter a dungeon or raid but otherwise keep it hidden.
I keep my tank specific actions like those related to enmity as well as emergency actions like healing and partywide buffs on this bar.
For healers I keep my raise kit, Esuna, and shield type actions on there as I need to be able to find those quickly but they aren't part of a rotation.
Make the Macro
Click the System button.
Click User Macros.
Select an empty macro or one you would like to overwrite.
In the opened macro, click the macro icon.
Select an icon to represent this macro. I use card suits for my menu button macros to easily group them together.
Enter a descriptive name in the Name field, like Situational Actions.
In the main body of the macro, enter the following:
/hotbar display 6
Adjust the HUD
Place the macro on one of your visible hotbars.
Open the HUD Layout interface (System >> HUD Layout) and place Hotbar 6 where you want it. Also adjust the layout and size. I use the 4x3 option for my Situational Actions menu.
Click Save.
Drag actions from the Actions & Traits interface (Character >> Actions & Traits) or other hotbars onto your newly created menu hotbar.
You can also add macros, like a raise macro, from the User Macros interface (System >> User Macros).
You will need to add actions and macros to this menu for each job individually.
Emotes Menu

This makes an easy to access shortlist of emotes that is often faster than typing the emote in chat or using the Social >> Emotes menu path.
Make the Macro
Click the System button.
Click User Macros.
Select an empty macro or one you would like to overwrite.
In the opened macro, click the macro icon.
Select an icon to represent this macro. I use card suits for my menu button macros to easily group them together.
Enter a descriptive name in the Name field, like Emotes.
In the main body of the macro, enter the following, making sure each line is its own line:
/hotbar display 4
/hotbar display 5
Adjust the HUD
Place the macro on one of your visible hotbars.
Open the HUD Layout interface (System >> HUD Layout) and place the hotbars where you want them. Also adjust their layout and size. I use the 2x6 option for both hotbars of my Emotes menu.
Make sure that both hotbars, in this case Hotbar 4 and Hotbar 5, are either both visible or both not visible. If one is visible and one is not the macro button will only switch which is visible, it won't turn them both either on or off.
Click Save.
Drag emotes from the Emotes interface (Social >> Emotes) onto the menu hotbars.
If you use hotbars 4 and 5 you shouldn't need to do this for every job, just the once.
Change Job Menu

This is the same as the Emotes menu but is instead a menu for macros to change jobs. I also keep my return and teleport buttons here as well. Haven't made job change macros yet? Click this text to view my guide for making job change macros.
Make the Macro
Click the System button.
Click User Macros.
Select an empty macro or one you would like to overwrite.
In the opened macro, click the macro icon.
Select an icon to represent this macro. I use card suits for my menu button macros to easily group them together.
Enter a descriptive name in the Name field, like Job Change.
In the main body of the macro, enter the following, making sure each line is its own line:
/hotbar display 7
/hotbar display 8
/hotbar display 9
Adjust the HUD
Place the macro on one of your visible hotbars.
Open the HUD Layout interface (System >> HUD Layout) and place the hotbars where you want them. Also adjust their layout and size. I use the 1x12 option for the 3 hotbars of my Job Change menu.
Make sure that all hotbars, in this case Hotbar 7, Hotbar 8, and Hotbar 9 are either all visible or all not visible. If one is visible and one is not the macro button will only switch which is visible, it won't turn them all either on or off.
Drag your job change macros from the User Macros interface (System >> User Macros) onto the menu hotbars. You can group them together by job type (healer, gatherer, tank, etc.) or keep your main jobs all together.
If you use hotbars 7, 8, and 9 you shouldn't need to do this for every job, just the once.
#FFXIV tutorial#FFXIV code#FFXIV beginner guide#FFXIV beginner's guide#FFXIV macro#FFXIV macros#Asti Spumante's FFXIV User Guide
7 notes
·
View notes
Text
Raise and Other Job Action Macros for FFXIV

If you play FFXIV long enough you'll end up seeing a message in chat while running a duty letting folks know someone is getting raised. These are usually done via macro.
Why Do People Use Raise and Other Job Action Macros?
Raise messages basically boil down to "Other healers and raise capable members of the party, I am raising this person so don't waste your Swiftcast."
They can also communicate if this is a hard rez (no Swiftcast) and will therefore take time.
They tell you who scraped you off the floor so you have a suggestion of who to give your commendation. (This is why I appreciate others using them, personally).
They communicate part of a mechanic that another player might not know. The classic example was Paladin's Divine Veil, where they needed to be healed for the action to be completed. Although Divine Veil no longer requires it.
Creating and Editing Macros
Click the System button.
Click User Macros.
Select an empty macro or one you would like to overwrite.
In the opened macro, click the macro icon.
Select an icon to represent this macro. Or, use /micon in the macro itself to use the icon for the action.
Enter a descriptive name in the Name field, like Sage Hard Rez.
In the main body of the macro, you will enter the code of the macro, making sure each line is its own line.
Macro Components
/ac tells the system you are starting a command about an action.
"Action Name" says which action you want to use. This is job specific so you will need to make a rez macro for each job as it is Egeiro vs Raise vs Resurrection vs Ascend etc.
<wait.#> is telling the system to wait before executing the next line. The number tells the system how many seconds to wait. How long you need depends on your computer, internet connection and how congested the immediate area in game is. 2 seconds works for my current machine very well, 3 seconds worked better for my old laptop and if I'm at a world boss Fate or hunt train I don't even try to use the macro due to the long wait time needed.
/party tells the system to send the text that follows to the party chat.
<t> tells the system to substitute the name of who you are currently targeting in whatever message you are sending in chat.
<#> The number will tell the system who to target based on the position in the party list. So a 3 will target the 3rd person on the party list.
/micon "Action Name" will tell the system to give the macro the same icon as the named action.
Optimizing Rez Macro Placement on Your Hotbar
To get the most bang for your buck on your rez macro, I recommend the following order on your hotbar:

[Swiftcast] [Quick Raise Macro] [Raise] [Full Heal Action]
This set up will let you see if Swiftcast is still on cooldown. If it is you can skip your Quick Raise macro and either just click Raise directly or a Long Raise macro (which in that image is the X icon below my Quick Raise macro's icon).
Example Macros
These can all be directly copy and pasted into the body section of the macro editor.
Basic Rez Macro (RDM)
/ac "Swiftcast" <wait.2>
/ac "Verraise" <wait.2>
/party Raising <t>! Get back in the fight!
Hard (Long) Rez Macro (SGE)
/party Swiftcast is down! Hard rez-ing <t>! <wait.3>
/ac "Egeiro"
Rez Macro with Swiftcast and Thin Air (WHM)
This is specific to WHM level 58+ and will allow you to instantly cast Raise with no MP cost to help make the most of your resources.
/ac "Swiftcast" <wait.2>
/ac "Thin Air" <wait.2>
/ac "Raise" <wait.2>
/party Raising <t>! Get back in the fight!
Improvisation Macro (DNC)
Unless your team has played a lot of Dancer themselves they likely won't understand how Improv works. Macro messages are great for telling other people in your party what they need to do to benefit from things like DNC's Improvisation or PLD's Passage of Arms.
/micon "Improvisation"
/ac "Improvisation"
/party Stand near me until you hear the bongos for healing!
Aetherial Manipulation (for the BLM Who Can't Target Party Members to Literally Save Their Own Lives)
Its me, I'm that black mage. This automatically targets the third person in the party's list which will be the healer in a Light Party or the second tank in a Full Party. You will aether skate over to whoever that is.
/ac "Aetherial Manipulation" <3>
Living Dead Macro (DRK)
This is no longer required as Living Dead has been updated. But it is a good example of making a macro message fun while giving a needed instruction.
/micon "Living Dead"
/ac "Living Dead" <wait.2>
/party Whether by accident or purpose, I have used Living Dead. Please heal me to full or else I will soon be Dead Dead. :')
#ffxiv guide#ffxiv tutorial#FFXIV code#FFXIV Beginner Guide#FFXIV Beginner's Guide#FFXIV macro#FFXIV macros#Asti Spumante's FFXIV User Guide
8 notes
·
View notes
Text
Job Change Macros for FFXIV
Macros to change your job in FFXIV allow you to not only quickly change jobs but can also let you change the HUD Layout and even execute an emote for some flare while doing so.
Gear Sets
These macros rely on the use of Gear Sets for your jobs. If you don't know how to use Gear Sets, here is the official guide to help you out.
Basic Job Change Macro
Let's ease into this with the most basic macro to get the job of changing jobs done.
Open the Character menu (press C or Character >> Character).
Click the Gear Set List button, it looks like a single page of paper and is above your current level and job. Use the list of Gear Sets to find the Gear Set number for each job.
Open the User Macros menu (System >> User Macros).
Click an empty macro or one you would like to overwrite.
You do not need to assign an icon to this macro, part of the macro we will use will assign it.
Put a name in the Name field, like BLU or Black Mage.
Enter the following information in the body of the macro, making sure each line is its own line and the number on the gearset lines matches the job you are making the macro for:
/micon 21 gearset
/gearset change 21
/hudlayout 1
/micon is for macro icon, it tells the macro to assign the icon based on the information on that line. Here we're telling it to look at Gear Set 21.
/gearset tells the system that it needs to work with our Gear Set. In this case, we're telling it to change and to change to Gear Set 21.
/hudlayout is telling the system to also change the HUD layout. You don't need to include this if you only use one HUD layout for all jobs. However, if you change the HUD layout for even one job, ALL job changing macros need to include this direction telling the system what layout you want to use with this job. For example, I use Layout 1 on most jobs but Layout 4 on Red Mage and White Mage. On almost all jobs the final line is /hudlayout 1 but my macros for Red Mage and White Mage use /hudlayout 4.
Add an Emote to a Job Change Macro
You can also add an emote by adding one line to the macro above. For example:
/micon 3 gearset
/snap <wait.1>
/gearset change 3
/hudlayout 4
In short, on the second line, add the emote and also the instruction for how many seconds to wait. It uses the same emote code you would type in the chat box to execute an emote.
The wait instruction is important as the system reads these directions line by line immediately one after the other unless told otherwise. So you need to tell the system to wait to give the emote time to finish before moving on to the next step.
Some common wait lengths, the number representing seconds:
/snap <wait.1>
/fist <wait.3>
/vexed <wait.4>
/hknight <wait.4>
Once you have macros to change jobs you can put them on one of your hotbars so changing jobs is as easy as a single click of your mouse. You can also put them on a collapsible menu so they don't clog up your HUD, too.
#FFXIV tutorial#FFXIV code#FFXIV beginner guide#FFXIV beginners guide#FFXIV macro#FFXIV macros#Asti Spumante's FFXIV User Guide
0 notes
Text
I made the cake that you see when you enter the market in Gridania! It's a chocolate spice cake with whipped cream frosting and the chocobo and holly are gingerbread and sugar cookies.

3 notes
·
View notes
Text
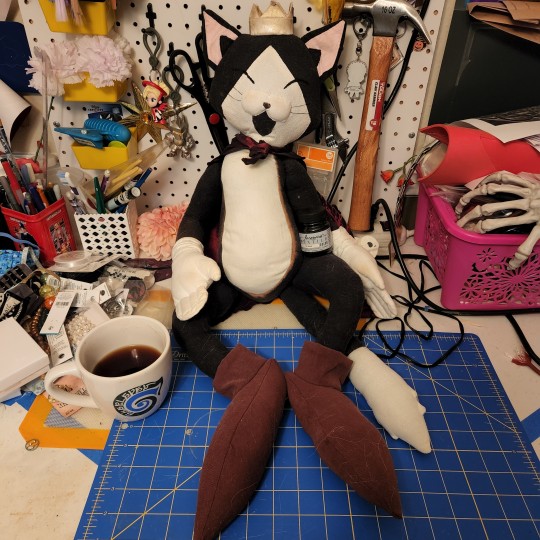
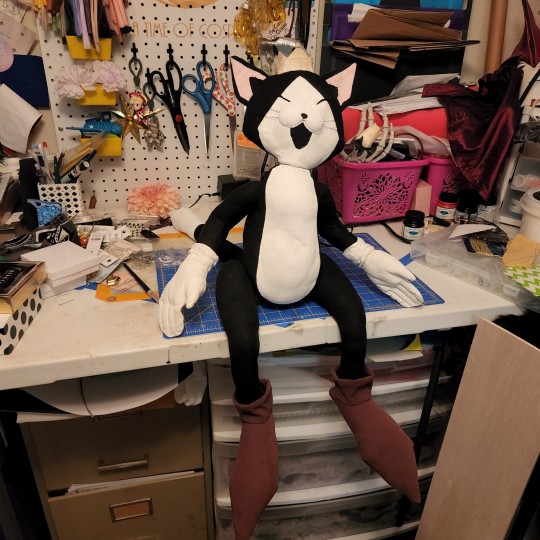
My little robot cat lad is refreshed! A little threadbare after like 15 years but I still love him dearly.
1 note
·
View note


Text
The outer crust is slightly overdone but! My Last Dregs themed pie is ready for friendsgiving!

1 note
·
View note
Text
Skybuilders Sounds: Ambient Noise to Relax, Study and Sleep to
No talk, only soup (for the soup primal), mining and chill. Because legit sometimes I miss the old days of spending every waking moment in either the Firmament or Diadem and want that aesthetic ambient noise.
3 Hours of Diadem Mining Ambient Noise/Music
30 Minutes of Chill Daytime Crafting Ambient Noise/Music
30 Minutes of Chill Nighttime Crafting Ambient Noise/Music
30 Minutes of Bustling Crafting Ambient Noise/Music
Ishgard Restoration Fate Crafting Ambient Noise/Music
Like ambient crafting in Eorzea audio? Feel free to request locations using the Ask feature here on Tumblr. :)
0 notes
Text
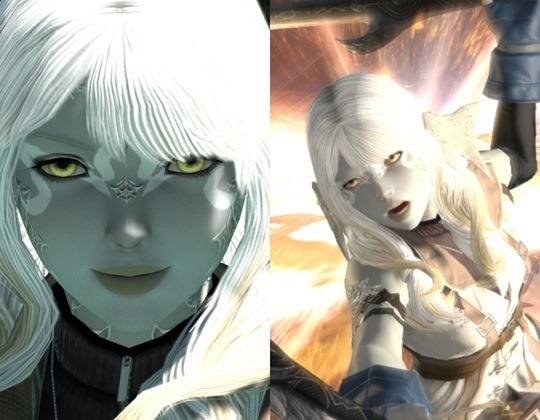
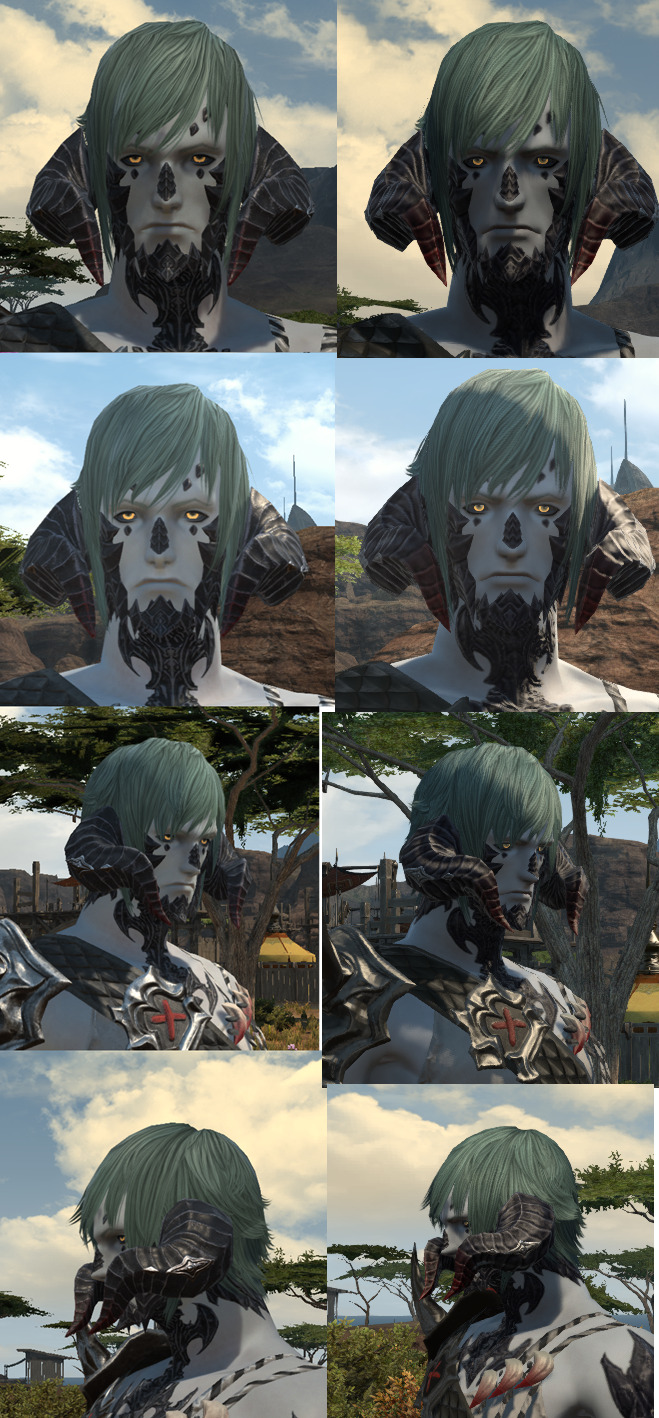
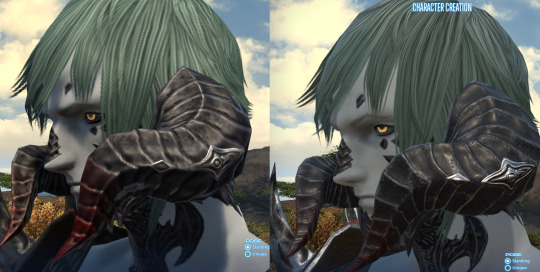
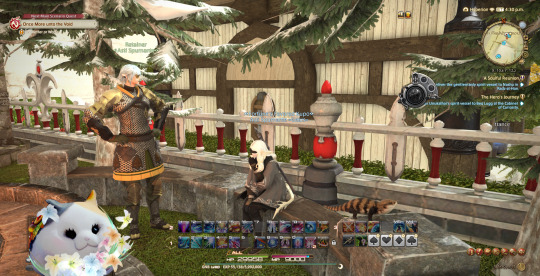
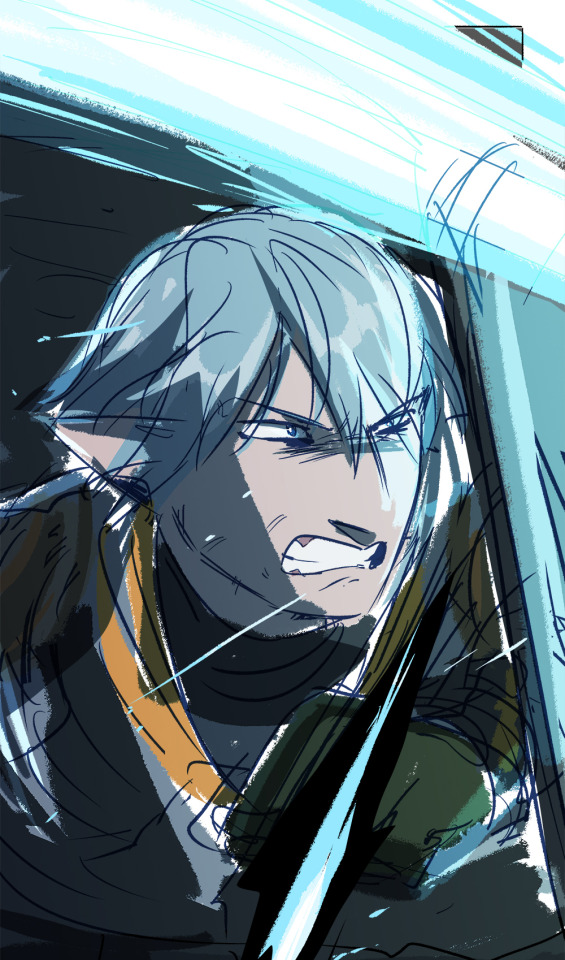
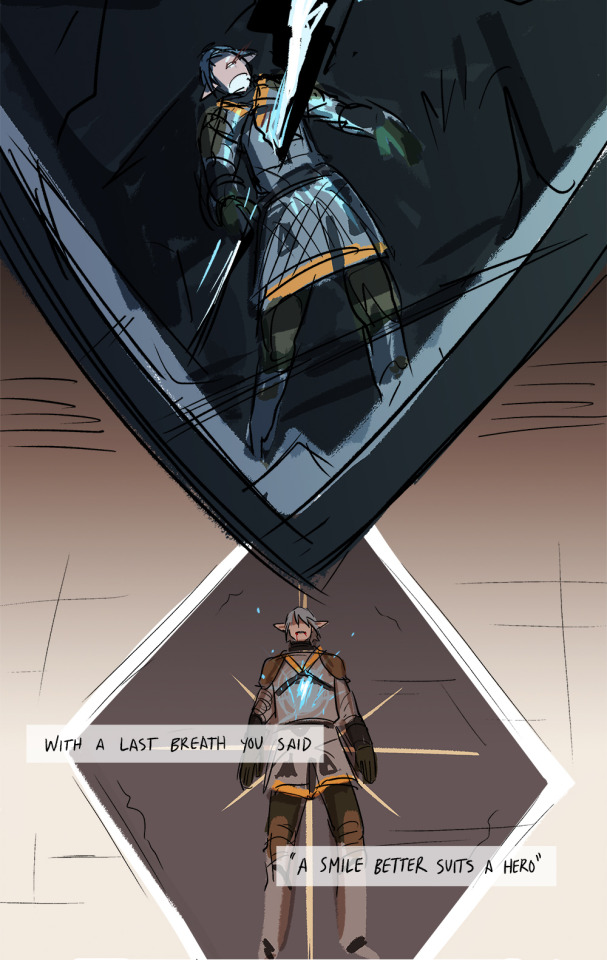
Y'all ever gotten unreasonably attached to a side character in a game? For me, that was this guy
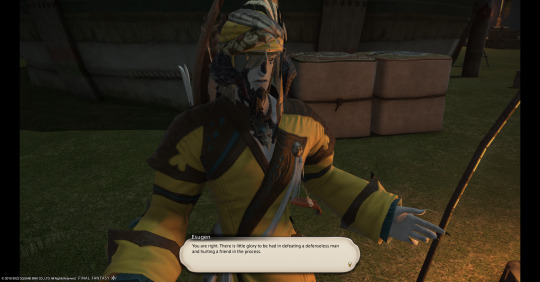
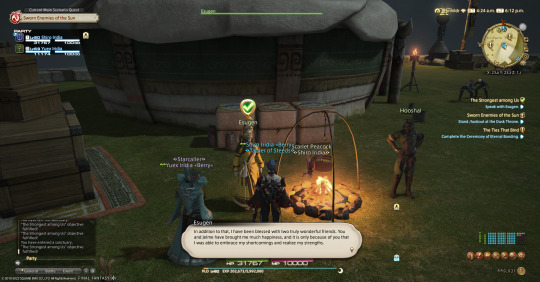
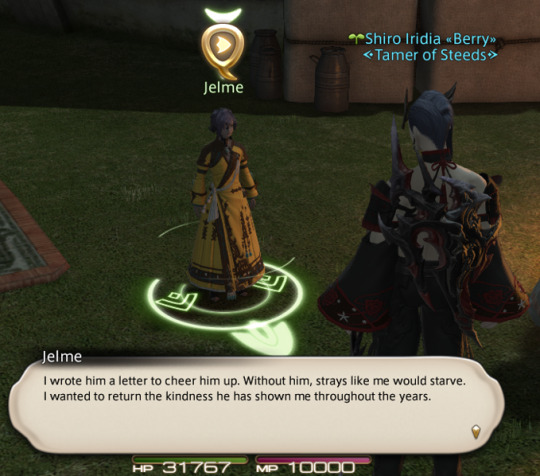
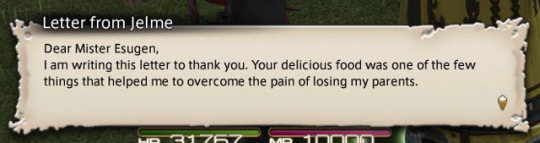
Esugen Oronir. His clan is this absolute mess of frat bro dudes with a might-makes-right attitude, and as an older member with little combat ability, he's basically the one everyone picks on--even though as the only cook, he's absolutely essential to their survival. He has a little mini-arc side quest line where he grapples with the dilemma of whether or not to spike another guy's meal to get ahead in the tournament that will decide their next leader--but in the end, he decides against it, because that would be kinda shitty and also setting a bad example for this kid who idolizes him.

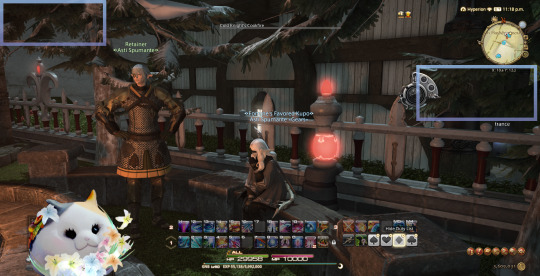
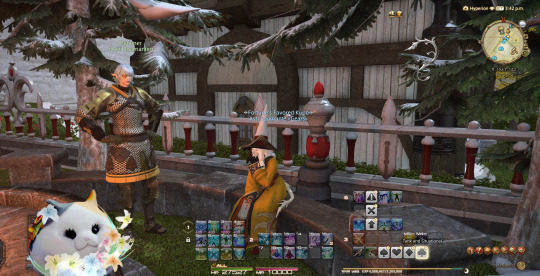
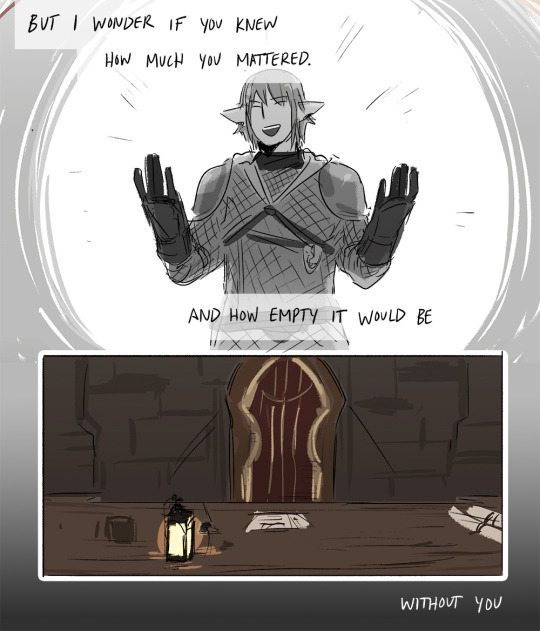
In the end, he just walks away and disappears like every minor npc when you finish their questline, and in my heart I've always headcanoned that he walked away from the Oronir and found his way to the Scions' headquarters in Mor Dhona, and made a new life there where he'd be more appreciated. Added his mark to Mor Dhona's culinary culture. Hooked up with F'lhaminn and spent many happy hours trading travel stories with her over a stew pot. Lived happily ever after <3
#my second favorite character#my fellow middle aged CUL main#He deserves to go on a fun food road trip
340 notes
·
View notes

Text
Commemorating my time with my very first pentameld'd gear. It was by my side for so many dang Skybuilder soups.
0 notes
Text

Art imitates life... imitates art.
I may have that backwards. Either way I saw 5ft's korpokkur cake art and the CUL primal whispered into my heart that I needed to make it reality.
#ffxiv food#ffxiv cake#korpokkur cake#That stare into the middle distance is that little guy's charm point
0 notes