akirameta84
Very Mind to Think
▪︎ Hello :] I post/reblog whatever, but my current fandoms are listed in my bio. Asks and DMs are always open ▪︎
69789 posts
Last active 2 hours ago
Don't wanna be here? Send us removal request.
Last Seen Blogs


Text
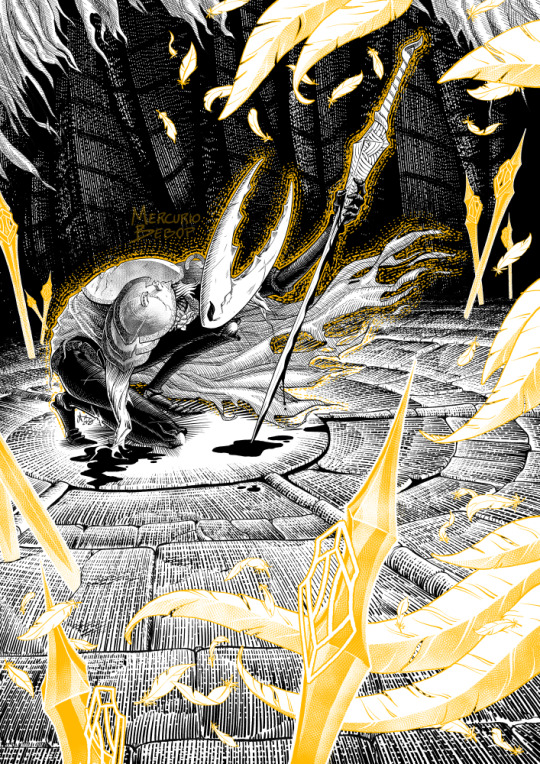
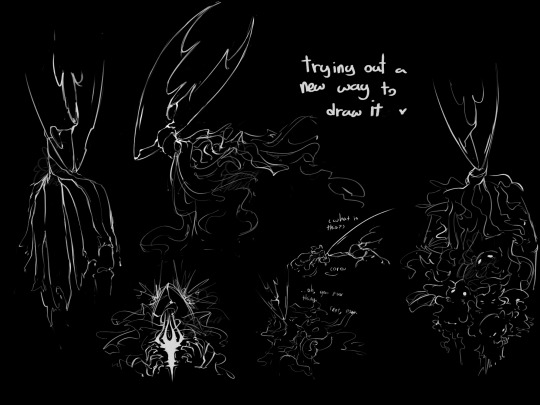
A little homage to the Hollow Knight's sacrifice before Silksong is out. Eventually.
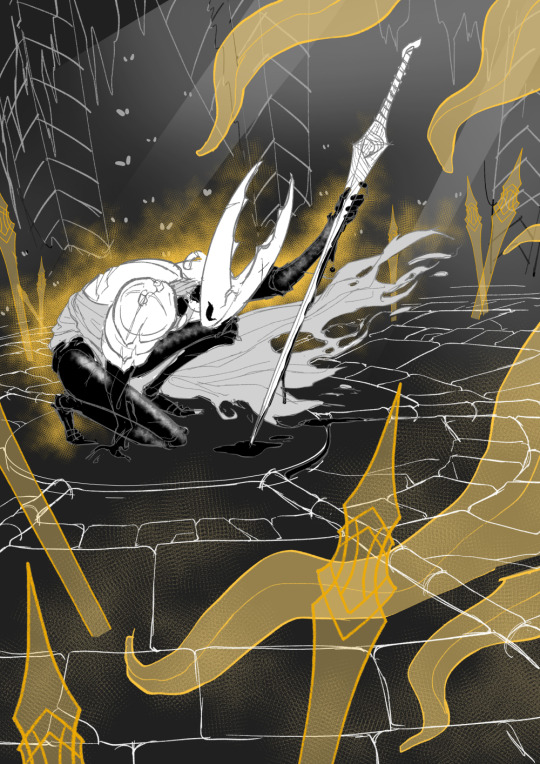
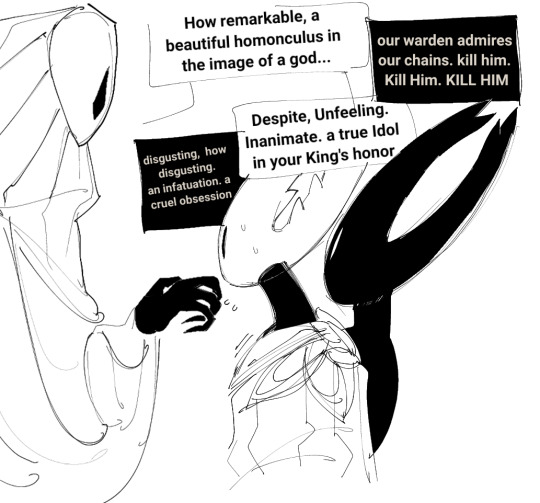
WIPs and sketch below the cut

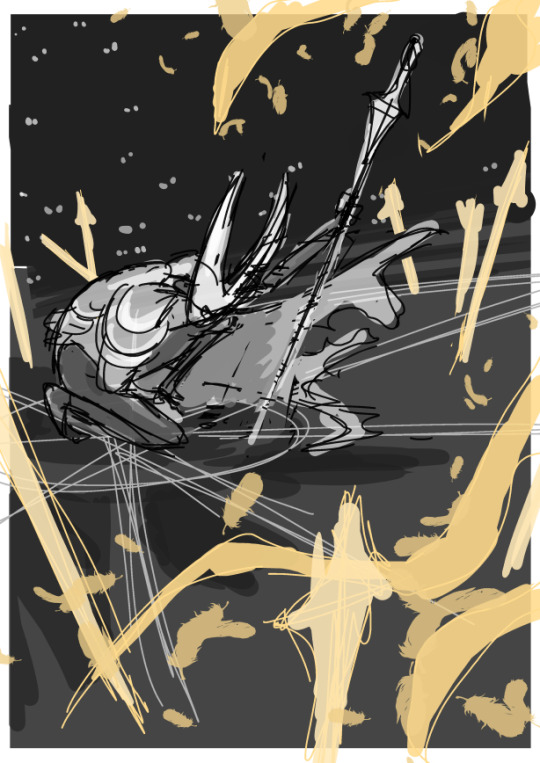
I usually work with brainstorm dirty and rough lines, then clearer line and then add flats, lights or shadows as I see fit. Last is the sketch just before inking because this is an illustration, comic pages do not need such detailing for me.
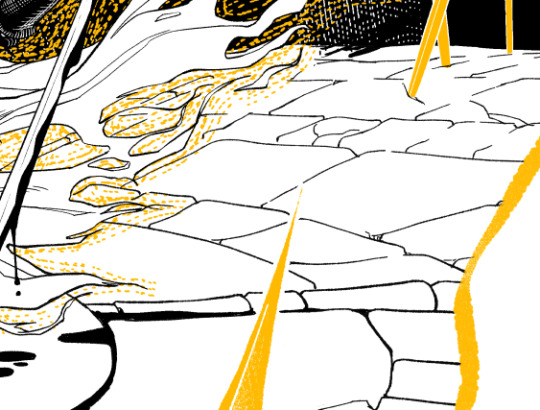
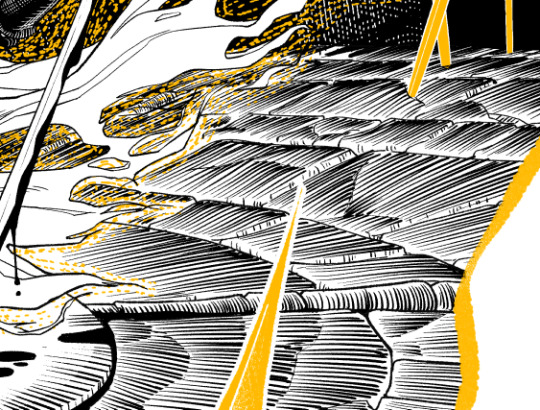

I work with several layers. One has inking, descriptive lines. Other has textures, blacks, details, etc. And the last one has extra details, temp lines (that end up being final) or in this case, white crosshatch in case I want to change my mind light-wise.
242 notes
·
View notes


Text
Emergency commissions (sort of)
So, since a while ago, my pc started having some problems on start up and a few days ago it finally stopped working near entirely. Tech guy who checked it said it was a motherboard issue that simply happened because it's just too old (15+ so years).
So this forces me to try opening commissions earlier instead of waiting until next month as it was usual.
(Thankfully I got a laptop to do these, albeit borrowed.)
Types and prices are in here:
What I will draw:
Animals, monsters and other creatures (feral or anthro)
Fanart
Humans
Body horror
Gore
Backgrounds
Mecha (DM me first, please)
What I won't draw:
NSFW
My goal with this is to hopefully buy a decent enough motherboard (not a high-end one, as I'm not interested in gaming) to get my pc to work again. Any extra would be destined to groceries as those uh, are starting to run low again.
Thank you!
86 notes
·
View notes

Text
reblog for sample size !!
18K notes
·
View notes
Text
Guys I got a leaked cutscene from Legends Z-A bro just trust me bro
5K notes
·
View notes
Note
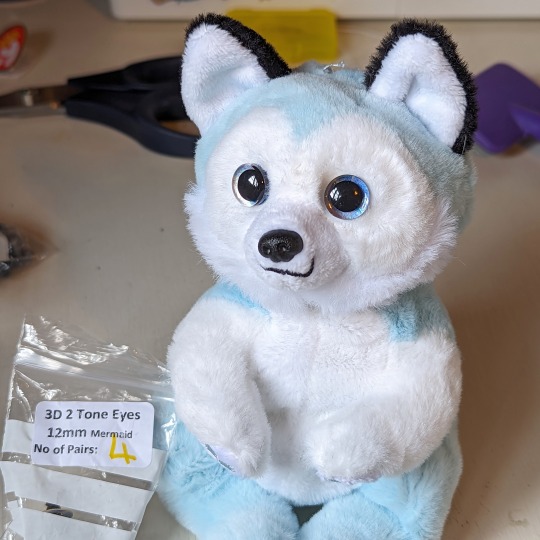
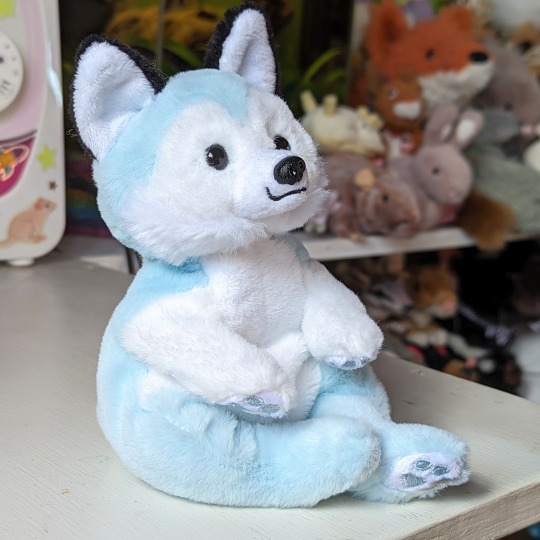
Hey, I found a beanie boo that I liked the design of but I can't stand those giant uguu eyes. Do you think it would be possible to replace them with smaller safety eyes akin to the old beanie babies? If yes, do you have any advice?
I was gonna answer this in a normal way, but then I got curious about trying it for myself and thought I might as well demonstrate!
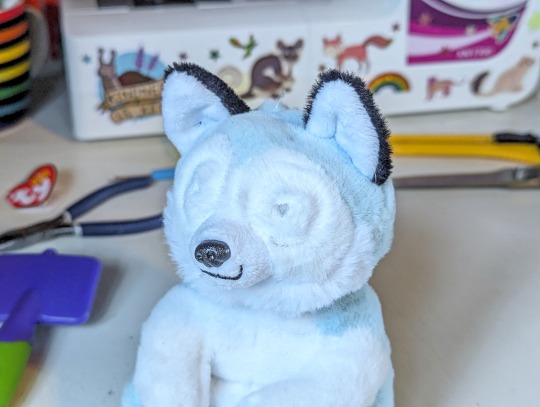
So, I went and picked up a guy from the supermarket. The selection there was pretty barren today but I found a decent test subject:
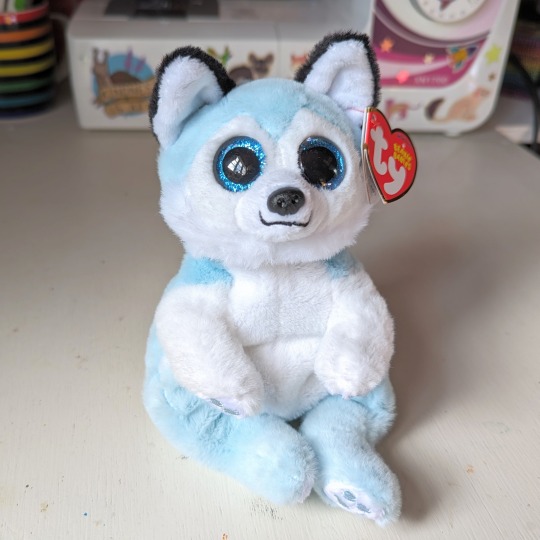
Eye replacement procedure below!
(First of all, to my friend who loves beanie boos, I am so sorry for this lmao)
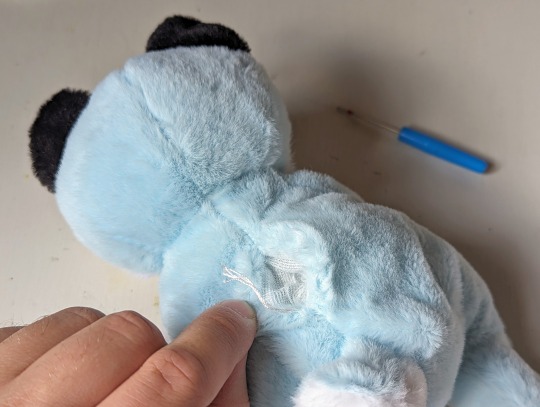
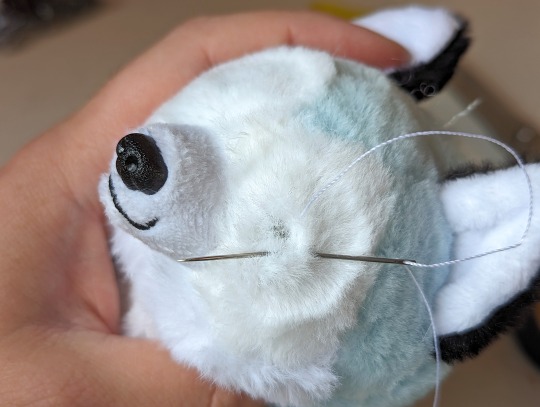
So! First I opened up the closing seam on his back. However, I found an extra mesh barrier inside! Clearly this is to prevent bean escape since this is the most likely seam to accidentally pop open through play. This would be a bit annoying to work around so I just sewed it back up and went in the back of the head instead…
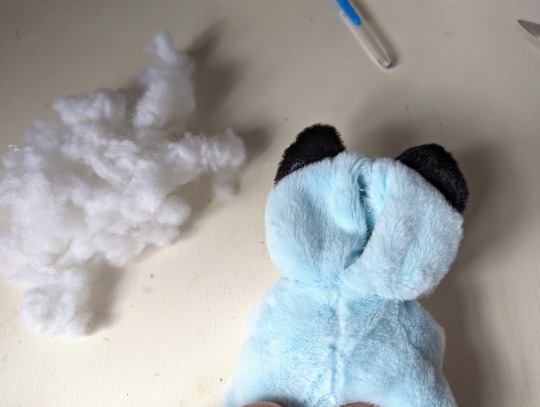
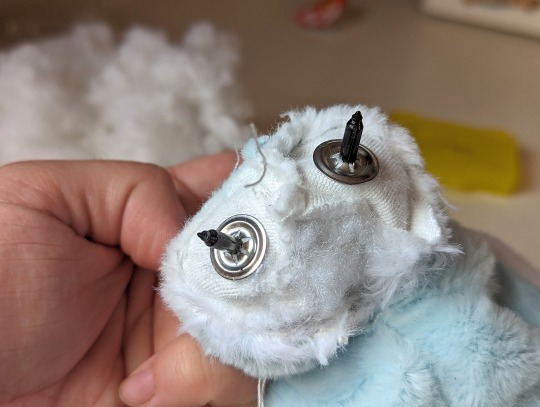
Opened and unstuffed the head…
…And turning it inside out to get to the backs of the eyes. Whoa, these plastic washers are the biggest I’ve ever seen!! Cutting through them will take some work!
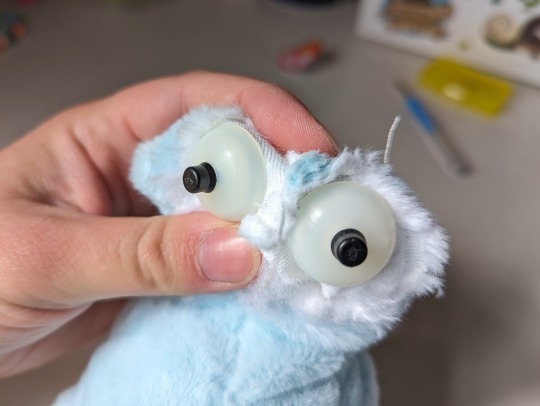
Please be very careful of your fingers cutting through these!! Be careful not to cut the fabric around the eye too, but mostly be careful of yourself!
Anyway grrrrrrr attack attack slice slice grrrr

They’re out! With a little glue I think the washers would be able to hold on perfectly well again. I’ll keep these eyes to reuse on something where they’ll be a bit more proportional!
The washers on these eyes are particularly cup shaped, fitting around the back of the eye and holding the fabric tightly against them. Now that the eyes are removed, this has left imprints on the fur!
Plenty of brushing and rumfling will help to fix the creased and flattened areas of fur, and wetting the fur or gently steaming over a hot cup of water should help too. It might take a little time!
(Also, I did make a little cut in the cheek while removing a washer, oops! No worries, that can be stitched up.)
Now we can try on a few new eye styles! Restuff the head for now so you can see how they’ll look.
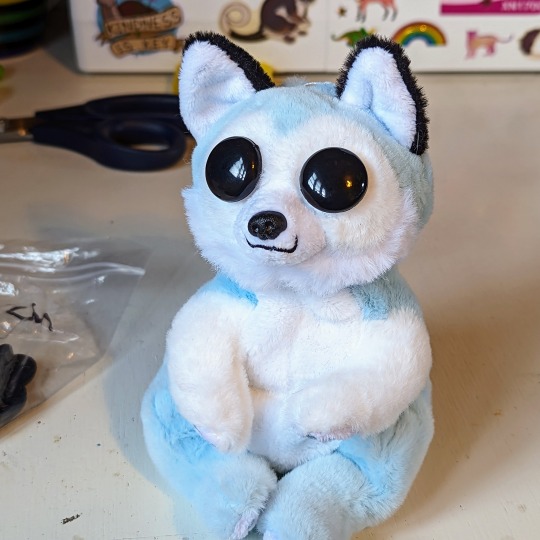
I have a few sizes of solid black, from teeny dots to absolute tbh creature…

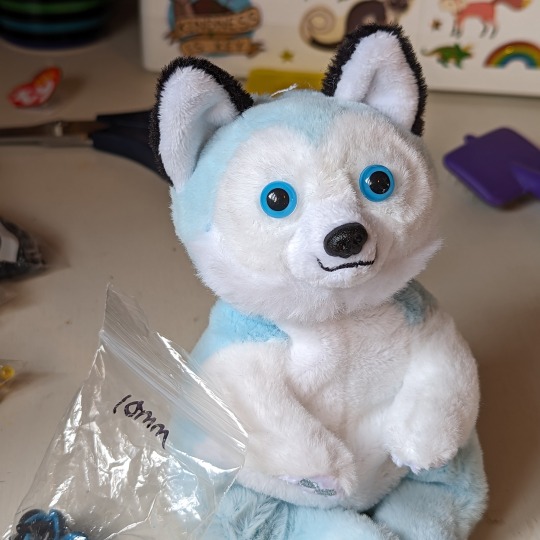
These blue eyes were a little scary… no thanks!
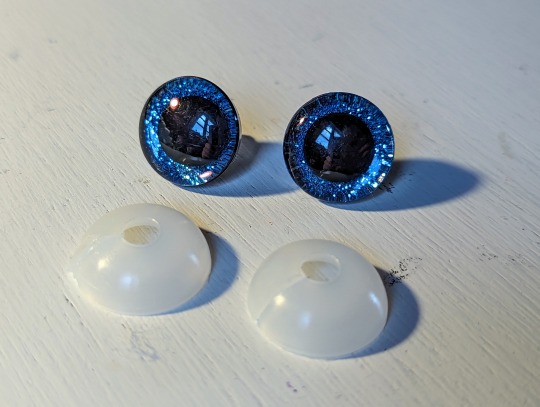
I even have some glittery ones like the original, but smaller! Pretty nice actually!
And even some googly eyes hehehe!

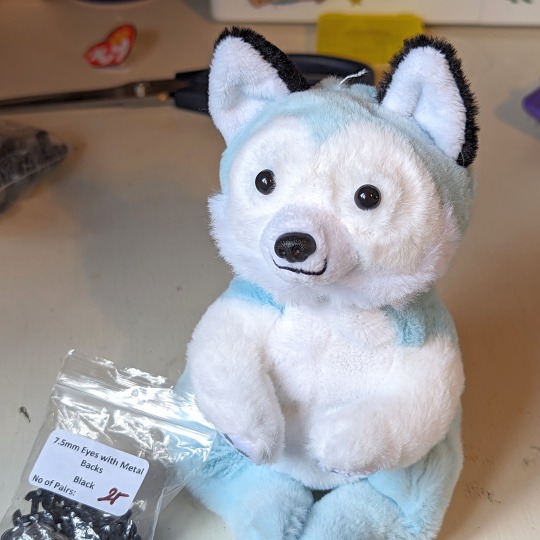
But my favourite eyes were some basic 9mm black ones! They are placed a little funny here, but the position will change a little bit…

The holes left by the original eyes were very big, so a couple of stitches are needed on each one to tighten them up to fit the new eyes. I stitched the top outer corners, to move the holes down and inwards a bit. If you wanted, you could even sew them closed completely and make new eye holes elsewhere!
Unstuff again and pop those new eyes in!
Restuff! You might actually need to add a little extra stuffing, as the fabric not being so pulled around the eyes any more will mean it is a little ‘baggier’.
Then sew the head closed again and that’s about it! The fur is still a little creased around mine, but I’ll keep working at it and it should become less visible.
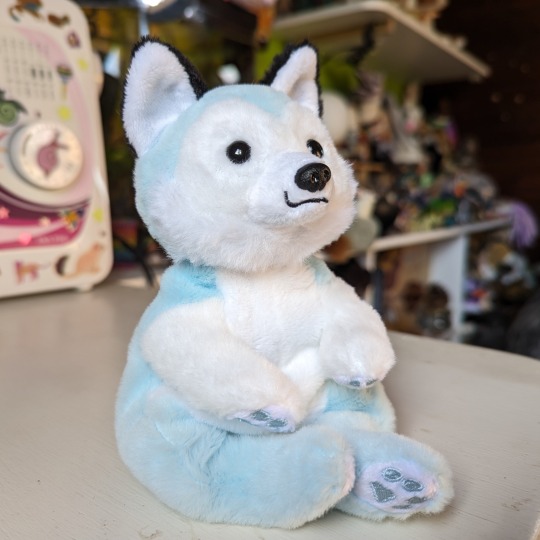
To add a tiny bit more shape to the big round head, I also did a touch of threadsculpting. I ran a thread from the corner of each eye to below the chin and back, just pulling the eyes in a tad more. You might decide you don’t need this!
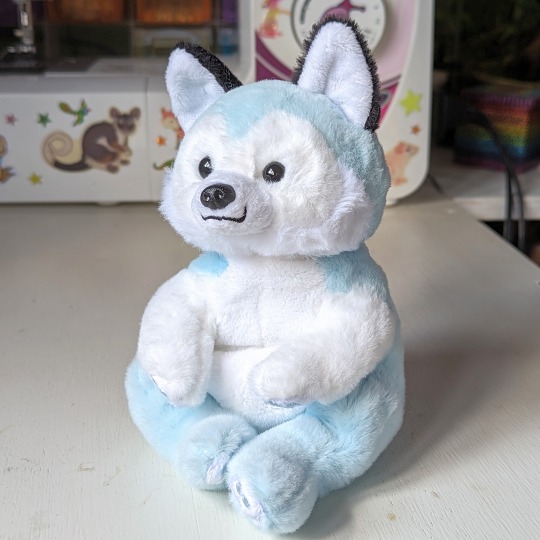
And there we go! Hope you’ll try it yourself!
13K notes
·
View notes
Text
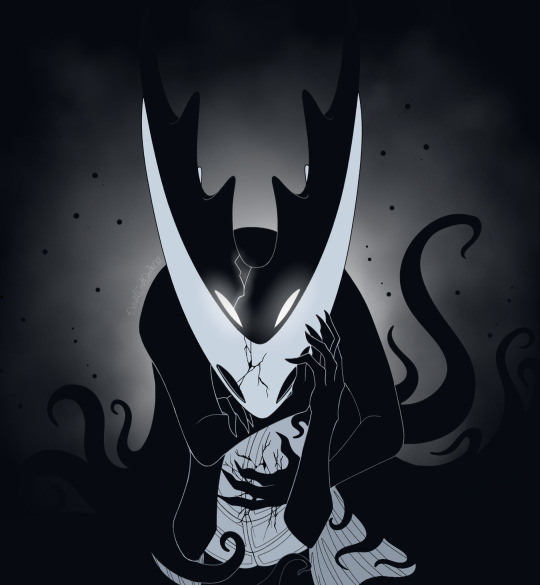
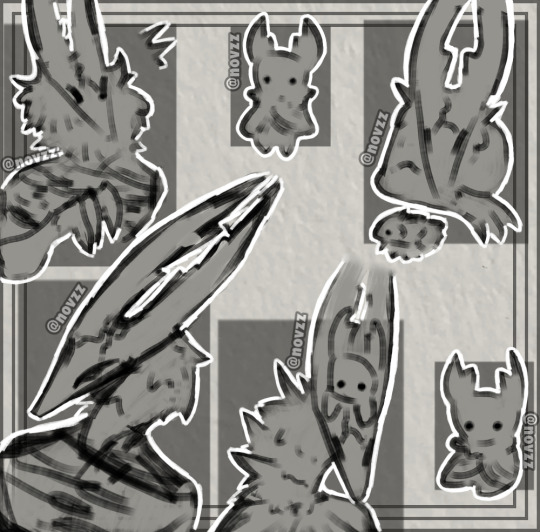
If there was no one else to make this vessel atone for its sins, then it would do so itself
141 notes
·
View notes
Note
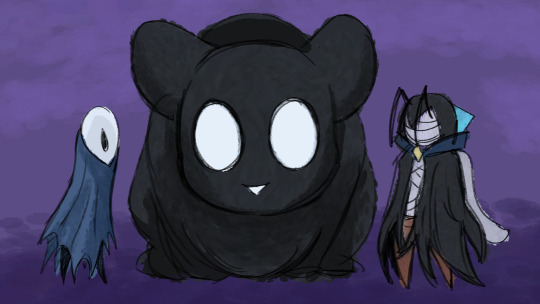
If u made any RegretsAu doodle I would be forever grateful🙏
Or just the siblings (Hornet, Hollow, Ghost) doing things together would also be very good

I haven't drawn it in awhile (mainly because drawing hollow consistently is IMPOSSIBLE) I like to think Shade Ghost hates Lurien the most
69 notes
·
View notes