wawapichi
I'm in hell
An occasional artist (she/her)
149 posts
Don't wanna be here? Send us removal request.
Last Seen Blogs
thereforu
sam
princess-ibri
" To all who come to this happy place, welcome"

wingedcorgi
my slow clap processor made it into this thing.
ask-long-furby
Ask Long Furby


Text
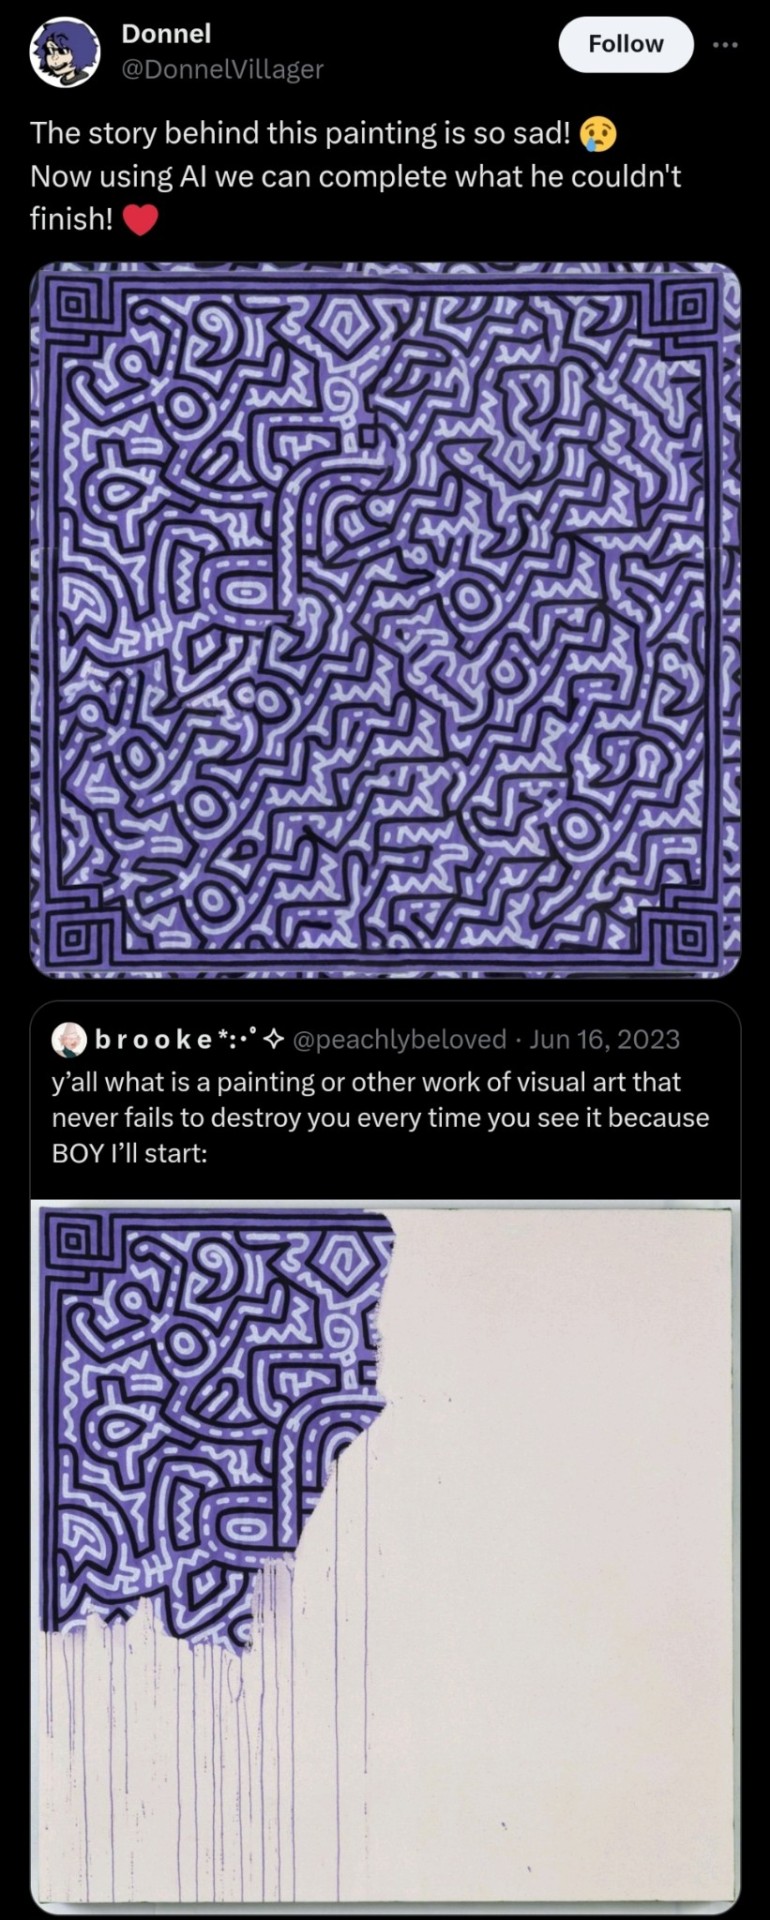
Everyone should know the international sign for Help Me. Let’s make this famous!!

199K notes
·
View notes
Text
hot artists don't gatekeep
I've been resource gathering for YEARS so now I am going to share my dragons hoard
Floorplanner. Design and furnish a house for you to use for having a consistent background in your comic or anything! Free, you need an account, easy to use, and you can save multiple houses.
Comparing Heights. Input the heights of characters to see what the different is between them. Great for keeping consistency. Free.
Magma. Draw online with friends in real time. Great for practice or hanging out. Free, paid plan available, account preferred.
Smithsonian Open Access. Loads of free images. Free.
SketchDaily. Lots of pose references, massive library, is set on a timer so you can practice quick figure drawing. Free.
SculptGL. A sculpting tool which I am yet to master, but you should be able to make whatever 3d object you like with it. free.
Pexels. Free stock images. And the search engine is actually pretty good at pulling up what you want.
Figurosity. Great pose references, diverse body types, lots of "how to draw" videos directly on the site, the models are 3d and you can rotate the angle, but you can't make custom poses or edit body proportions. Free, account option, paid plans available.
Line of Action. More drawing references, this one also has a focus on expressions, hands/feet, animals, landscapes. Free.
Animal Photo. You pose a 3d skull model and select an animal species, and they give you a bunch of photo references for that animal at that angle. Super handy. Free.
Height Weight Chart. You ever see an OC listed as having a certain weight but then they look Wildly different than the number suggests? Well here's a site to avoid that! It shows real people at different weights and heights to give you a better idea of what these abstract numbers all look like. Free to use.
164K notes
·
View notes


Text
Retro tutorial?
Disclaimer: Tumblr, for some reason, likes to dullen the colour of the screenshots, just know that they're actually a bit more saturated and brighter than how they appear here.
So, after posting my recent retro drawings on Reddit, and getting some comments that genuinely made me cry (/pos), I noticed I also got quite a few comments asking me how I actually do these drawings.
Er, I'm not the best teacher, really, and honestly, there's probably an easier, faster way to do it. But, this is my way of doing it, lmao. I work on a Gen 2 iPad Pro with a Gen 1 Apple Pencil, just in case you're wondering.
Firstly, here are the four apps I use for this kind of drawing:

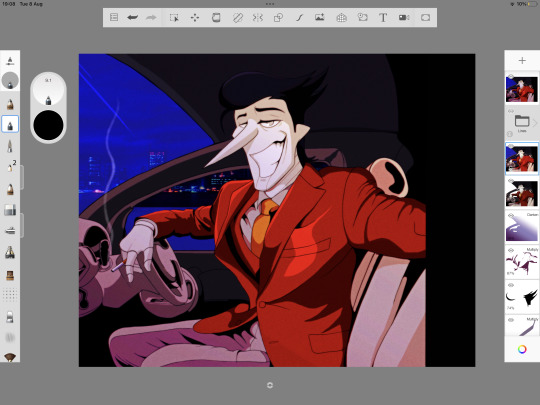
From left to right: Sketchbook Pro, Pixlr, Photoleap and CapCut. Sketchbook Pro is what I use to draw everything. You could honestly use any drawing app though. We will talk about the other three when we get to them.
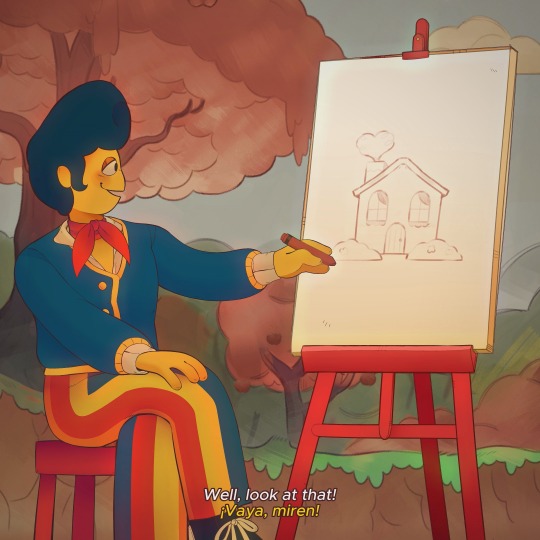
Step 1: draw whatever it is you want to draw.
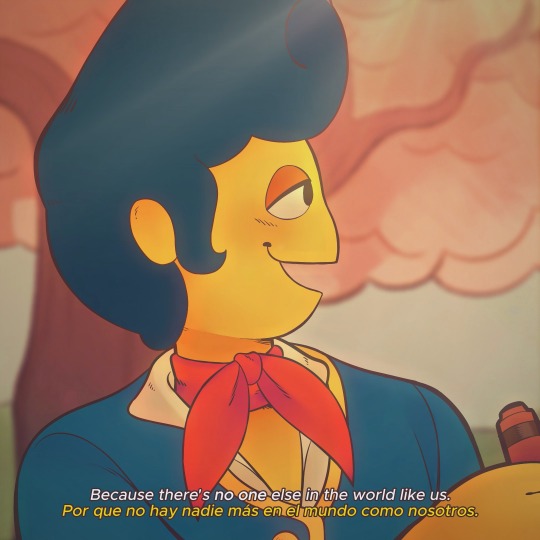
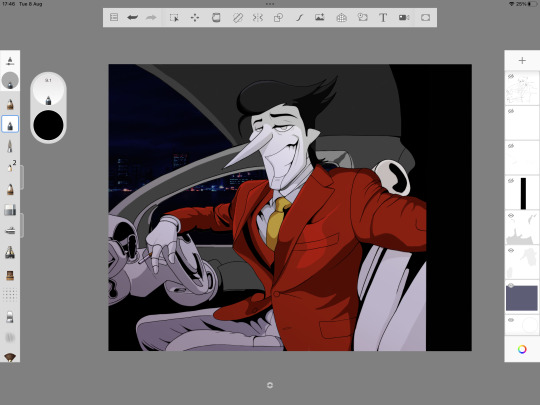
I'm going to use the first drawing I did in this style to help me explain: my simpy Spamton drawing! Firstly, basically draw whatever your little heart wants. Get your sketch layer down. Here's what my sketch layer looked like:
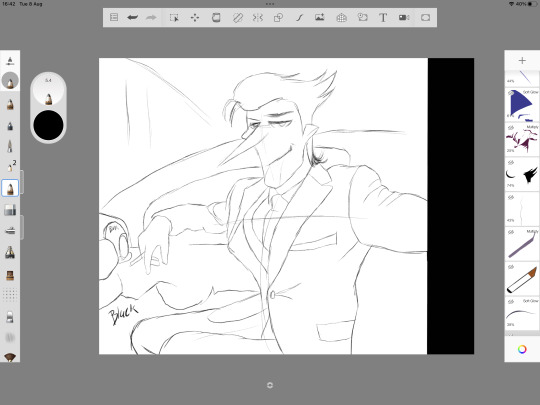
Looks bad, no? Lol, it always starts that way. Just get your drawing down first. I rely heavy on references for clothing. I found this particular pose on Pinterest. Pinterest is great for finding references.
Notice that I have some spaces filled in with the word 'black'. This is literally just to remind me that the particular space will just be filled with a solid black.
This particular pose and setting is tricky, I'm just using it as an example and because I still have the original files for it. I recommend maybe starting with a portrait or a face first.
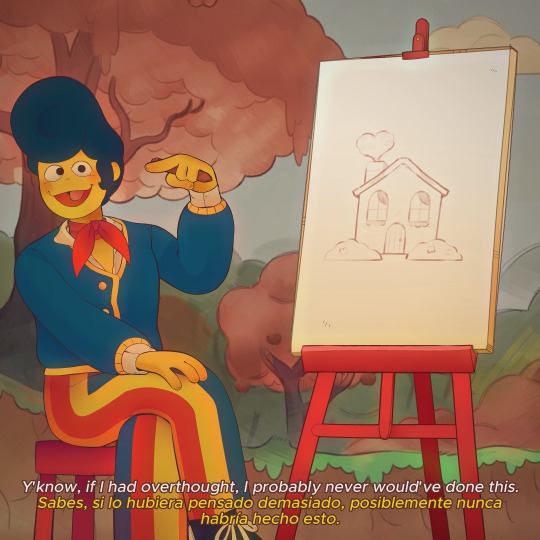
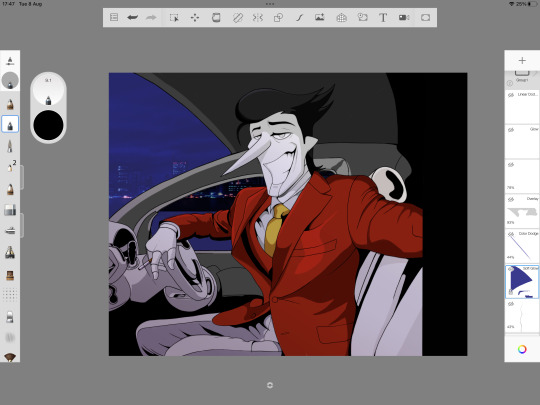
Step 2: fill in and clean your lines. This is important, especially for the anime look.
When I do linework, I tend to make the lines thicker wherever they meet one another. For this style, it doesn't really work, and I had to train myself to stop doing that.
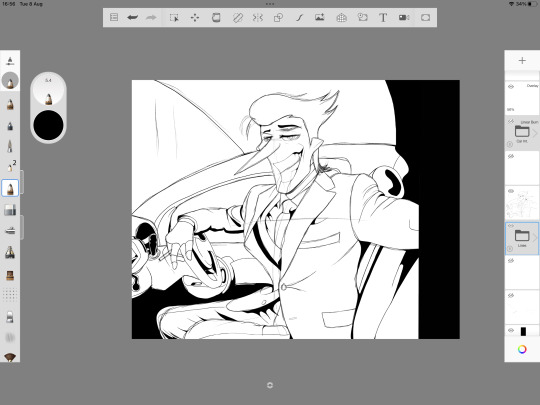
As you can see, I made some changes along the way, such as making Spamton's expression softer and making him grin instead of smirking. How do I know when to make something solid black? This is mostly for clothes. If you are following a reference, and you notice that some of the shadows are darker than others on the reference, make those darkest shadows your solid-blacks.

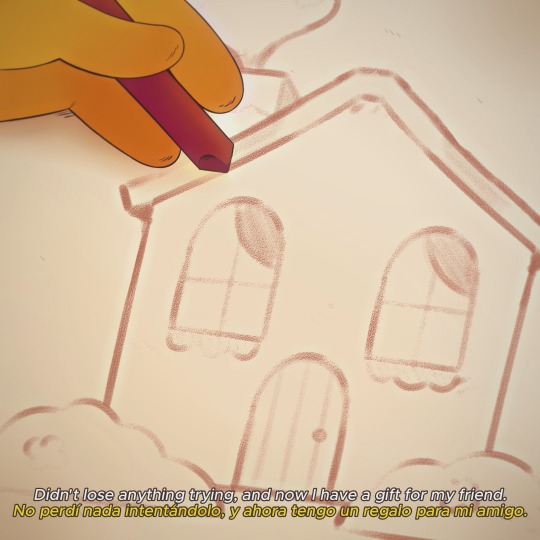
So, here we have the finished lines! Remember: no making the lines thicker where they meet! Keep the lines thin all around. If you're wondering what brush I use in Sketchbook for the finished lines, it's this one:
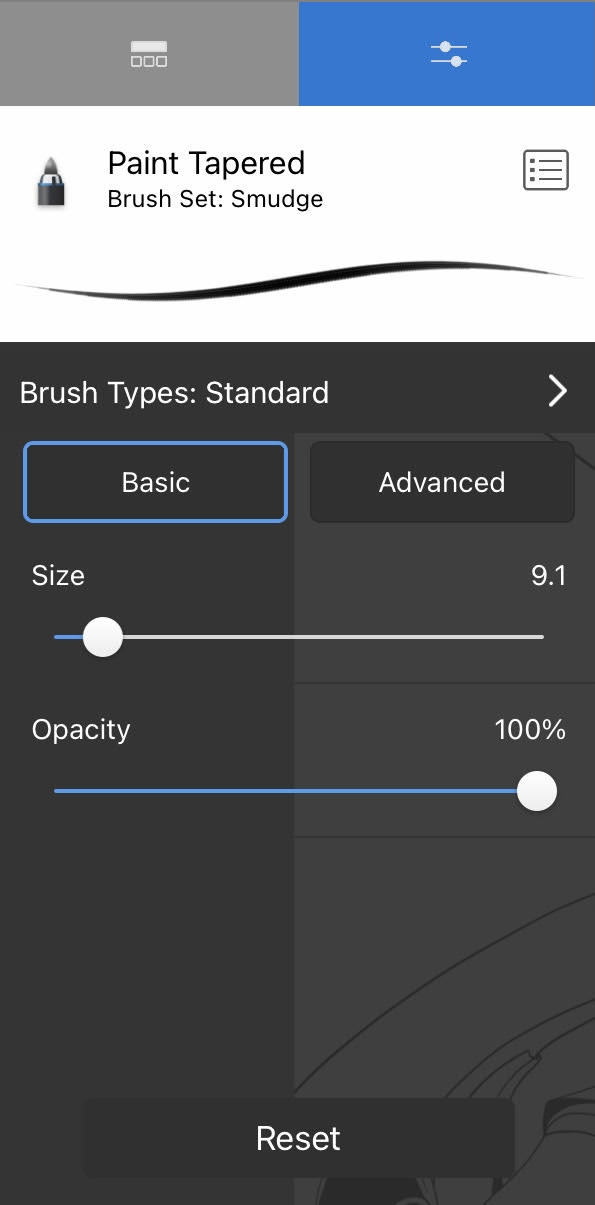
This is the ONLY brush I use for the retro drawings, besides a pencil for the sketch layer. It provides a nice, solid, thin line.
Step 3: Filling Flat Colours.
The easiest step IMO. Choose your colours, fill those babies in.
Unfortunately, I think I deleted my flats layer (I have no idea why, but I cannot find it, lmao), so I don't have an image to show for this step. But, it's self-explanatory. Just colour it in with your flats.
You can choose saturated colours if you wish, but we'll be editing that sort of stuff later.
Step 4: Shading.
Ooh, the tricky stuff. But this is what will make or break the look of the drawing. Besides lines, shading is important as fuck for this style. I recommend pulling up some screenshots from actual 80s/90s anime. For this Spamton drawing, here's some of the ones I used as a reference:
Remember to make your shading on separate layers! You may want to change their tone and opacity later, as I did.
The shading in old anime is usually done with one colour, which is cooler-toned than the flat it is based off. Remember to keep the shading as simple as you can if you want to actually make it look like a screenshot from an anime or cartoon.
For shadows, I used the multiply tool or the overlay tool. You can mess around with these to see which one suits your drawing best. It mostly depends on the colour.
For 'lights', I used either the soft glow tool or the overlay tool. However, I don't recommend spending too much time 'lighting' your colours. Retro anime tends to focus more on shadows rather than lighting (obviously there are exceptions).
As you can see, the only 'lighting' I used on Spamton was a small section of his hair, and a shine on his suit. The rest is either shadows or flats:

For clothing, follow a reference or follow where your light is coming from. For this, I followed the reference.
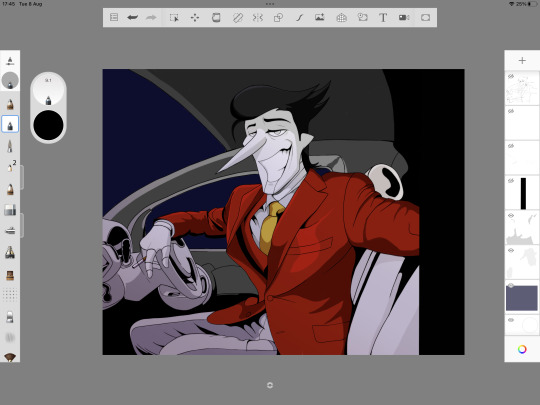
Step 5 (Optional): Adding Gradients.
You don't need to do this, but to help with the 'mood' of the drawing, I added a gradient over the top of the layer. I chose a dark purple/blue to give that city vibe, then I used the darken tool and turned the opacity down. So, it looks like this:
The difference isn't much, but it will add a lot to the vibe!
Step 6 (Optional): Backgrounds. *Shudders.*
I'll be real, I can't do backgrounds for shit. Well, I can sort of do them, but I definitely don't enjoy it. If you can do your own backgrounds, this will probably come easier. I have a sneaky, maybe cheaty method, however, to make it look good.
Firstly, make sure any 'windows' or areas in your drawing that you want to add a background to are empty. The windows in Spamton's car here are transparent. You'll want to put your background layer at the very bottom, behind everything else.
Firstly, I choose a solid colour and fill the entire layer. I chose a navy/purple for this one, since it's always dark in Cyber City.
Then, and here's the cheat part, I find a stock image of a city skyline. I deliberately picked one that had sort of 'basic' buildings. Put this on top of your solid colour and use the hard light tool.
The hard light tool tends to focus on the lights and basic outline of the image. I did do some smudging and added some lights to give it that 'retro' feel. The lower quality it looks, the better. So then it looks like this:
But the car needs windows! Easy. I chose a blue colour with the soft glow tool and added them like so (on top of all the background layers):
Step 7: Editing in Pixlr.
Now, this is my favourite part: the editing to really make the image pop! Firstly, we are going to use Pixlr, so save your image and open it up in Pixlr.
So, in Pixlr I only do two things: choose some overlay editors and up the saturation. Firstly, the overlay editors. The ones I choose for the retro look are:
Antonio - this blurs the lines somewhat, and makes it overall darker/softer. I obviously do not use it to its full capacity (there's a slider you can mess around with under each tool to find your desired effect, though I recommend using Antonio only a little.)
Hagrid - this will make it look slightly more saturated and sharper. It also adds a sort of 'burn' effect on each outline of the colours. Again, I use this one only slightly.
Ivan - One of my favourites for Big Shot Spamton. Again, I only use it slightly. This one will add an orange effect and 'fix' some of your shading. Though, it only works to its full potential if you have your shading as best as it can be.
Sara - Another really good one for retro anime. It's sort of like Hagrid, but softer. Depending on your colours, it will also add a soft 'glow' effect. Because of this, I only use it a little, as older anime does not have the intense glow you see in more recent anime, in general.
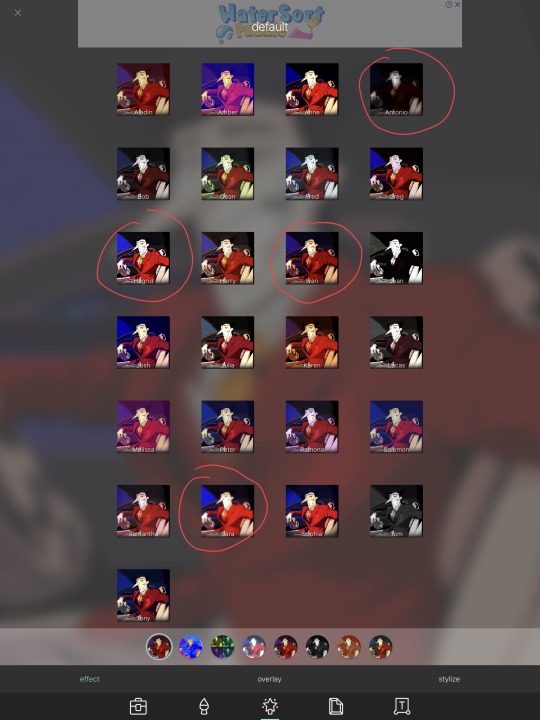
There are lots of other options. You can play around to see which one will suit the vibe you're going for best!
Then, we go into the general menu and up the saturation if needed!
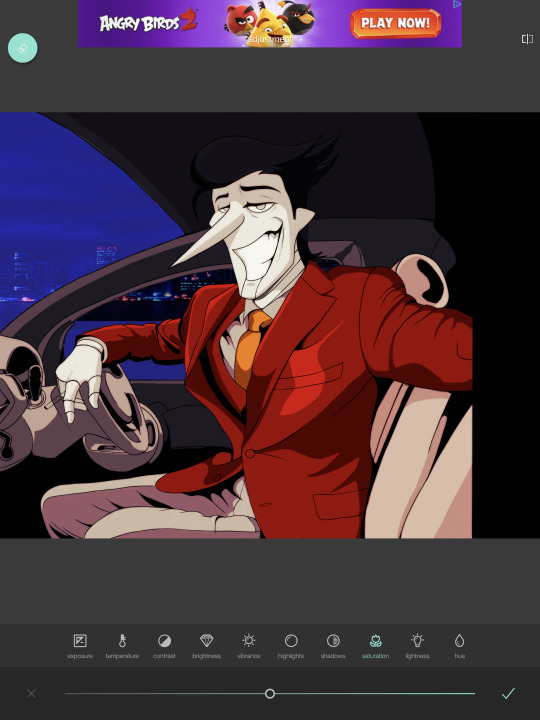
Step 8: Editing in Photoleap - then back to Sketchbook!
Why the fuck do you use two editors? Simple - Photoleap has some cool options that Pixlr does not, and vice versa. We won't be spending as much time in Photoleap compared to Pixlr.
Now, Photoleap does NOT allow screenshots within the app, so I just have to explain it without any images.
In Photoleap, we're only going to be doing two things, and one of those things are optional. Firstly, using the grain tool. This will really add to that 'old' look. Don't go too hard on it!
The optional thing you can do is add a red chromatic abberation. It's under the 'effects' tab in Photoleap. However, sometimes this will take away from the retro look, so use it carefully. I only used the tiniest amount for this drawing to make the lines look 'cleaner'.
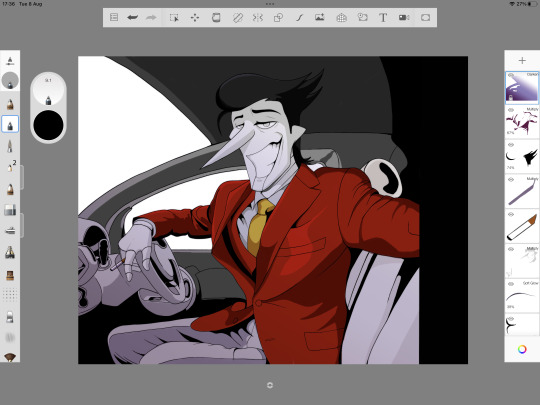
Once I'm done in Photoleap, I save the image and export it back into Sketchbook. This is where I'll add/fix some things, such as adding a shine in Spamton's eyes, a shine on the car window and the smoke coming from his cigarette. I also bring the gradient layer back up and mess with the colour a bit (optional).
Have you noticed the large, black border to the right of the drawing? Yeah, that'll be cropped. I decided to make the overall image smaller and, unfortunately, Sketchbook Pro does not allow you to change the canvas size once you've started a drawing (please add this option, Autodesk!)
Step 9: CapCut Editing.
This will seriously be the cherry-on-top to actually make this thing look like a screenshot. Save your image and open it up in CapCut.
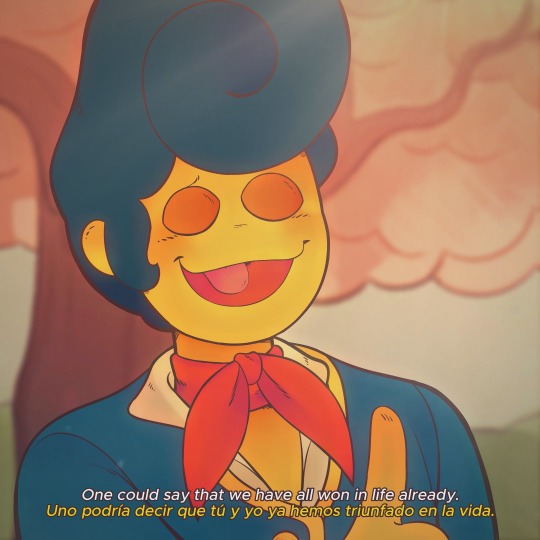
Firstly, you'll want to add an 'effect' to the photo. Under 'retro', I personally choose 'frosted quality', because it adds a moving grain and gives an 'old cartoon' feel, which is what I'm after. There are lots you can choose from, it's up to you to play around with it! You can also adjust the effect as you wish. I tend to turn the blur completely off.
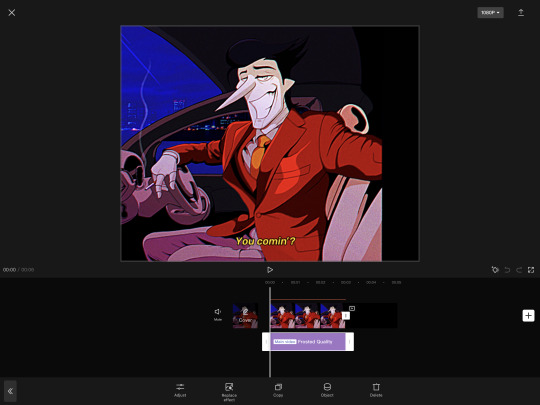
Then, the last step in CapCut: adding a caption, if you want. I make the text yellow and add an italic effect to make it seem like an actual subtitle.

Step 10 (Final): Exporting.
That's us basically finished! I'll export it as a video from CapCut, crop it using my iPad's default editing software in the gallery, then export it as a GIF. Exporting it as a GIF lowers the quality a tad further, which is a bonus for this type of drawing. Viola! You now have a retro-anime-inspired piece!
Final Notes
Again, I'm not a good teacher and this is kind of all over the place, lmao. But, I hope it can guide those who wish to try this style!
If you do try it, maybe tag me and let me see if my tutorial worked for you? Or maybe you were just curious, lmao. There's a LOT of steps here, lol, and I'm not a professional artist by any means, so...
Anyway, that's all from me for now!
317 notes
·
View notes

Note
Hello! Would you happen to have any recommendations for realistic anatomy books on humans (for art purposes)? A lot of the online anatomy references are very exaggerated and the models have only 'ideal' body types and don't depict any others (E.g. Online male anatomy references are extremely buff for no reason). Thank you for the help :)
I do have a small collection of anatomy-for-artists books, but honestly, those are also populated predominantly with people who look like living Greek sculptures. So, I asked around a bit for both book and online sources. Here are a few things:
Height Weight Chart --
A library that people have contributed multitudes of their own photos to. Some people took turnaround photos in form-fitting clothes. Some are just one-off snapshots of people in street clothes. But, both of those things can be useful in their own way, and there certainly are a lot of body types here. (Thanks for the link, Fable).
------------------------------------------------------
AdorkaStock --
Features a whole free pose gallery containing a really excellent array of varied bodies. The photos generally focus more on form than costume, and if anything, the extremely sculpted bodies you tend to see in other stock libraries are de-emphasized here.
------------------------------------------------------
Satine Zillah --
An expansive library of downloadable photo packs. Most of them feature athletic or thin body types, many are heavy on costuming, but there are some that focus on more variety if you take time to scroll through (elderly bodies, plus-size bodies, people with dwarfism, etc.)
------------------------------------------------------
Morpho --
I know a lot of people swear by these books by Michel Lauricella. Morpho: Fat and Skin Folds in particular seems to cover some ground that a lot of other anatomy/pose lessons just skip right over. Looks like it's available as an ebook too.
I hope that helps some! I'm sure there are other resources out there, though. If anyone has some solid recommendations, please leave them in the comments!
2K notes
·
View notes
Note
You know nothing about the situation, mayeb you should come to gaza and see how they treat lgbtq+ members?
How fucking dare you.
When I say nothing excuses genocide, I mean nothing. I don't give a shit if homophobia is rampant there. Children and so many more are DYING. How can you not grasp that?
Homophobia exists everywhere, but it is not in everyone. Generalizing a whole population for the discrimination of a certain demographic is irresponsible and close minded. Those children that are crying for their dead mothers did not call us slurs. Those premature babies that by now have died because there's nothing to power their incubators didn't do shit to us. Even if they did? NOBODY deserves this.
And what of the victims of that discrimination? Our queer brothers and sisters who feared to love openly now no longer having the chance to love at all?
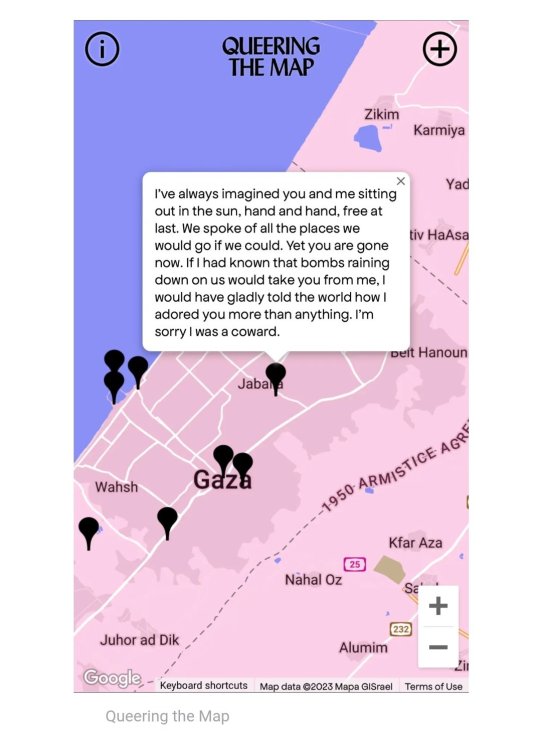
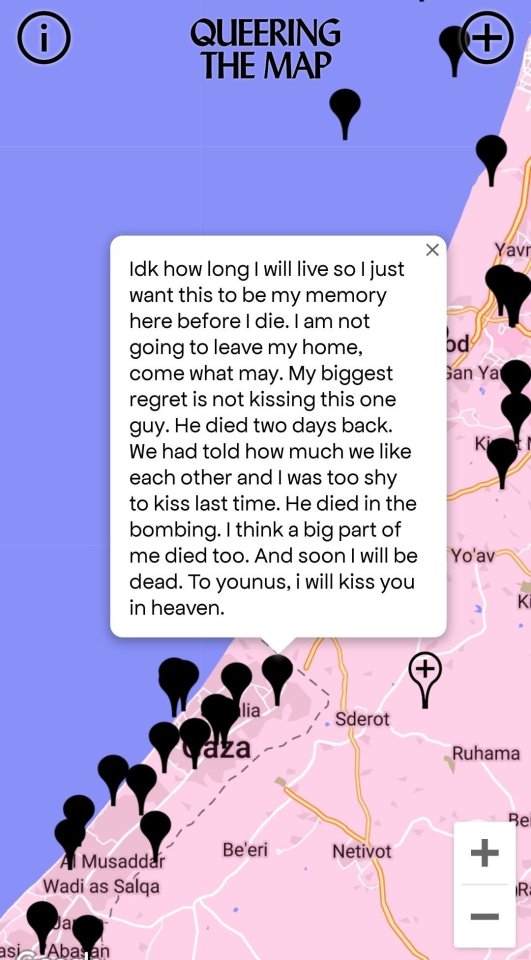
If you care so much about the state of the queer people in Palestine then why are you leaving them to die as well? Because that's not what you care about. Because that sympathy and solidarity only applies to those you deem human enough, right? The rest is abandoned.
Don't you dare justify your bloodlust by mentioning this community. Say with your whole chest how you really feel. And do that without the veil of anonymity. The Zionist Israeli in my comments and DMs on Instagram at the very least cussed me out to my face. Let everyone know who you are and what you truly stand for. Unless you are ashamed. Because you should be and you better be.
3K notes
·
View notes
Text
Woooow Eclipse has his own candy, can’t believe my eyes!!
.
I will be really grateful for reblogs, it was pretty exhausting...
Thank you and have a FAZ-eriffic day
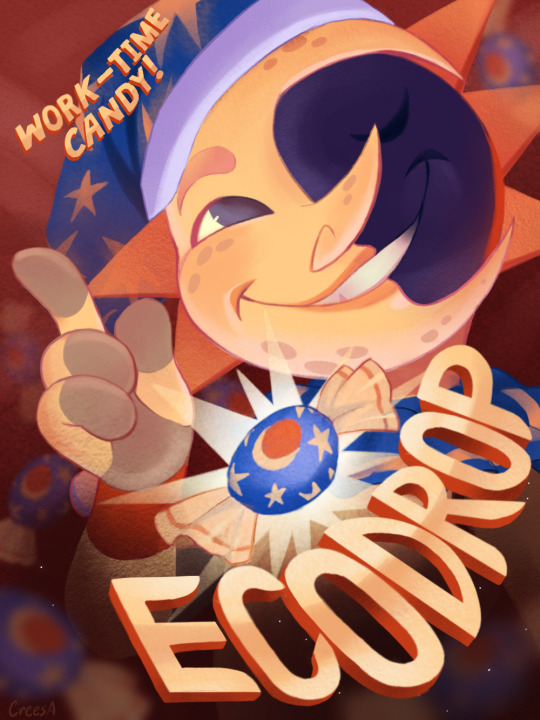
Edit: THANK YOU SO MUCH GUYS!! I'm so glad you like this artwork, it's so nice to read your comments hehe
Also it's the opportunity to say that I allow people to use my artwork as prints and posters (but not for commercial purposes please), if they really want to! That's kinda flattering tbh
12K notes
·
View notes
Text
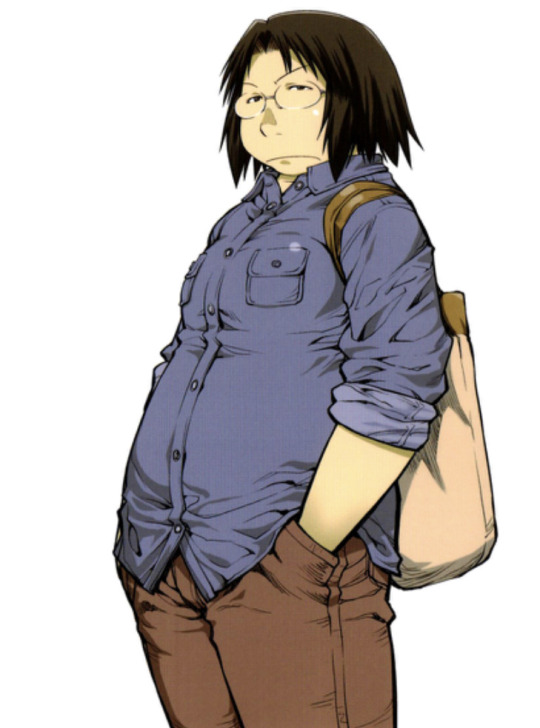
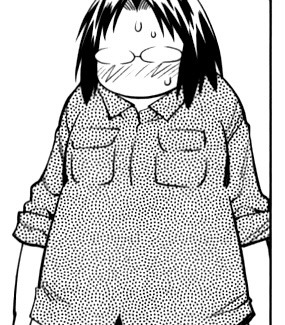

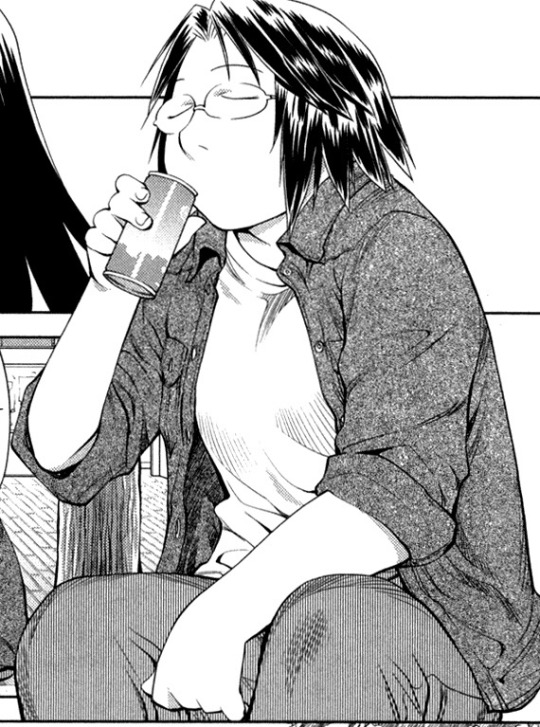
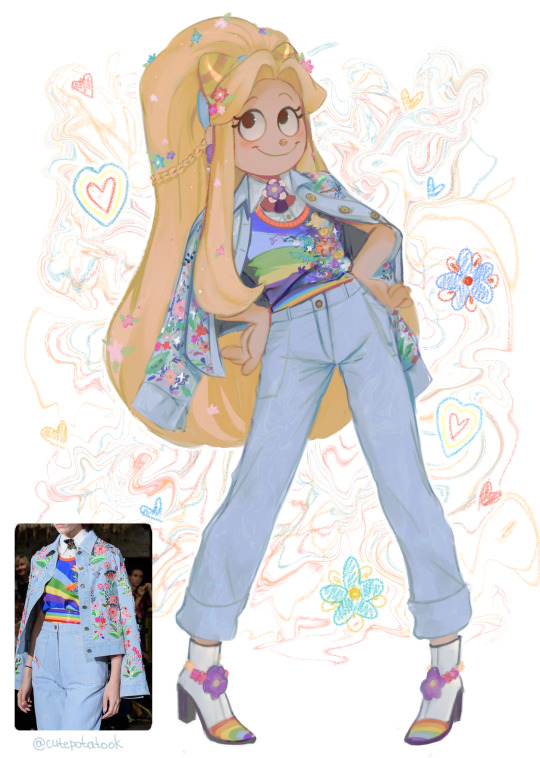
The most attractive female character design possible. They made this woman for me
16K notes
·
View notes


Text
DUDES GOT DRIP
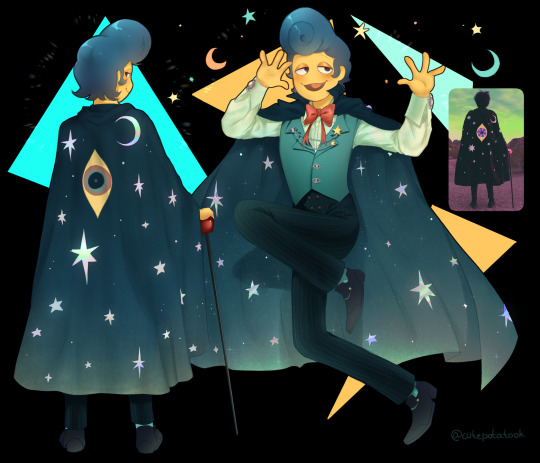
I just can't stop drawing them....I love Welcome Home sm.....
16K notes
·
View notes
Text
I hate Nintendo Switch Online. I hate the lack of optimization. I hate the expensive subscription service. I hate the lack of games. I hate the limited time releases. I hate that it's never gonna have the level of content that the Wii virtual console had. I hate what capitalism has done to gaming.
This collection includes: All the GBA, GB and GBC games currently available on the Switch!!

+ And a few extra bonus!! Mostly from the same series'seses

Download here for free!!: https://www.mediafire.com/file/pzycxh6zu9b8drf/GBA_Online_PC.rar (405 MB Uncompressed)
They're all ready to be played in HD on PC. Just drag and drop the files on the included program
87K notes
·
View notes