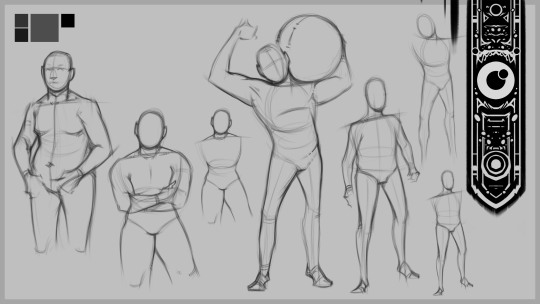
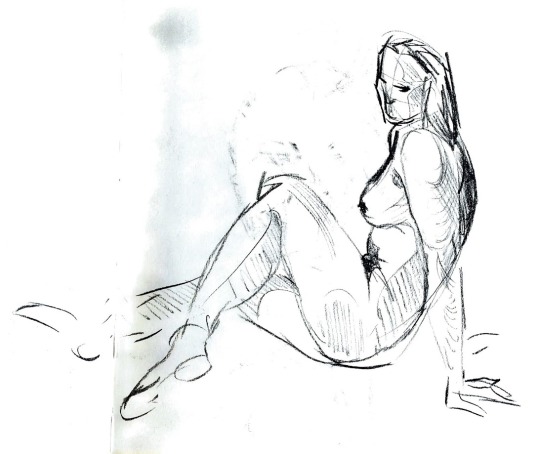
#line of action
Text
@icequeenabby and @pageofheartdj sorry this got long and I had to make a whole new post >.<
ok so! first of all here's the site I mentioned (highly suggested, you won't regret the hard work).
then for a small tutorial (I hope I make sense)
The line of action is not the curve of the spine, but the path of the movement of the body. More like a guide of the force and movement of an action. You can use more than one on a single pose of a figure, eg for the torso and for the arms or one for an arm and one for the rest of the body.
First thing you wanna do is find the movement in the pose you wanna create. every pose has movement, even "static" ones like sitting, sleeping etc and even if you're only drawing a bust.
(for this,as with all drawing, the best advice is to observe real life, even before starting practicing drawing poses)
so, step 1: draw a line
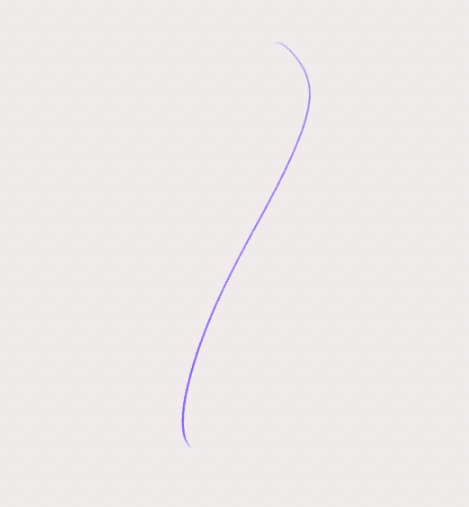
the human body mostly moves through S an C shapes, an S shape is good to start with because we are usually starting with a core movement, so the torso is the main character here.
I said that the line of action is not necessary the spine, but it can happen to be similar or close to it as it is our core. just do not let that constrain you.
step 2: head, rib cage and pelvis

using the first line we're placing these three along it and marking what direction they're facing with those cross lines.
you can already see the movement.
step 3: secondary lines of action
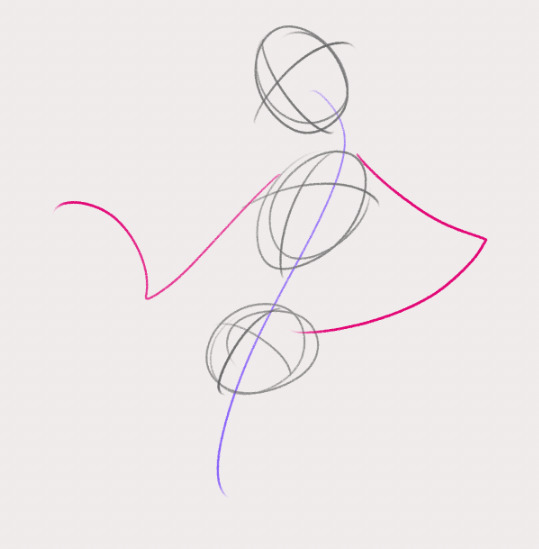
be loose and go with the flow! Remember: ACTION FIRST, STRUCTURE SECOND! that means that the anatomy comes after the movement you are trying to depict. build the structure on top of the action.
(of course that does not mean anatomy is less important, they work in tandem, and a better learning of anatomy gives you also a better grasp on portraying movement)
step 4: legs, aka more Lines of action


the line of action is not necessarily a curve, it can also be a straight, and creating a visual contrast using both types makes the pose more interesting.
Of course there isn't a single way to do the same thing
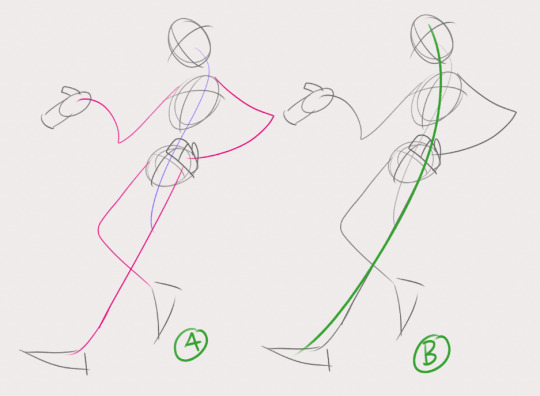
a single line of action (B) would have also worked to start with!
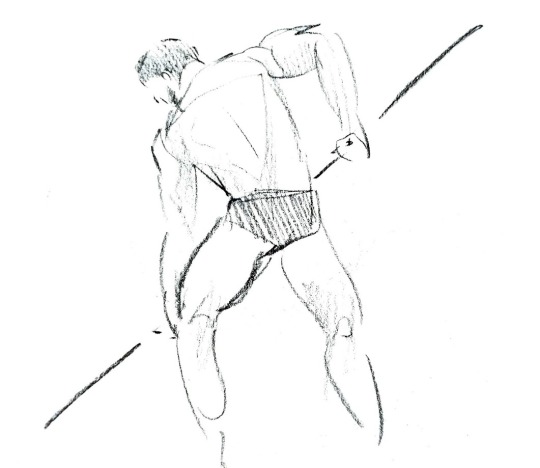
Here's 2 examples of more dynamic poses I drew:
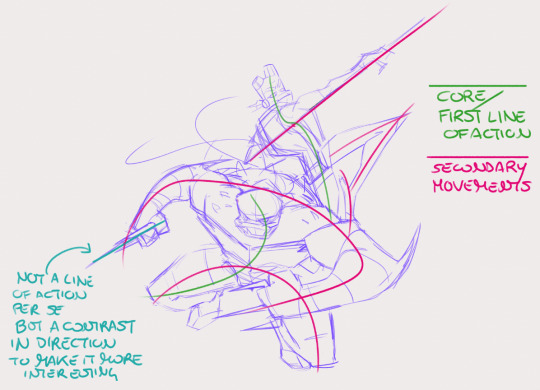
with more dynamic and extreme poses the main line of action is more often a C shape as the body compresses. (objects can have lines of action too! notice donnie's bo and mikey's nunchaku)
As I said, learning anatomy goes hand in hand with practicing poses and lines of action, as you will notice how the single parts of the body move and the way they all have their own intrinsic movement.
To start is useful to take some pictures of people/animals and just draw the lines of action on top. Start with just one line of action and after you've practiced a bit, move on to photos of more complex poses and find the secondary lines.
☆ I hope this can be useful! ☆
☆ ko-fi ☆ | ☆ patreon ☆ | ☆ instagram ☆
#tutorial#drawing tutorial#line of action#figure drawing#art resources#art tips#rottmnt#myne#long post
888 notes
·
View notes
Text


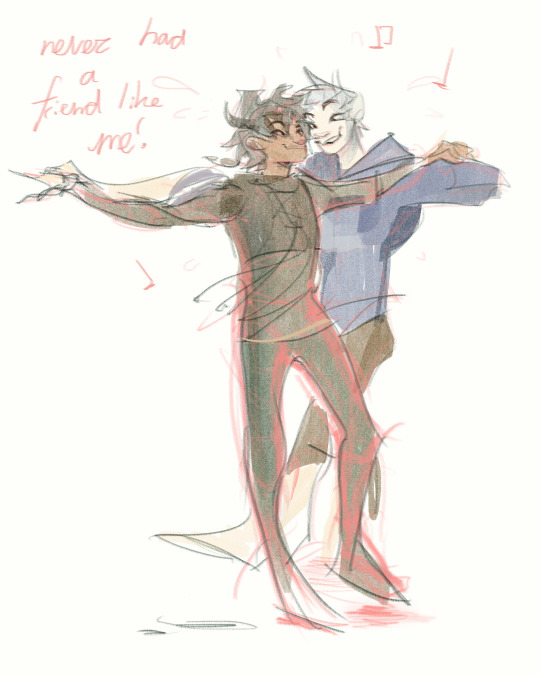
Modern Meet-cute.
#theyre dancing to that one aladdin song#why isnt hiccup wearing his hoodie if its raining#he forgot. just like I forgot to draw him with it#hiccup#jack frost#how to train your dragon hiccup#hiccup horrendous haddock iii#hiccup fanart#hiccup how to train your dragon#doodles#jack frost rotg#rotg#rise of the guardians#comic strip#sketches#line of action#trying to practice it#how to train your dragon#httyd#hijack#frostcup#myth and the smith
315 notes
·
View notes
Text
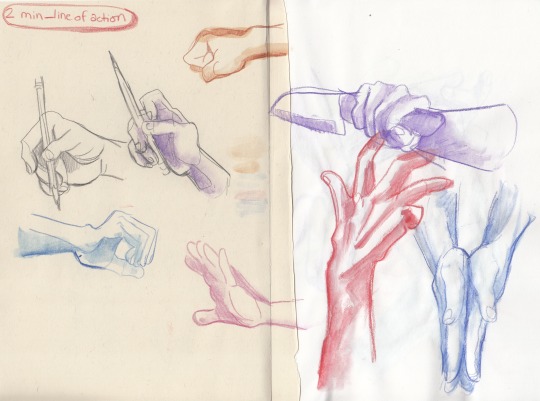
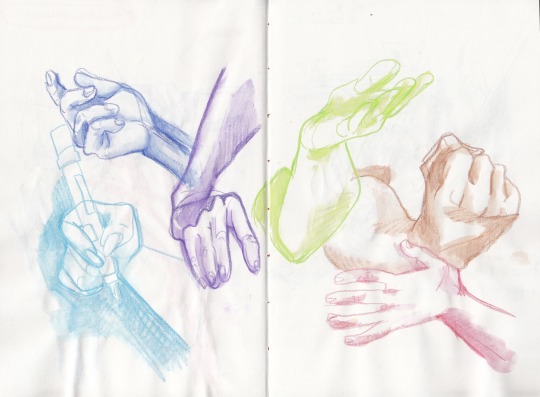


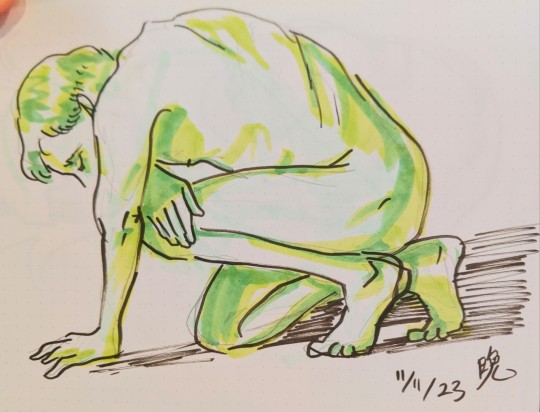
hands & gestures from line-of-action 💪
75 notes
·
View notes
Text
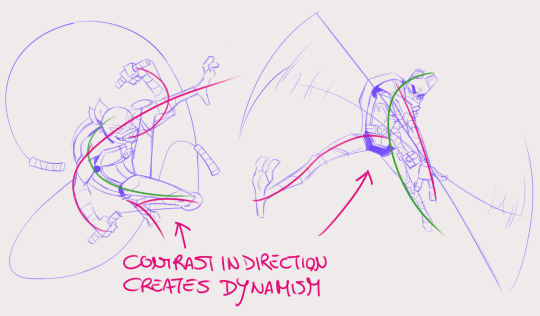
Drawing Interesting Pose Silhouette, Gesture and Dynamicism Tips
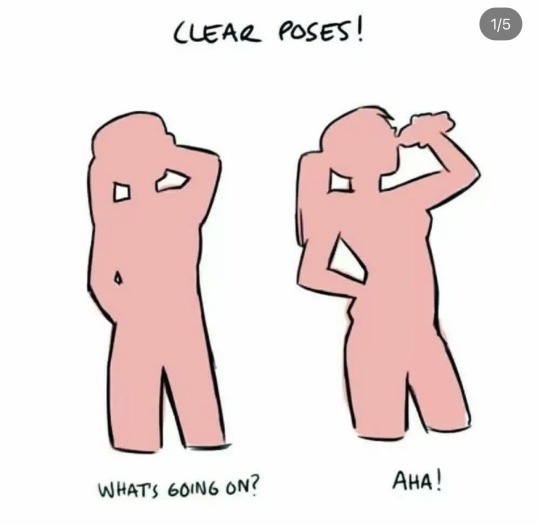

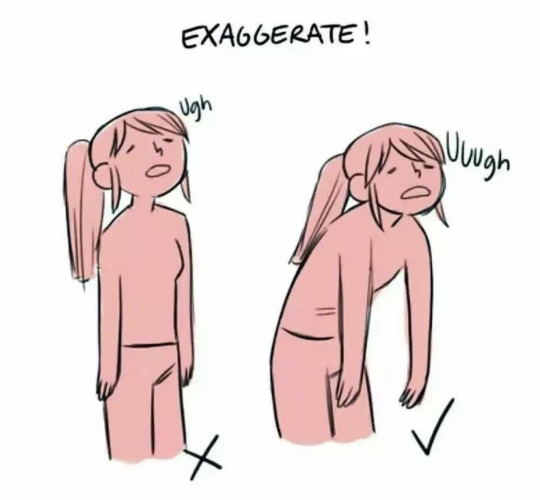

Credit: Lomonte (tumblr)
#random tip#random tips#tip#pose#poses#dynamicism#gesture#figure drawing#life drawing#expressive#line of action#exaggerate#character#atmosphere#mood#silhouette#art tutorial#drawing tip#art tip#art tips#art tutorials#drawing#drawing tips#drawing tutorial#drawing tutorials#art#action#movement
160 notes
·
View notes
Text

youtube
youtube
youtube
youtube
So, I decided to put together the sketches I made this week.
I gradually continue to study anatomy and different body types.
As always, you can see my painting process here: https://www.youtube.com/@VladyslavDembik/videos
#figure drawing#gesture drawing#art tutorial#painting process#speedpaint#anatomy#art tips#line of action#character design#Youtube
17 notes
·
View notes
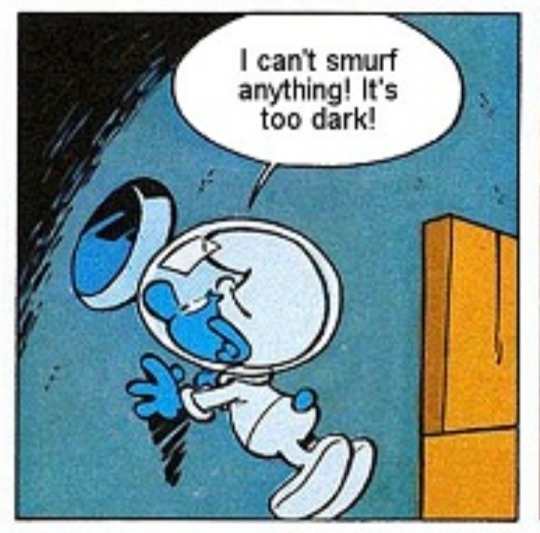
Text
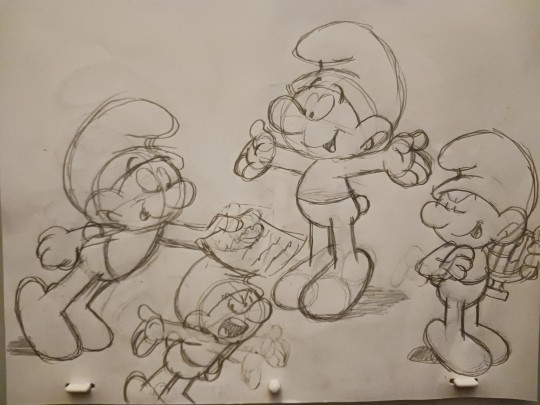
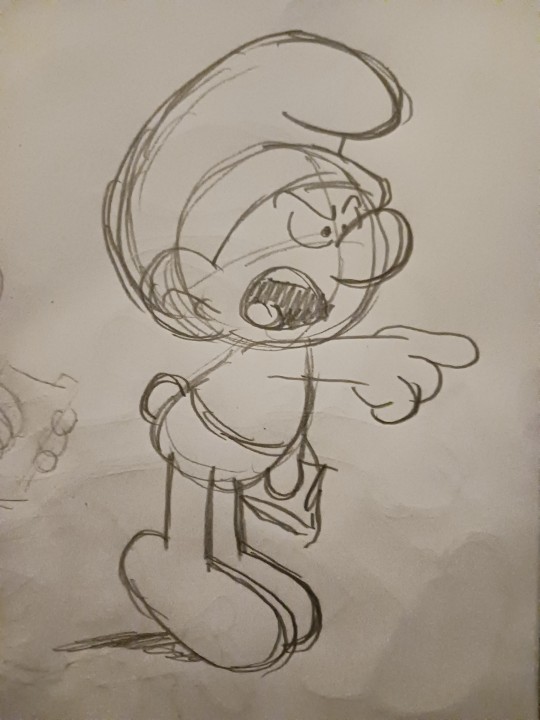
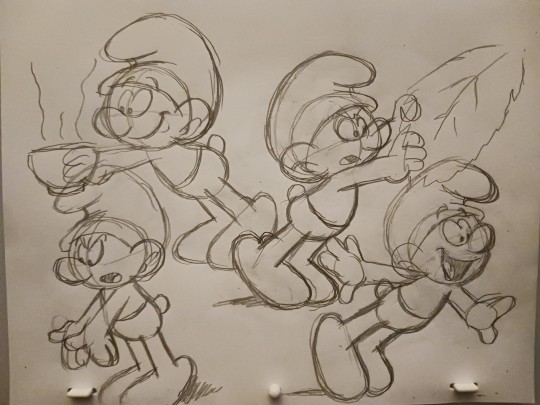
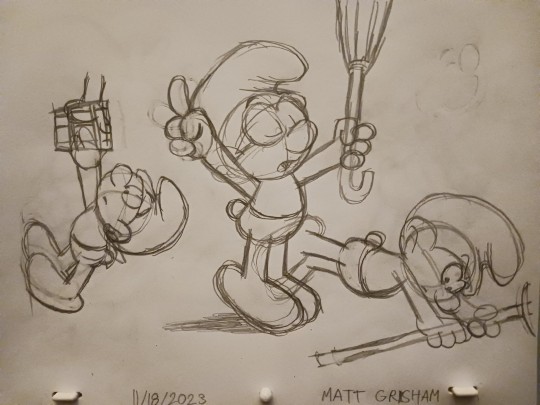
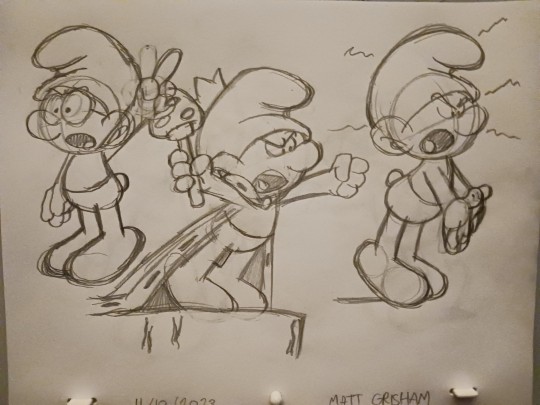
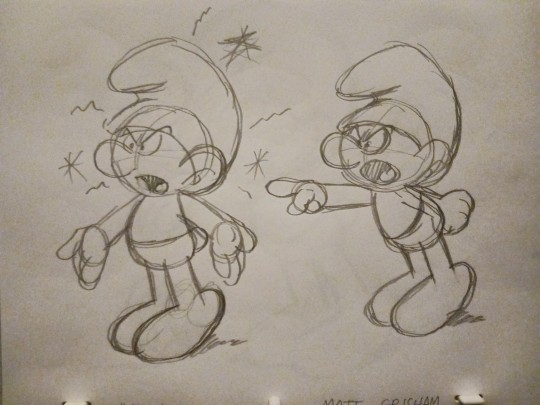

Some extreme pose sketches I did of Smurfs, based on reference from the original comics.
The Smurfs is property of Peyo/IMPS/Lafig Belgium, S.A.
#fan art#the smurfs#peyo#art#comics#bd#bande dessinée#1960s#1970s#nostalgia#smurfs#smurf#sketches#line of action#1980s#extreme poses#brainy smurf#king smurf#poet smurf
23 notes
·
View notes
Text

sketches from today
#animation workshop portfolio is killing me but idk what to do with myself#warming up for character design#sketchbook#character design#croquis#sketch#line of action#art#artists on tumblr#portfolio#animation#art school
9 notes
·
View notes
Text


figures from LOA
19 notes
·
View notes
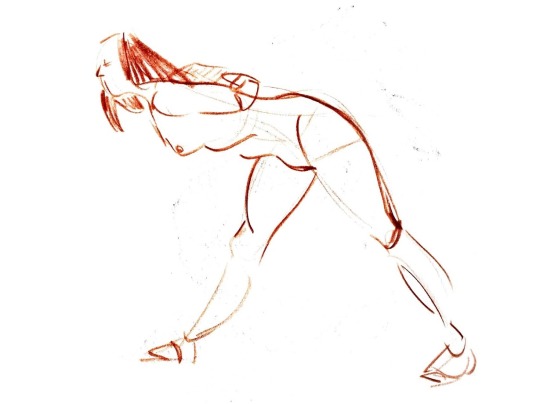
Text

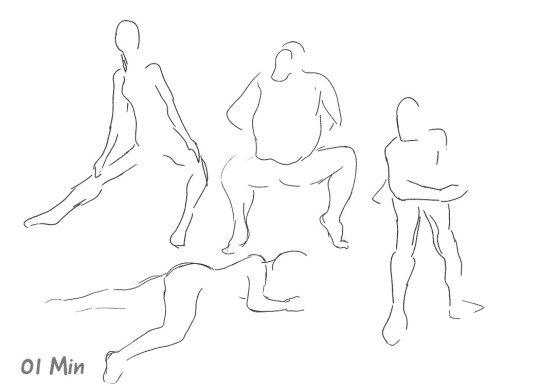
Nuffin but pose practice baybeeeeeee
51 notes
·
View notes
Note
Heyo! I am honestly in awe of your art style it’s so good!! Do you have any advice on compsition/how to make your pieces more dynamic?
Hey Sunsketcher (love this name btw)! I love your art too, you inspired me so much. Honored to get an ask from you!
I will explain my own drawing process when it comes to composition and dynamicness, hopefully the wording is ok and it helps you.
Dynamicness:
1. Think of movement as a dance. A dance telling a story.
(What is the character experiencing? What is the mood of the piece? What kind of emotions are they feeling and what kind of poses convey those emotions?)
(Usually, dances have grace, strength and balance, unless you are purposely creating an effect of disharmony and disjointedness)
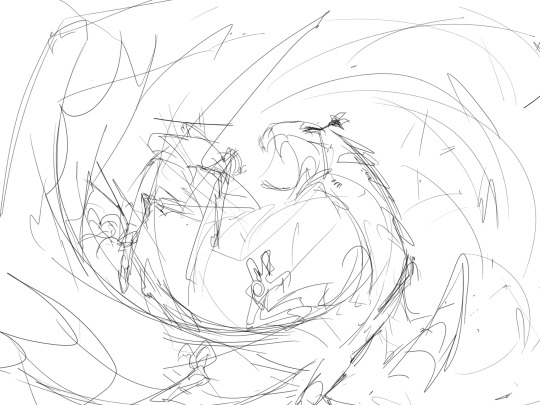
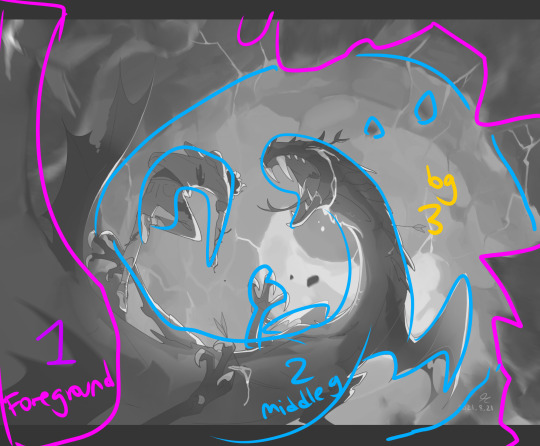
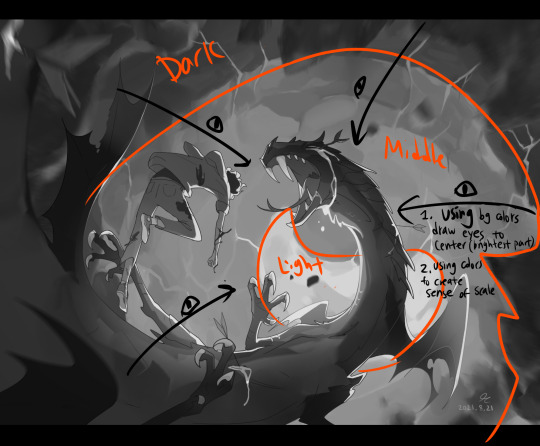
2. Line of motion. This is something that goes along with my above point. In animation, the characters are always doing something, and there is a specific line that goes through them, showing it. In the python art, you can see the two main lines (apollo and python's, curving towards each other, with a sub-line of Apollo punching contrasting that curve. The act of punching is disharmony so that's why it is crossed over the curves.

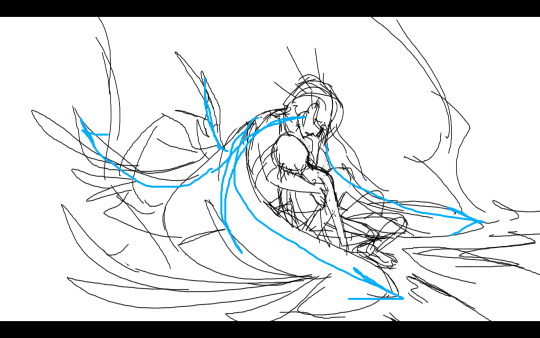
3. Considering anatomy at the beginning of drawing makes drawings stilted unless you truly feel like you can manipulate the anatomy like it's your own. Instead, try to imagine the movement and the "beat" like you experience in animations. Imagine your art as a still frame shot of an animation. Try to use your strokes to capture the essence of the movement and then later fill in the anatomy. In the messy sketch below, I disregarded anatomy and just was trying out as many different lines as possible to see which one expressed the beat and dance I had in my mind.
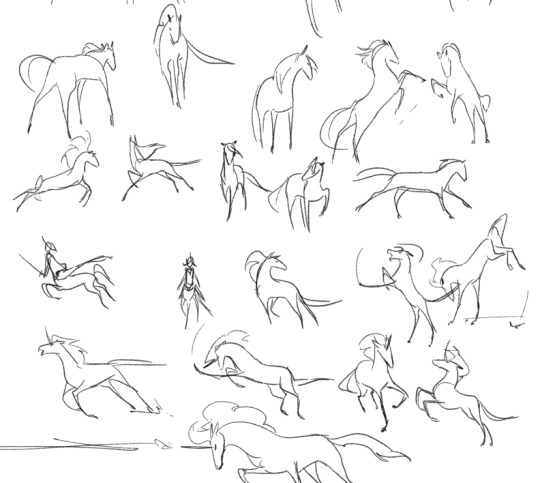
Another example are these horse sketches I did. The anatomy is completely wonky in some, but the essence of the horse can be represented in a few lines. This works for humans too.
In this art, I wanted to show how Apollo's wings were spreading on the ground, in a sort of grieving elegance. And the dead son in his arms is limp and has little balance or smooth lines, unlike Apollo. I did this to create a sense of disharmony between the always perfect Apollo and the mortality of the son. It helps accent them both. And then the scorch marks draw the eye to the duo.
4. Composition wise: think of the foreground, middle ground, background when creating your artwork. Use the foreground to immerse the viewer into the piece and direct their eye to the subjects. I used the rocks and part of python's body (blurry part on top left) to draw the viewer into the scene. This is similar to anime and movies, so if there are any shots or scenes that you felt were particularly well done, try to look for how they do the foreground, middleground and background and put that into your art.
5. Use color as an additional layer of contrast. Bright colors draw the eye and are able to highlight important subjects (characters, objects etc.)
6. If you start to draw and have no idea how to pose the character, I recommend looking at some dynamic fight scenes in manga, anime and art. I also love these two posts in particular as I find them really good sources of inspiration:
Battle scene composition:
https://www.pinterest.ca/pin/838091811920322288/
Sword fighting composition:
https://www.pinterest.ca/pin/95842298307452250/
(The author, EtheringtonBrothers, is on tumblr but because they have like 1828248 art tip posts I cannot link it for you as I can’t even find it XD)
Anyways, thank you for reading, feel free to ask more questions if you need clarification.
Extra: Another art where I did a quick analysis to show you my thoughts

#my asks#mine#my art#art tips#perspective#digital painting#thank you for the ask!#dynamic art#line of action#art resources
306 notes
·
View notes
Text

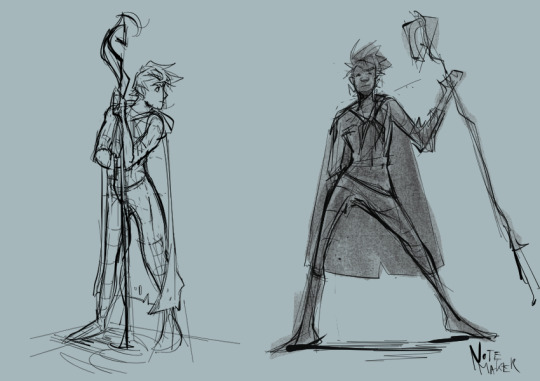
breaking in my new tablet with line of action practice (feat. the funky lil animatronic boys)
#fnaf security breach#fnaf sun#fnaf moon#daycare attendant#solar lunacy#fnaf eclipse#sketchdump#art practice#line of action#five nights at freddy's#THE BRAINROT IS STRONG#using art practice as an excuse to draw the lads#using the lads as motivation to practice#perfectly balanced as all things should be#my art <3
95 notes
·
View notes
Text


February 03, 2024. 034-037
30 minute class mode on line of action. Today's session felt a little bit like a slog. Hoping to keep pushing through these feelings.
#my art#daily doodle#daily sketch#gesture study#line of action#daily study#daily drawing#gesture drawing#034#035#036#037#34#35#36#37
5 notes
·
View notes
Text
Some practice Jacks
#my art#art post#jack frost#rotg#rise of the guardians#rotg jack frost#jack frost fanart#line of action#art studies#jack overland
111 notes
·
View notes
Text
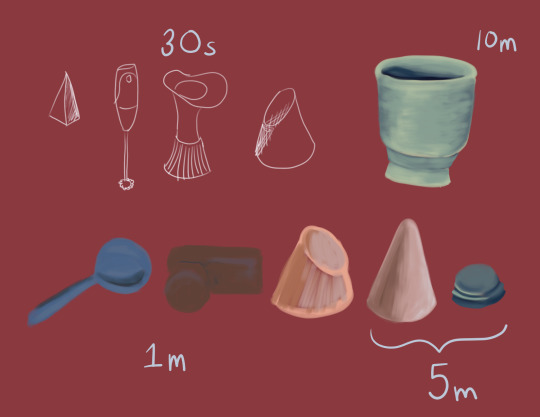
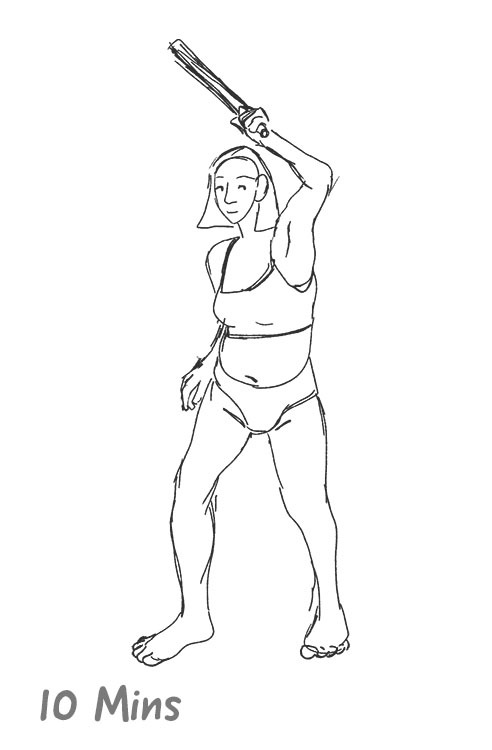
mARTch Day 7, Object
I really enjoy the class setting on Line of Action, it's like 2 in 1 exercise!
Quick ones to practice capturing the important parts of a shape, increasing duration until with that 10 minute one I could really get into blending/layering w this new to me brush. (It is the most basic brush, soft round, but I couldn't get the hang of it when I first started! So I did other things, fill tool, colorize mask (?!??!), other brushes, as you do, and finally I have circled back around.)
Anyway this cup is wonky but I kinda love it. Also that cone is looking hella good 👍 See you tomorrow!!!
5 notes
·
View notes
Text
How to draw Anatomy in 4 Steps (Art Drawing Tutorial)
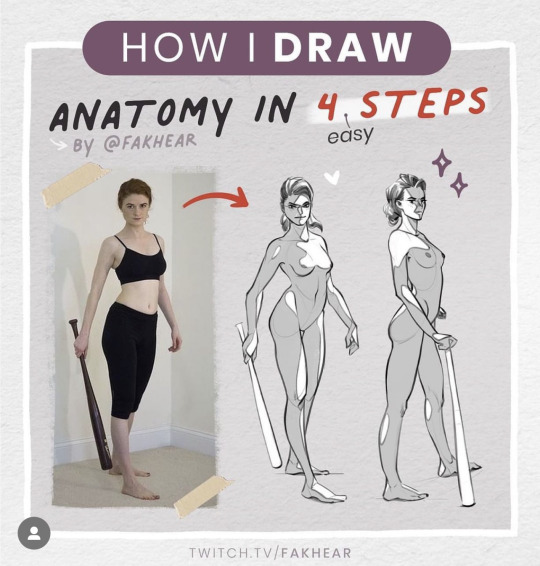


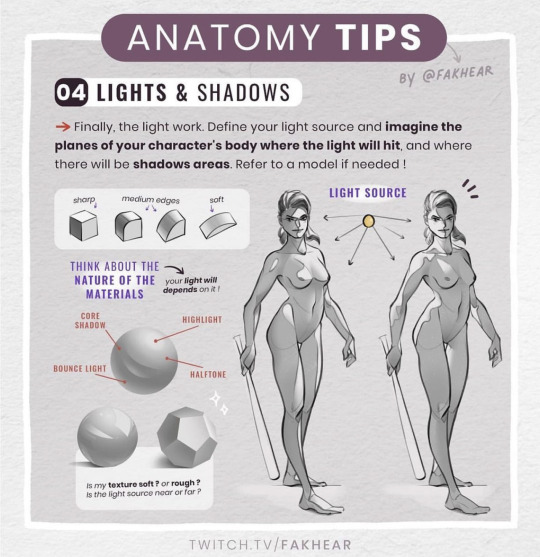
Credit: Fakhear
#random tip#random tips#tip#anatomy#human#body#human anatomy#construction#gesture#figure#figure drawing#life drawing#line of action#lighting#shadow#lights#light#art tutorial#drawing tip#art tip#drawing#drawing tips#drawing tutorial#drawing tutorials#art#pose#poses#posing#highlight#highlights
31 notes
·
View notes
Text
"The Smurfs" comics in the 60s and 70s are known for their unique use of the "line of action". The poses look more dynamic than in the later comics.


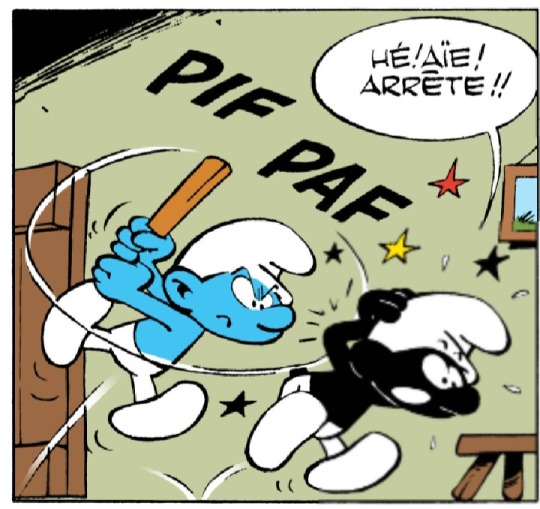

#the smurfs#peyo#bd#comics#facts#bande dessinée#smurfs#1960s#1970s#nostalgia#line of action#dynamic#poses#screencaps#panels
20 notes
·
View notes
Last Seen Blogs

shining-latios
. Dragon Majesty .
rudeartnotginger
rudeartnotginger

shadowcrastf
Untitled

incorrecttonyxeveryonequotes
Tony x happiness

eddieplsdropkickme
Mrs. Munson