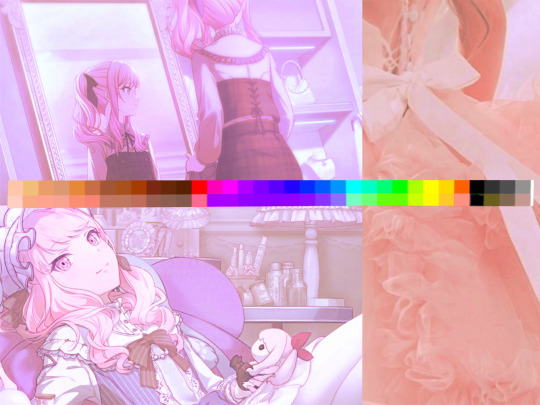
#🌟.rook's resources
Text
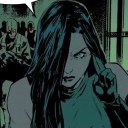
acheron reply icon frame
rb + credit if using, check psd rules in pinned
#⚘️ | self indulgent#🌟.rook's resources#psd#frame psd#icon frames#replyicons#reply icons#acheron#honkai star rail#hsr#reply icon frames
28 notes
·
View notes
Text
-> bitter apples [psd by enigmaticplaywright]
— requested by: anon !
[ rb, credit + tag me if using !]
27 notes
·
View notes
Text

kohane azusawa reply icon frame
rb + credit if using, check psd rules in pinned
#ty mist for the suggestion!!!#its a lil messy but im still trying to figure things out 👍 hyperanalyzing other frame psd to figure out what the fuck they do#to make them hot#etc etc#⚘️ | self indulgent#🌟.rook's resources#psd#icon frames#reply icon frames#frames#icon psd#project sekai#prsk#pjsk#prosekai#azusawa kohane#kohane azusawa
15 notes
·
View notes
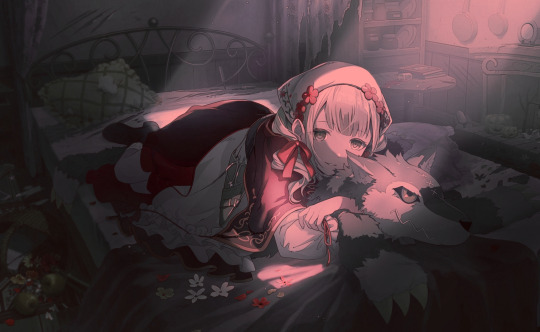
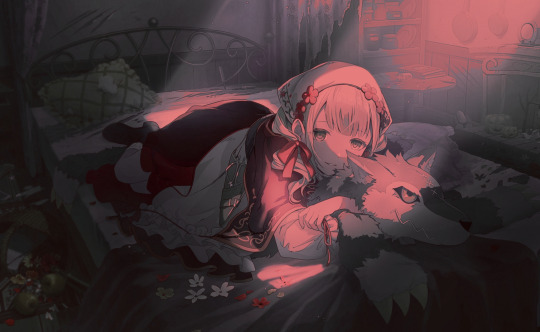
Text


— watchful heron [coloring psd]
[ rb, credit + tag me if using ! rules in pinned]
#trying to experiment with like making dark skin still dark skin 👍 <- poc himself lol#psd filter#psd download#psd coloring#psd#🌟.rook's resources
14 notes
·
View notes
Text
-> ice cold tea [psd by enigmaticplaywright]
— requested by: anon !
[ rb, credit + tag me if using !]
12 notes
·
View notes
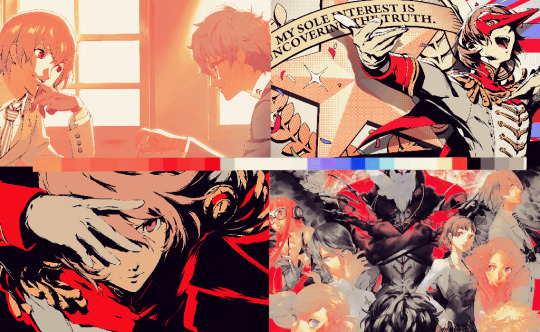
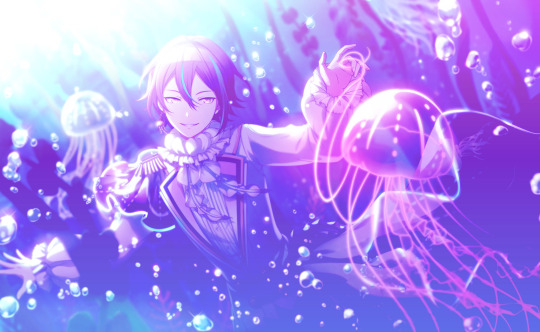
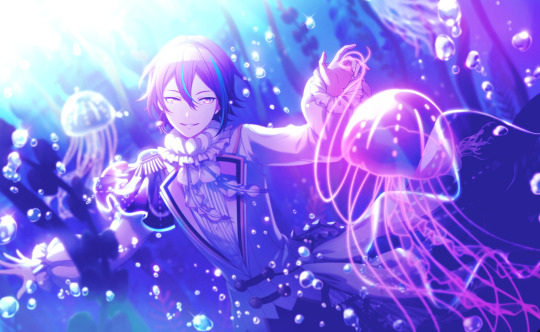
Text
-> voyager [psd by enigmaticplaywright]
— [ rb, credit + tag me if using !]
15 notes
·
View notes
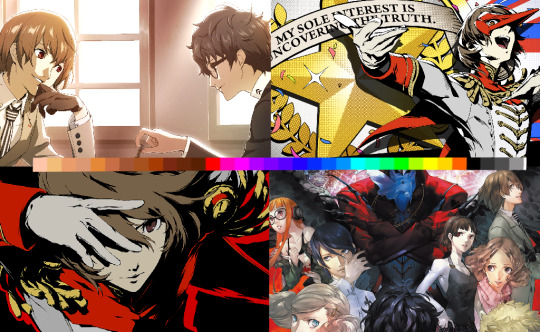
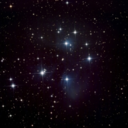
Text

— starry sky [psd by enigmaticplaywright]
— requested by: anon !
[ rb, credit + tag me if using !]
13 notes
·
View notes
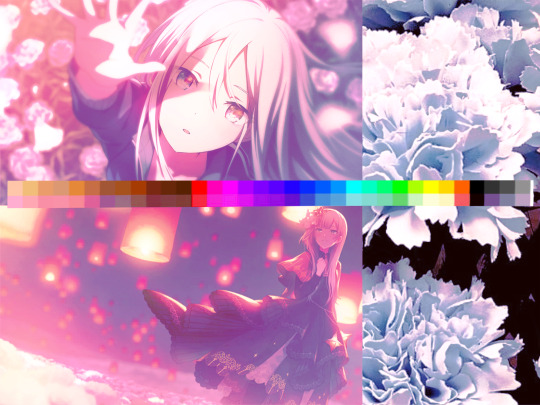
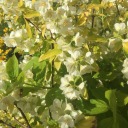
Text

-> lilacs [psd by enigmaticplaywright]
— requested by: anon !
[ rb, credit + tag me if using !]
16 notes
·
View notes
Text
-> solitus utopia [psd by enigmaticplaywright]
— [ rb, credit + tag me if using !]
10 notes
·
View notes
Text
— detective prince [coloring psd]
-> requested by: 🎭 anon !
[ rb, credit + tag me if using ! rules in pinned]
9 notes
·
View notes
Text

-> regret repentir [psd by enigmaticplaywright]
— [ rb, credit + tag me if using !]
8 notes
·
View notes
Text
-> dreaming of carnations [psd by enigmaticplaywright]
— [ rb, credit + tag me if using !]
9 notes
·
View notes
Text
-> dive in me [psd by enigmaticplaywright]
— [ rb, credit + tag me if using !]
6 notes
·
View notes
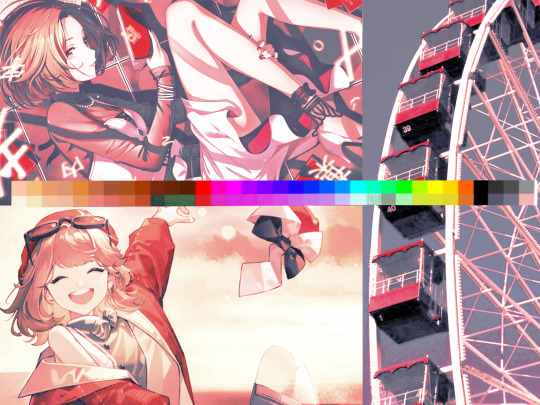
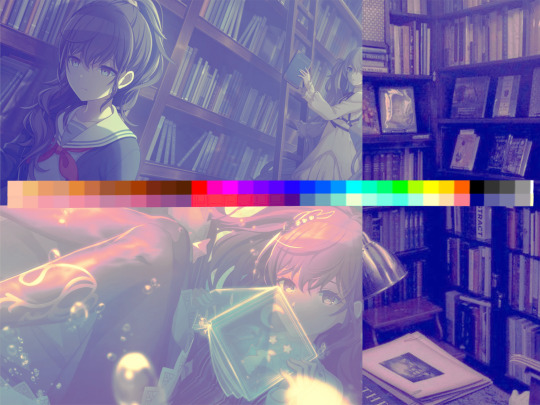
Text
Filter 1: A lot of ourple.

How to do this below!
[Note: I mainly use ibispaint so I'm not sure if it would work on other apps but I reccomend you adjust things if needed]
1. Here are the colors that you would need
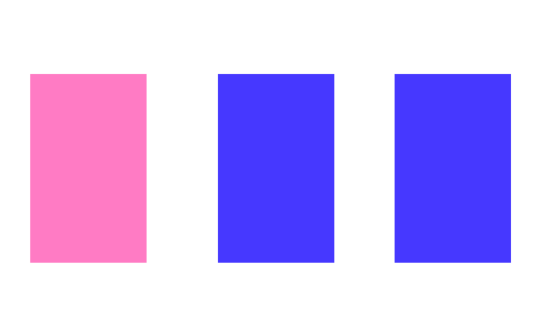
2. Pick your photo. I used Ena's Colorful Canvas card! (Optional: duplicate the layer with the photo. Go to Filters and pick Extract Line Drawing)
3. Get the first color and set the blending mode Vivid Light and set the opacity to 50%. You'll get this.
4. Get the second color and set the blending mode to Lighter Color and set the opacity to 50%.

5. Get the last color and set the blending mode to Soft Light and set the opacity to 40%.
And you're done!
Feel free to use as long as you credit me!
9 notes
·
View notes
Text
Filter 5: Red Lighting

How I did this under the cut!
[Note: I mainly use ibispaint so I'm not sure if it would work on other apps but I reccomend you adjust things if needed]
1. Here are the colors you would need.

2. Choose your photo, I chose Kohane's Halloween event card!

3. Take the first color and set the blending mode to Pin Light. Set the opacity to 50%.

4. Take the second color and set the blending mode to Hue. Set the opacity to 50%.
5. Take the last color and set the blending mode to Darker Color. Set the opacity to 45%.
And you're done!
Feel free to use as long as you credit me!
7 notes
·
View notes
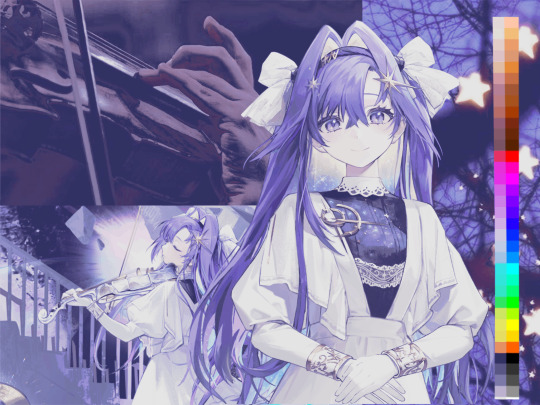
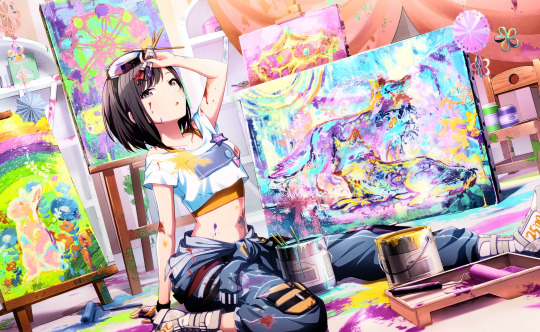
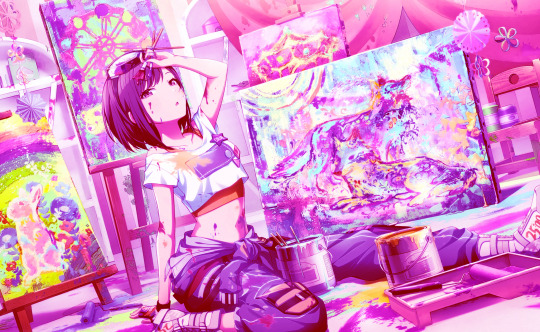
Text
Filter 4: Ourple Mermaid
How to do this below!
[Note: I mainly use ibispaint so I'm not sure if it would work on other apps but I reccomend you adjust things if needed]
1. Here is the colors and gradient you'll need.


2. Pick your photo. I used Rui's Mermaid card! (Optional: duplicate the layer with the photo. Go to Filters and pick Extract Line Drawing)

3. Get the first color and set the blending mode to Divide. Set the opacity 40%.

4. Get the second color and set the blending mode to Lighten. Set the opacity to 60%.
4. Get the gradient and set the blending mode to Soft Light. Keep the opacity to 100%.

5. Get the gradient again and set the blending mode to Pin Light. Keep the opacity to 100%.

And you're done!
Feel free to use as long as you credit me!
8 notes
·
View notes
Last Seen Blogs

resnullius-bells
animus confidenti
lemoncranes
We see what we want
anythingfinite
Drowning in feels

diastone
Diastone