buckhelped
main of @chinzhilla
gifs ✧ #userbon ✧ mostly 911 ✧ usually more active on my sideblog
15337 posts
Don't wanna be here? Send us removal request.
Last Seen Blogs
blueberry321
@blueberry321

lyonrhodes
Lyon Rhodes

birds-punch
There's a chicken frying itself in the library.

hmuyassar
yang dimudahkan
lastheroleft
Vent Blog
Text


it's fine, it's cool
you can say that we are nothing, but you know the truth
guess i'm the fool
and when you think about me all of those years ago
you're standing face to face with "i told you so"
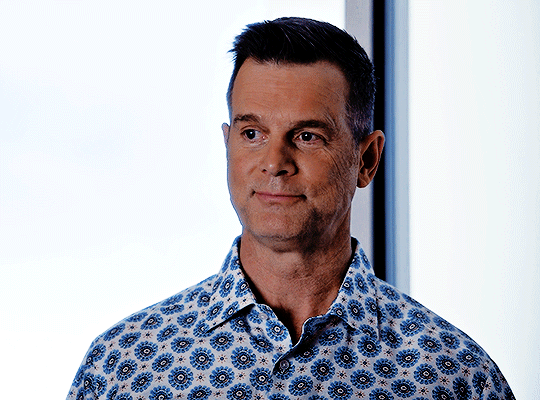
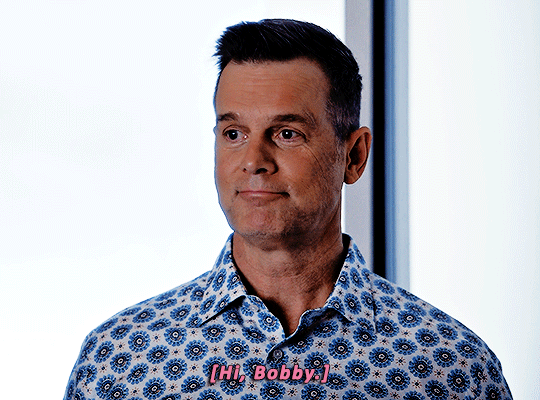
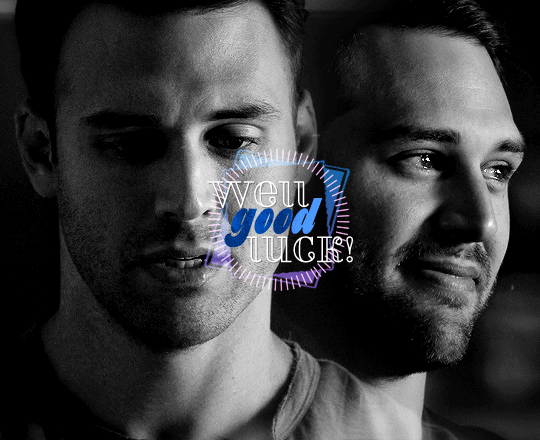
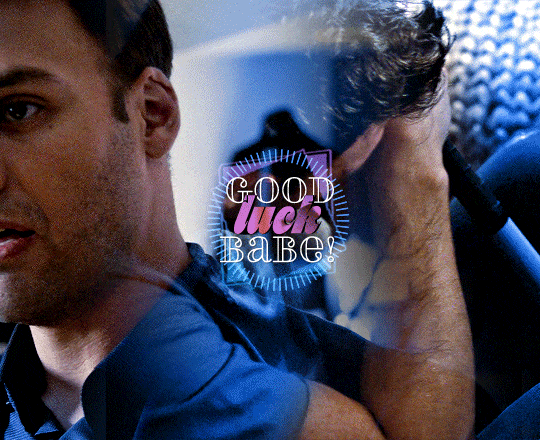
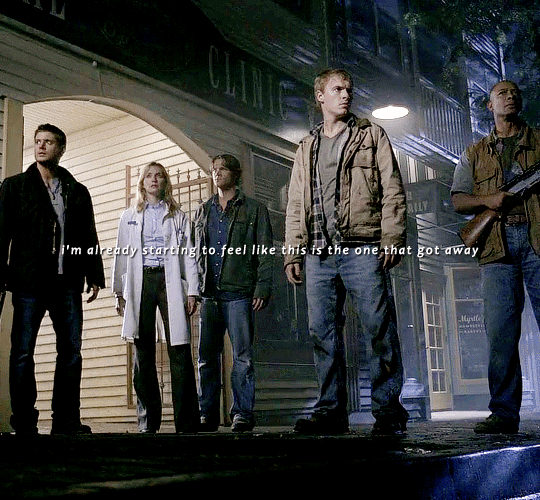
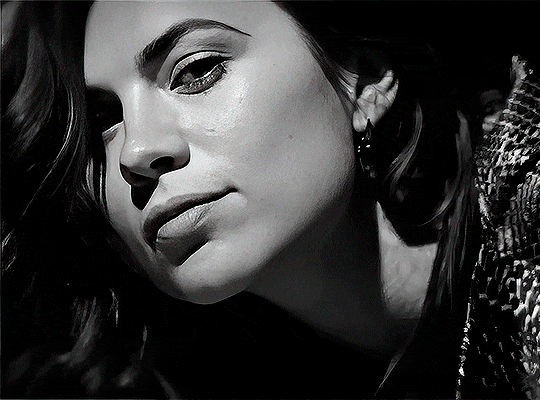
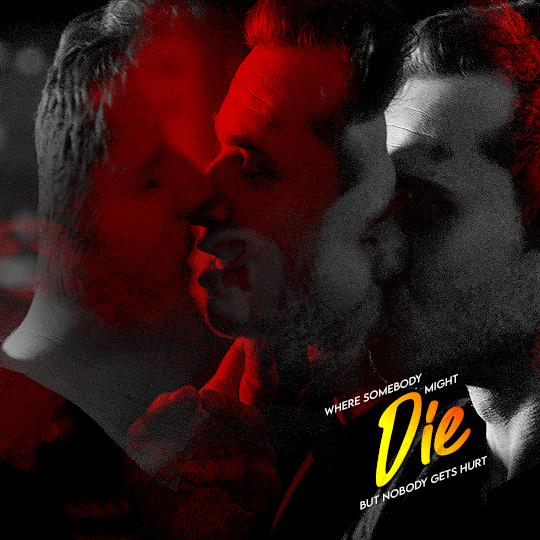
#stunning as always#LOVE the color combo#and the rotating circle#m: 911#p: buddie#c: eddie diaz#t: gifset#thanks for tagging me <3#alie tag
650 notes
·
View notes
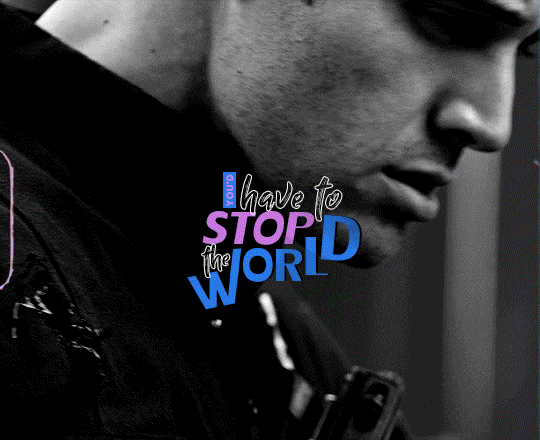
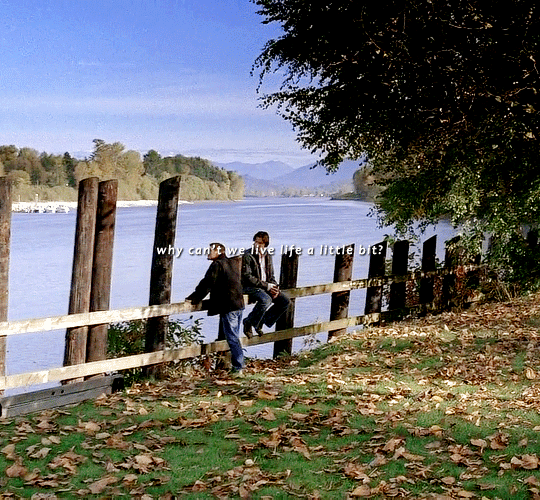
Text


-Vladimir Mayakovsky (x)
@creatorsofcolor event 21: family
@lgbtqcreators bingo: quotes
60 notes
·
View notes
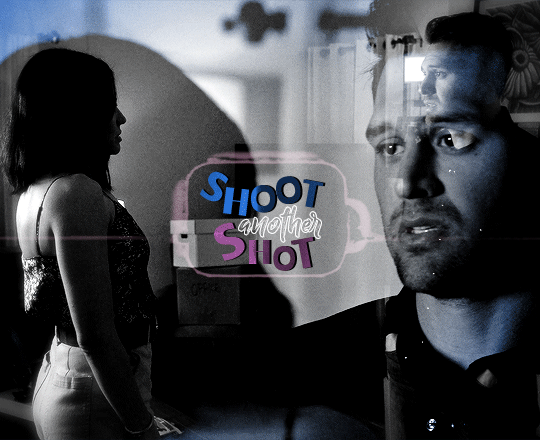
Text
I'm super curious if I'm an outlier here but like are people actually shipping bucktommy, enjoying the bisexual rep, or just vibing with Lou's dork ass personality/tommy as a character outside of the ship?? cause i don't ship them but the other two, yes very much so.
because honestly, i only want buck with eddie. and i think my husband put it best with "you can't go straight to putting buck with eddie, he's the prize".
#i made a post the other day that should make my opinion pretty clear but yeah i'm mostly just enjoying the bi rep#i really like tommy i don't think they could've picked a better first male love interest for buck#and i love bucktommy as the vehicle for buck exploring and coming to terms with his sexuality#overall i'm having a great time#however. i have never been and never will be a multishipper#i have nothing against it whatsoever i'm just not built that way#it's buddie or bust in this house#polls
276 notes
·
View notes
Text


STACKEDNATURAL ⇉ 137.5/327
2.9 Croatoan
Written by John Shiban
Directed by Robert Singer
Original Air Date: December 7, 2006
237 notes
·
View notes
Text
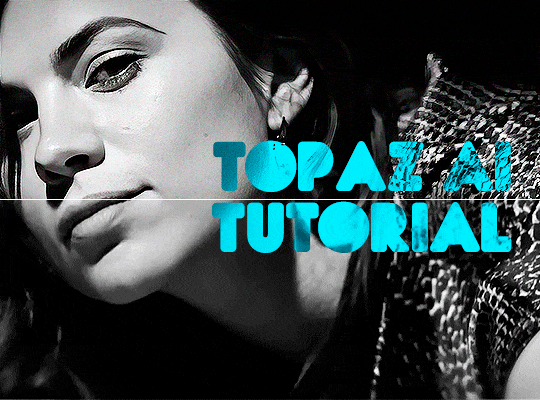
TOPAZ AI TUTORIAL
i was asked to do a tutorial for Topaz AI (a software that enhances screencaps), so here it is! :)
[tutorial under the cut]
i’m going to gif a 720p YouTube video from 12 years ago as an example. it’s the bottom of the barrel when it comes to image quality, but in the end, you won’t believe it was once so shitty. here’s the gif, without any editing:
THE APPLICATION
Topaz AI is a paid software for image enhancement. you can download it for free, but your images will have watermarks. here's a random link that has nothing to do with this tutorial.
you can use Topaz AI as a Photoshop plugin or use the software separately. i will explain both methods in this tutorial.
USING SEPARATELY
it’s the way i do it because it’s more computer-friendly, the plugin can take a toll on your PC, especially when you’re dealing with a lot of screencaps.
you first take screencaps as you normally would (if you don’t, here’s a tutorial on how to do it). open Topaz AI and select all the images. wait a while for the software to do its thing.

on the left, there is your screencap untouched. on the right, is your edited version. if you click the edited screencap and hold, Topaz will show you the original, that way you can compare the versions even better than just looking at them side by side.
Topaz AI will automatically recognize faces, if any, and enhance them. this can be toggled off, by disabling the “recovering faces” option in the right panel. it’s always on for me, though. you can tweak this feature by clicking on its name, the same thing for the others.
Topaz AI will also automatically upscale your screencaps if they’re too small (less than 4k). it will upscale them to achieve said 4k (in this gif’s case, the original 1280x720 screencaps became 4621x2599). i suggest that you let the app upscale those images, giving you more gif size flexibility. you can change into whatever size you want if you want something less heavy to store. don’t worry though, even these “4k screencaps” are very light megabytes-wise, so you won’t need a supercomputer. it might take a while to render all your screencaps, though, if you’re on a lower-end computer. (the folder with the edited screencaps ended up being 1GB, but that’s because it contains 123 screencaps, which is a lot of screencaps for 4k giffing).
two options won’t be automatically selected, Remove Noise and Sharpening, you will need to enable them to use them. rarely i don’t use Remove Noise, as is the best tool to remove pixelization. the Sharpening option depends on the gif, sometimes your gif will end up too over-sharpened (because of Topaz’s sharpening and later your own). that said, i used the Sharpening option on this gif.

next, select all images by clicking the “select all” button. you will notice that one of the screencaps’s thumbnails (in my case, the first one) will have small icons the others don’t have. this is the screencap you enhanced. you will need to click the dots menu, select “apply”, and then click “apply current settings to selected images”. this way, every screencap will have the same settings. if you don’t do this step, you will end up with one edited screencap and the rest will remain untouched!

all things done, click “save X images”. in the next panel, you can select where to save your new screencaps and how you want to name them. i always choose to add a topaz- prefix so i know what files i’m dealing with while giffing.
just a note: if your way of uploading screencaps to Photoshop is through image sequence, you will need to change the names of your new screencaps so PS can perceive that as a sequence (screencap1, screencap2, etc). you can do that by selecting all the screencaps in your folder, then selecting to rename just one of them and the rest will receive numbers at the end, from first to last. you don’t need to rename them one by one.
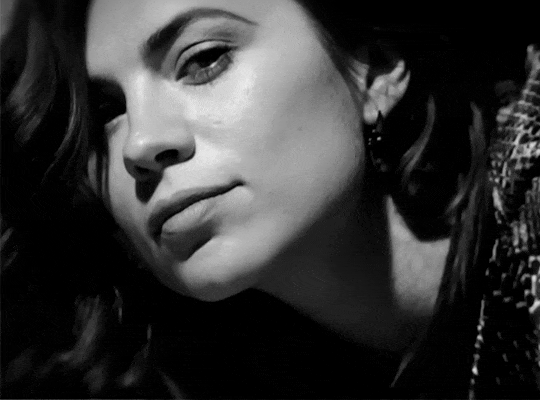
here’s the first gif again, without any editing:
without Topaz enhancement but with sharpening:

without sharpening, only the Topaz enhancement:

with Topaz enhancement and sharpening:
her skin is so smooth that it is a bit unrealistic. i could have edited that while tweaking the “Recovering Faces” option and/or the “Remove Noise” option, but i prefer to add noise (filter > noise > add noise) when necessary. this way, i don’t risk not enhancing the quality of the screencaps enough.

i added +3 of noise, making the gif look more natural. it’s a subtle difference, but i thought it necessary one in this case. you can continue to edit your gif as your heart desires.
VOILA! 🥳
AS A PHOTOSHOP PLUGIN
if you have Topaz AI installed on your computer, Photoshop will recognize it. you will find it in filter > Topaz Labs > Topaz AI. while in timeline mode, select the filter. the same Topaz AI window will pop up and you can tweak things the same way you do when you use the software separately. by using the plugin, you don’t need to upload your edited screencaps or use screencaps at all, a video clip (turned into a Smart Layer, that is) will suffice. the downside is that for every little thing you do, Topaz AI will recalculate stuff, so you practically can’t do anything without facing a waiting screen. a solution for that is to edit your gif in shitty quality as you would edit an HD one and at the very end, you enable Topaz AI. or just separately edit the screencaps following the first method.
this is it! it's a very simple software to use. the only downside is that it can take a while to render all screencaps, even with a stronger computer, but nothing too ridiculous.
any questions, feel free to contact me! :)
#i use topaz video sometimes but this looks like it might be more efficient#thanks for posting op#resources#tutorials#gifmaker things
85 notes
·
View notes
Text

"Wrapped in Pride"
This one's for Evan Buckley, for Oliver Stark, but especially for the fans and every bisexual who's been waiting for this moment. 💖💜💙
4K notes
·
View notes
Text

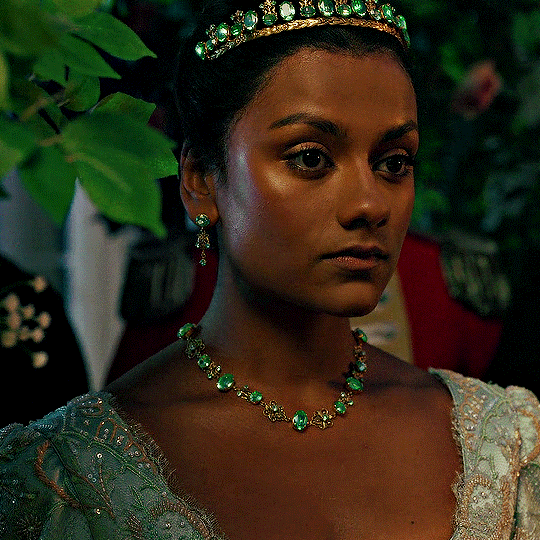
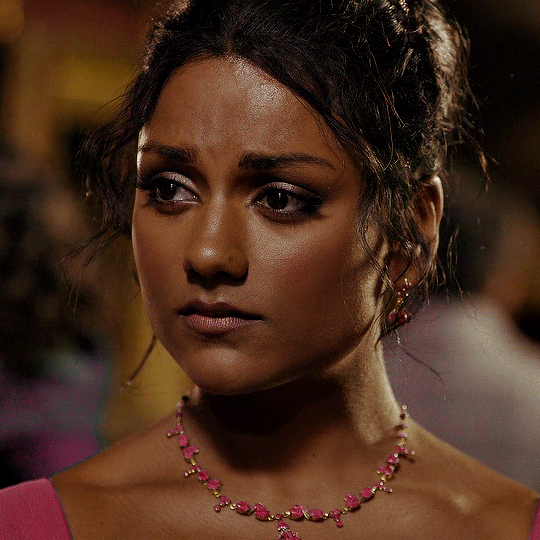


Ashley Simone as Kate Sharma in Series 2 of BRIDGERTON
485 notes
·
View notes
Text
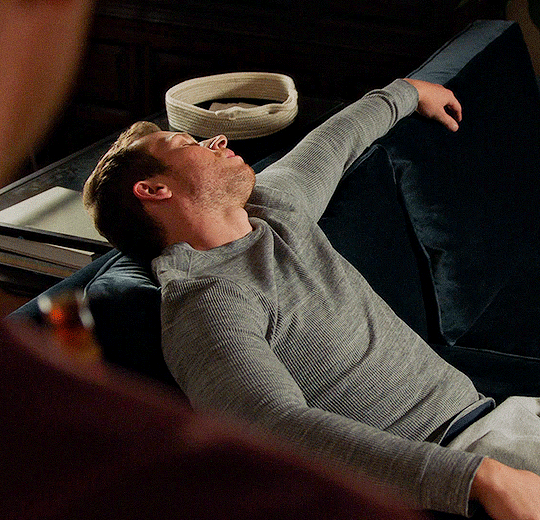

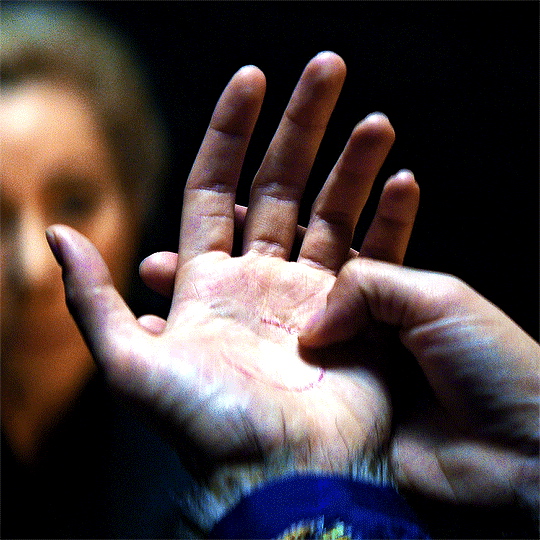
"you know, my therapist says everyone needs a safe space, a place where you can fully be yourself"
[image description: 2 large gifs of evan buckley and eddie diaz from 9-1-1.
gif 1: from season 6 episode 12. in the diaz home, eddie (out of frame) watches buck sleep on his couch, his arm draped across the sofa.
gif 2: from season 7 episode 5. at buck's apartment, the camera pans as eddie, holding his phone, turns to face buck as buck rounds the corner of his kitchen island.
/end ID]
942 notes
·
View notes
Text
And to answer your question I’m protective of Buck and Tommy because a bi man figuring himself out is gonna take more than three fucking episodes so I want Tommy to stick around to help with that and don’t see the need to rush immediately into a reveal that Buck and Eddie are in love. If I wanted instant gratification in my Gay Firefighter Show I’d watch Lone Star.
#he hasn't even said the word bisexual this storyline needs to breathe#i came out in my twenties and it still took me like five full years to figure my shit out#and they haven't even broached the eddie side of things so any pivot to buddie this season would be entirely too soon#but if they tell this story the way it should be told it's gonna be so beautiful and satisfying when they finally get where they're going#m: 911#p: bucktommy#p: buddie#t: text
436 notes
·
View notes
Text

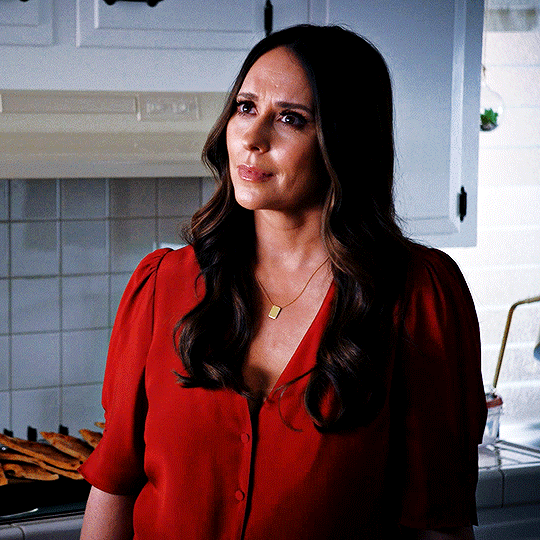

MADDIE BUCKLEY
3.11: 'Seize the Day'
354 notes
·
View notes
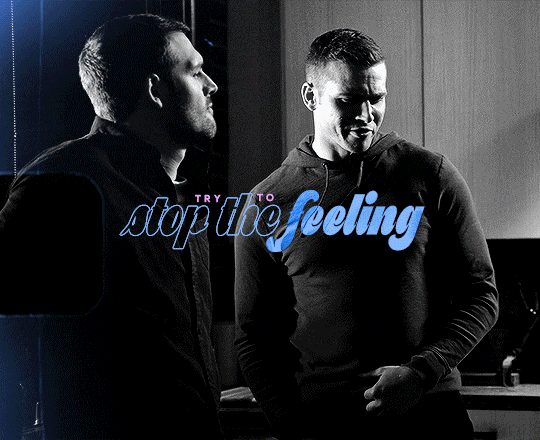
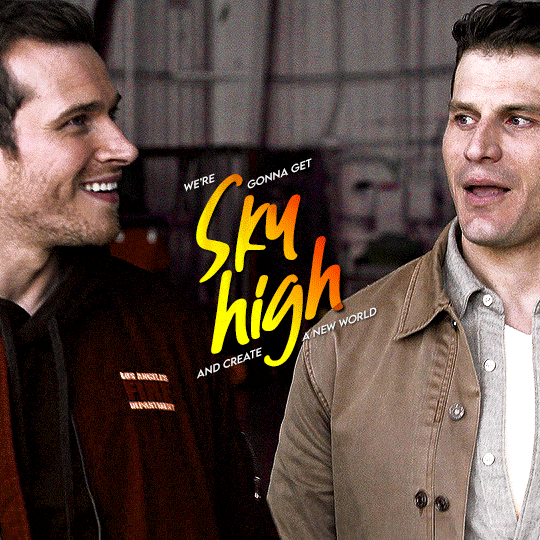
Text

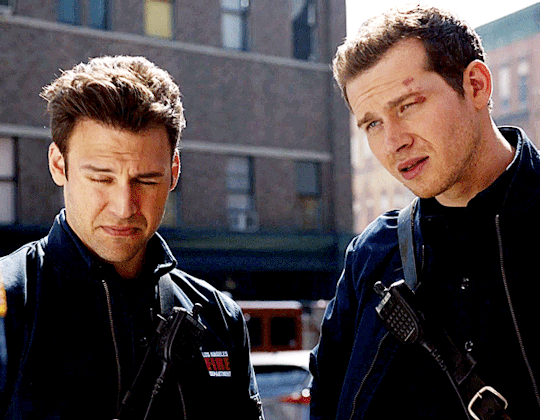
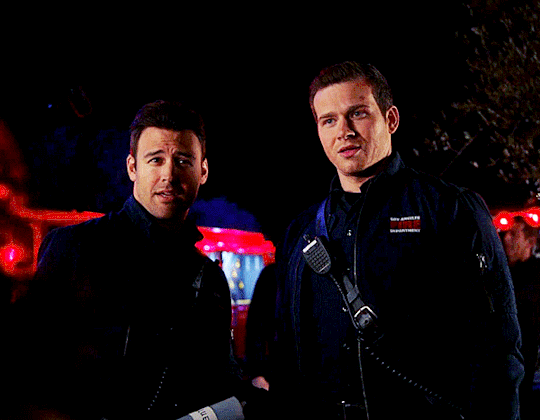

they haven't best friended this hard since s4
2K notes
·
View notes
Text
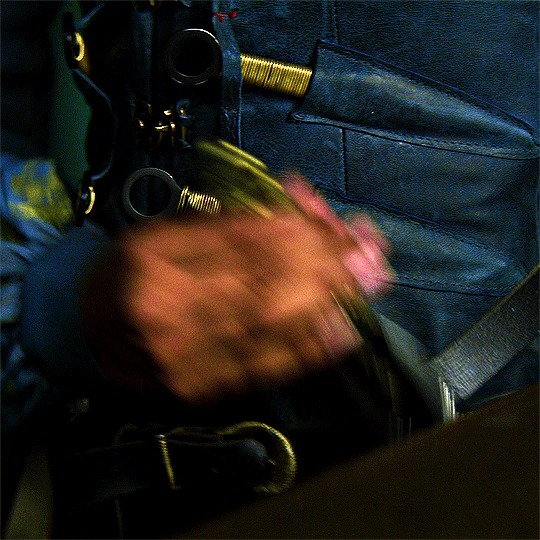

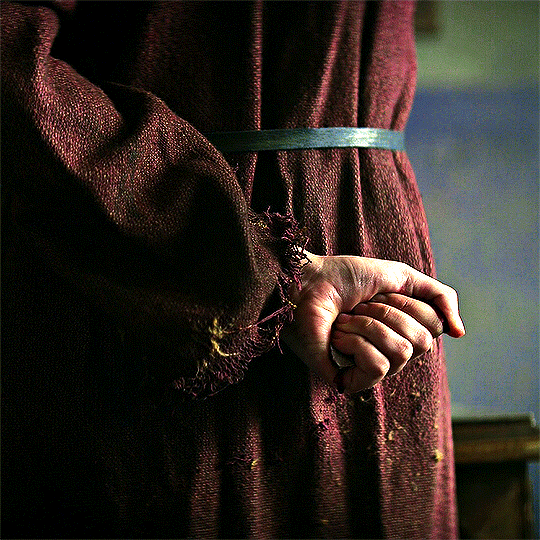


SHADOW AND BONE AND HANDS
1.04 Otkazat'sya
122 notes
·
View notes
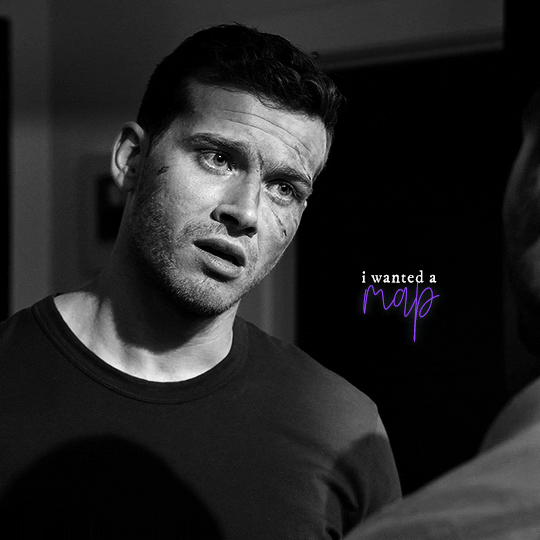
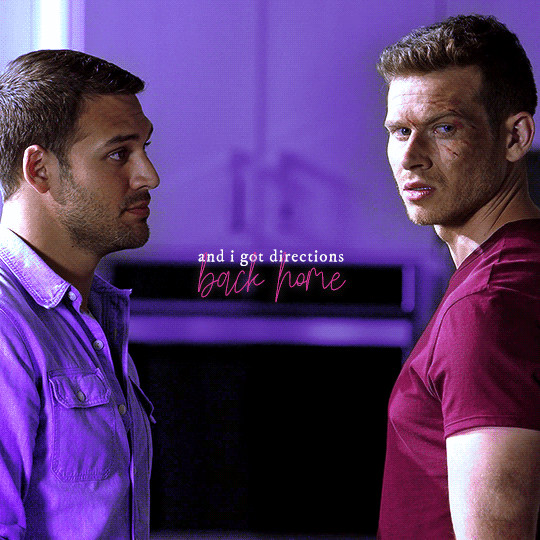
Text


Meet me there where it never closes
Meet me there where it's never hopeless
All is fair in love
For @tommy-evan ♡
434 notes
·
View notes
Text

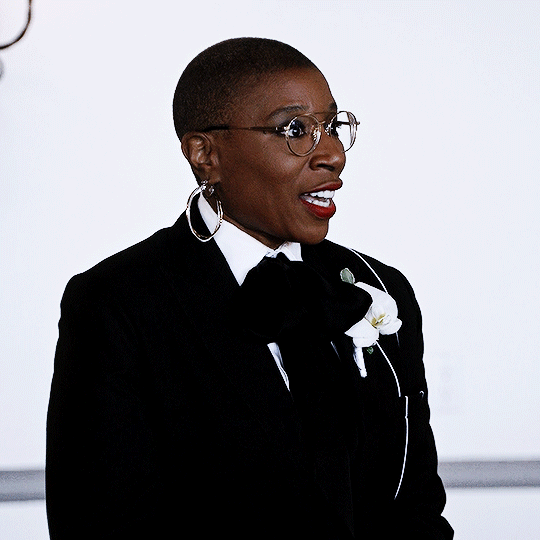


HEN WILSON’S BEST LOOKS — 33/?
226 notes
·
View notes
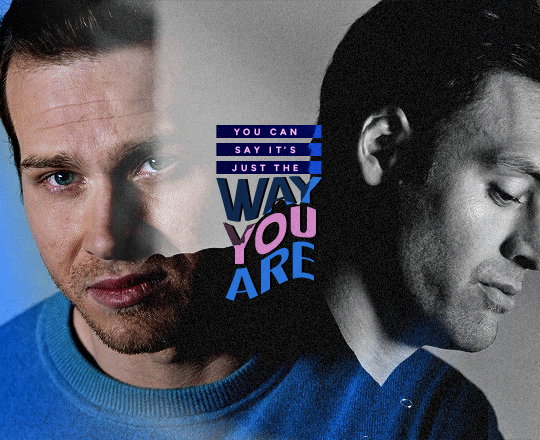
Text

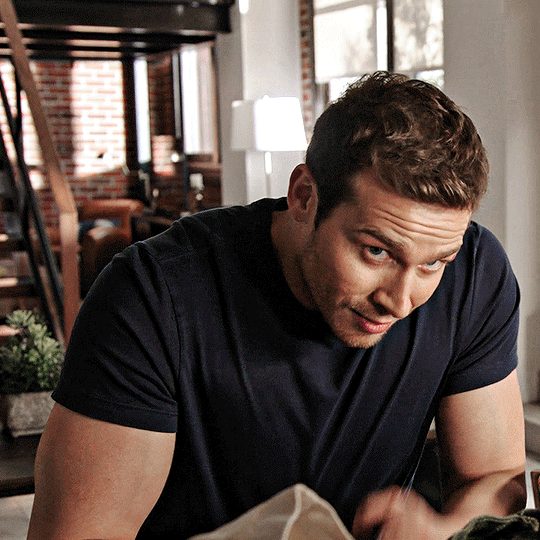
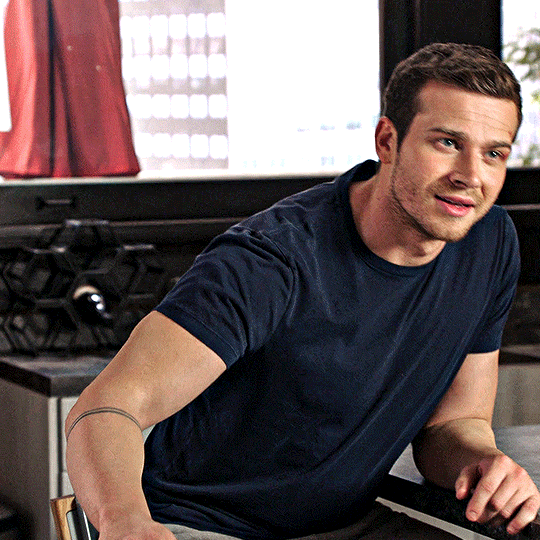


BUCK IN 6x12 - RECOVERY
1K notes
·
View notes
Text


🏳️🌈get to know the members of @gay!🏳️🌈
↳ favourite headcanon ship by mia ⋆ eddie diaz & evan buckley
because, evan, you came in here the other day and you said you thought it would have been better if it had been you who was shot. you act like you are expendable. but you’re wrong.
323 notes
·
View notes